Thursday, June 30, 2016

Get Well Wishes

Hey all, sharing with you today.
I created a clean and simple card with tons of layering.
It is very easy to create extra layers with die cuts by just
using your paper trimmer, as I did for this card. 
The bold, black sentiment is the highlight of the card as well as the die cut hearts.
The angled piece was cut after all the layers were adhered and popped for some interest.
Here are the products I've used in today's card.

Wednesday, June 29, 2016

What the cluck is new with you?

Hello CDD Fans!  

DT Steph here sharing a card I made using  stamp set, stamp set, , , and .  This sentiment is one of my most favorites from CDD.  I made a little scene using the rooster and fence from the Farm Living stamp set stamped onto watercolor paper.  I then colored everything using distress inks as watercolors, scribbling them onto my craft mat and picking up with my wet brush.  I diecut the large stitched frame from Crazy Stitched Dies in white cs and then I partially diecut the stitched circle from Stitched in Circle Dies out of the frame.  I also diecut the rooster scene with the same circle die.  I popped up the crazy stitched frame using craft foam onto my card base, the rooster scene is glued directly to the card base.  I heat embossed with black embossing powder the sentiment from Punny Farm onto a banner from Flag Banner Dies.


Thanks for stoppin' by!

Steph

Paper Piecing by Steph


CDD Products used:  


Tuesday, June 28, 2016

Totally Amazing

Hello everybody.. It's Jan here from handcraft hobby.  I am glad to be back here on Craftin Desert Divas Blog today sharing with you my little project showcasing and .


Here is what I created for you

First I selected the 3 outline flower stamps from stamp set.  I stamped and heat embossed with clear embossing powder onto the textured side of watercolor paper.  I then began to color using inktense color pencils.  I did layer the base coat of light colors and built up my dimension by laying darker colors on top.  Same way I did for the dark grey background.

After my watercolor panel dried, I cut it with .  I then took the word "Totally" from and cut at the center of my panel.  I also cut 4-5 pieces of Totally word die from black card stock and stacked them up all together then my top piece would be the watercolor piece. I also heat embossed the word "amazing" from on black card stock.

I used double sided tape at the back of my watercolor panel and then turn over to the front to put my dimensional word Totally on top of it like jigsaw puzzle. I then attached the "amazing" word with form tape and put under the diecut word.  And everything onto my white card base! and it's done!

Here are the closer look


Thank you for stopping by today and I wish you a Wonderful day!

Here are CDD products that I used


Sunday, June 26, 2016

CDD "Red, White, and Blue" Linky Party Week 2

Welcome to another Craftin Desert Divas linky party.

The linky party theme is....


We want to see all those amazing Red, White and Blue projects. With the 4th of July coming soon, this is a perfect challenge.
We'd love for you to play along with us!

Every other Monday will mark the beginning of a new semi-weekly linky party here. I will designate a theme and invite you to share projects you've made!!

And don't forget about the prizes! Every linky party will have a sponsor and a winner, plus a top 3! The winner will be announced on a semi-weekly basis. The more times you link up, the more chances you have to win!! Sponsors will be announced at the beginning of every linky party.

This party sponsors are...

CDD- 1 4x6 stamp set

CDD- One digi stamp of choice


Here are the DT inspiration projects.
 Be sure to visit their blogs for all the details.

Lisa M. - The Crafting Cave
Showcasing: , , and .


 Nanne - Nanne's Creations
Showcasing: , and .

Saundra - Luv Scrapping Together
Showcasing: , , and .

 Leah-  
Showcasing: , , and .


 Mayra - Mayra's Designs
Showcasing:  digi stamp, digi stamp, , and

Steph- Paper Piecing by Steph
Showcasing: , ,  and


Linky parties are from Monday at 12AM Arizona MST thru Sunday 12PM Arizona MST.
Any projects you submit must be linked to your blog or online gallery. 
Projects must be NEW, no back linking, please.
Number of entries for this linky party is unlimited.
You may link up ANY type of craft project layout, card, altered item, tag (etc) as long as it goes with the theme of the party.
Please link your project back to Craftin Desert Divas Linky Party.


Winners will be randomly chosen by random.org


Celebrate


Hi and welcome, everyone! Lisa from In The Crafting Cave bringing you today's  daily post and it's all about the die-cuts. I love die-cuts because you can create so many amazing things with a few basic die-cuts. Here's just one way to mix your die-cuts to create a vintage look.

Vintage Patriotic Greeting Card with Die-Cut Banner and Red, White and Blue Stars

Using the I created the blue and beige base, using the  I cut the banner(red), and the  has the star die-cut, using vintage papers along with the die-cut makes this card is quick and easy. I finished the card with a few red enamel dots and layered onto kraft and beige cardstock.
Some times, you just have to keep it simple and let the die-cuts and paper do the work for you.


Here are the products I used:


As always, thank you for stopping by!
And don't forget you can find us at
Craftin Desert Divas Blog


Saturday, June 25, 2016

Sending Many Birthday Fishes


Hi everyone !! 
Mayra here from Mayras Designs with today's 
Birthday Fishes post . 
I really adore this digital stamp from the 
Craftin Desert Divas shop :

I thought it would be perfect to use this image for a shaker card . 
I colored it in using my Copics and then I created my shaker . 


I hope you enjoy this fun shaker and digi stamp card .
Wishing you all a wonderful and Blessed day !

Hugs,

Recipe ~ 
Image 1

Image 1


Image 1

Image 1


Friday, June 24, 2016

Thanks For Your Friendship Card

Hi fellow stampers..
It's Nanné here to share a card I created using Greetings word dies, Tiny sentiments and the Sew Raggedy stamp sets.. 

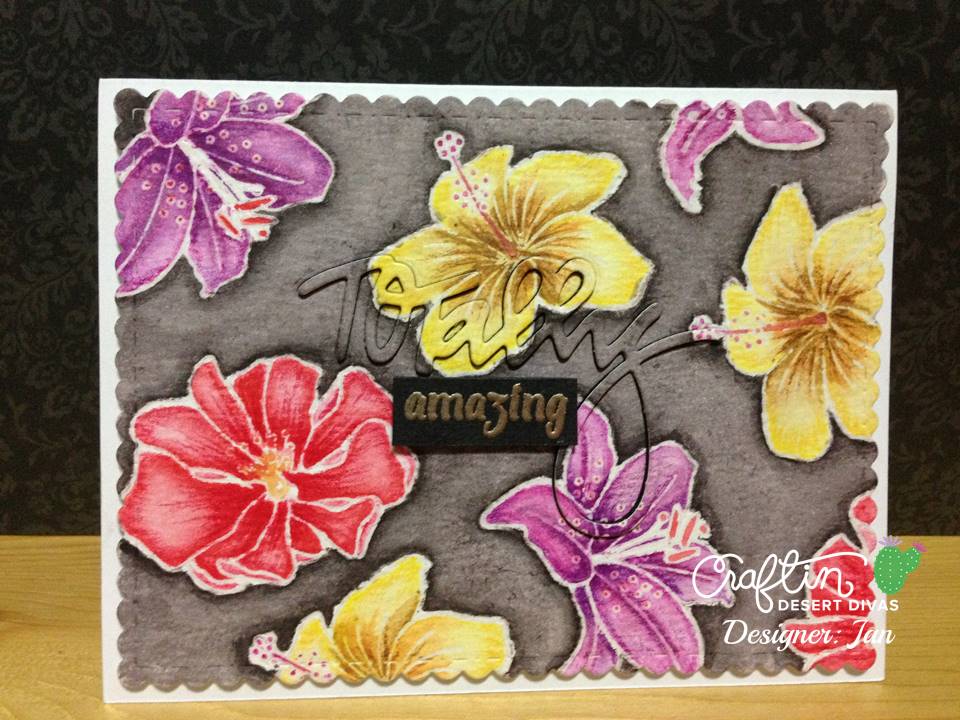
Here is the card I created:


I cut some 2" squares out of some patterned papers, adhered them to my card base and then used the stitch stamp to add stitching to the edges..


I then added my sentiment onto a patterned piece of paper, heat embossing the stamped sentiment using white embossing powder.. Adding some of my favorite flowers to soften the card.


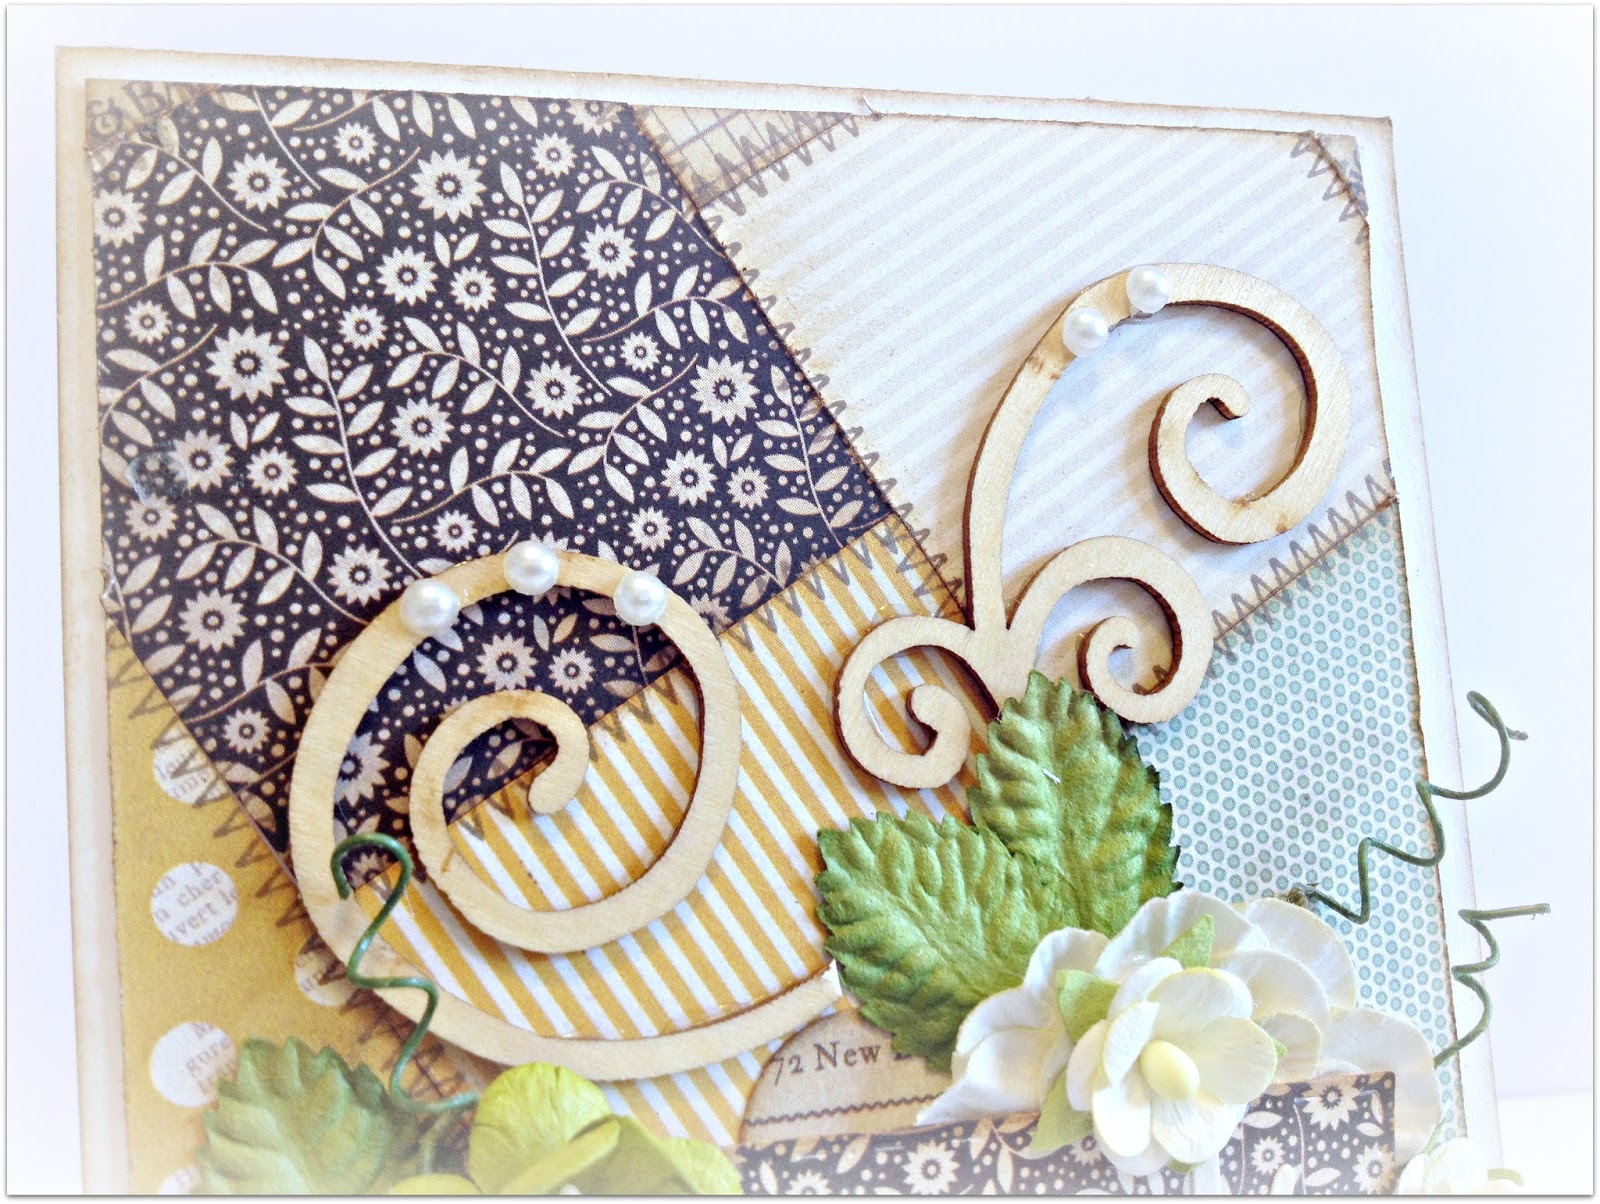
close up of the stitching and of the wood veneer flourish I added.

Here are the stamp sets and dies I used:


thank you for stopping by today..
Till next time
Hugs
Nanné
Newer Posts Older Posts Home