Sunday, April 30, 2017

That Was So Sweet Of You

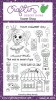
Hi, guys! It's Andrea here with you today sharing a card featuring Sweet Shop, released earlier this year. I love the yummy images in this set!  
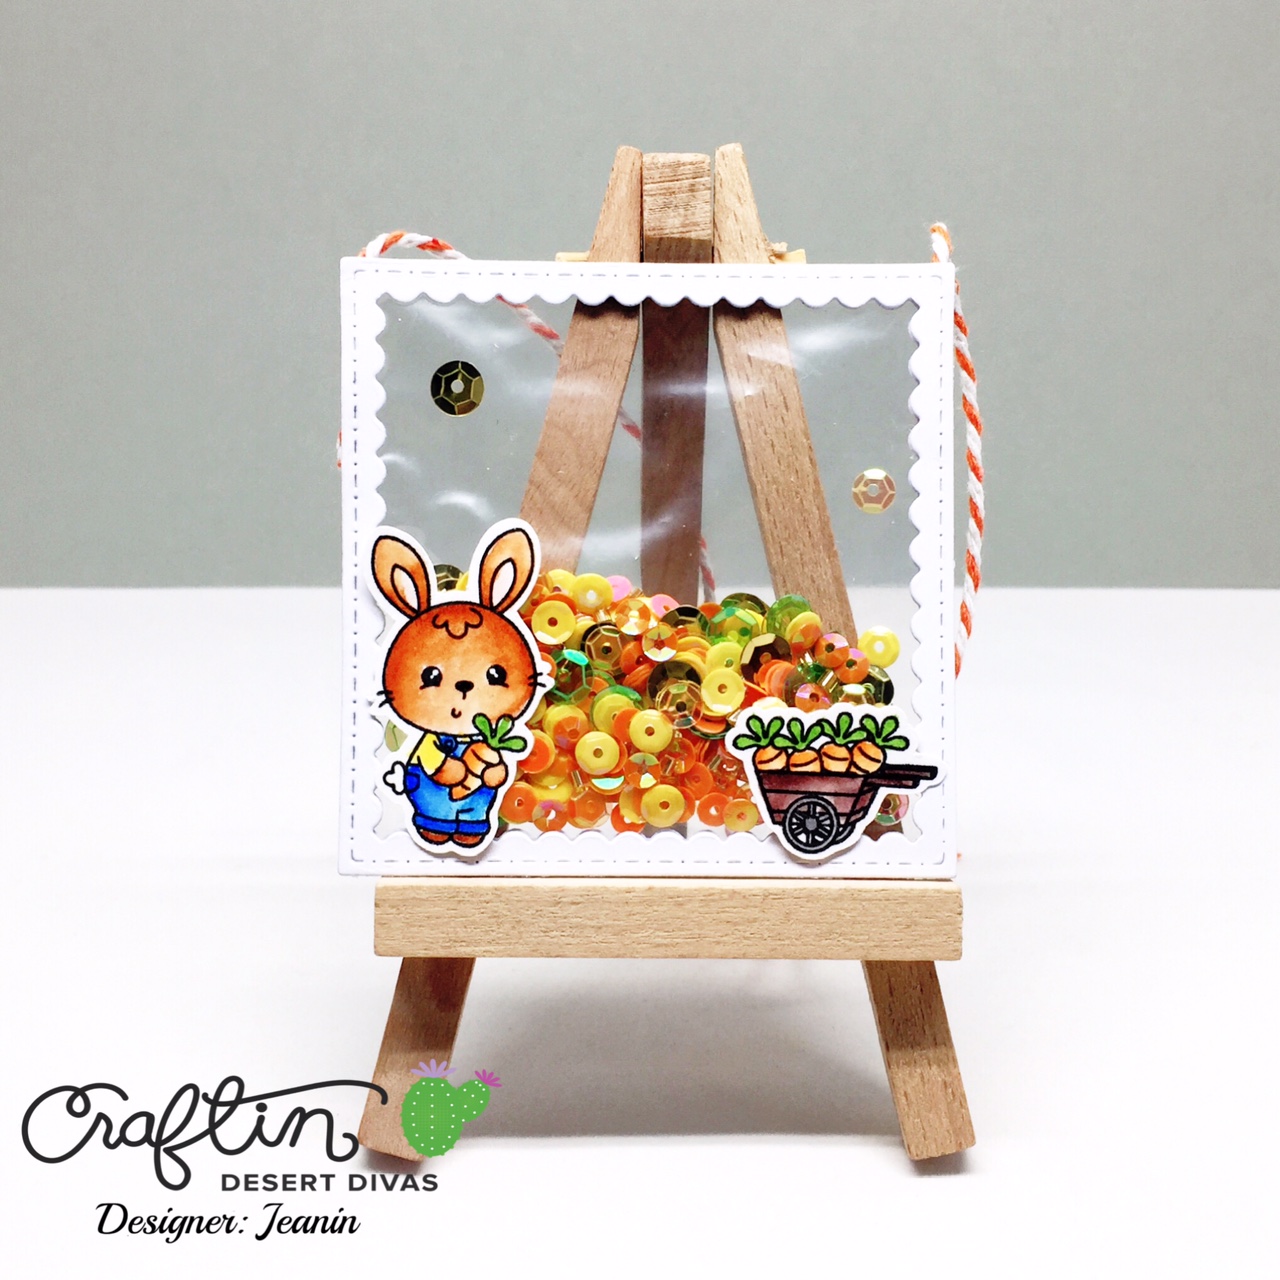
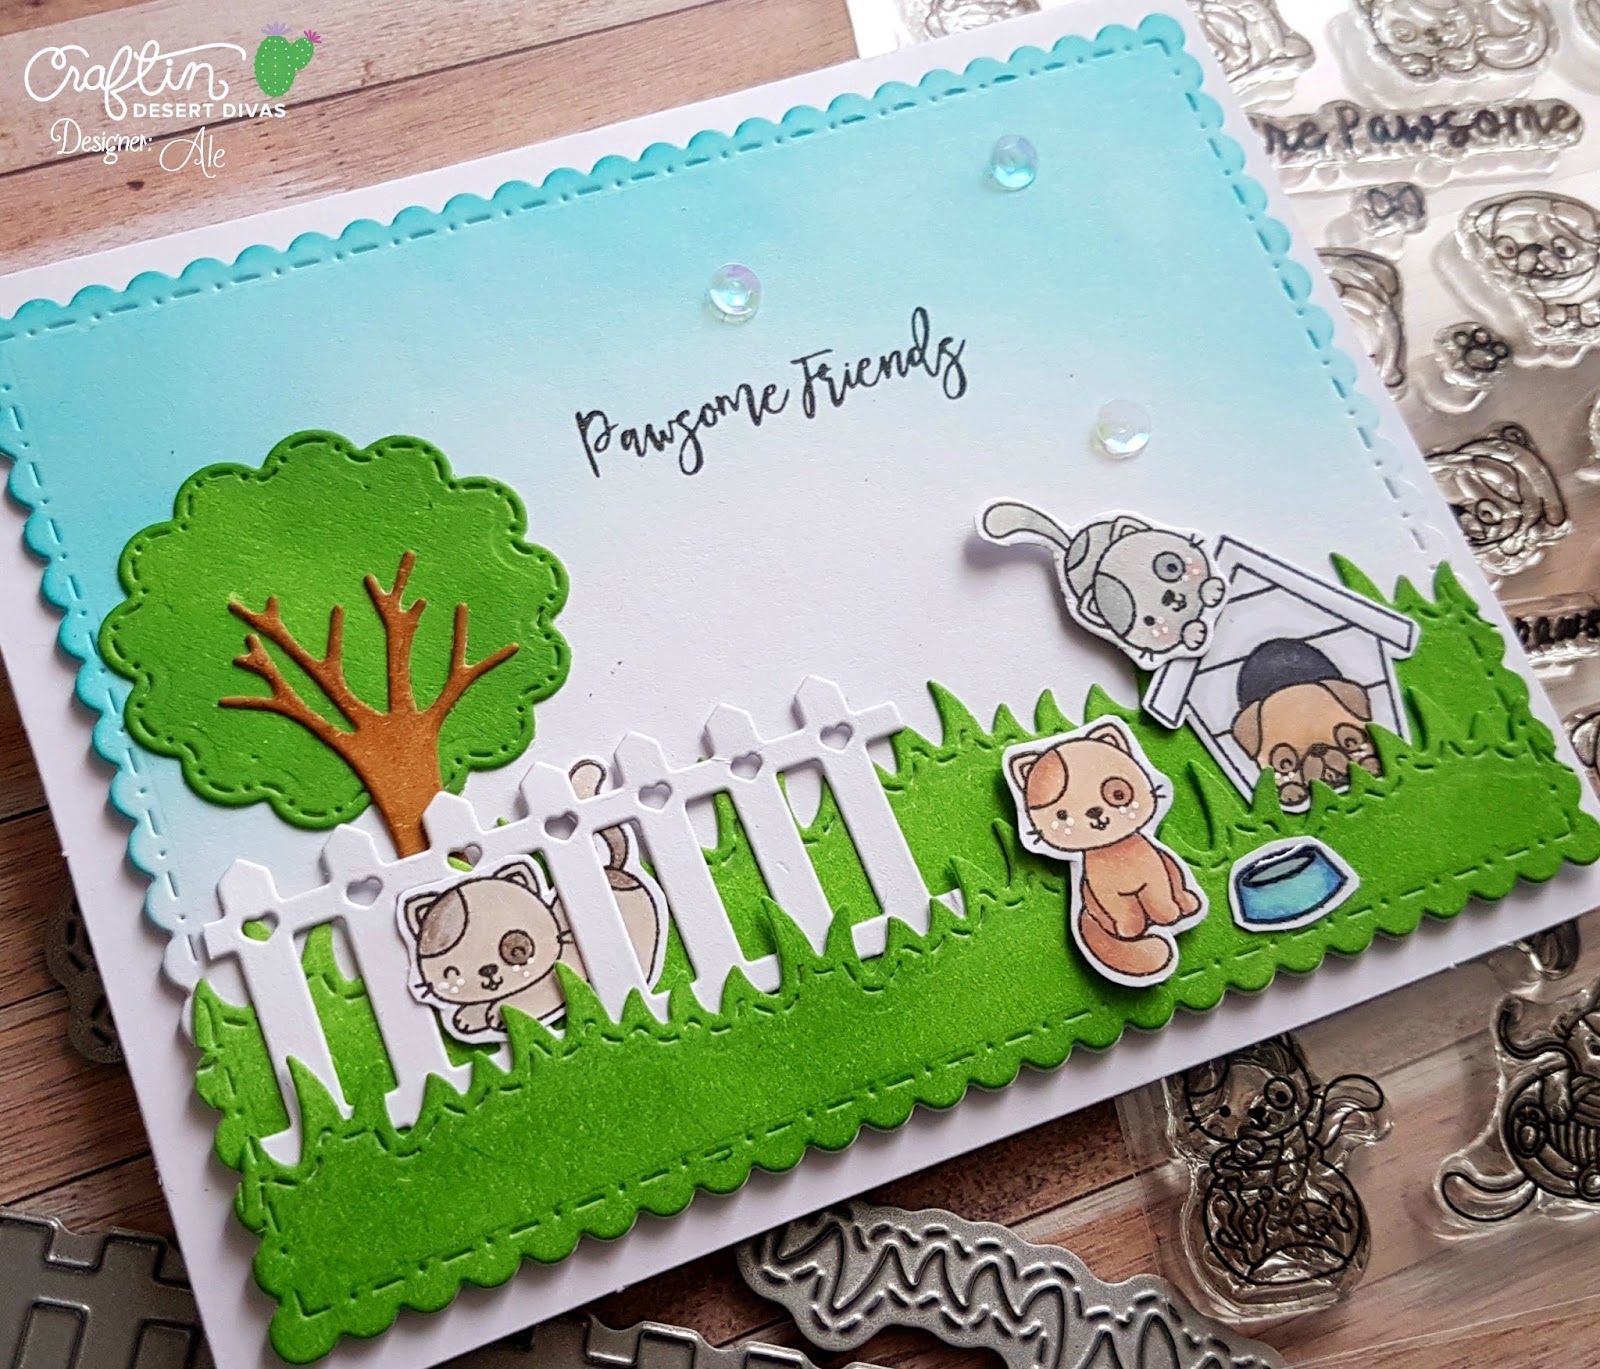
 The adorable candy shop was stamped with Versafine onto Bristol Smooth paper, colored with Zig Clean Color Real Brush markers, and cut out. For the background, I arranged four of the smaller stamps from the set onto an acrylic block and stamped them repeatedly with Versamark onto a panel of Bristol paper. I filled in some gaps with two smaller images before heat-embossing the entire panel in white. I ink-smooshed the background with the following colors of distress ink: Picked Raspberry, Peacock Feathers, Cracked Pistachio and Squeezed Lemonade.

   
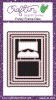
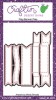
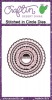
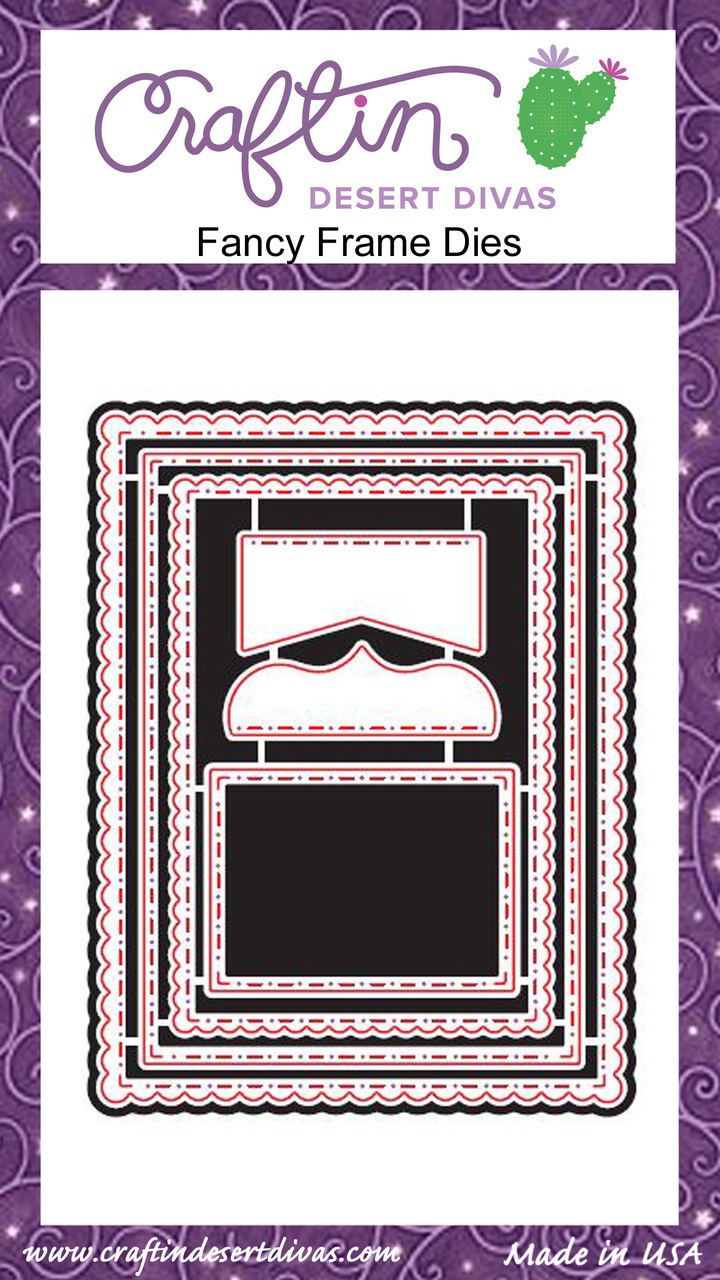
 I die-cut my panel with the largest Craftin Desert Divas' Fancy Frames die and adhered it to a white card. Using the Stitched In Circle Dies, I die-cut a vellum circle. I popped that up with foam tape and popped up the candy shop on top. I die-cut a banner with the Flag Banner Dies and heat-embossed the sentiment. I adhered the middle of the banner to the vellum circle and popped up the ends with more foam tape. Some Shimmer sequins and Zig Wink of Stella add the perfect finishing touch. Thanks for spending time with me! Don't forget that today is the last day to link up a project for the April Mood Board Challenge. For more info and to link up a project, head over to the .

Saturday, April 29, 2017

Shake it up!

Hello everyone, here with a special shaker card for you. I love these see-through shaker card and can't get enough of them. 

To start off, I die cut two of the medium size inside scalloped squares from white card stock and also stamped the cute little bunny holding a carrot and the carrot wagon from the "Somebunny" stamp set on mix media card stock and colored in the images with my Zig markers.


To create the shaker pocket, I used one of my ziplog bags as and my Fuse tool to create a square shaped pocket that was slightly smaller than the die cut pieces. I filled my shaker pocket with Melon Drop sequins and closed it up.
I then used really strong adhesive to nest the shaker pocket in between the square die cuts. I also included a piece of white and orange baker's twine so the card could also used as a tag or ornament. To finish off the project, I adhered the bunny and the wagon to the front of the shaker card.


I really hope you enjoyed this shaker card/ornament. Have a lovely day!


CDD products used


Friday, April 28, 2017

Carry An Umbrella And Dream On!


Hi CDD Friends, Waleska here.
Today I'd like to share a card using a few current
favorites from our latest April release.


Card Details:
I used the adorable "Stormy Weather" stamp set.
I have decided already this little guy is my favorite.
The idea of this card was to create a very cloudy day
and a little mouse flying on the sky with his little umbrella.


To create the cloudy background I diecut a bunch of
clouds from the new Rainbow die set and glue them
to my card, with Pumice Stone distress ink I create
the gray color sky.


I hand cut my little mouse and added Comet 
sequins for a little color!

I hope you have a wonderful day!
"Remember"
You still have some days to participate in our
CDDMonthly for a chance to win great prizes!

CDD products:


Thursday, April 27, 2017

Pawsome Friends

Hello everyone! DT Ale here today sharing a card that I made using Pawsome  friends stamp set
For this card I started by stamping the adorable images from the Pawsome friends stamp set and colored them using Spectrum Noir Alcohol markers.
Next I inked the background, the grass and the tree using Distress inks.
Next was the time to die cut all the elements needed and creating the scene. I adhered everything using a combination between foam tape and Multi Medium Matte glue, stamped the sentiment and added some sequins and my card was finished.
Thank you so much for stopping by today! Have a lovely day!
***Supplies***  


Wednesday, April 26, 2017

Hugs!

Hello Everyone!! It's Lindsay from the DT here with you today, sharing a card made with the brand new Floral Wreaths Stamp Set!! This past release was filled with some amazing stamps, dies, and sequins but I have to say that this stamp set is my absolute favorite (and the treat bag die of course). Today, I have a card to share with you, using this stamp set and stamping on black card stock and creating a no line coloring look, without all the work!! Be sure to watch the video tutorial below for all the details!!


Starting with the Fancy Frame die set, I die cut the larger stitched rectangle from black card stock and also the larger scalloped rectangle from a mint blue card stock. Using white pigment ink, and my stamp positioner, I stamped the heart wreath in the center of the panel. I know white pigment ink is a bit messy to work with, but in this case it is the best ink for the job! Before moving onto coloring I heat set the white ink really well so I wouldn't get any smearing.

For my coloring I chose to use my Prismacolor Colored Pencils in very light and pastel colors. The lighter pastel colors will show up better on the dark black card stock. To achieve the no line coloring look all I did was simply use a very sharp pencil to first outline on the white pigment stamped lines and then color in the rest of the image. On the images with stamped lines in the center of the images I just colored over those as well. This gives the images stamped lines a darker appearance than the rest of the coloring, but a more blended look, which results in a no line coloring look without all the work!

Before stamping my sentiment, I first heat set my wreath to make sure all the ink was good and dry. Then, using the Simply Said Stamp Set, I stamped "Hugs" in the center of the wreath in Versamark ink and then heat embossed in white. Finally, I popped the colored wreath panel up on the mint green die cut with fun foam and double sided adhesive and then secured both panels onto an A2 top folding card base made from more black card stock.


Figuring out this technique was kind of a happy accident, but I am so happy I did! I hope you will give it a try as well, because it gives such a unique and fun result. If you are interested in any of the CDD products I used on this card today, you will find them all linked up below! Until next time, Happy Crafting!!


Tuesday, April 25, 2017

Wishing You A Birthday Filled With Adventure...


Hello and welcome!
Tatiana here from Tatiana Craft And Art and I'm so excited to bring you my daily post here at Craftin Desert Divas! Well, today I'm going to talk about masculine cards. I know many of you struggle with them like me, but when I saw a fantastic sentiment "Wishing You A Birthday Filled with Adventure..." from stamp set, I decided to play with it and fill a box with some great masculine accessorize stamps to match the scheme!

So I stamped with a waterproof ink a few images from stamp set on Bristol paper, colored them with Zig markers trying to make marked shadows and highlights, fussy cut right up against the edge and corrected any imperfection from cutting with a black marker. While the watercolor pieces were drying, I worked on background making ink blending with Distress inks and flicking after some water droplets in order to bring some interest. I die-cut a out of kraft card stock and made the matching card base for my project!

Finally I stamped the sentiment from the same stamp set and adhered a few sequins to the card just for something little extra!
That all for today! Hope you like this clean and simple card! And as always thanks so much for stopping by and have a great day!
ZIG MARKERS:
n.41 Light Green - n.31 Cobalt Blue - n.50 Yellow - n.63 Ochre - n.51 Lemon Yellow - n.91 Light Gray
SUPPLIES:

Monday, April 24, 2017

Stop & Smell The Flowers Weekly Planner Layout


Hello there Diva's!! It's Design Team Member Jana from CHB Creations here to bring you today's CDD Daily Post. Lately, I have been playing and creating in my planners and I just can't seem to get away from the Spring theme, LOL. Craftin Desert Diva's has so many adorable Spring themed digital stamps and stamp sets that I must play with. So today I am sharing this  "Stop & Smell the Flowers" weekly planner layout.


 I started off by printing out all of my digital stamp images and colored them using my Prismacolor Premier Colored Pencils.


I fussy cut all of the flower images, ran them through my Xyron sticker machine and adhered them onto my layout. To date the flowers, I used some Planner Accessories Stickers from ReCollections that I had in my stash. They were small enough and fit perfectly in the center of each flower. 


 I did not want to fussy cut the bear digi stamps, so I decided that I was going to use the stitched/scalloped square die which is part of the Treat Bag Die Set which was just released this month. As an extra touch, I used the butterfly die from the Window Pane Die Set to cut out two butterflies and adhered them onto the corner of each bear digital stamp. I then added a small amount of Nuvo Crystal Drops to the center of each butterfly to give them some interest. I used the Plan It Out Stamp Set to fill in a few important reminders and things that I know I need to do. 

I hope that you enjoyed today's Daily Post and will visit again tomorrow for another amazing project and inspiration from our fabulously talented Design Team.

Below is a complete list of all the CDD Products I have used to created this planner layout:


Newer Posts Older Posts Home