Hi there friends!! This is Nancy from the design team. Today we are talking about die cutting techniques.
In all honesty, I am fairly new to die cutting. Way back in the day when I was an avid scrapbooker and cardmaker, die cut machines were only located in public schools and larger scrapbook/stamping stores. The dies were wood-mounted and heavy!! Later, Sizzix came out with their first personal die cutting machine. This was much smaller and lighter weight. However, the dies were still very thick but now mounted to plastic.
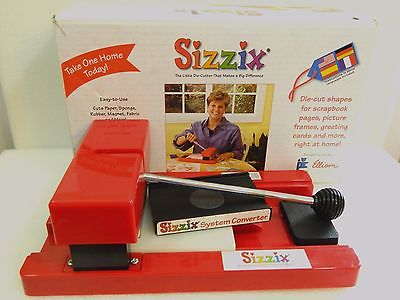
This was the first die cut machine I ever used.
The first personal die cut machine from Sizzix.
Fast forward many years (more than I will admit), and it seems like everyone has their own die cut machine and every company has dies. Today's wafer thin dies are purely amazing. Even though they are light weight, they still pack a big punch and can die cut all the same materials that those monster machines did. They are relatively inexpensive and easy to store. A crafter's dream!!!
Now, as I am primarily a "pretty planner", this trend of die cutting was still pretty foreign to me. In my mind, die cuts are like those from days of old. They are cut from cardstock or watercolor paper, and they are THICK!! As a planner, that is a serious down side for me. So, I had to learn how to make them work in my planner while not creating much bulk.
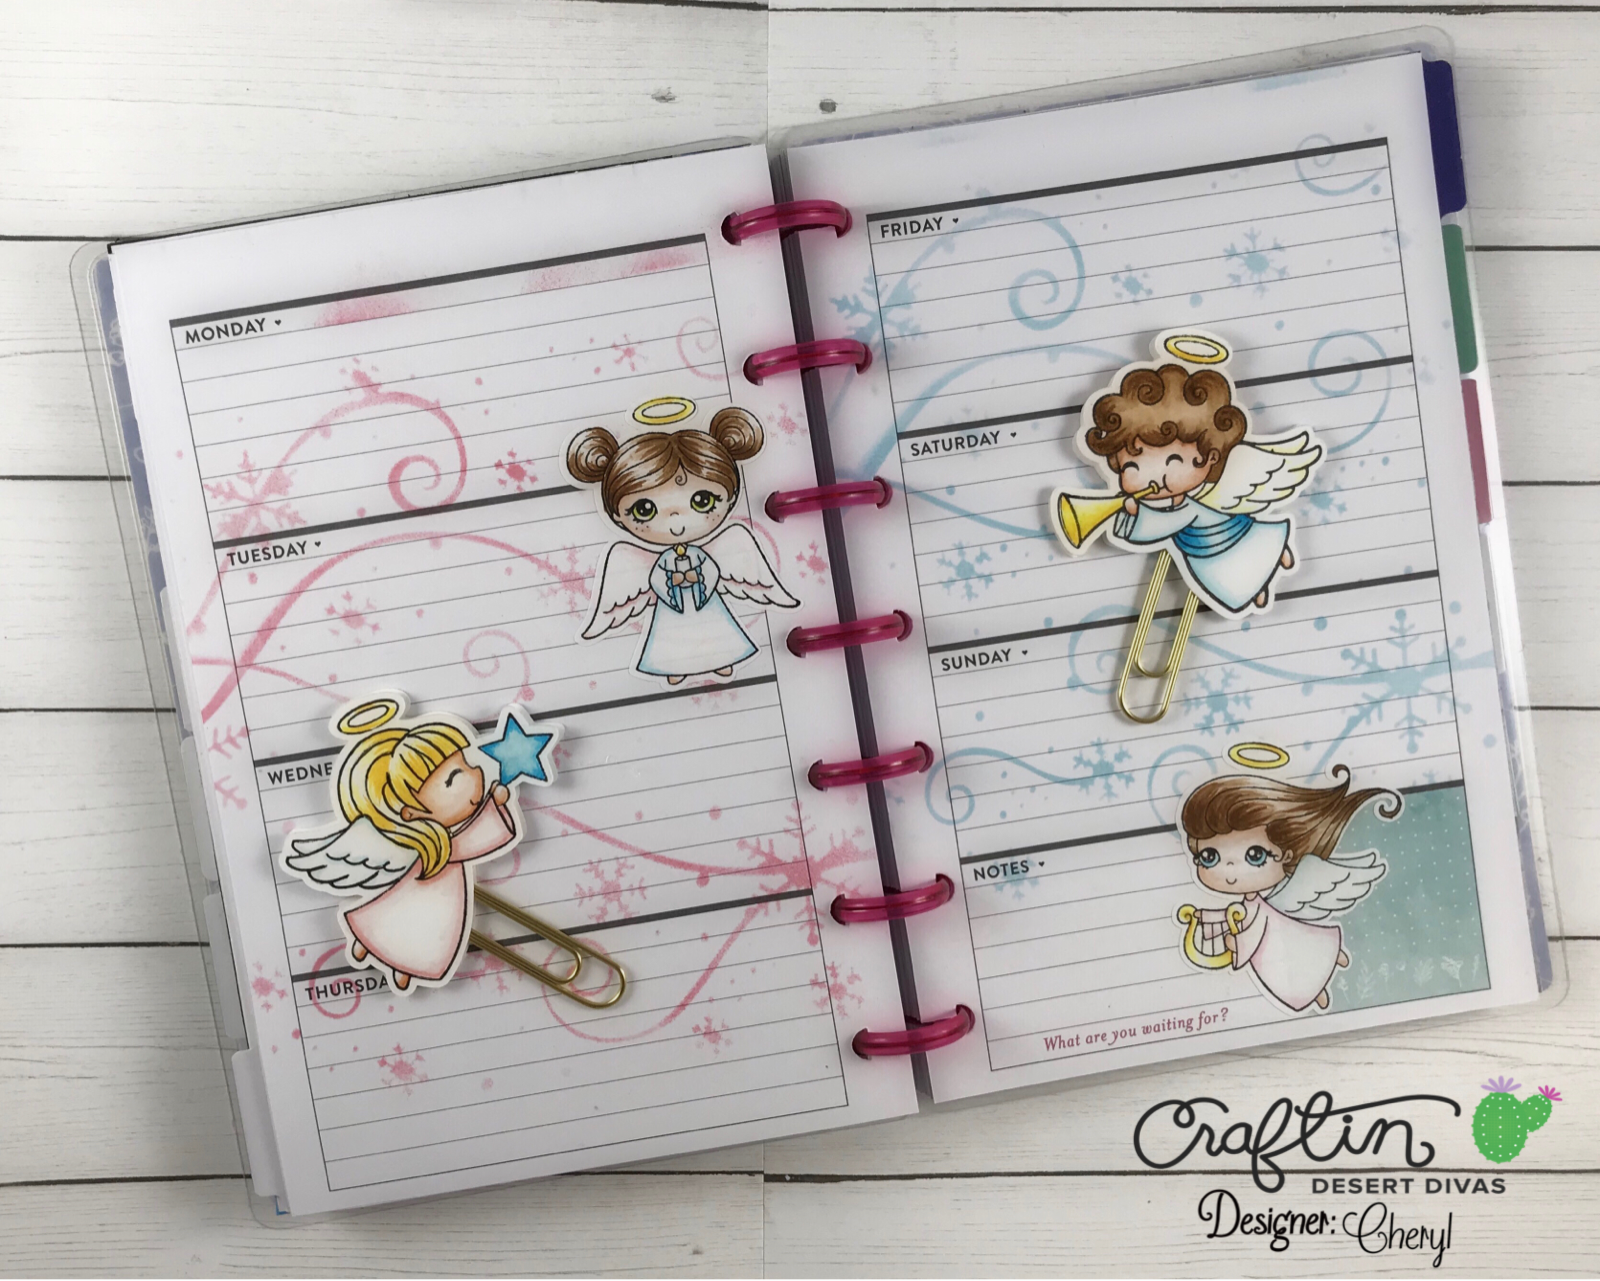
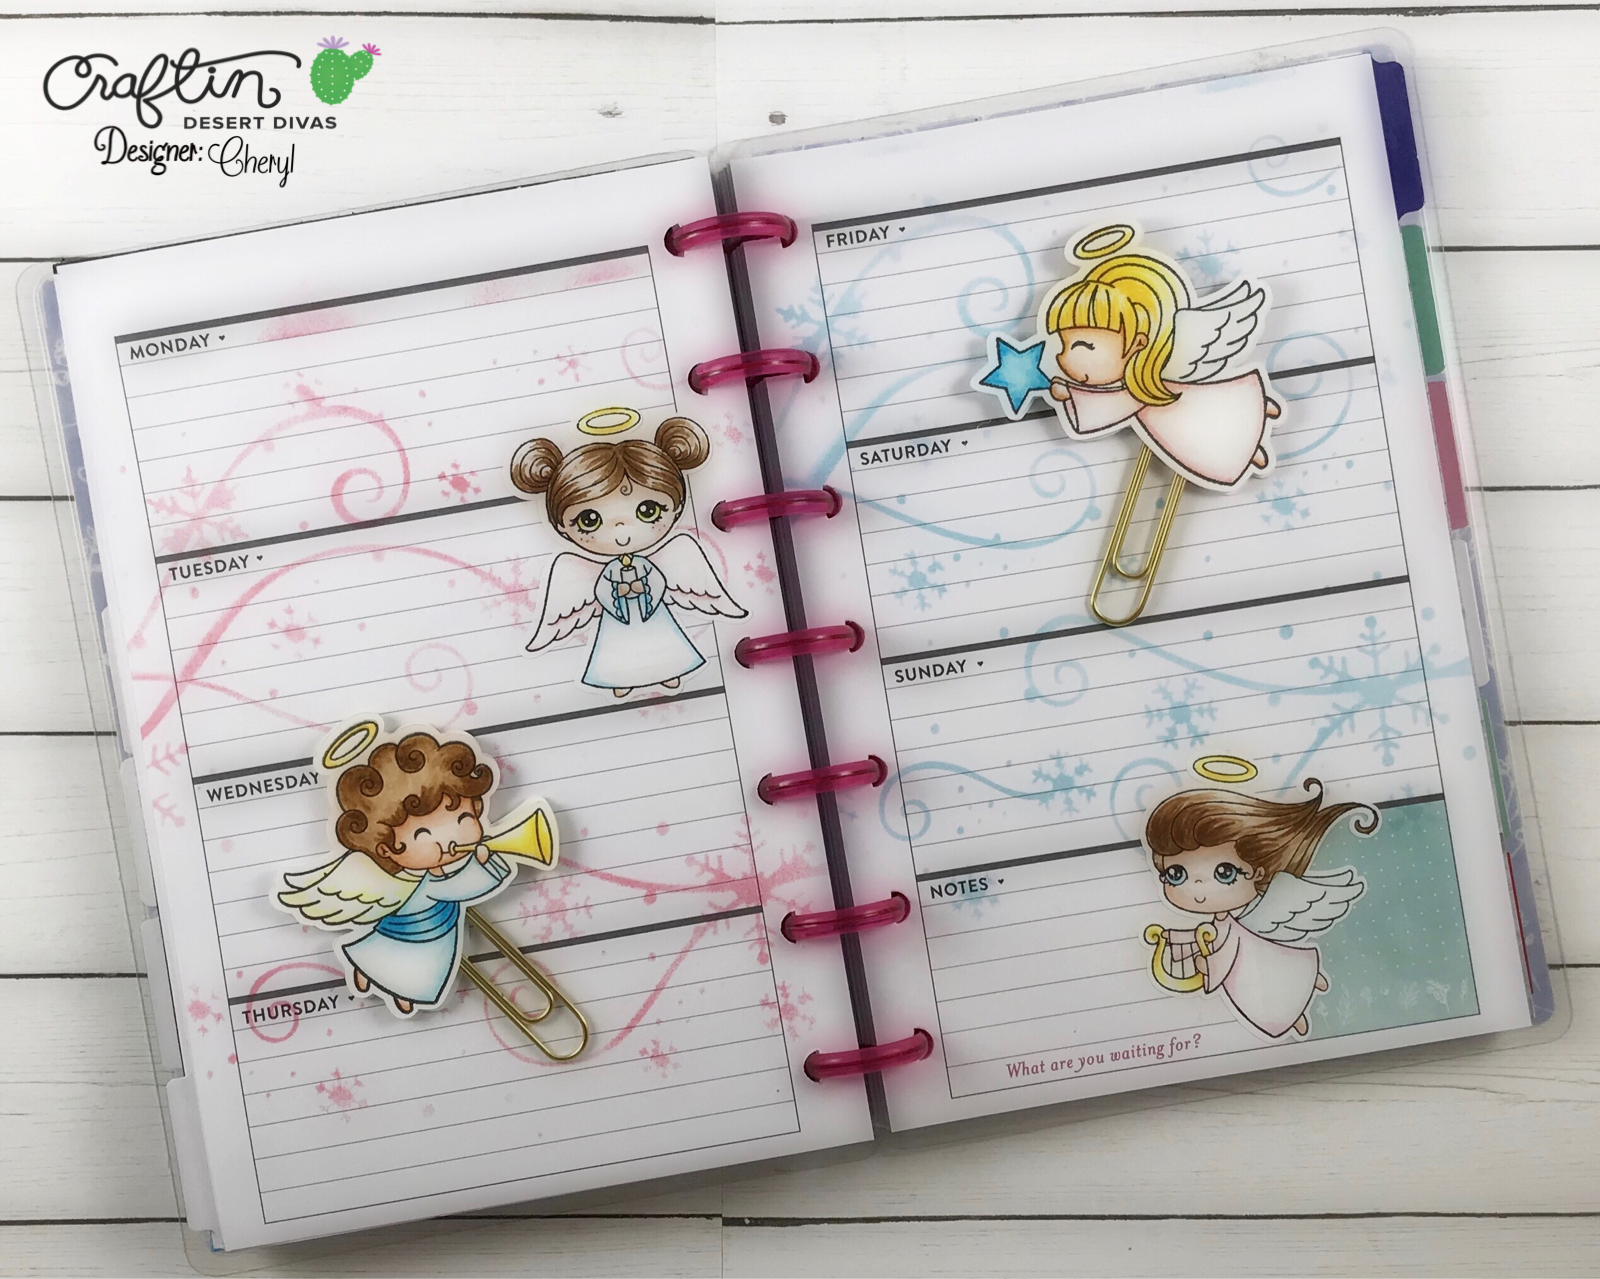
My solution? Sticker paper. Probably my favorite crafting supply, next to stamps and die cuts themselves, they allow me to manipulate my planner pages while keeping things fairly flat. Now sticker paper has it's strengths, but it also has some challenges. Strengths: there are many types of sticker paper just as there are many types of cardstock. I prefer very thin and smooth sticker paper, as I'd rather color images using colored pencils. Also, most sticker paper is removable. At least in the short term. So I don't have to worry about making a placement mistake. Challenges: colors of sticker paper are very limited. White is the standard, kraft color is available but hard to find.
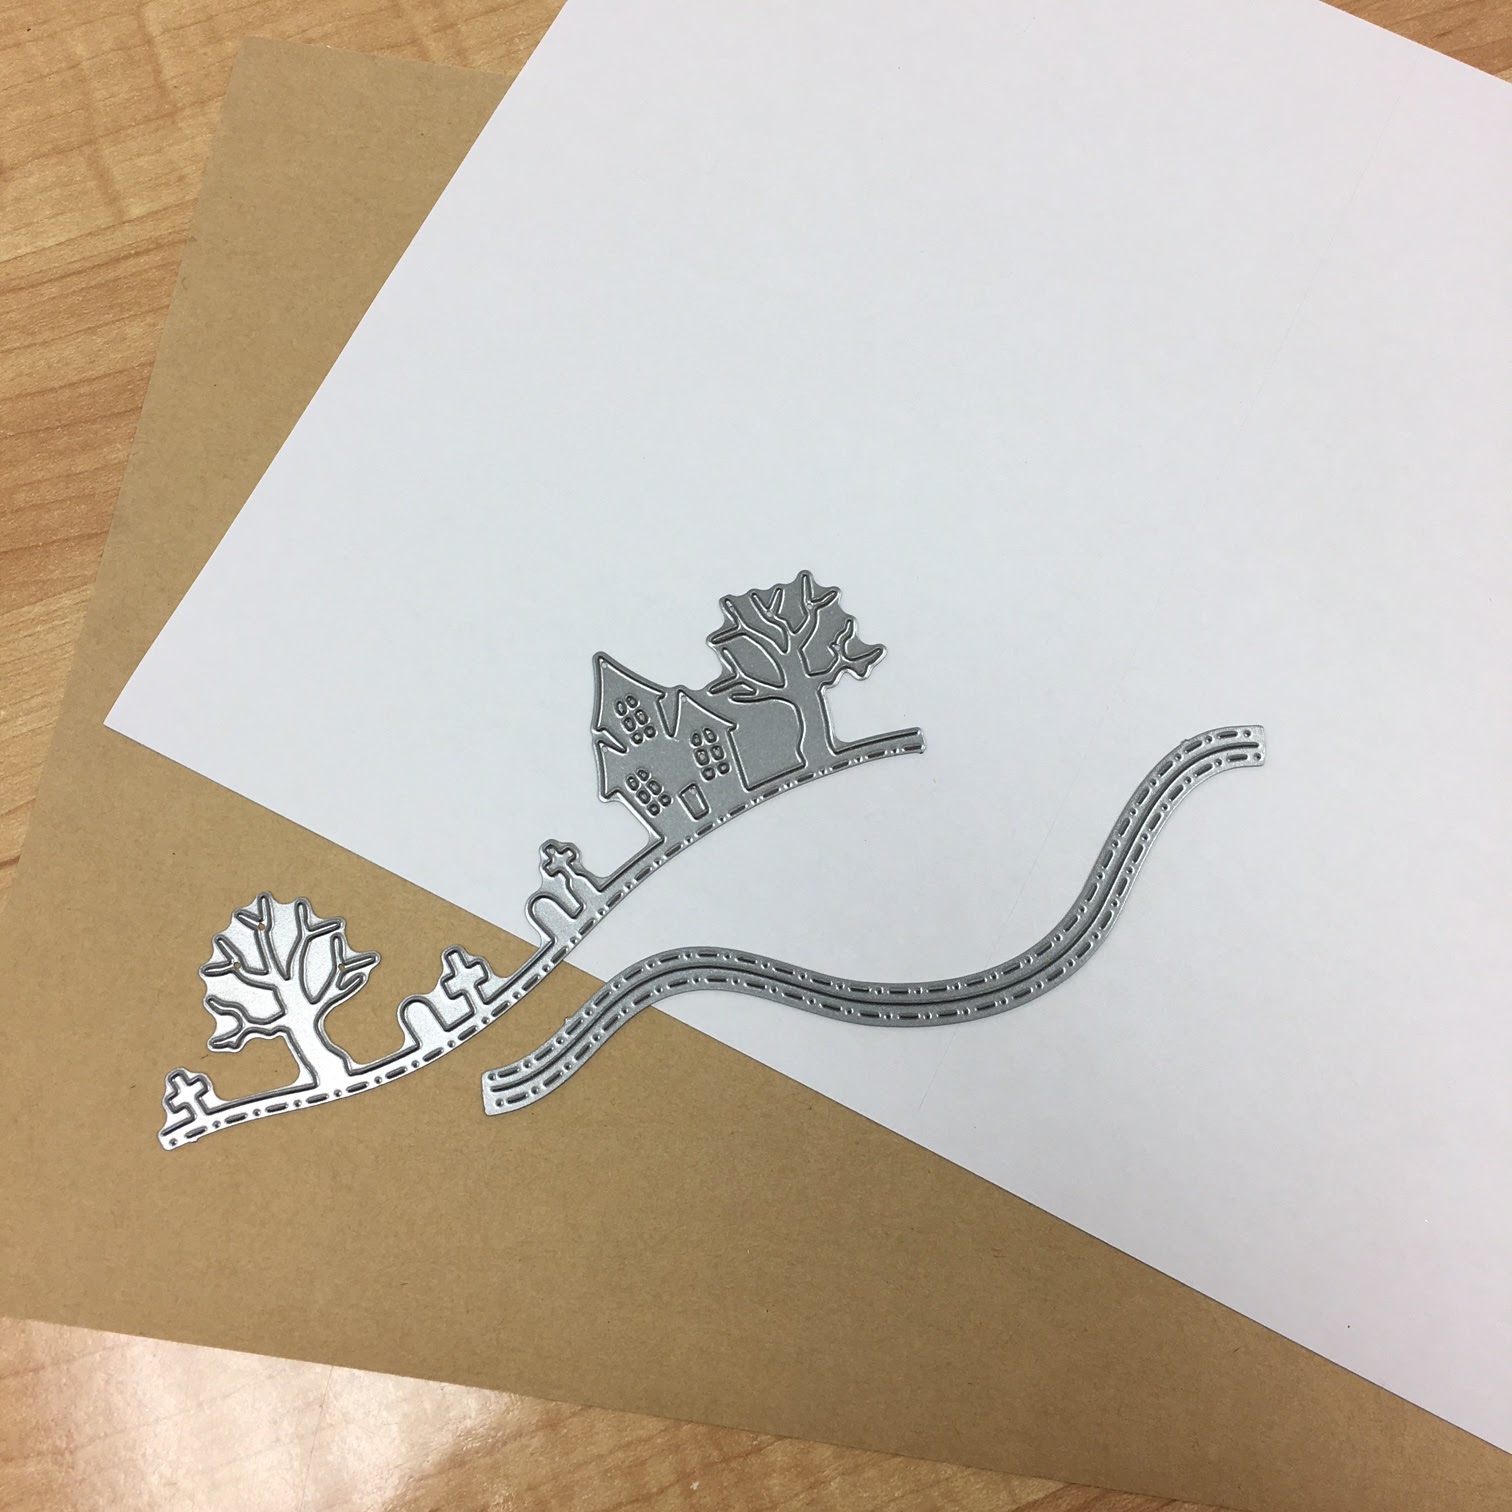
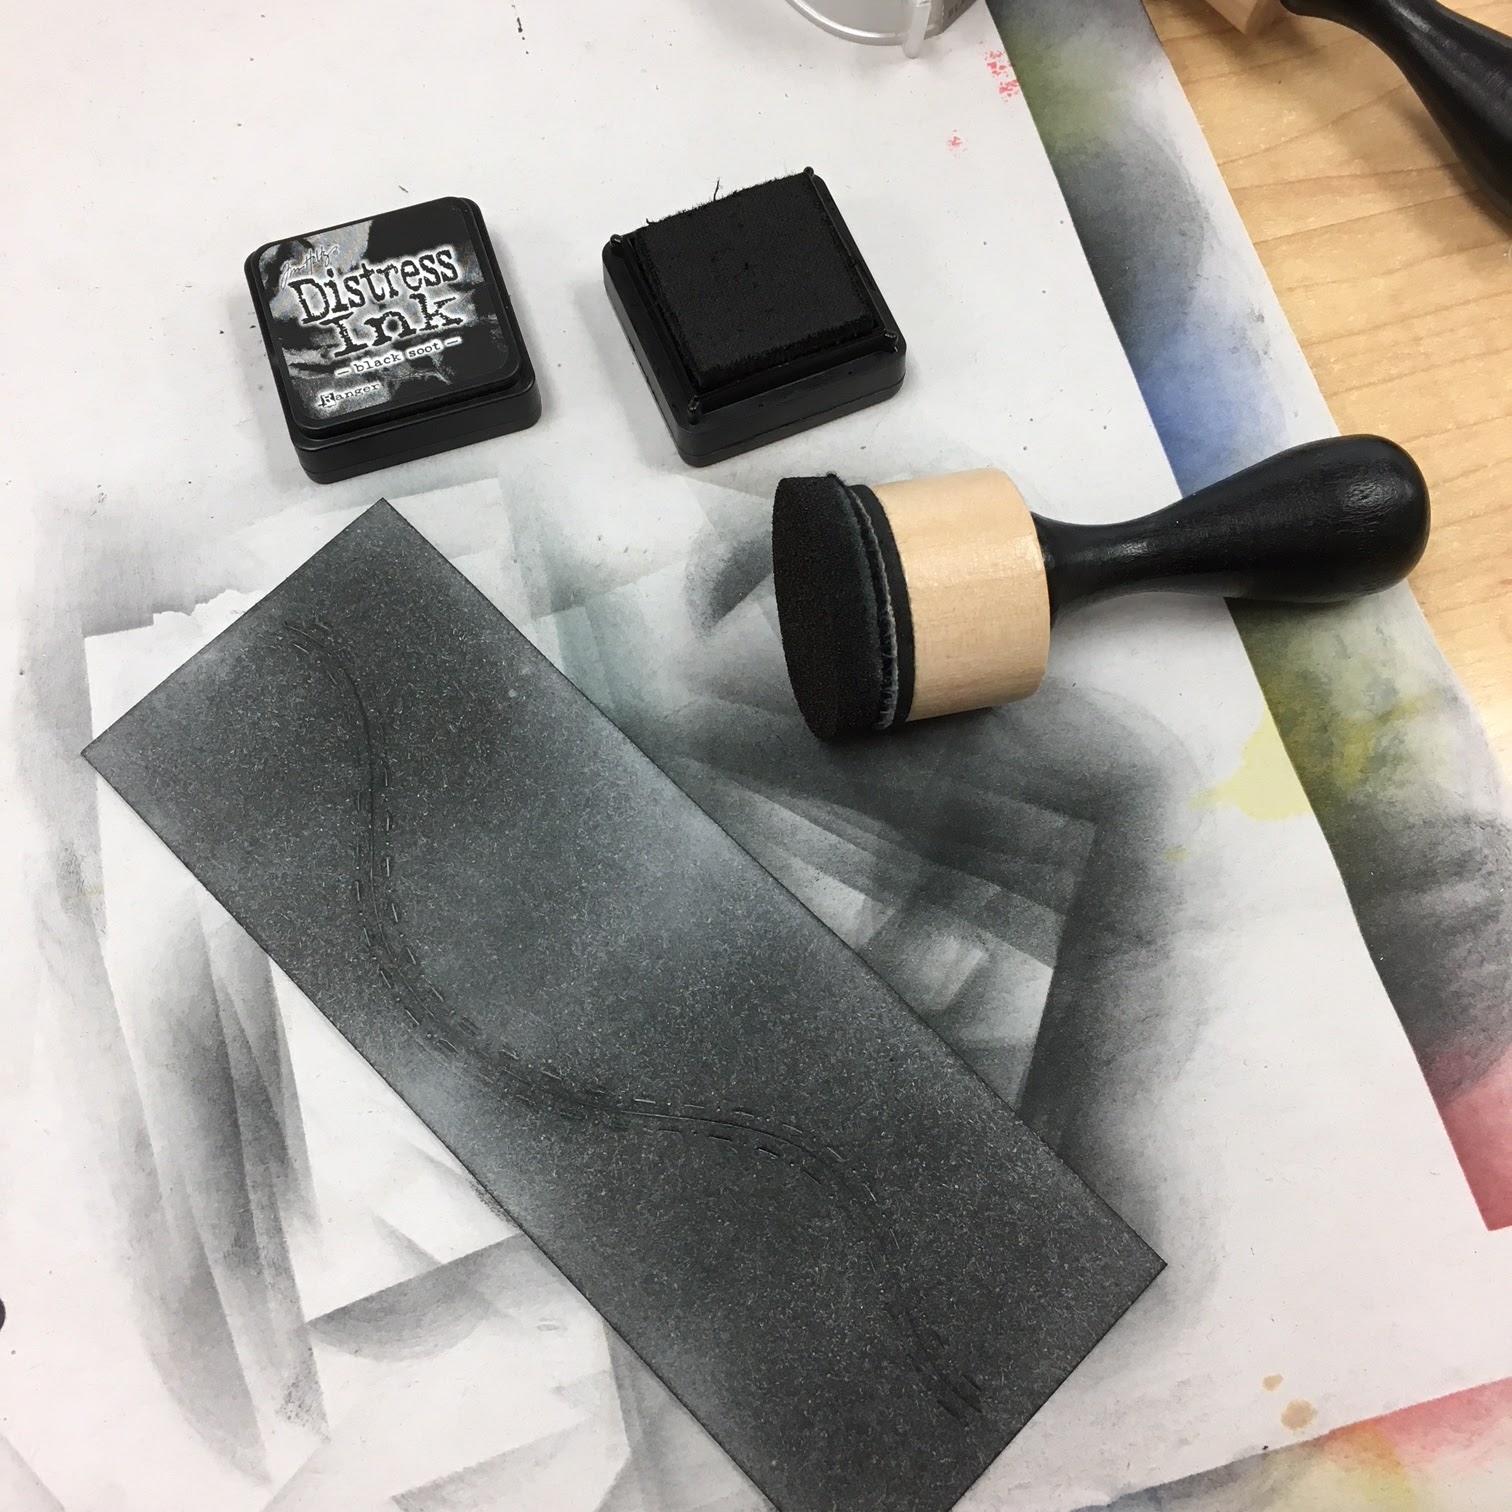
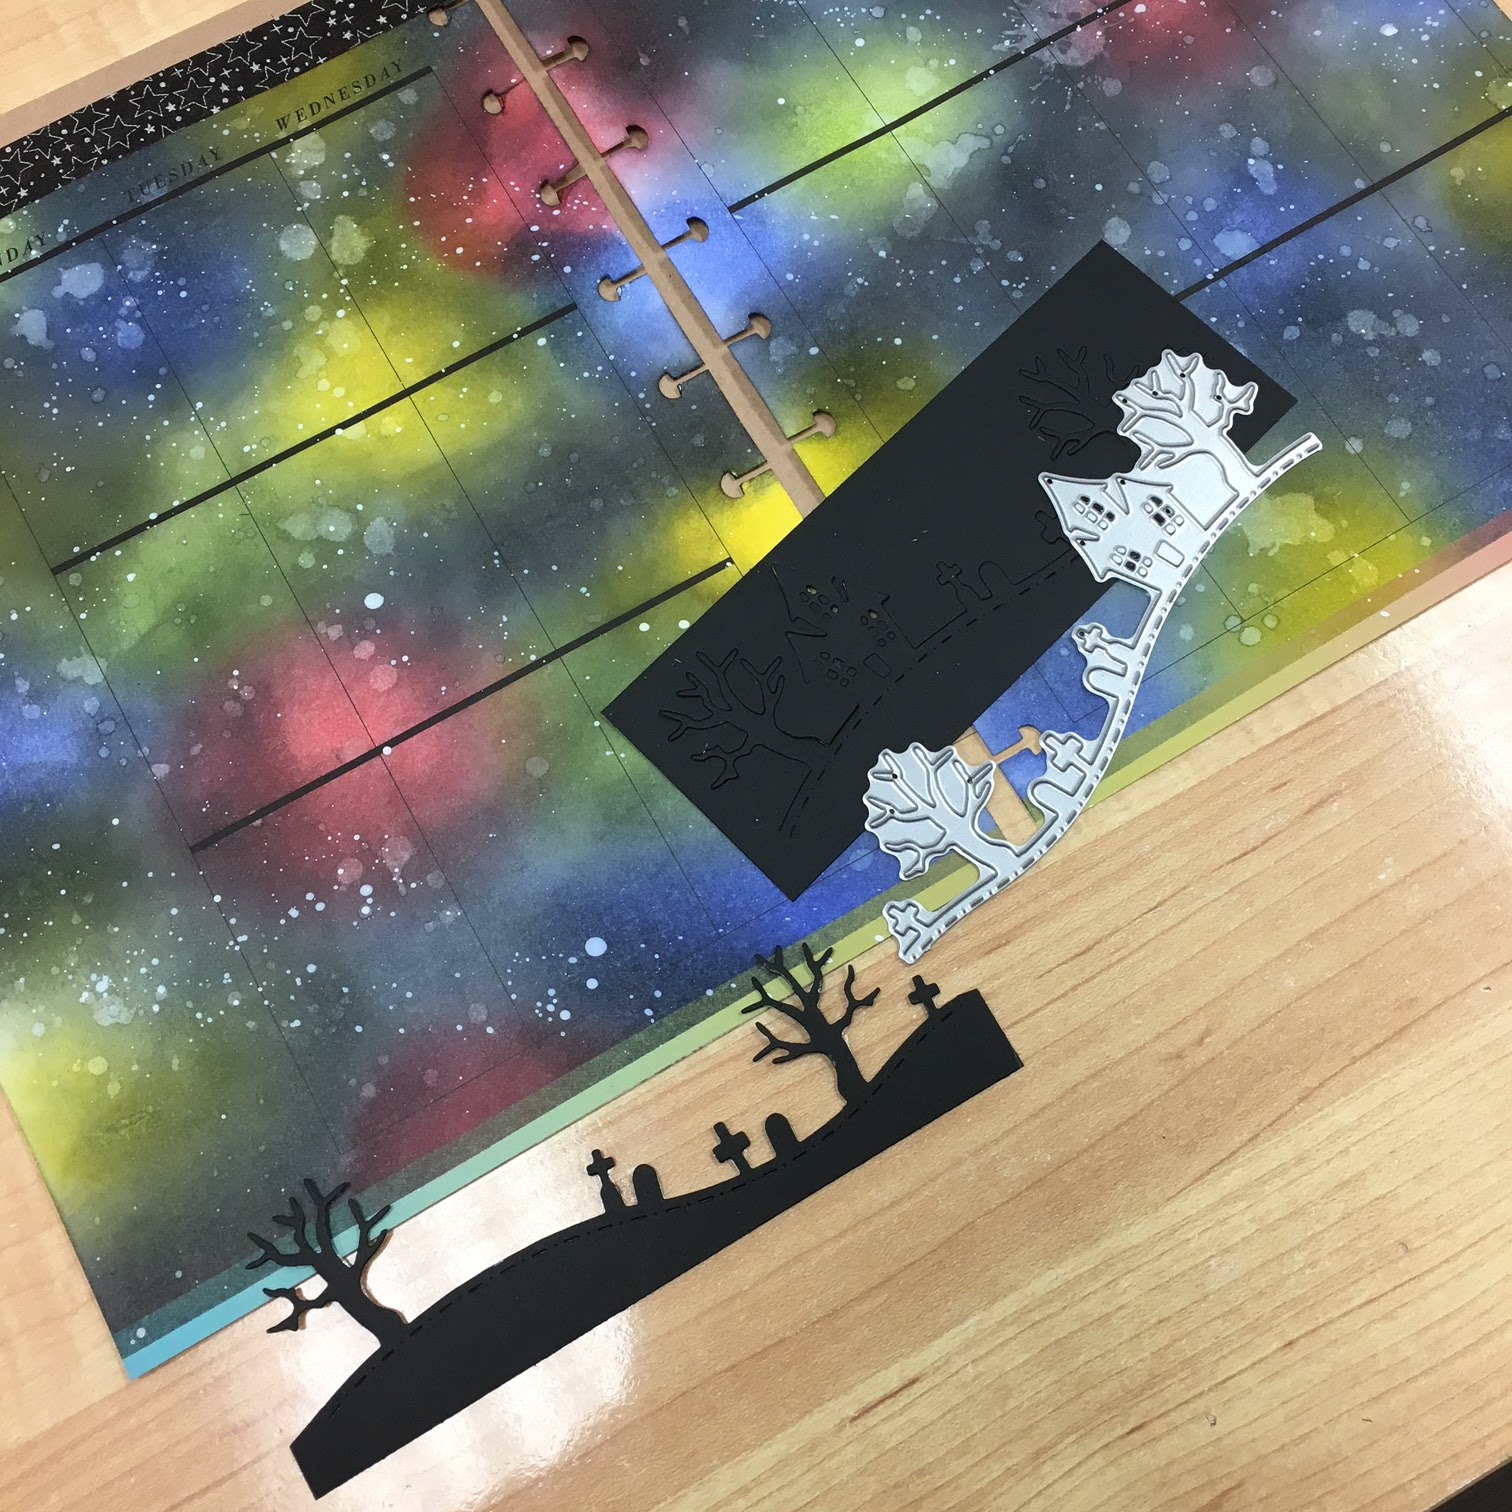
I typically use white sticker paper for all of my stamping and die cutting. Which means I am constantly looking for ways of dressing up my die cuts. The method that I use most often for coloring my die cuts is inking. I typically cut my sticker paper into 2" strips using white sticker paper. Another benefit to this is that if you are using a hill, wave, mountain, etc. you get two die cuts per strip.
I can then easily store any of the die cuts that I don't use at that time, and they are a great size for planner borders. I color my die cuts with a variety of stamping ink, but my favorites are the Distress Inks and Distress Oxide Inks.
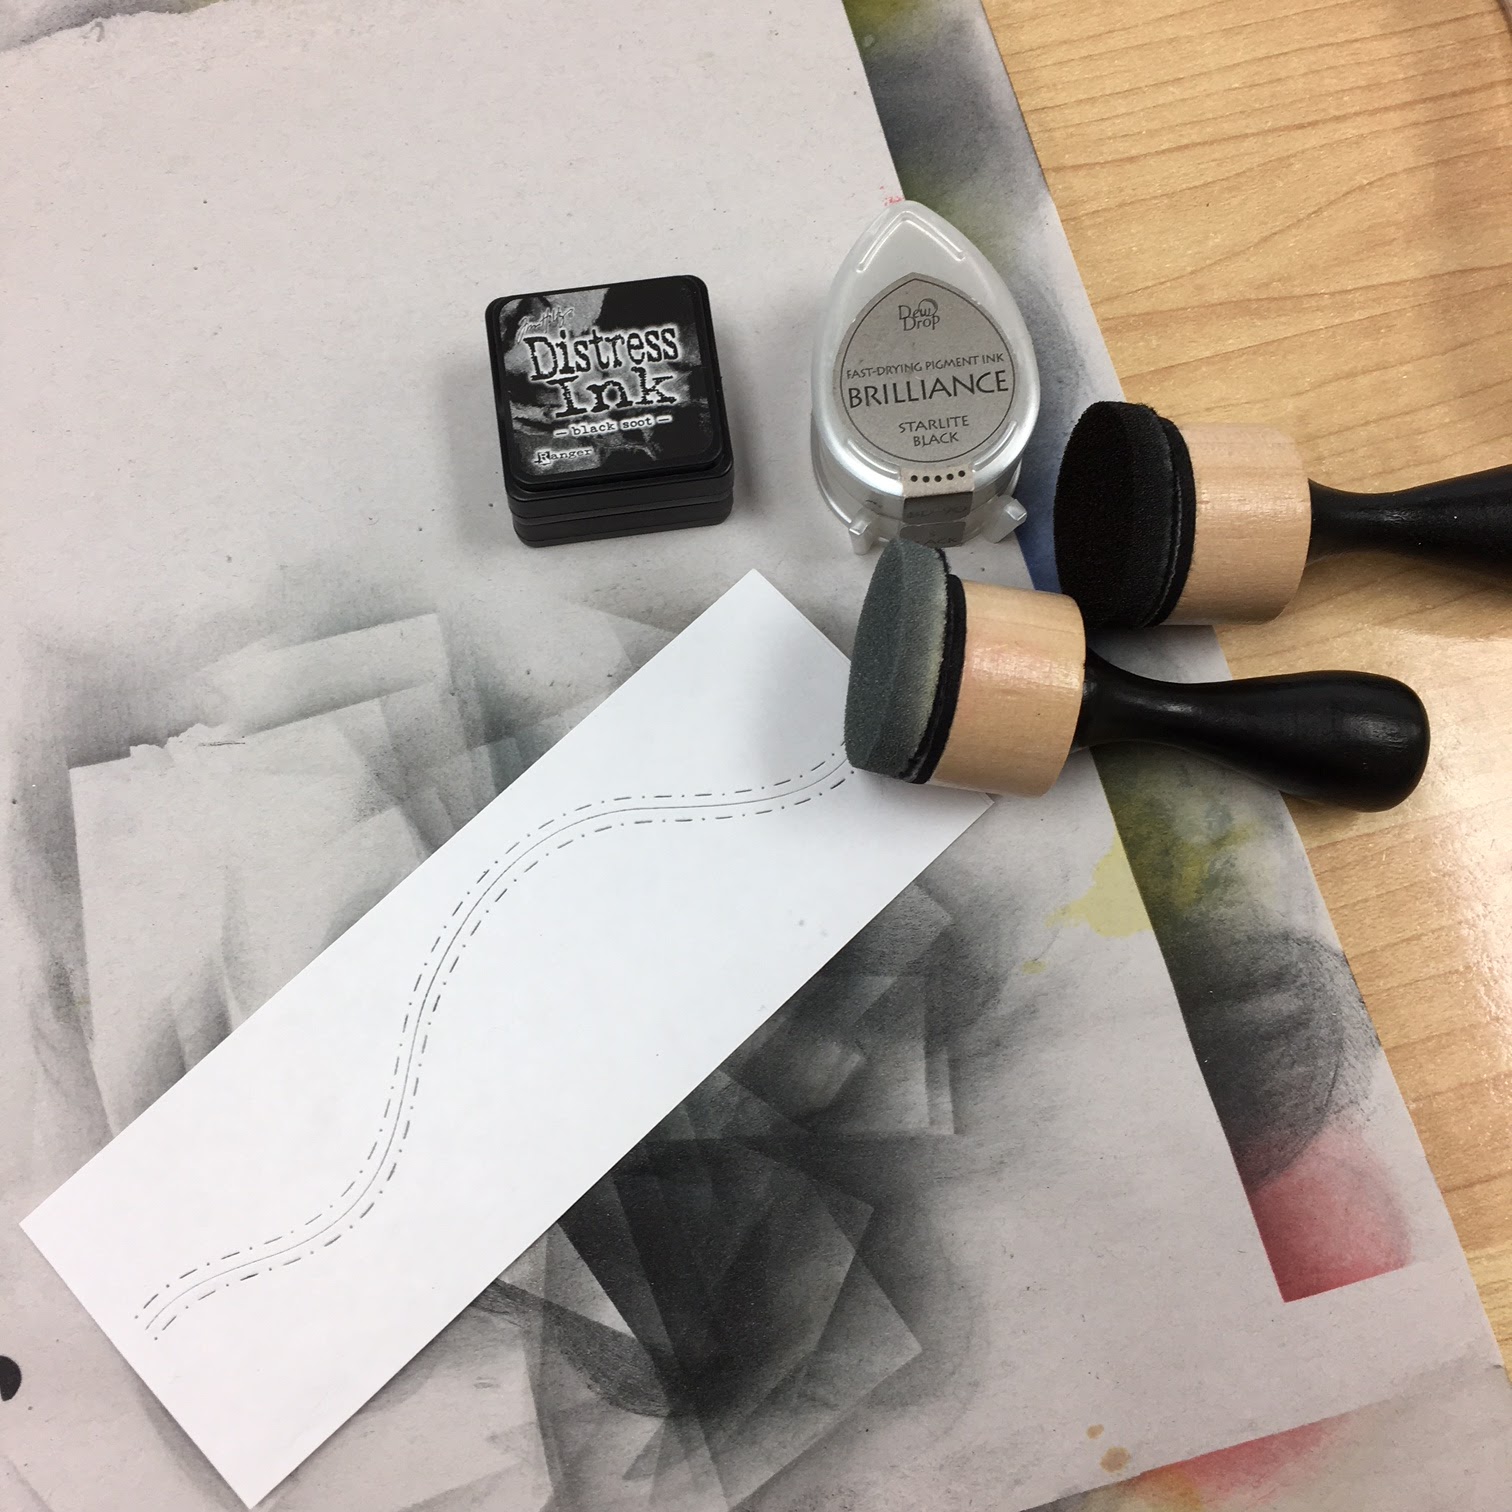
Here I used a combination of Black Soot Distress Ink and Brilliance Starlite Black Pigment Ink. It may take a little extra effort to color your entire piece with ink like I did here because of the quality of the sticker paper. It is super absorbent and sucks the dye ink right up. That is in part why I added the metallic pigment ink. Also the Starlite Black gave a nice shimmer.
A couple variations of the spooky house die before and after inking.
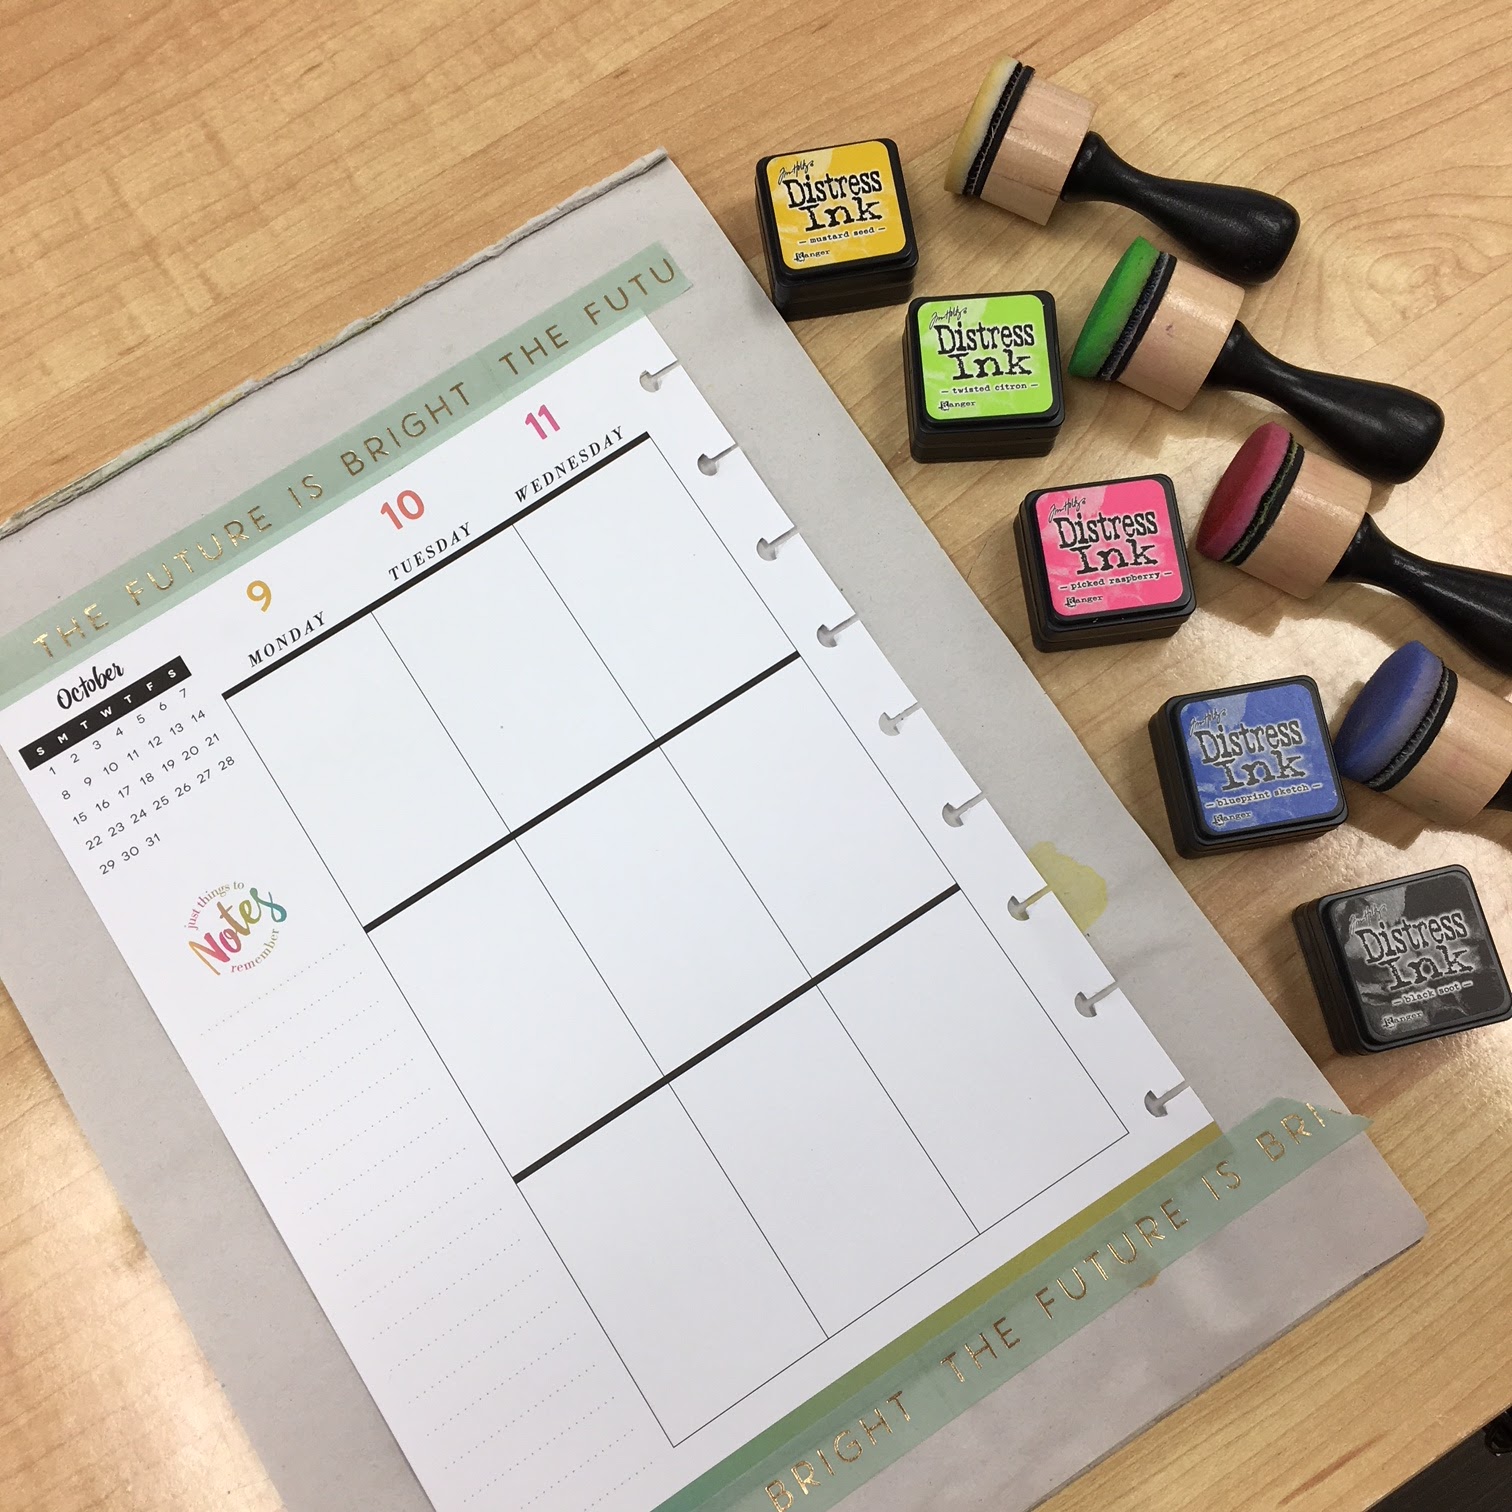
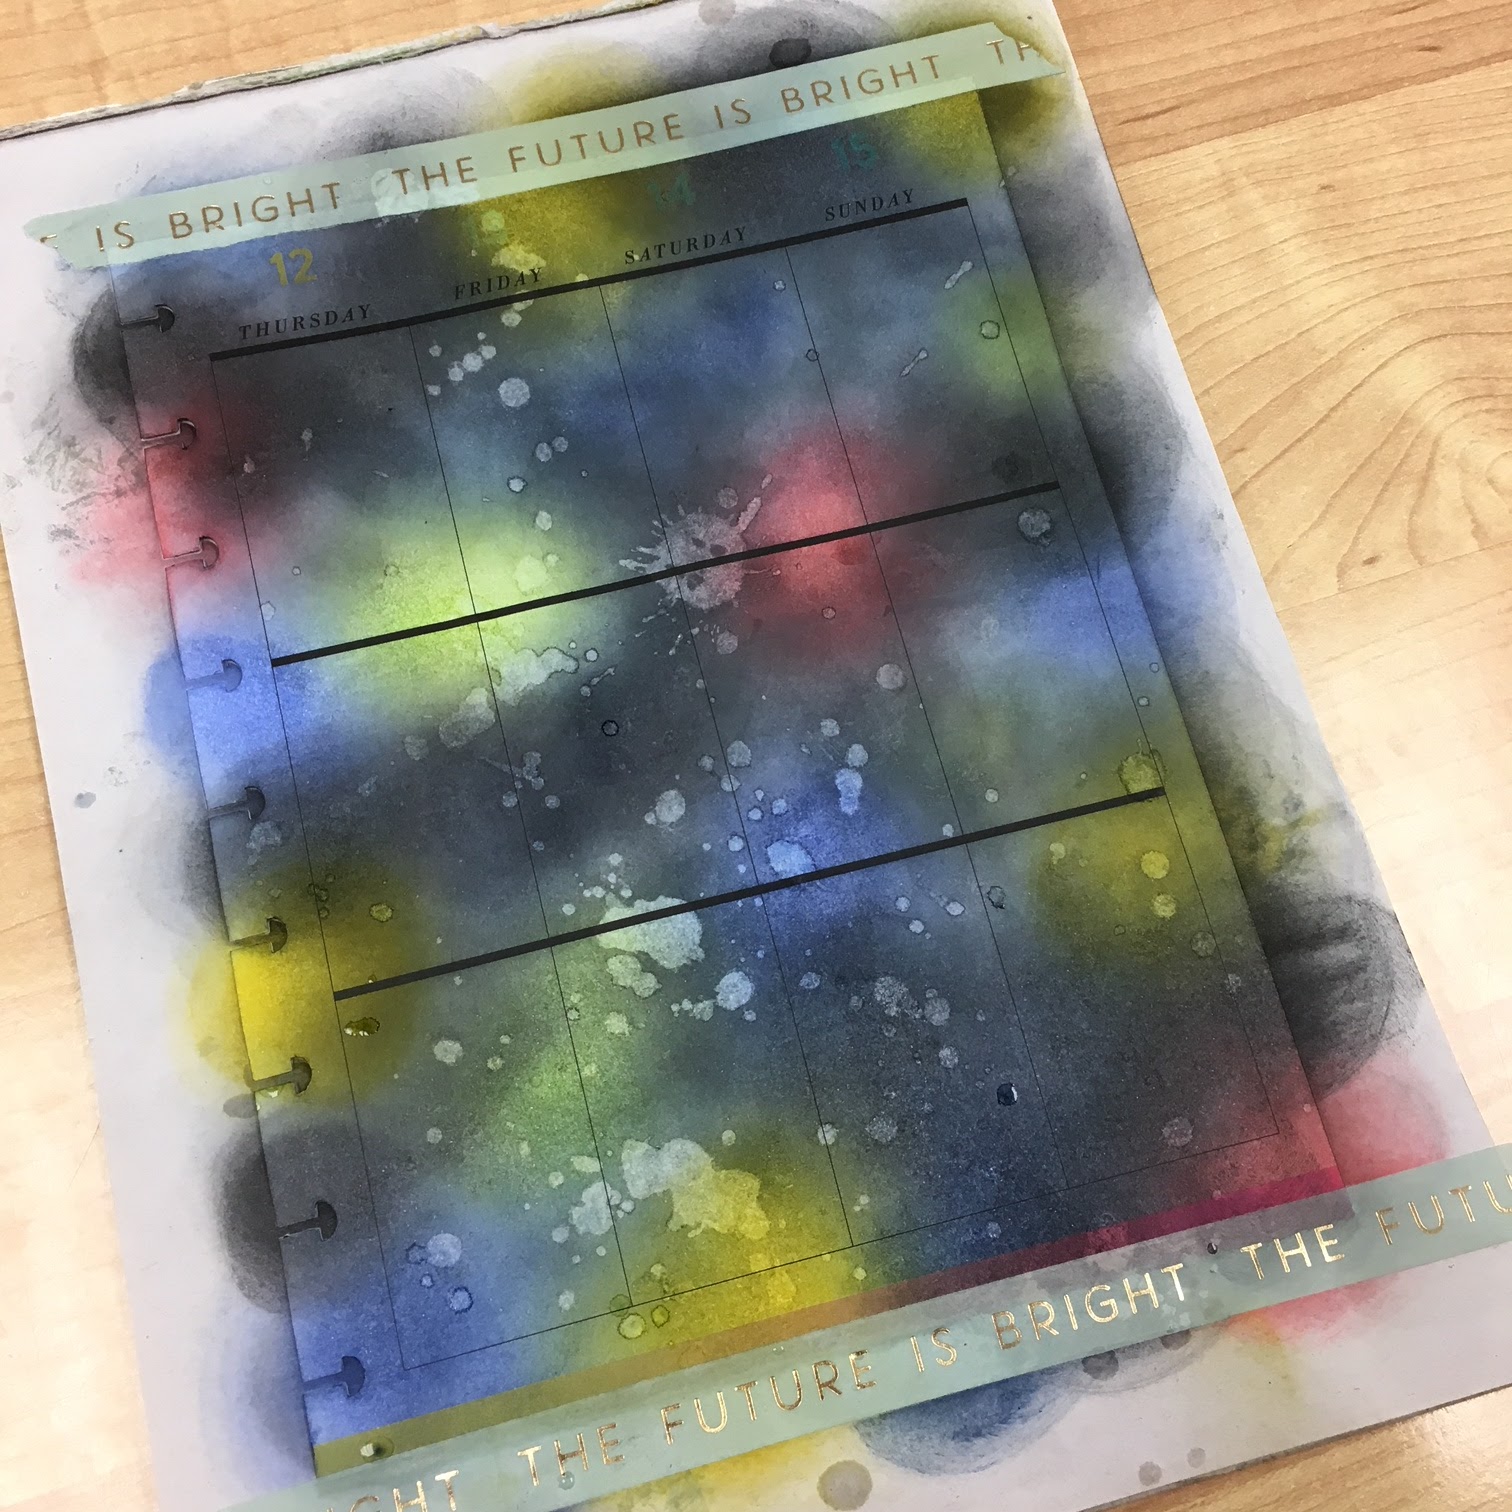
Now on to the rest of the project. I love inking backgrounds! Galaxy backgrounds are my favorite because they come out different every time. For this background, I wanted a galaxy feel but I wanted it to be spookier for the zombies.
I started with a variety of Distress Inks in Mustard Seed, Twisted Citron, Abandoned Coral, Blueprint Sketch, Chipped Sapphire, and Black Soot. Picked Raspberry is pictured in the above photo, but unfortunately I put the wrong lid on the ink and the color was actually Abandoned Coral.
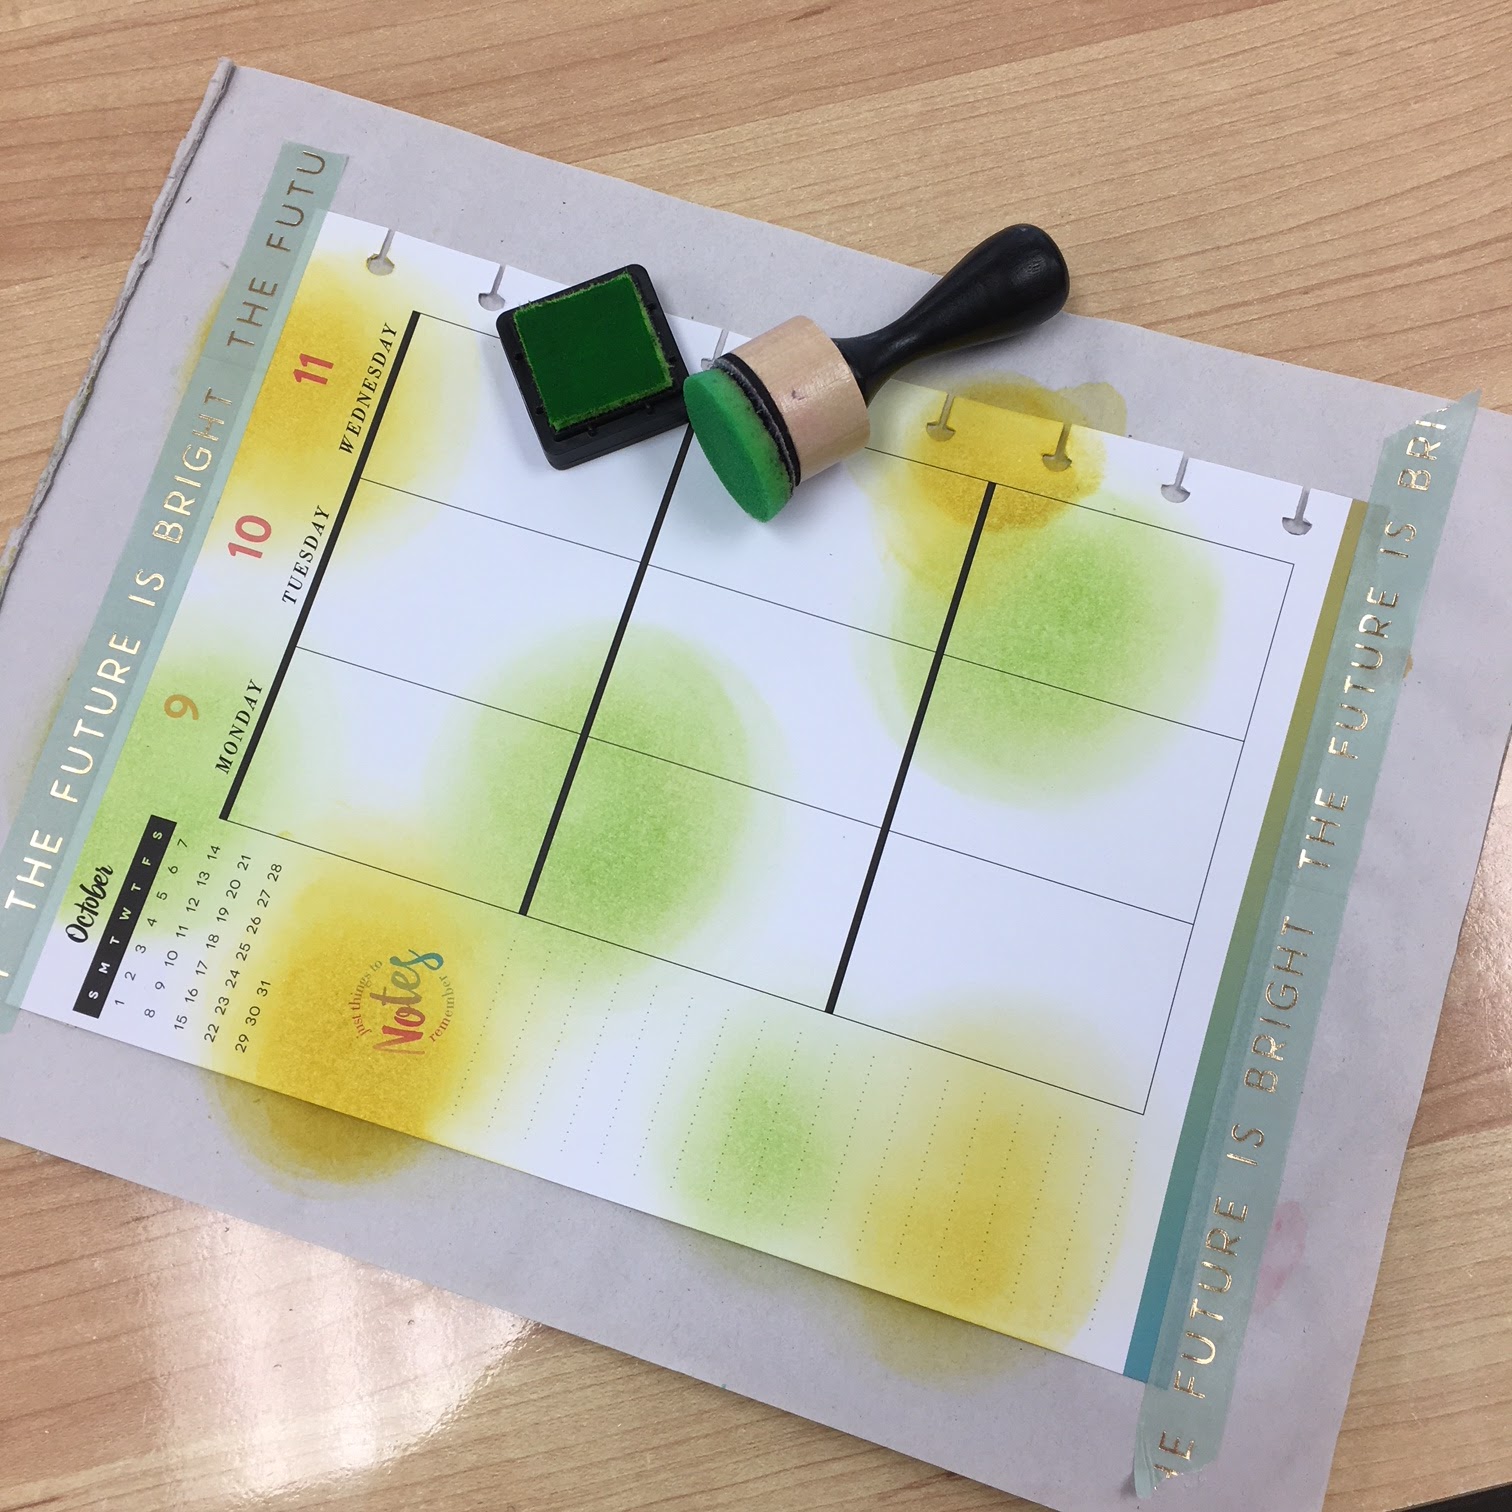
For every galaxy background, you begin by layering colors. I typically start with the lightest and work toward the darkest. Starting with Mustard Seed.
Next adding Twisted Citron in random areas.
Moving on to Abandoned Coral. The first spot of ink added is the ONLY time I have ever had bleed through with Distress Inks in my planner. The bleed through is limited to that tiny spot where the page attaches to the discs.
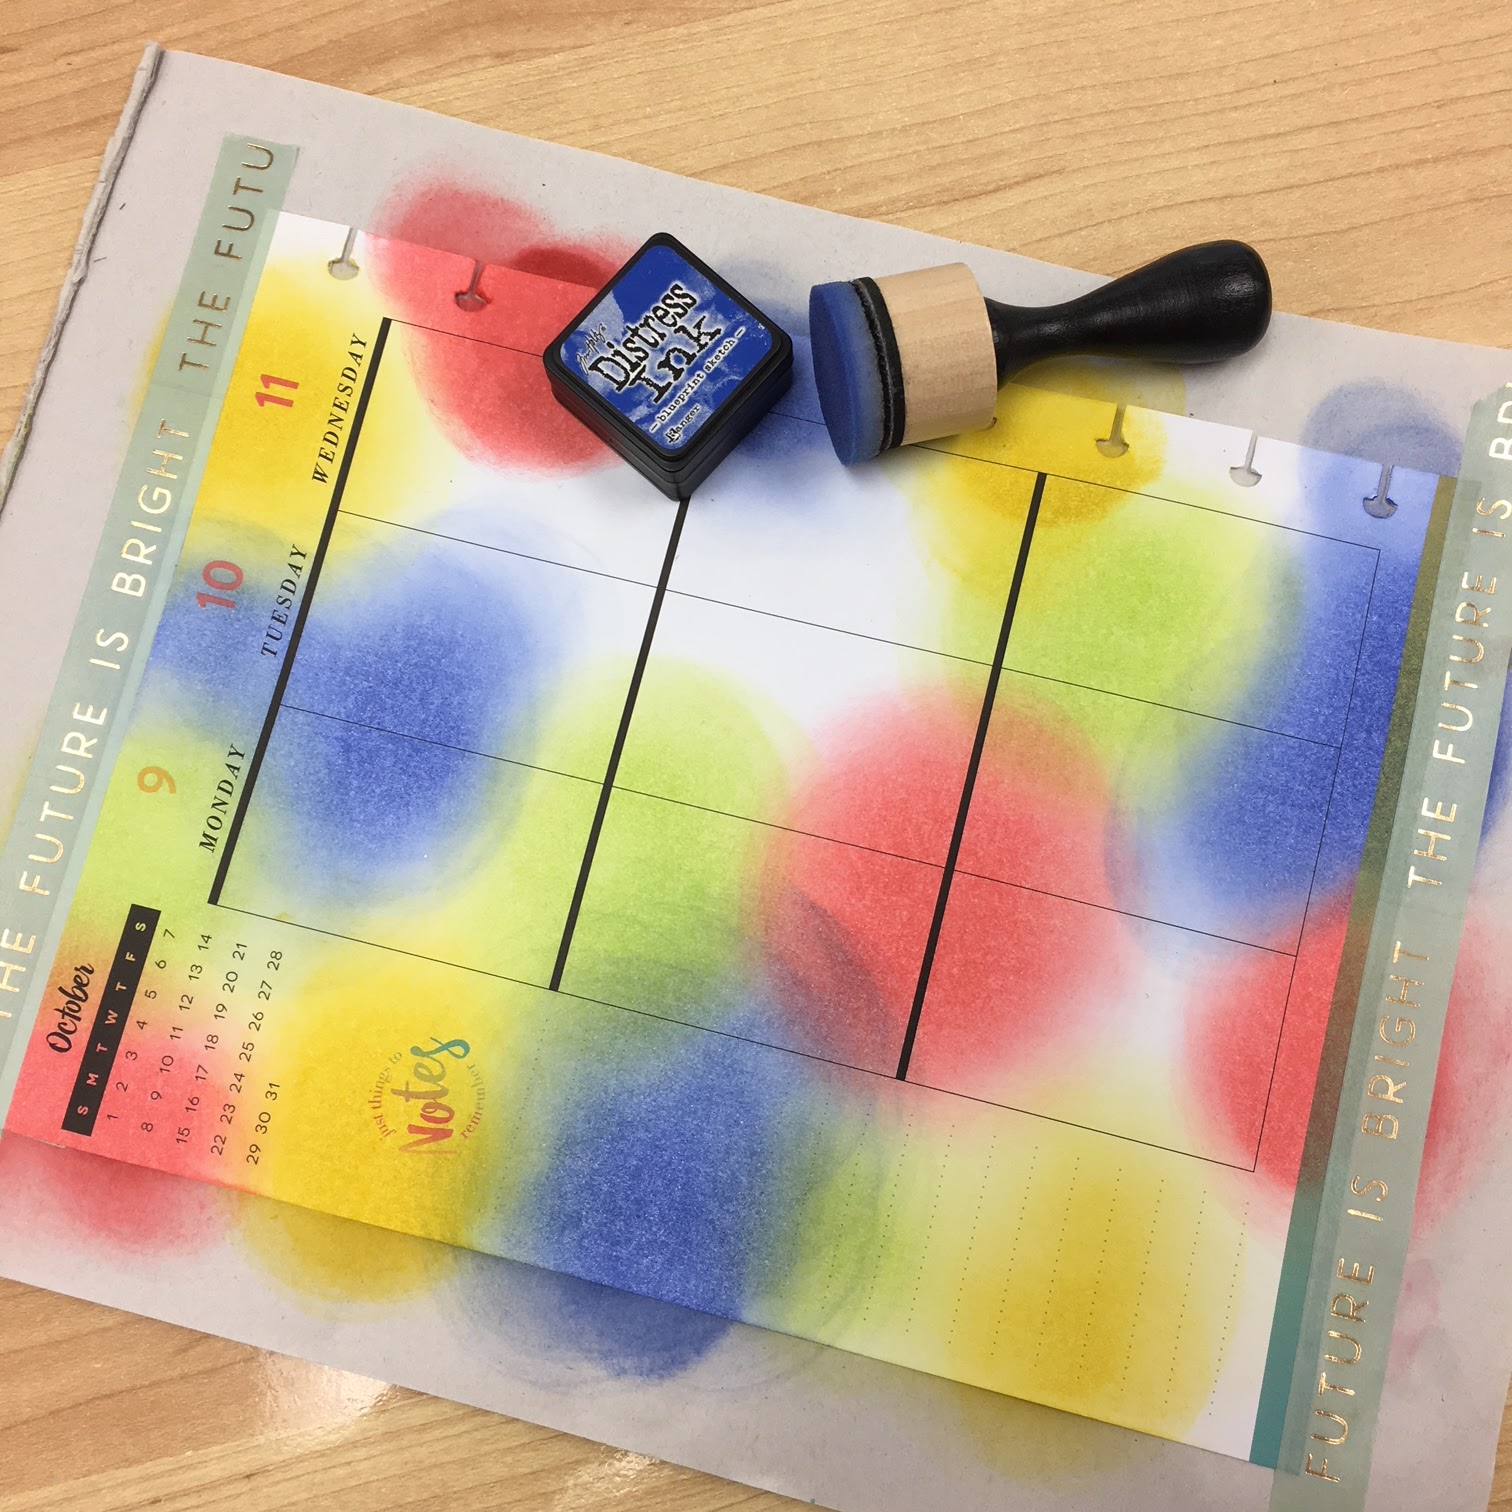
Moving on to Blueprint Sketch and Chipped Sapphire.
Finally adding Black Soot to tie the spooky galaxy together.
I finished the pages by splattering water and immediately blotting it up with a paper towel to avoid bleed through and warping. Then I mixed some white acrylic paint with water and splattered that on top.
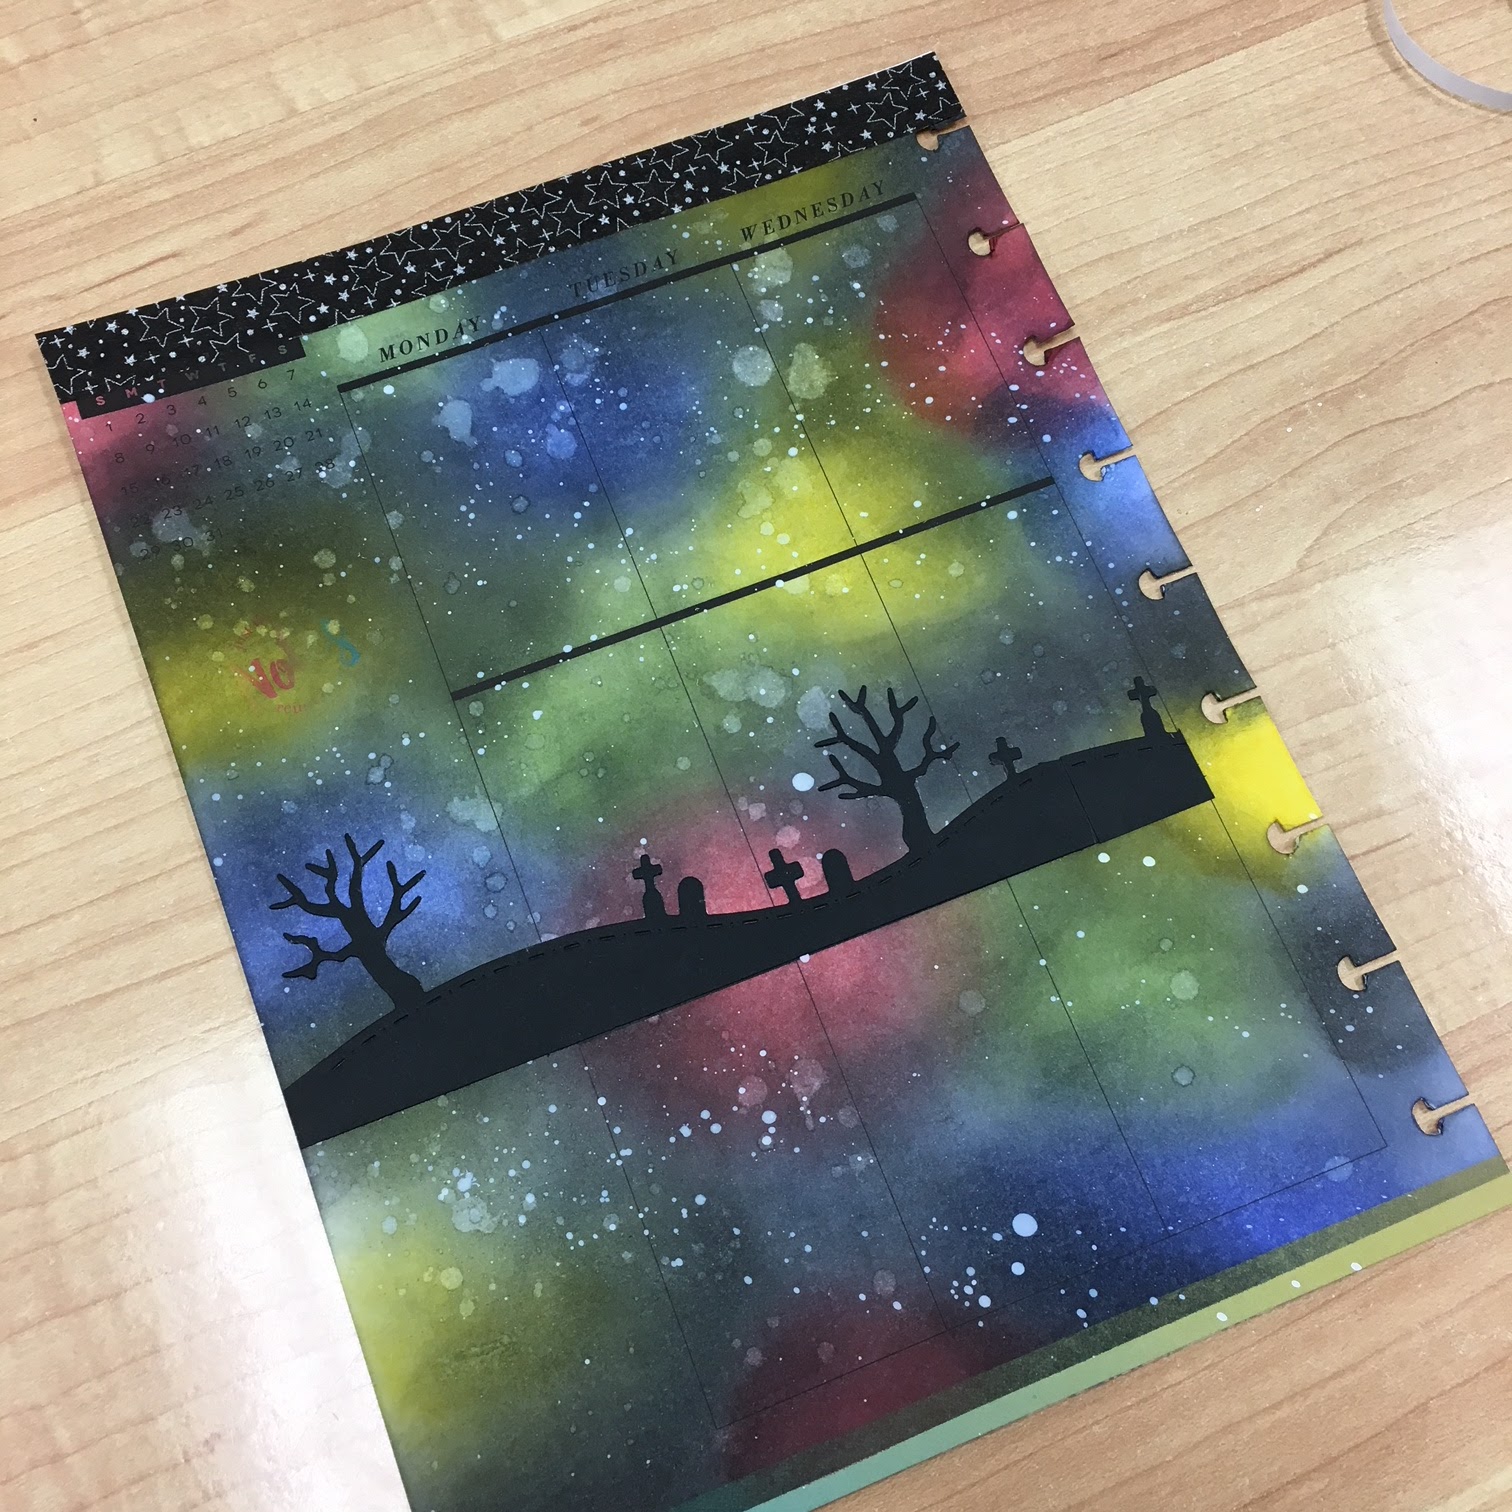
Finally, it is time to assemble the pages. I cut 2 of the spooky house scenes from the Harvest Border Dies out of black card stock. I cut the house off the 2nd strip so that the spooky house would look like it was all alone in this field of rising zombies.
I adhered the strips to the middle of my pages so I could build the zombie field in the foreground.
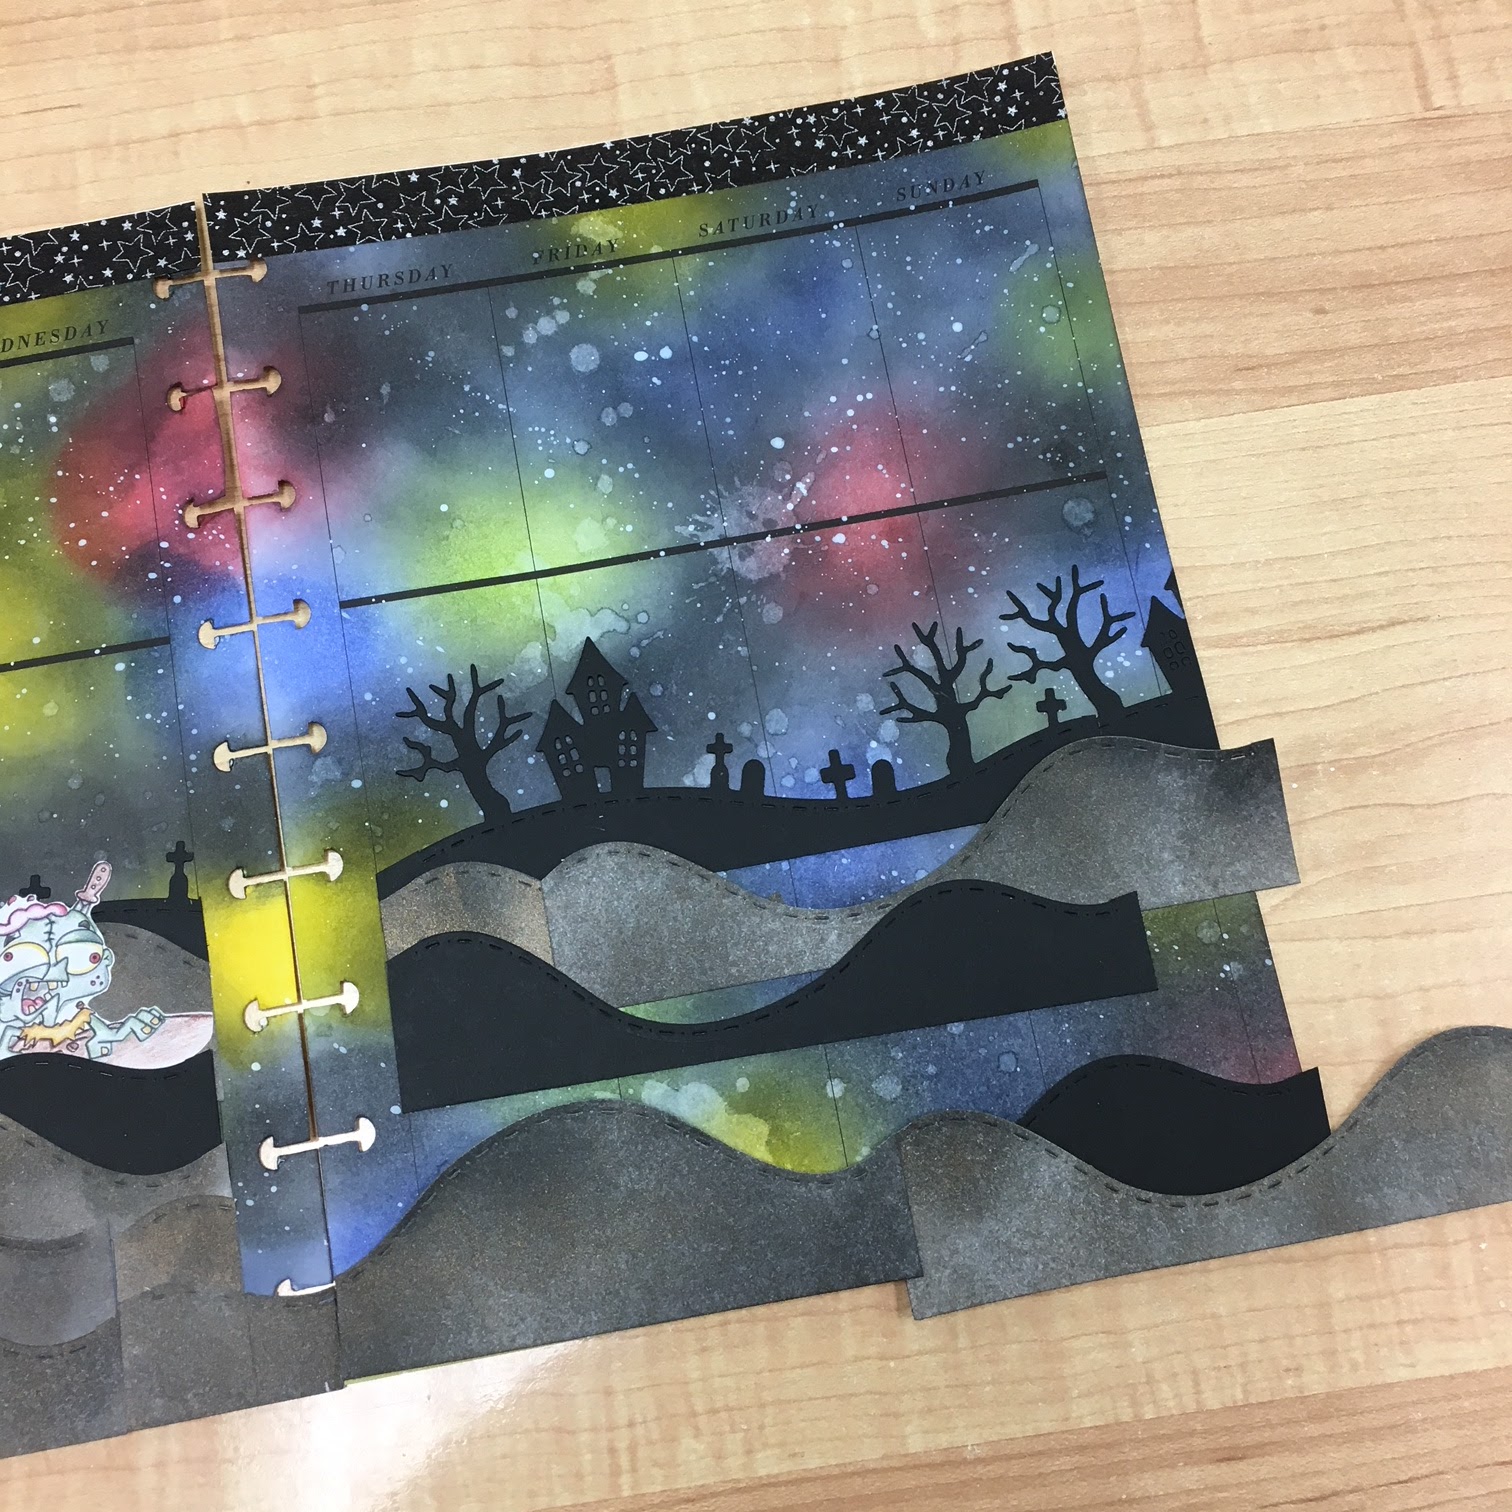
Then, I began layering my inked hill strips along the bottom until I came up with a landscape that I liked. I added a couple of hills cut from black cardstock to give interest.
And finally, I added the zombies! I love the idea that the zombie apocalypse is just beginning and the zombies are starting to rise. They are being watched by a senior zombie who looks pretty hungry!
I hope you enjoyed this project as much as I did!! Have a Happy Halloween (if you celebrate), and I will be back with you soon. As always feel free to reach out with questions or comments here, on the CDD gallery page on Facebook or on my Instagram:
Supplies Used:


