Thursday, November 30, 2017

Masking Technique with DT EK


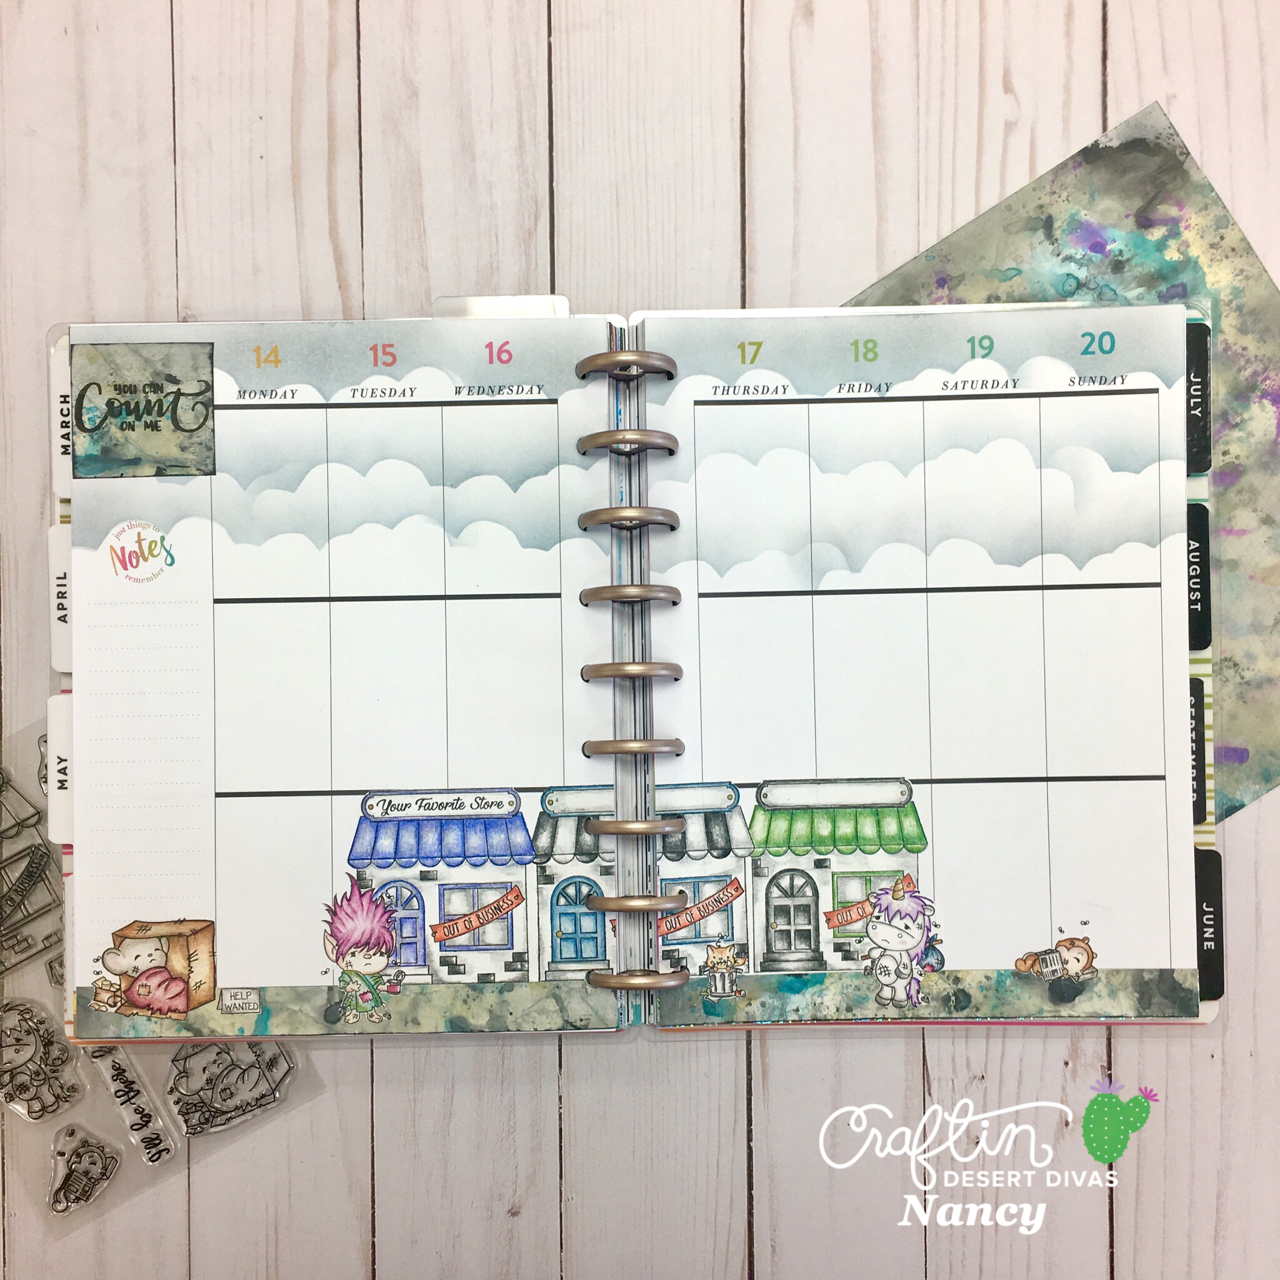
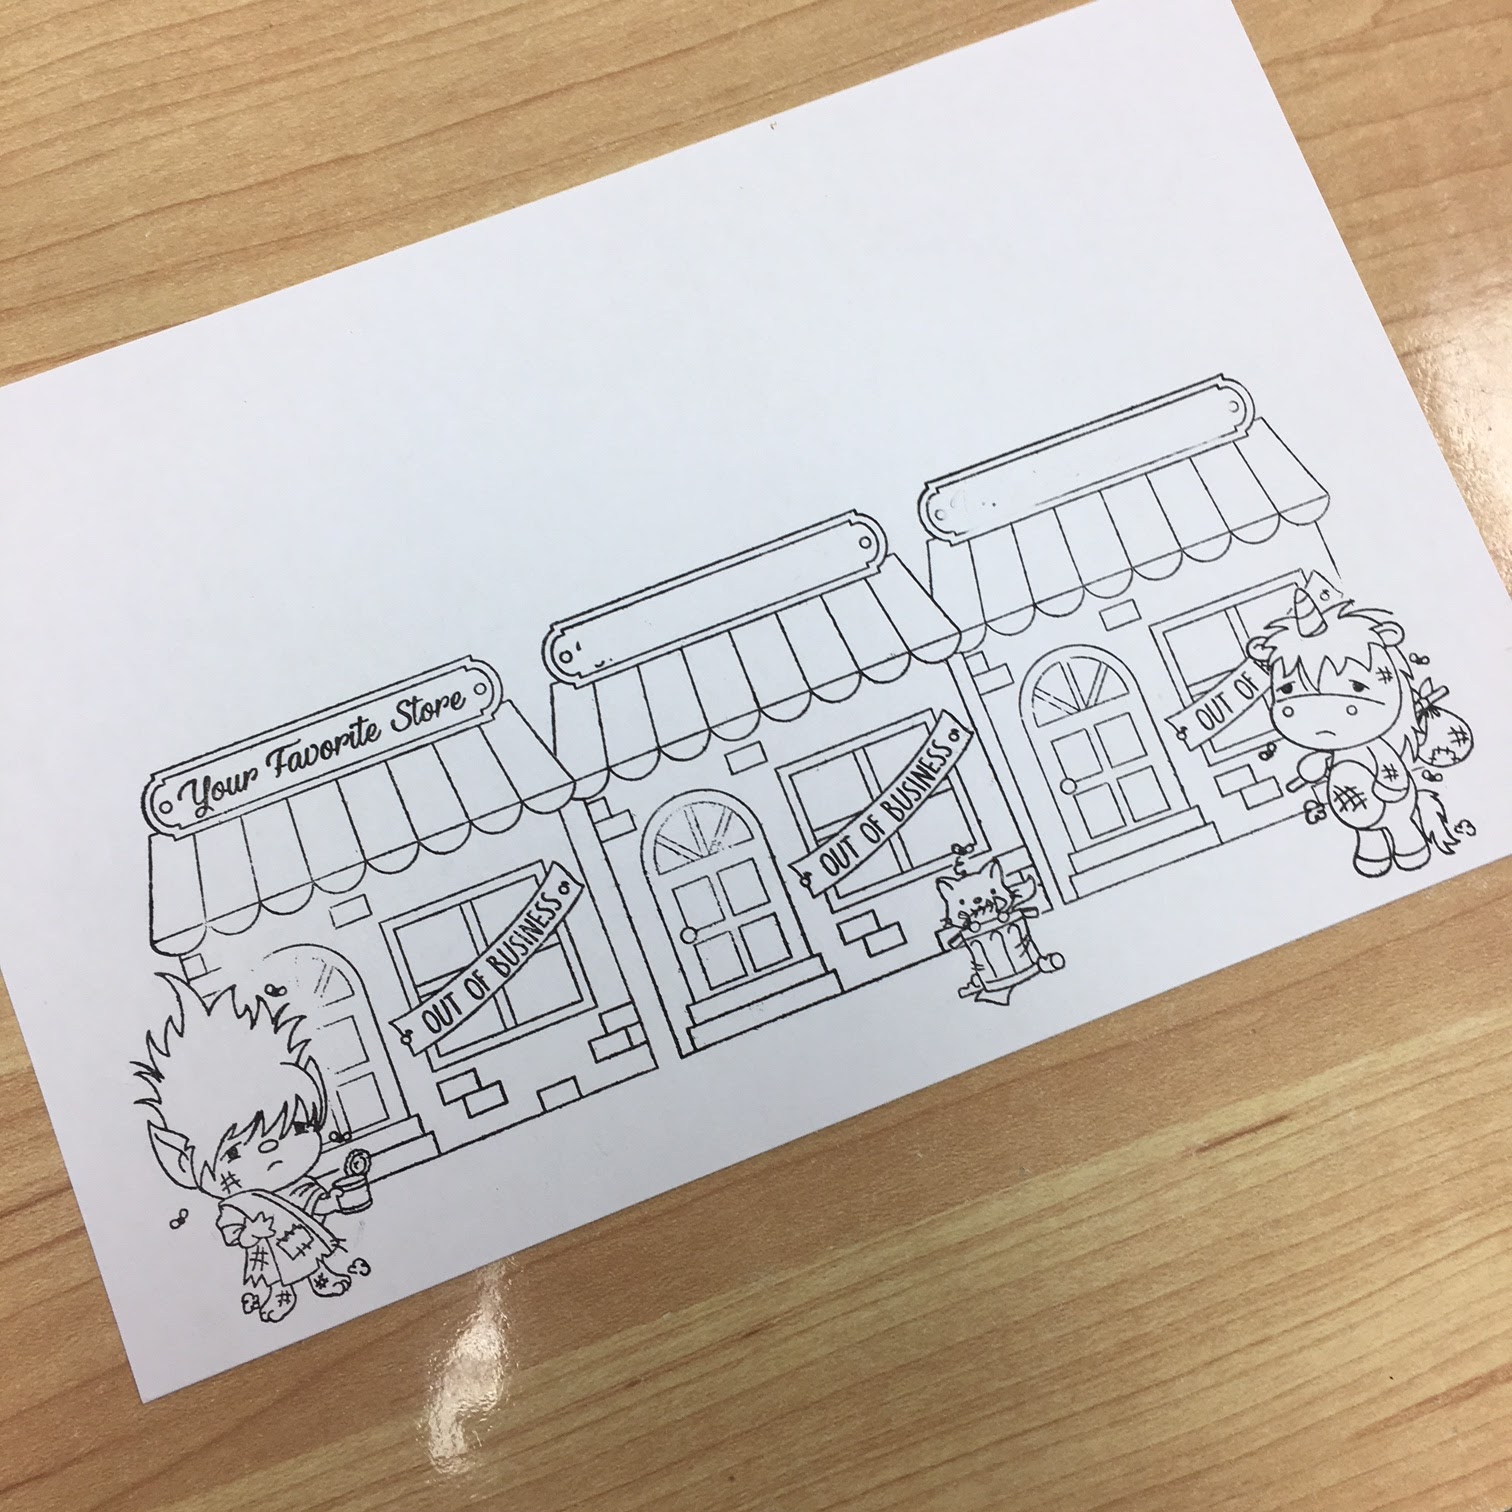
 Hey Divas! It's EK from ekgorman designs here to share a masking tutorial with you featuring CDD's and stamp set!

  EK Gorman CDD 11:30 a

 To create this scene, I knew from the beginning I wanted to have images in the foreground and in the back ground, plus a mountain scene in the back. To do all of this, it would take quite a bit of masking to keep layers from crossing each other.

  EK Gorman CDD a

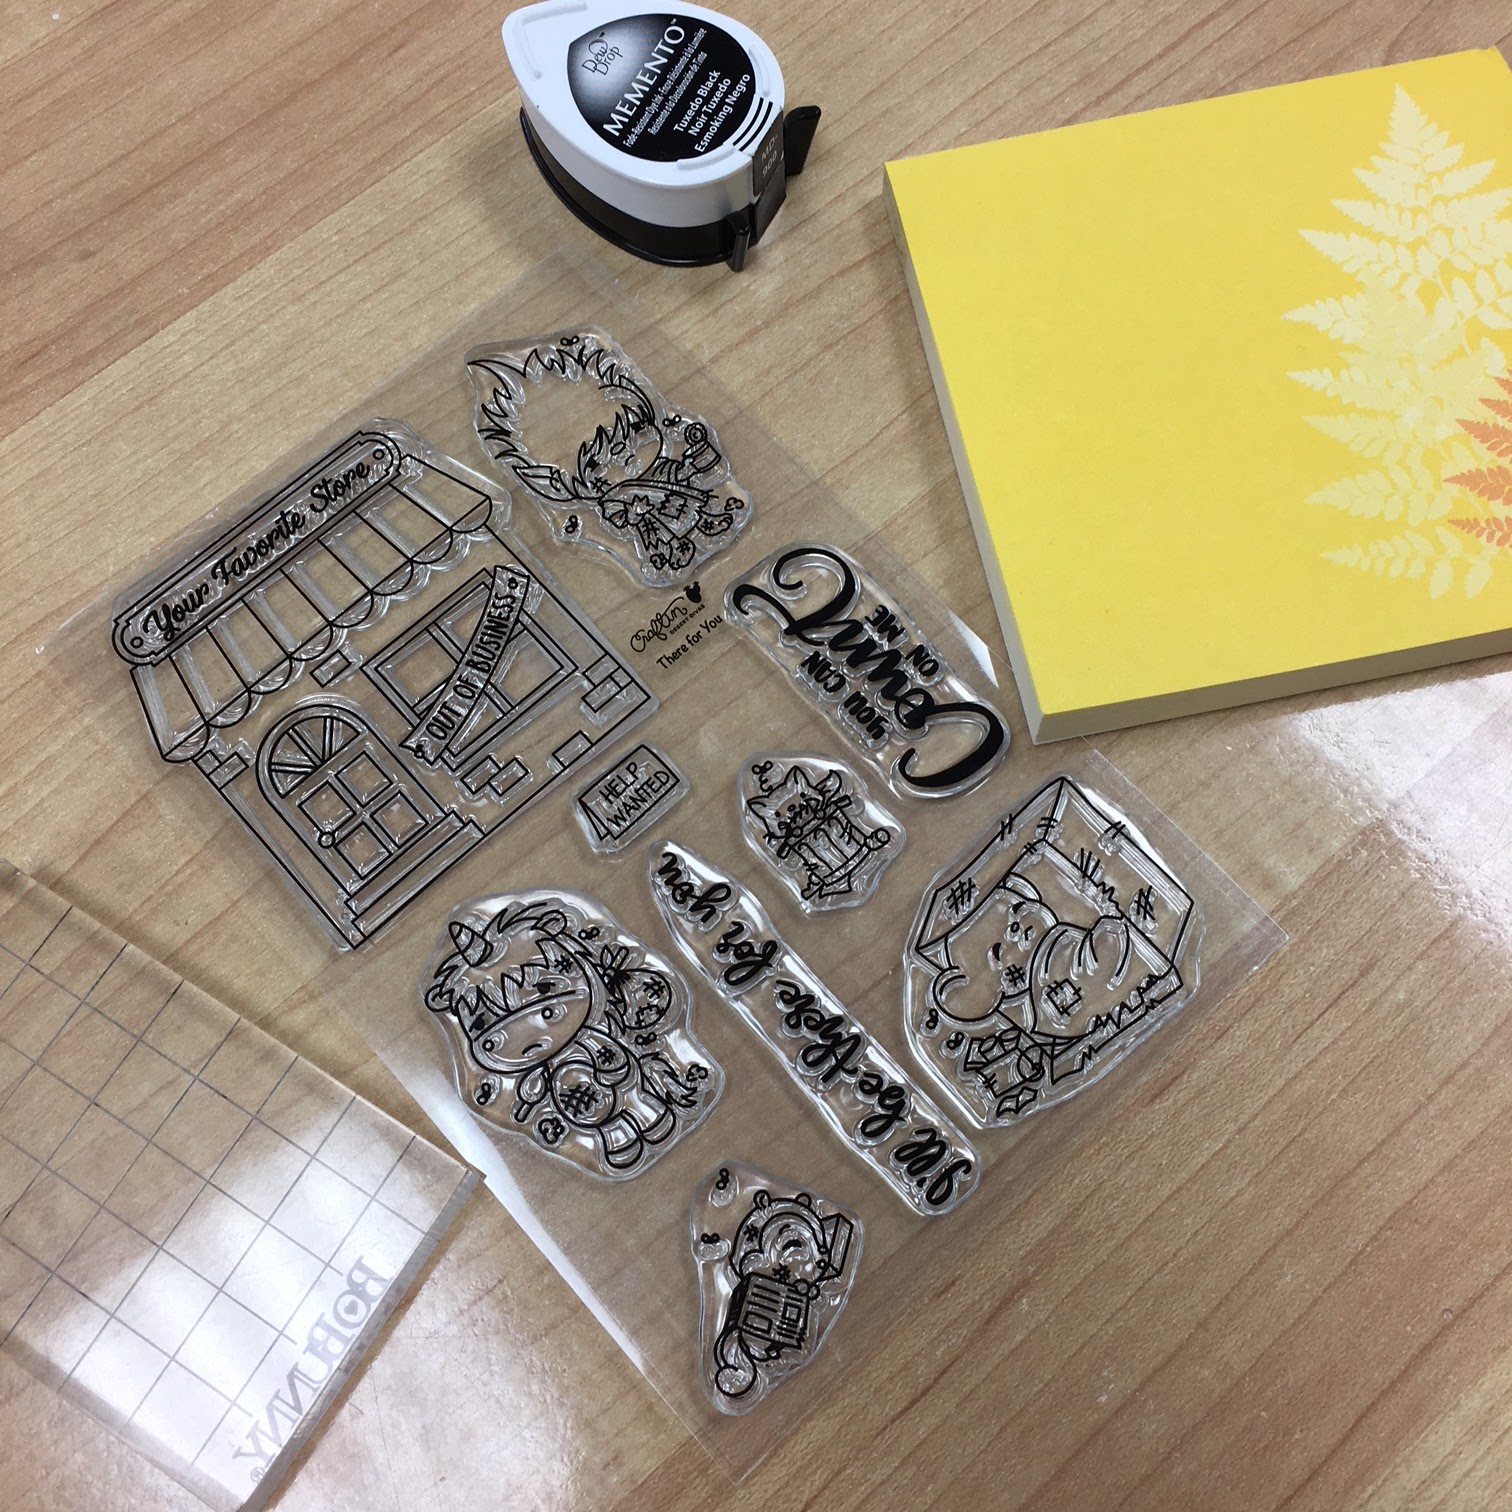
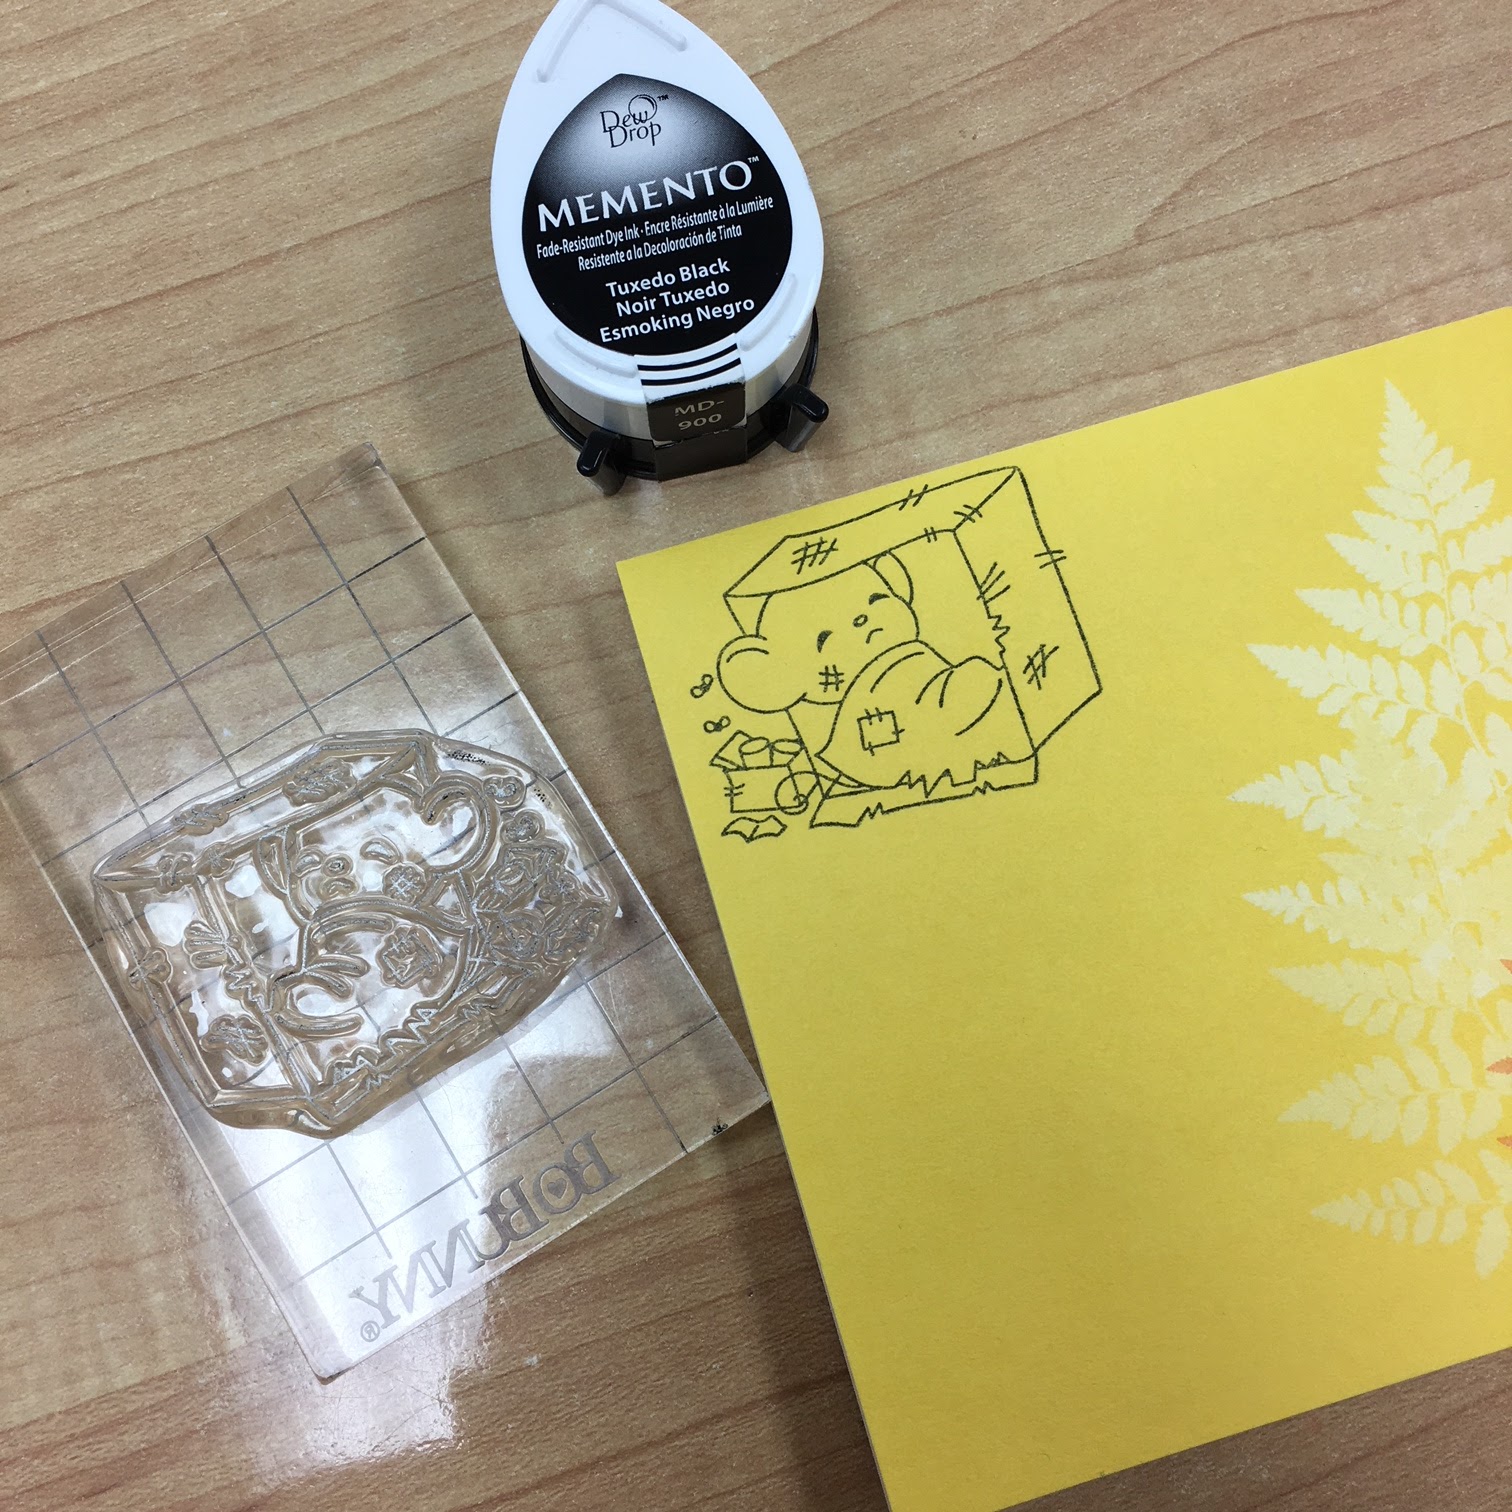
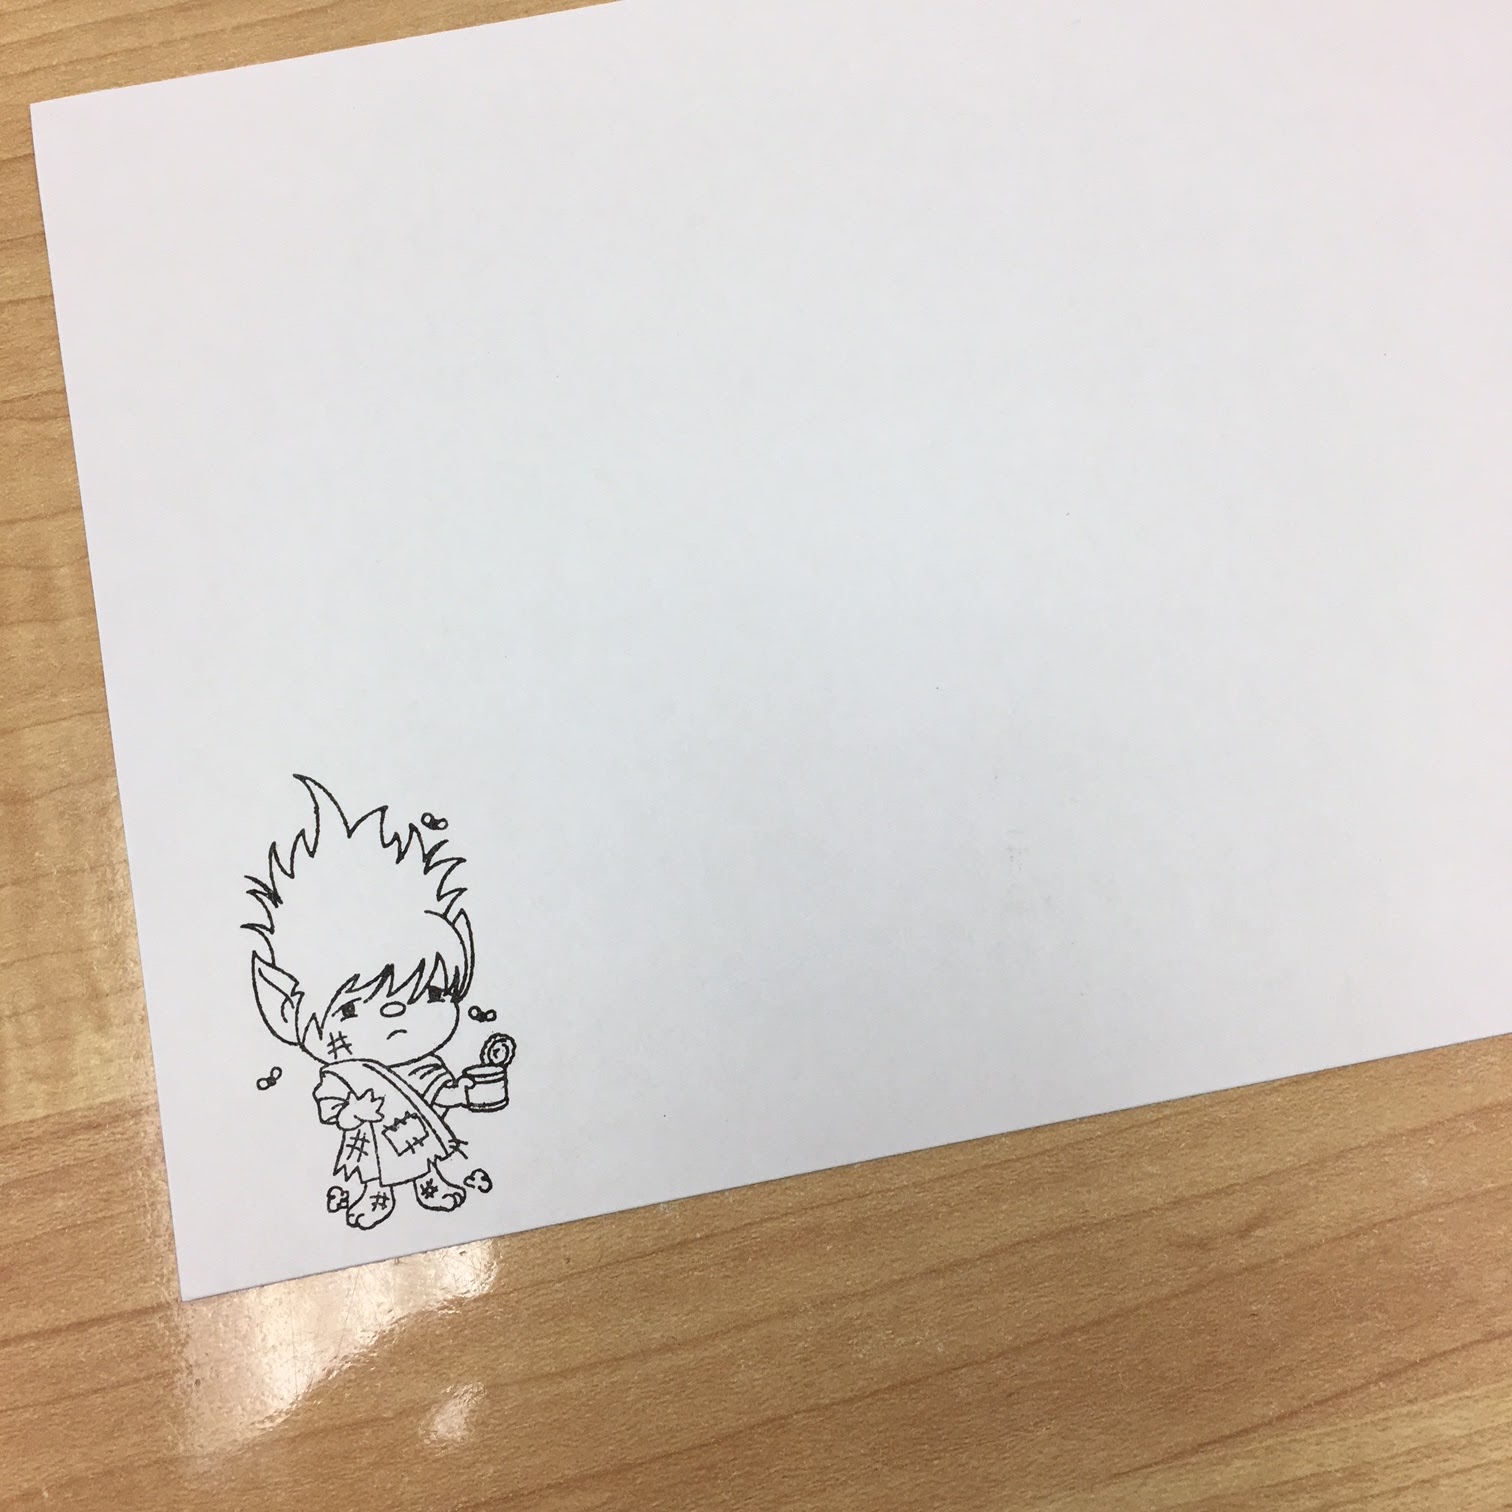
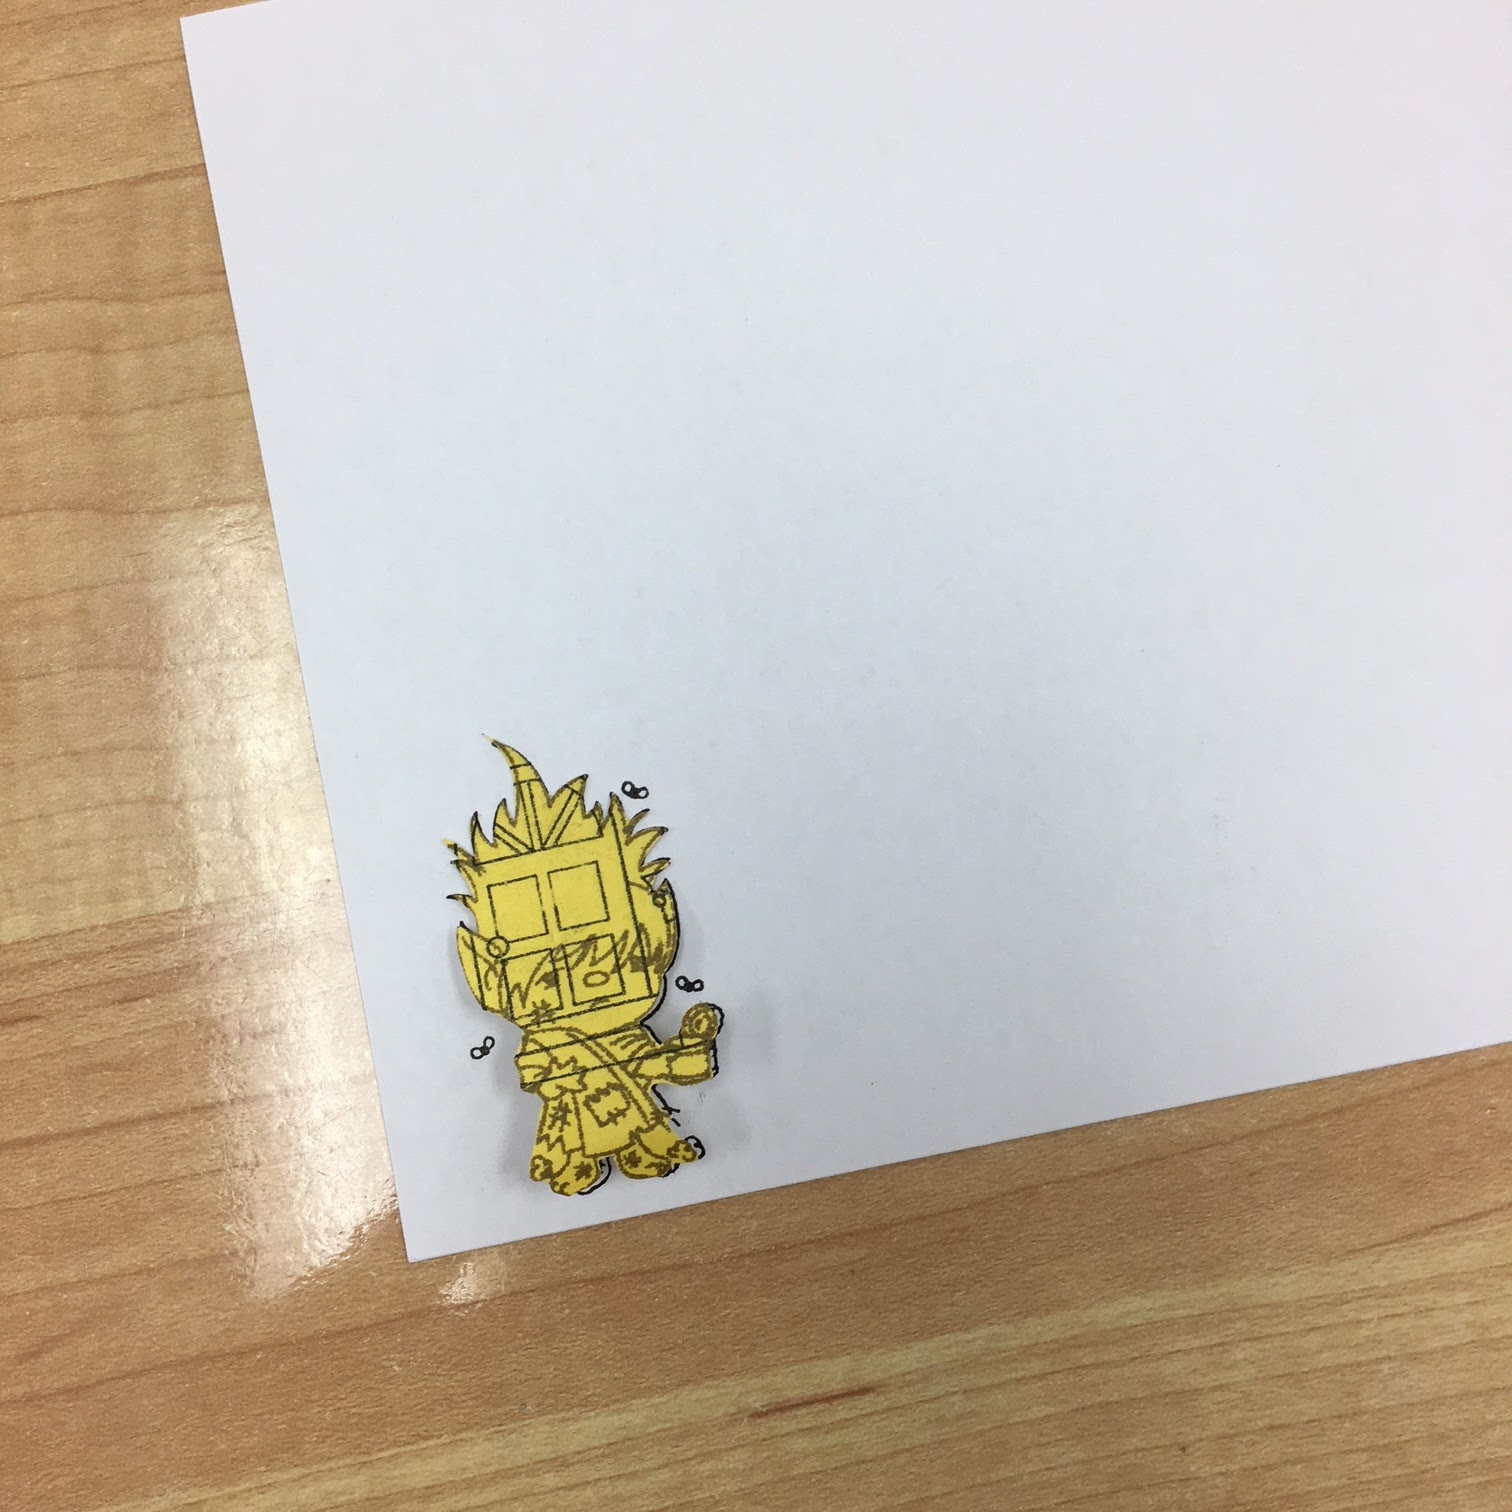
To do this, I always like to start with a scrape card with all the images stamped out (and yes the lines cross each other). I find this preplanning always helps me stamp the scene out quicker in the long run.  

EK Gorman CDD b 

 I then place the scrap paper into my stamping platform with my good cardstock under it. I then place my stamps on top of the scrap image, and connect the stamps to the stamping platform.

  Ek Gorman CDD b1 

 My stamping ink of choice, whether I use my copics or my colored pencils, is . I loaded the stamps up with it, and stamped the images that would be the most forward in the card onto the good cardstock.

  EK Gorman CDD c

Left behind were the first images.

  EK Gorman CDD d 

 I added my precut masking paper to these images. I like to us Post It Notes 2" post it tape for masking. And I always pre-fussy cut them prior to stamping the images.

  Ek Gorman CDD e 

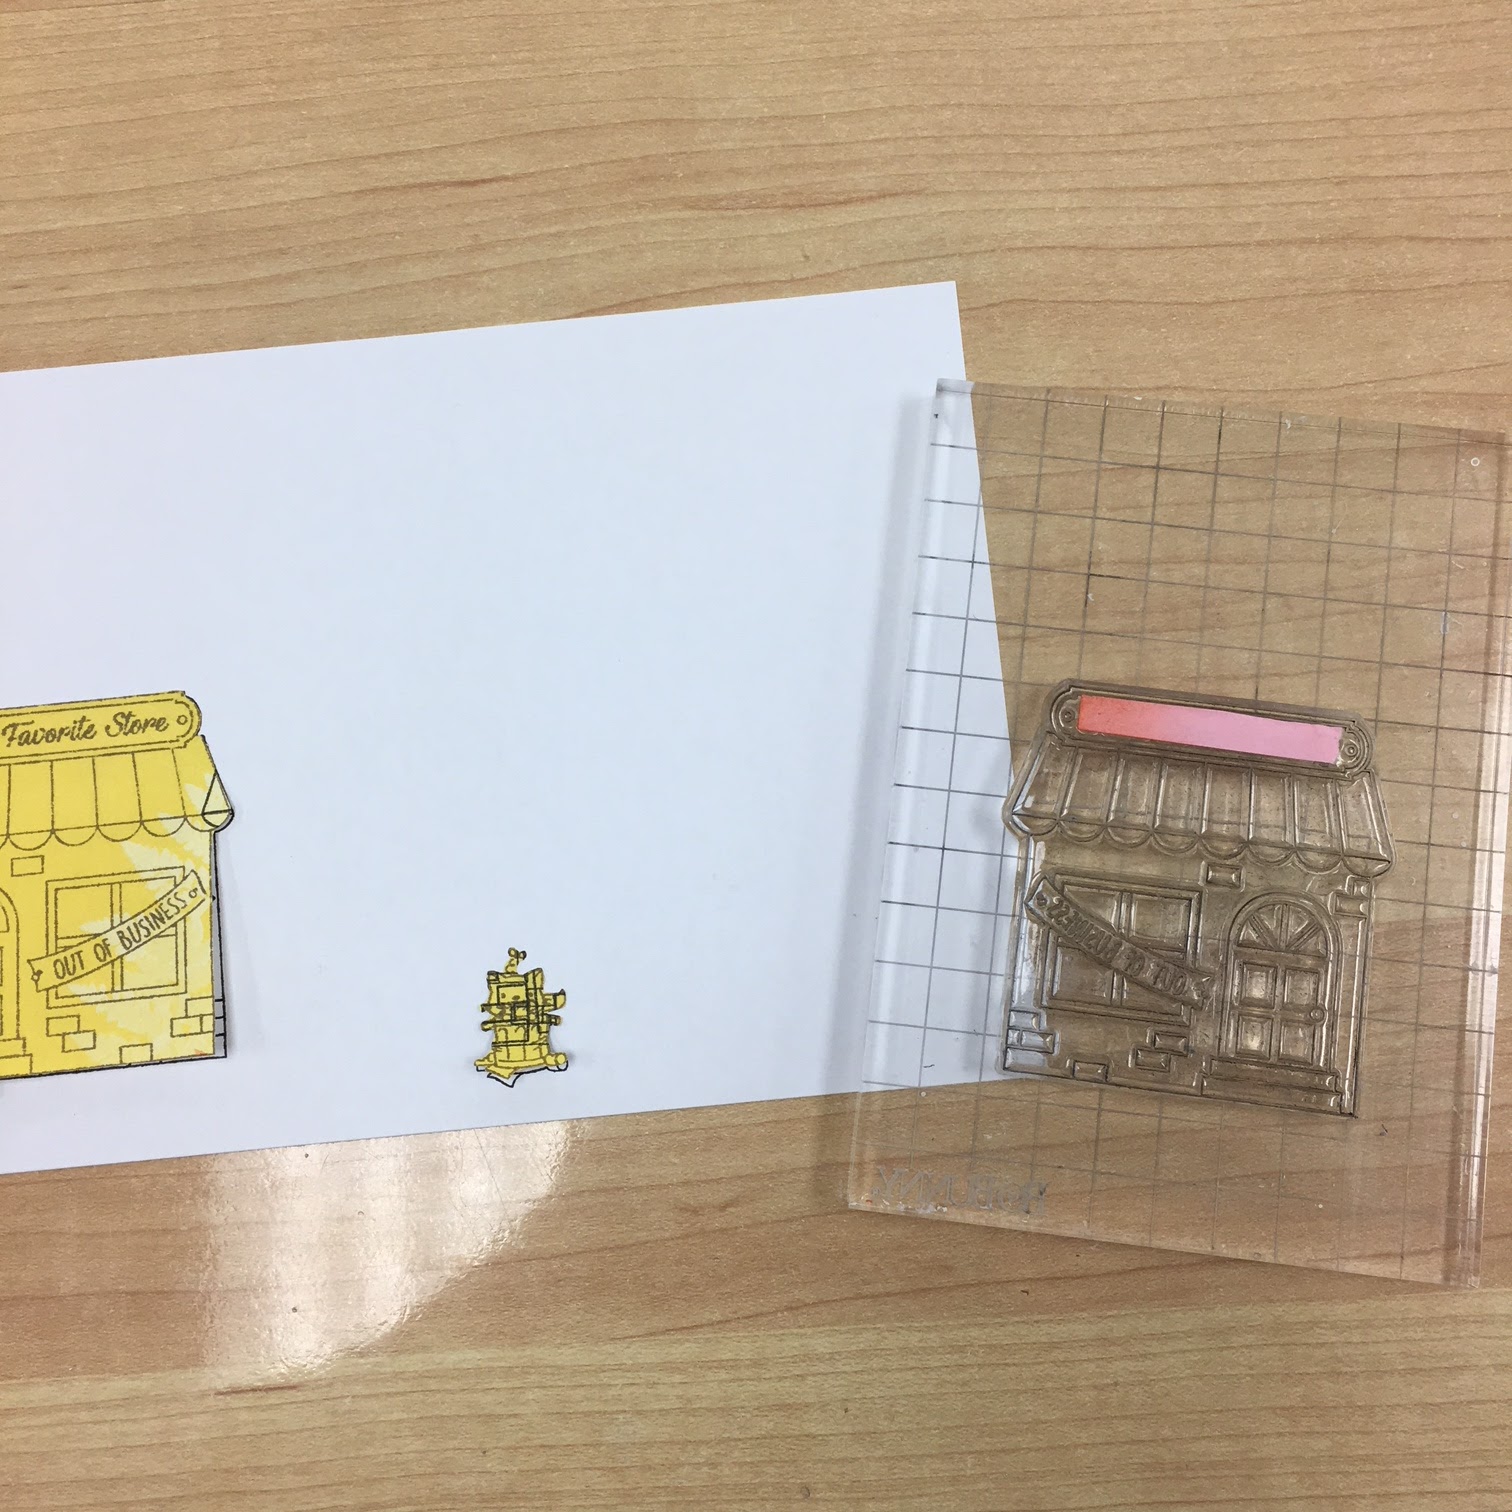
 The scrap paper came back down and the next stamp was laid on top so that the next layer of stamps could be added.

  EK Gorman CDD h

The next stamp got inked up, stamped, and added the cacti's masking paper. EK Gorman CDD i 

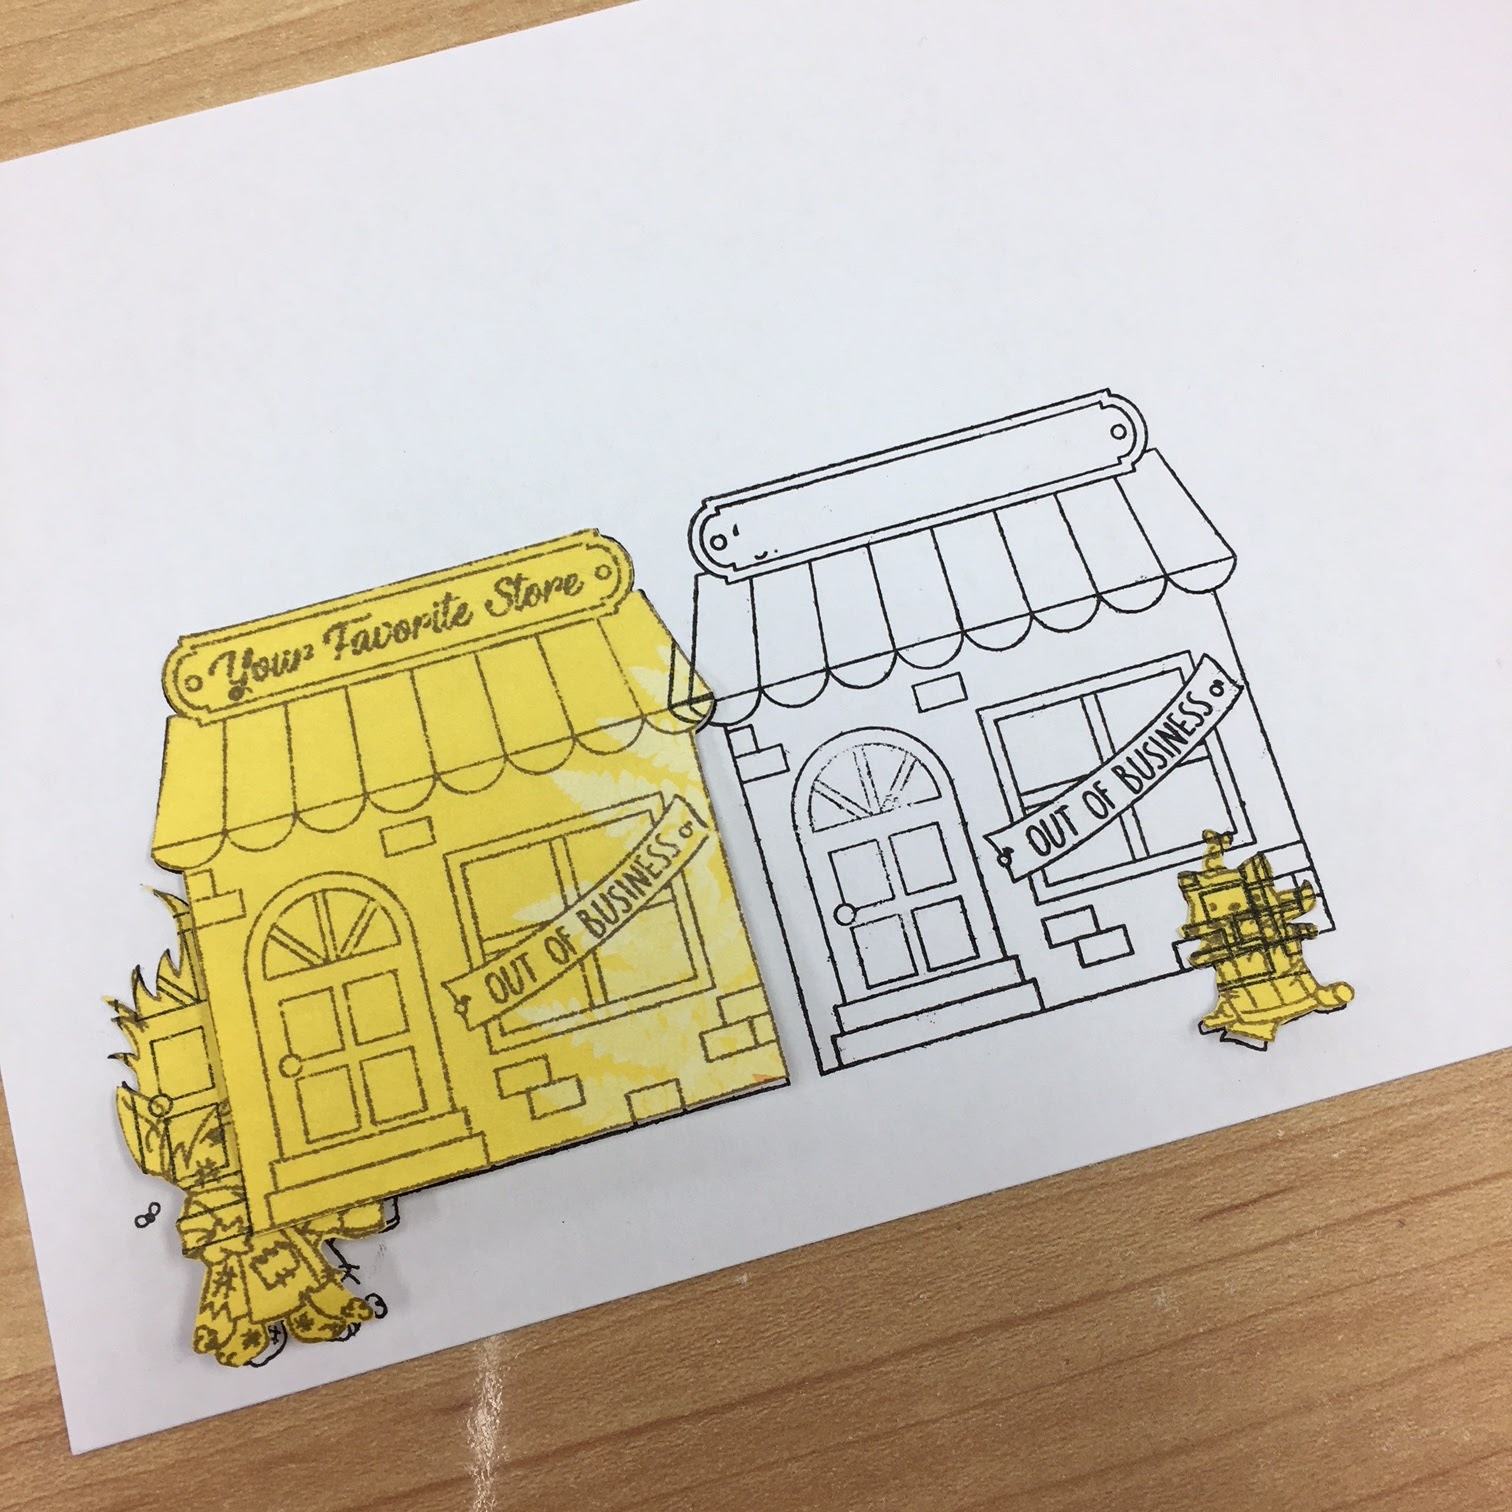
 The same procedure was done with the third layer of stamps... And then the fourth layer. Each layer was laid over the scrap paper, inked up and then stamped. The mask was laid over the stamped images each time.
  EK Gorman CDD n 

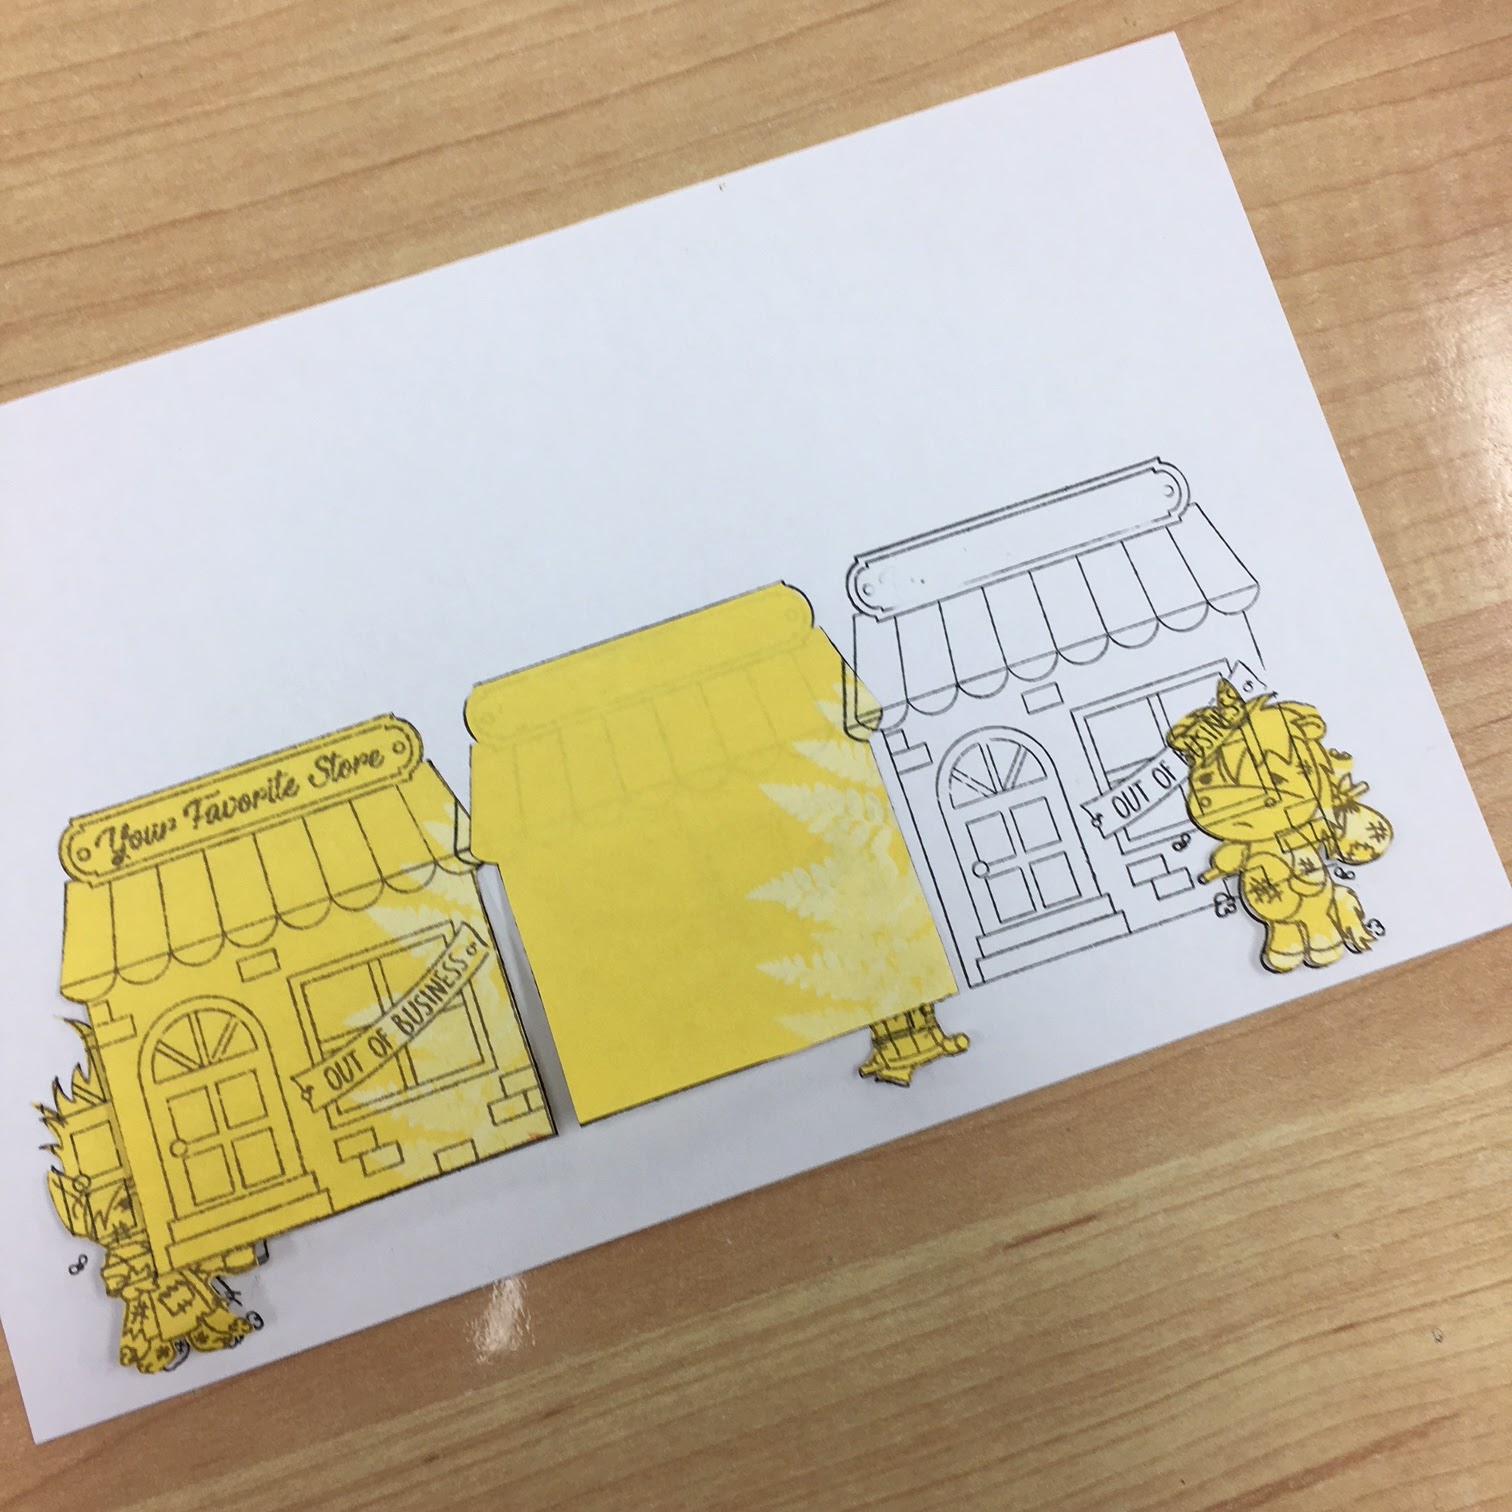
 Finally, I stamped the fifth and final layer of stamps, in this case the saloon onto the card. Even though this was the last layer of stamping, I added a mask onto this layer too, because for this card I wasn't just using masking as a stamping technique, but a blending technique as well.

  EK Gorman CDD o

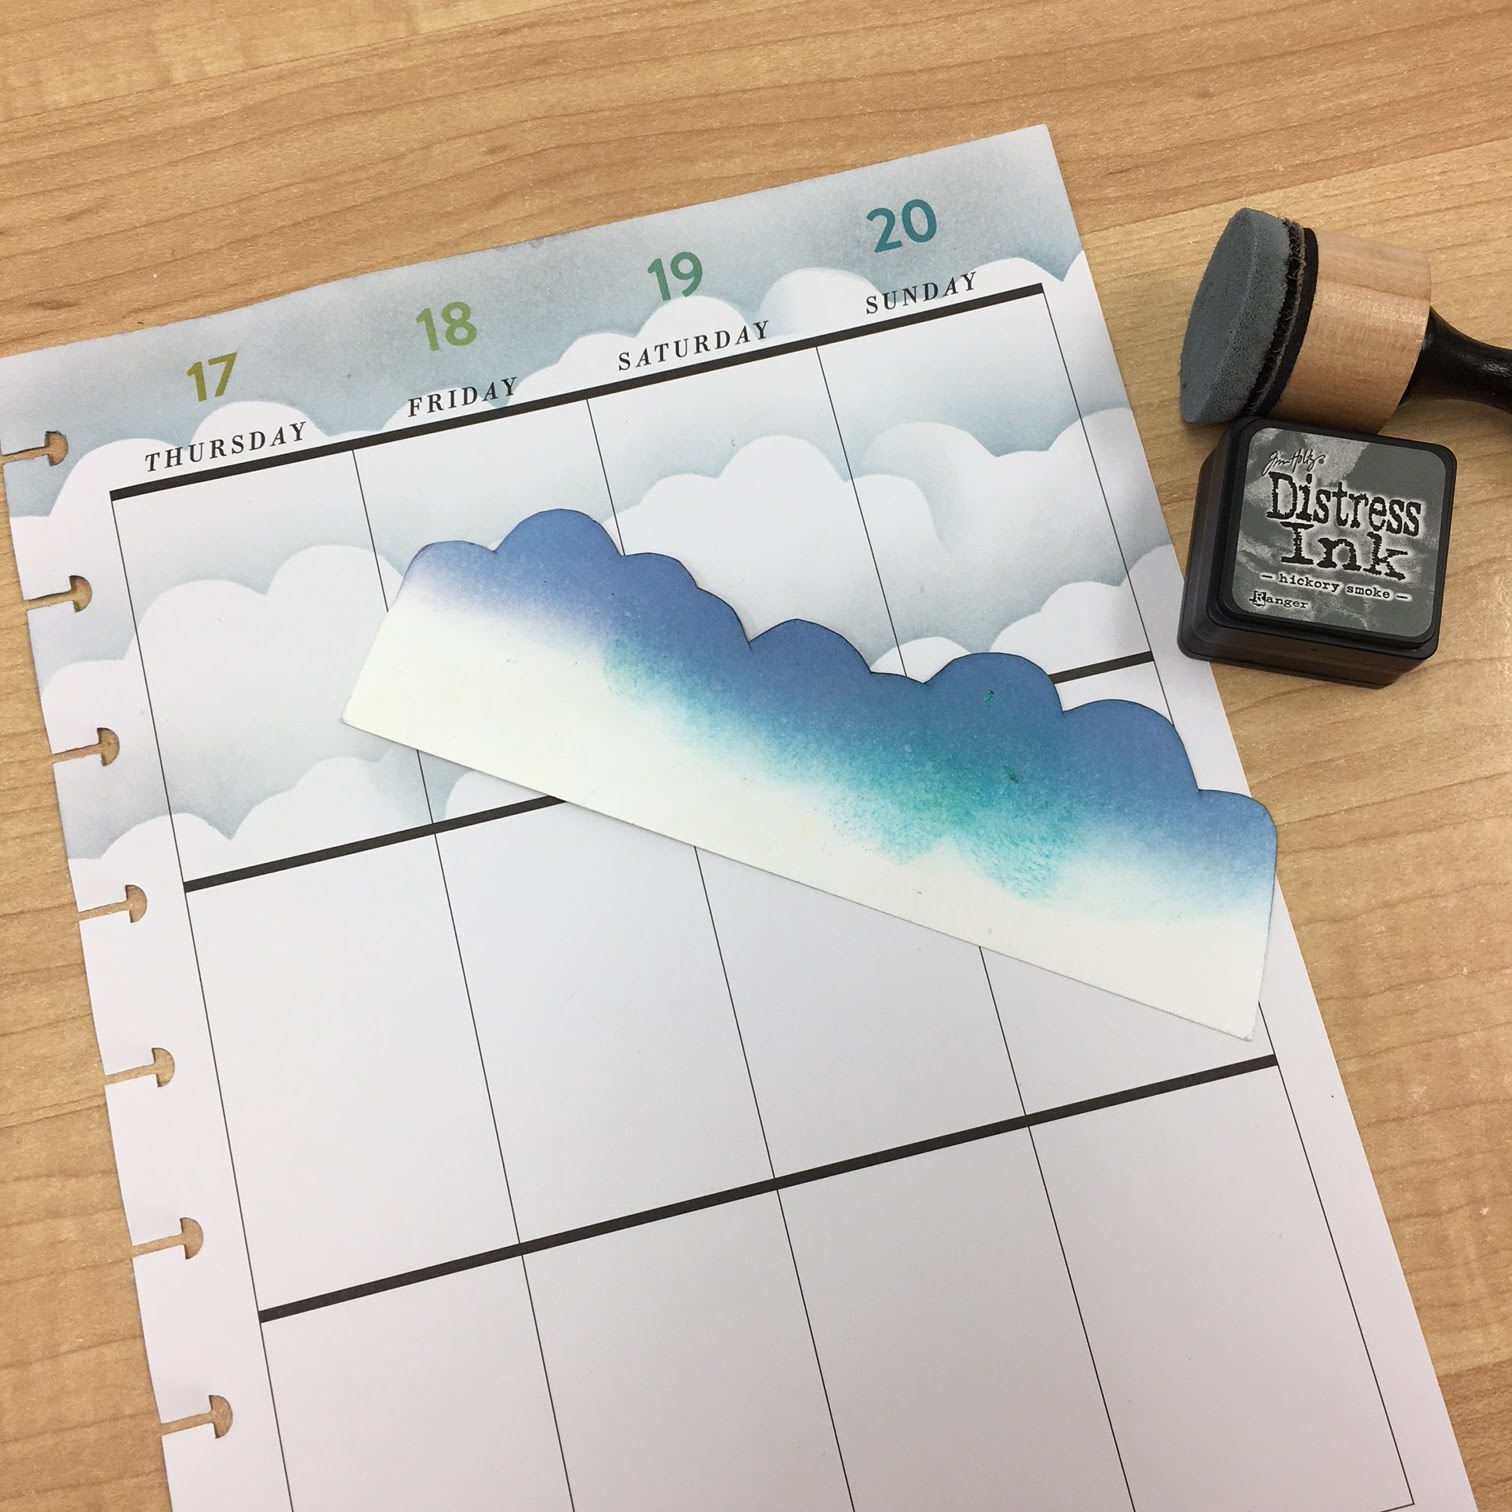
I added some post it tape to a bit of scrap cardstock, and added the big mountains from CDD's die set.

  EK Gorman CDD p

I ran it though my die cutting machine, leaving me with a mask to help create mountains in the background. 

  EK Gorman CDD q


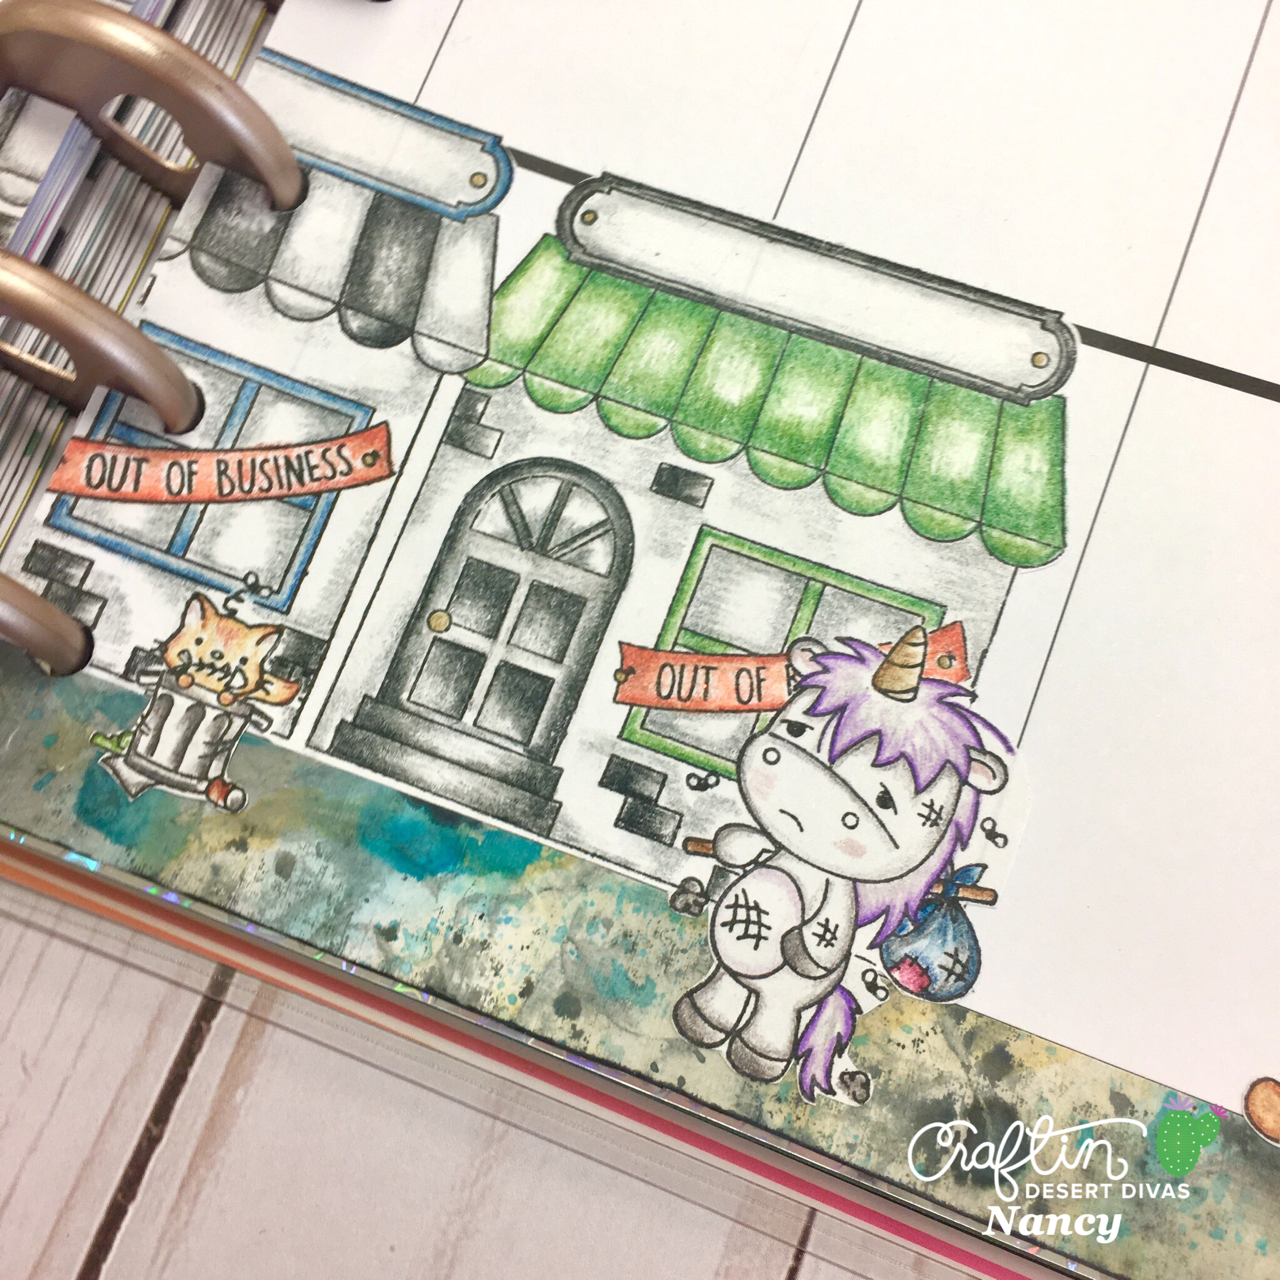
I added the mountains to the card, which left the card perfect to add . I used , , and to create the sky. Then I used and . The mountains were colored in with Antique Linen and . Then I removed all the masking and colored up the images with my colored pencils.
To watch me use the distress oxides and color up the image with my colored pencils check out my coloring video on my Youtube video!

******

EK Gorman CDD r

I added the colored image back into my stamping platform and added the sentiment from the stamp set.

  Ek Gorman CDD 11:30 b

 I hope you have enjoyed the masking techniques I have used to create this one layer card! If you find yourself using these techniques, make sure you load up your design onto the so all the design team can see it!

  EK CDD blk watermark 2
CDD Supplies
Wild West
Prickly_final__98402.1462749203.1280.1280
Scenery Die
memento ink
0000730868__01818.1493853042.190.285
salty ocean
broken china
frayed burlap
antique Linen
wilted violet

Wednesday, November 29, 2017

There For You Campaign


Hi there friends!! Nancy from the design team here, with a different type of blog post. Recently, our happy world of CDD encountered a bit of heart break. Unbeknownst to Tara (the owner of Crafting Desert Divas), CDD was the victim of intellectual property theft. Many beloved CDD images were stolen, manufactured, and are being sold by a Chinese online retailer. These CDD copies are of the lowest quality and at a completely unbelievable price point.  Imagine the heartbreak that Tara felt. These creatures that were lovingly created for CDD fans through many hours of brain storming, blood, sweat, and tears were made available to the public without her consent.

This has been happening a lot recently in the stamping community. Many of your favorite shops are going through the same heart break. Even worse is that many of these shop owners feel powerless to fight it. As the companies committing this theft are in China, they are not subject to US copyright laws. These companies can choose to fight, but the amount of money needed to hire lawyers and fight an international lawsuit make it virtually impossible.

But, Tara is strong and smart. She has a loyal team of supporters, designers, and customers. Tara has decided to fight these thieves in one of the classiest, most artistic ways possible. By creating a stamp set to take a stand. This stamp set is BOLD. It is IN your FACE. And it truly represents what happens when we as consumers allow companies to steal products from small businesses.


So now we are pleased to present ''. This is our commitment to the stamping community to continue to provide high quality, original stamp images for you. It is also the way that YOU can show your commitment to supporting small business and standing up against intellectual property theft.

Today I am overjoyed to share with you my interpretation of this theme. We will also talk about masking techniques and I will share some of my secrets to creating backgrounds.


When you think about small business, it is easy to forget that many of the businesses you frequent are family owned and operated. For these small businesses, it is easy to feel alone. I wanted my planner pages to convey what it is truly like when we buy from big business or internet thieves.  So I decided to create a small business town. Each business created out of love to contribute something to the world that wasn't there before. Now in order to create my scene, I had to do some masking.


 First thing I did was to gather my supplies. You will need your stamp set, an ink pad (doesn't matter what type or color), an acrylic block, and some post-it notes (or masking paper). I don't use mask  that often, so I typically use post-it notes.


 Start by stamping an image onto the post-it notes towards the top of the pad where the adhesive is. Do this for any images you are going to use. If you're not sure, stamp them all! Better to have a mask ready than to have to go back and create one. I created multiple masks of the store front by stamping once onto the post-it and cutting out 3 pieces.


 I started by stamping the poor homeless troll. I want the troll to look like he is walking down the street in front of the store fronts, which is why I stamped him first.


 I then placed the mask I created over the stamped image. You may notice that the mask looks like it has another image on top of it. My final project was not the first attempt I made at creating this scene. But that brings up a great point. You can reuse masks. If the image is a solid, bold image check it regularly to ensure that ink hasn't bled through to your project. Also a great reason to make multiple masks of each image.


 After I covered the troll, I stamped the store front on top of the mask but offset so that it would appear to be in the background. You can see from this picture that I didn't get a perfect stamp impression. No problem. You can just touch it up with a fine tip black pen before coloring. I covered the store front with a mask and was ready to move on.


 Next I stamped the little kitty in the trash can. I determined his placement by laying the store front stamp next to the original image. I left the stamp on the acrylic block and placed it block side down. Since I'm just trying to determine placement, I don't need the stamp to be face down. When I was happy with the placement, I stamped the kitty and covered him with a mask. Now you may notice a strip of pink paper on my stamp. This is another way you can mask images. I cut a strip of post-it note paper to cover the "Your Favorite Store" portion of the store sign. After I placed the strip on the stamp adhesive side down, I inked my stamp. After inking, I removed the strip and stamped my image.


 You can see that since I masked the store name, the sign is left blank. I repeated the same process as before when stamping the store front.  Just the tiniest corner of the 2nd store awning stamped onto the store mask.


 We are going to repeat the process one more time with the vagabond unicorn. I adore unicorns and this image makes me so sad. I used the same process as before to determine where the unicorn would stand. When I liked his placement, I stamped the image and then covered him with the mask.


 I stamped the store front one more time, masking the store name with the post-it note as described above. Now comes the fun part.


 Now you can remove all the masks to see your scene!! Any places where I didn't get a solid impression, I touched up using a fine tip black pen.


 I figured that if our favorite store was out of business and our favorite critters were homeless, it would be a dark and dismal day. I took my hand cut cloud stencil and created a grey sky using Hickory Smoke Distress Ink and a foam blending tool. I use this stencil a lot. It's not perfect but it was cheap and easy to make, and the results are good every time.


 For the background for the sentiment and the street in our scene, I used sticker paper that I applied clear gesso to and then smeared, smooshed, and splattered Distress Oxide (Antique Linen, Peacock Feathers, and Black Soot)on it. I applied the gesso to the paper so that it wouldn't be as porous and would allow me to use some of the inking techniques that don't tend to work as well on sticker paper. I did not take any photos of the process, mostly because I wasn't sure how it was going to turn out. After I was happy with the outcome of the inking, I dried it with my heat tool. Then I crumbled it up like a ball of trash.


 I didn't want anything in this project looking too new or perfect. Our favorite critters are homeless for goodness sake!! After crumpling I straightened out the paper and lightly rubbed Black Soot Distress Ink on top. The ink picked up on the crumpled parts and just added some texture.


 I love how the sticker part turned out. It gives lots of color and texture but still looks dirty and dingy.


These little guys break my heart. They really look pathetic. I hope you enjoyed my project today. But more than that, I hope you practice responsible consumerism. Research the companies and products you purchase. Buy from the original artist when possible or only from reputable companies. your voice is your buying power. Spend where your beliefs are. If we band together and buy only from original artists and copyright holders, or their authorized retail partners, we can stop counterfeit businesses from prospering. We have the power to make the companies we love grow and flourish, and be around for years to come. Thanks for visiting me on the blog today and reading the whole post. 'There For You' will be available from Crafting Desert Divas in the near future. I hope you will consider purchasing this set and sending your own message.

If you have any questions, please reach out to me here in the comments, in the CDD gallery on Facebook or on Instagram at


Supplies Used:


Tuesday, November 28, 2017

Masking Techniques with DT Lindsay

Hello Everyone!! It's Lindsay from the DT here with you today to share quite a lot of about different ways to mask and also a few helpful tools along the way! If you would rather watch a video where I explain it all you can find that right below, or you can keep reading to find out more!!


Masking Paper
Masking paper is one of my favorite tools for masking scenes, for distress inking, etc and it is so easy to use! I like to use the masking paper sheets from Inkadinkado, but it also comes in rolls and larger sheets as well. The brand I use has a white side and blue side. To use this paper you simply stamp on the white side and then trim out the image with a pair of scissors or die. Then, you remove the blue backing paper to reveal a sticky side that can repositioned to mask your images. This paper can also be die cut as well. A few tools that are handy to use with this paper are of course scissors, but also a pair of tweezers for handling and placement. The less you touch the back, the more times you can restick it!! I also like to store the used masks on the back of stamp sets so they're easy to find and use again and again!!
Masking Fluid
While I love to use masking paper for all of my dry mediums, it does not hold up well to watercolor and that is where masking fluids comes in so handy! This is a liquid that you "paint" onto images to mask them from all of your liquids that you may be putting over the top - watercolors, sprays, splatters, etc. While I don't use this often, it is one of those tools that I can not replace with anything else. There are sometimes you just NEED this. I like to use a cheap small paint brush to brush/paint this onto the images I need to mask. It goes on white and when it dries is clear. When I am ready to remove this from my images, I like to use an adhesive eraser, pictured above. Your finger will work, but I have smeared a good amount of finished projects removing this mask that way, so I would highly recommend using the adhesive eraser and it's only a few dollars!
Rubber Cement
Rubber cement is one of my favorite ways to mask digital stamps! While printing onto cardstock, I will print the exact images onto computer paper as well. After trimming out the images, rubber cement on the back of the paper allows the image to adhere over the image that needs masked. After I'm through and no longer need the mask, it easily removes and that same adhesive eraser (or your finger) will remove any leftover residue. This is also great to adhere die cut masks, especially if you don't want to waste your masking paper, which can get a little pricey! I do the exact same thing with die cuts. I die cut with computer paper, then use rubber cement to hold the mask in place!
Glossy Accents/NuvoDrops
While my other forms of masking have been removable this one is not and I only use these in cases where I want a dimensional glossy finish on the masked object - i.e. balloons, little noses, food, etc. This is a great way to mask some objects, but it does take a little time to dry so it is something you have to plan accordingly for. This also works not only with the clear Glossy Accents and Nuvo Drops, but also all of the great colored Nuvo Drops that are also in the CDD Shop!! So it is really versatile!! I simply apply a layer of the product I'm using over a select object and allow it to dry. This creates a nice smooth, hard surface that resists all of the "wet" mediums you try and put over it - distress inks, watercolor, etc.
Embossing Powder
Embossing powder is another "non-removable" masking alternative. Of course when you do use embossing powder a few more tools are required. A sticky ink pad like Versamark and a heat tool are must have and an anti-static tool is also a great tool to use as well, but not required. Heat Embossing is a great way to mask sentiments as well as solid images for distress inks, watercolor, etc.
Computer Paper
Computer paper is a FANTASTIC tool to use in masking soo many different ways! Like I've said above, I often print digital stamps onto computer paper, fussy cut and then mask with rubber cement. Also, die cutting with computer paper and using that as a mask is a fantastic way to save your pricier masking paper! You can also hand cut computer paper and create your own masks or use the paper's straight lines for masks! This is a cheap and versatile to add to your masking arsenal with so many wonderful possibilities!!
Dies
Dies are a so fun and I love using them to create scenes on my cards. But they are so much more versatile than just using them to cut card stock! Again, I like to use my dies to cut computer paper and create shaped masks. You can use Distress Inks to create some really amazing scenes, add clouds, create frames, shapes, etc. And if you do need something to hold them in place while you work over them, rubber cement is your solution!! When using dies, you do need a die cutting machine, and while that is an investment, it is one tool I use on just about EVERY card I make. Also my die cutting machine has been going strong for 9 years now!!
Painter's Tape/Washi Tape
Painter's Tape is a great tool to use in your masking. It will mask your watercolor as well any other medium you throw on top of it. Washi tape is a little less forgiving, but can be used to mask inks. Painter's Tape is one of my favorite ways to mask borders, frames, and straight lines on scenes, not to mention all of the other amazing uses it has in your craft room!! It is also great to mask different patterns, shapes, lines to create different backgrounds or focal points on your cards!
Post-It Notes
Post It notes are another great tool to use in your masking. They are inexpensive and very easy to find at any of your local stores. I like to use them as super quick masks, when I may only need a half or quarter of a stamped image or to use to mask different parts of die cuts to color them. You can also die cut them and use them as quick die cut masks as well!
So now that I have went over the majority of my favorite ways to mask, I want to share with you how to use all of these on a card! Now I could not fit all of these methods onto one card, so I squeezed the majority into two cards. You can see exactly how I went about making them in the video above, but here are a few finished photos!
For both cards I used the Monster Carnival Stamp Set from Craftin Desert Divas. I also used the Build a Scene Stamp Set, Crazy Stitched Frame Dies, and Flag Banner Dies. On this first card the types of masking I used were - Masking Paper (but really meant to use Post-It Notes OOPS!!), Glossy Accents, Masking Fluid, and Washi Tape. A few other supplies I used were Distress Inks for watercolor, Prismacolor Colored Pencils, waterproof black dye ink, white & orange cardstock, and Nuvo Crystal Drops in Apple Green. I wonder if you can pick out where I used each type of mask?? If not be sure and watch the video tutorial for the full run down!!

For my second card, I wanted to try and create a completely "flat" one layer card with the help of masking. Again, I used the Monster Carnival Stamp Set, but I paired this one with a few different die sets and a stencil. For the dies I pulled out the Inside Scalloped Circle Dies, Stitched Scallop Dies, Outdoor Landscape 2 Dies, and Flag Banner Dies. The stencil I used is the brand new Sorted Shapes Stencil!! The masking techniques and tools I used on this card included masking paper, dies, computer paper, rubber cement, and painter's tape. Be sure to watch the video above to see all the tools in action!!

Thank you guys for sticking with me and if you are interested in any of the CDD products I used on my cards today, you will find them all linked below!! Happy Crafting Everyone!!


Newer Posts Older Posts Home