Friday, November 30, 2018

2018 Fall/Winter Coffee Lovers Blog Hop


Craftin Desert Divas is happy to be a super sponsor for the 
Winter Coffee Lovers Blog Hop!


You can join here at the Coffee Loving Cardmakers blog.


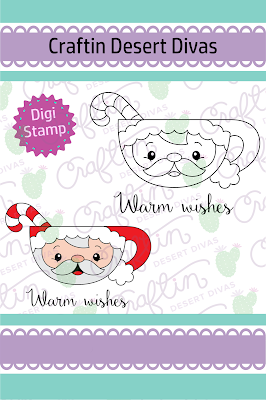
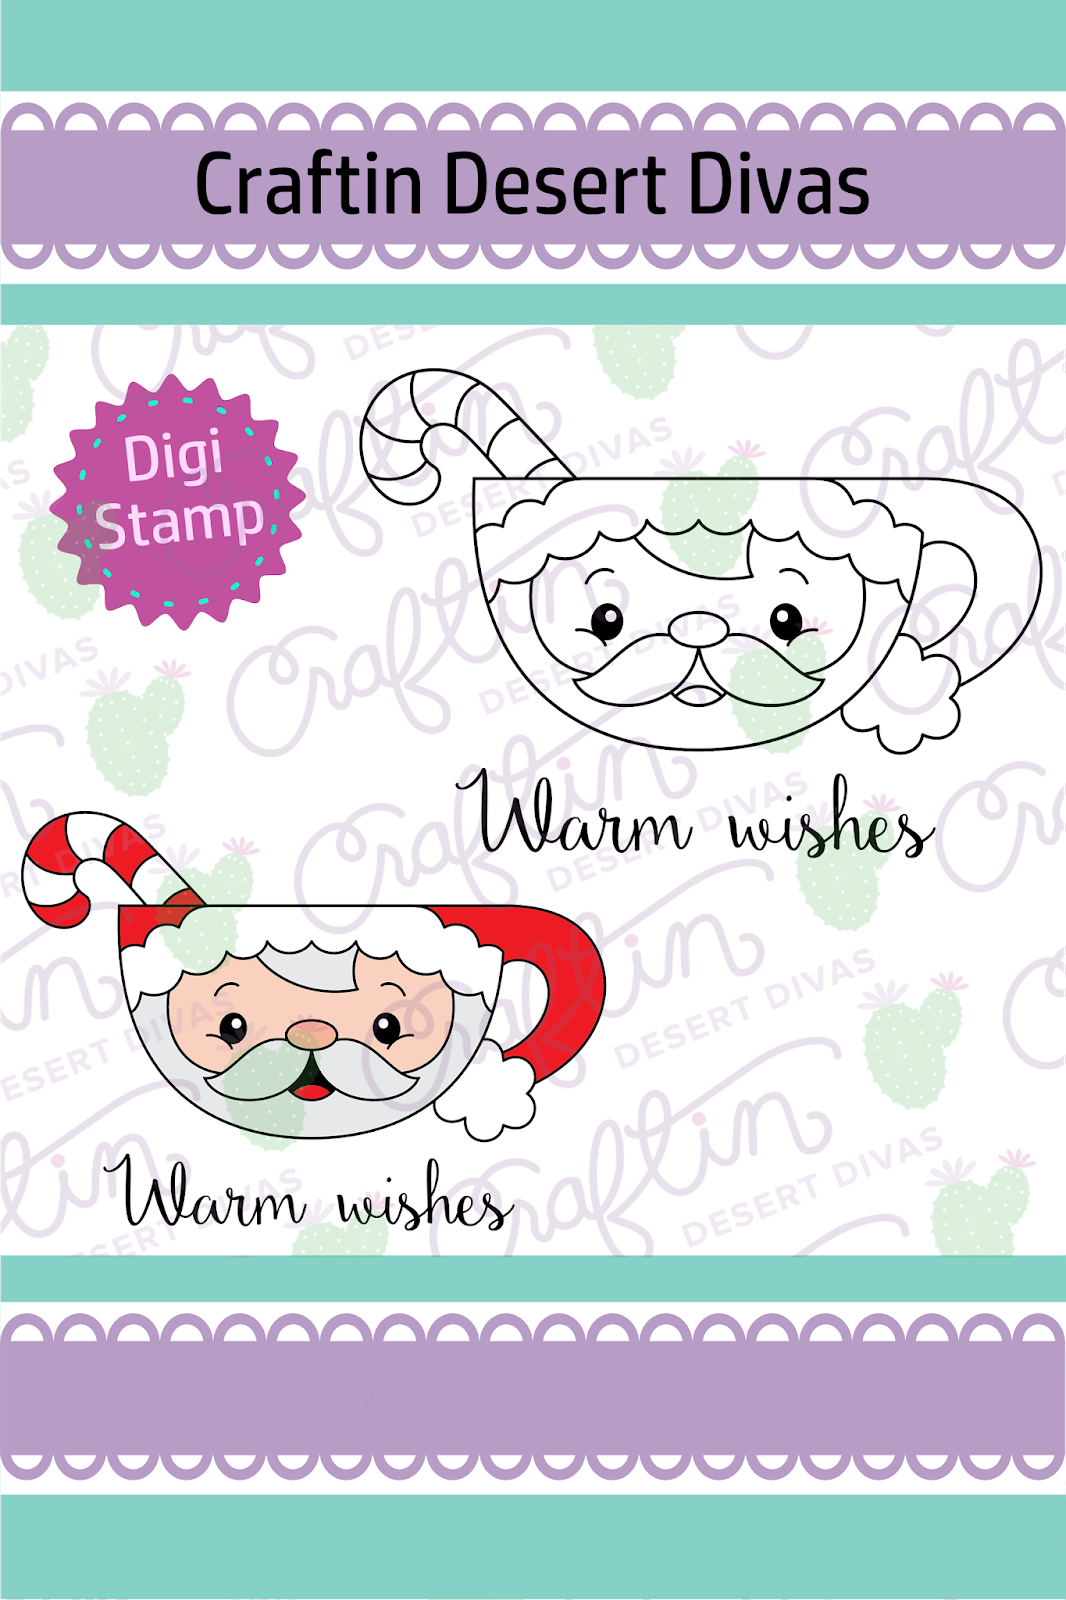
We've also added the new Frost-Tea Mug & Santa Mug digital stamp to the CDD shop.
There is a code where you can get one for free at the bottom of this post!

                                       
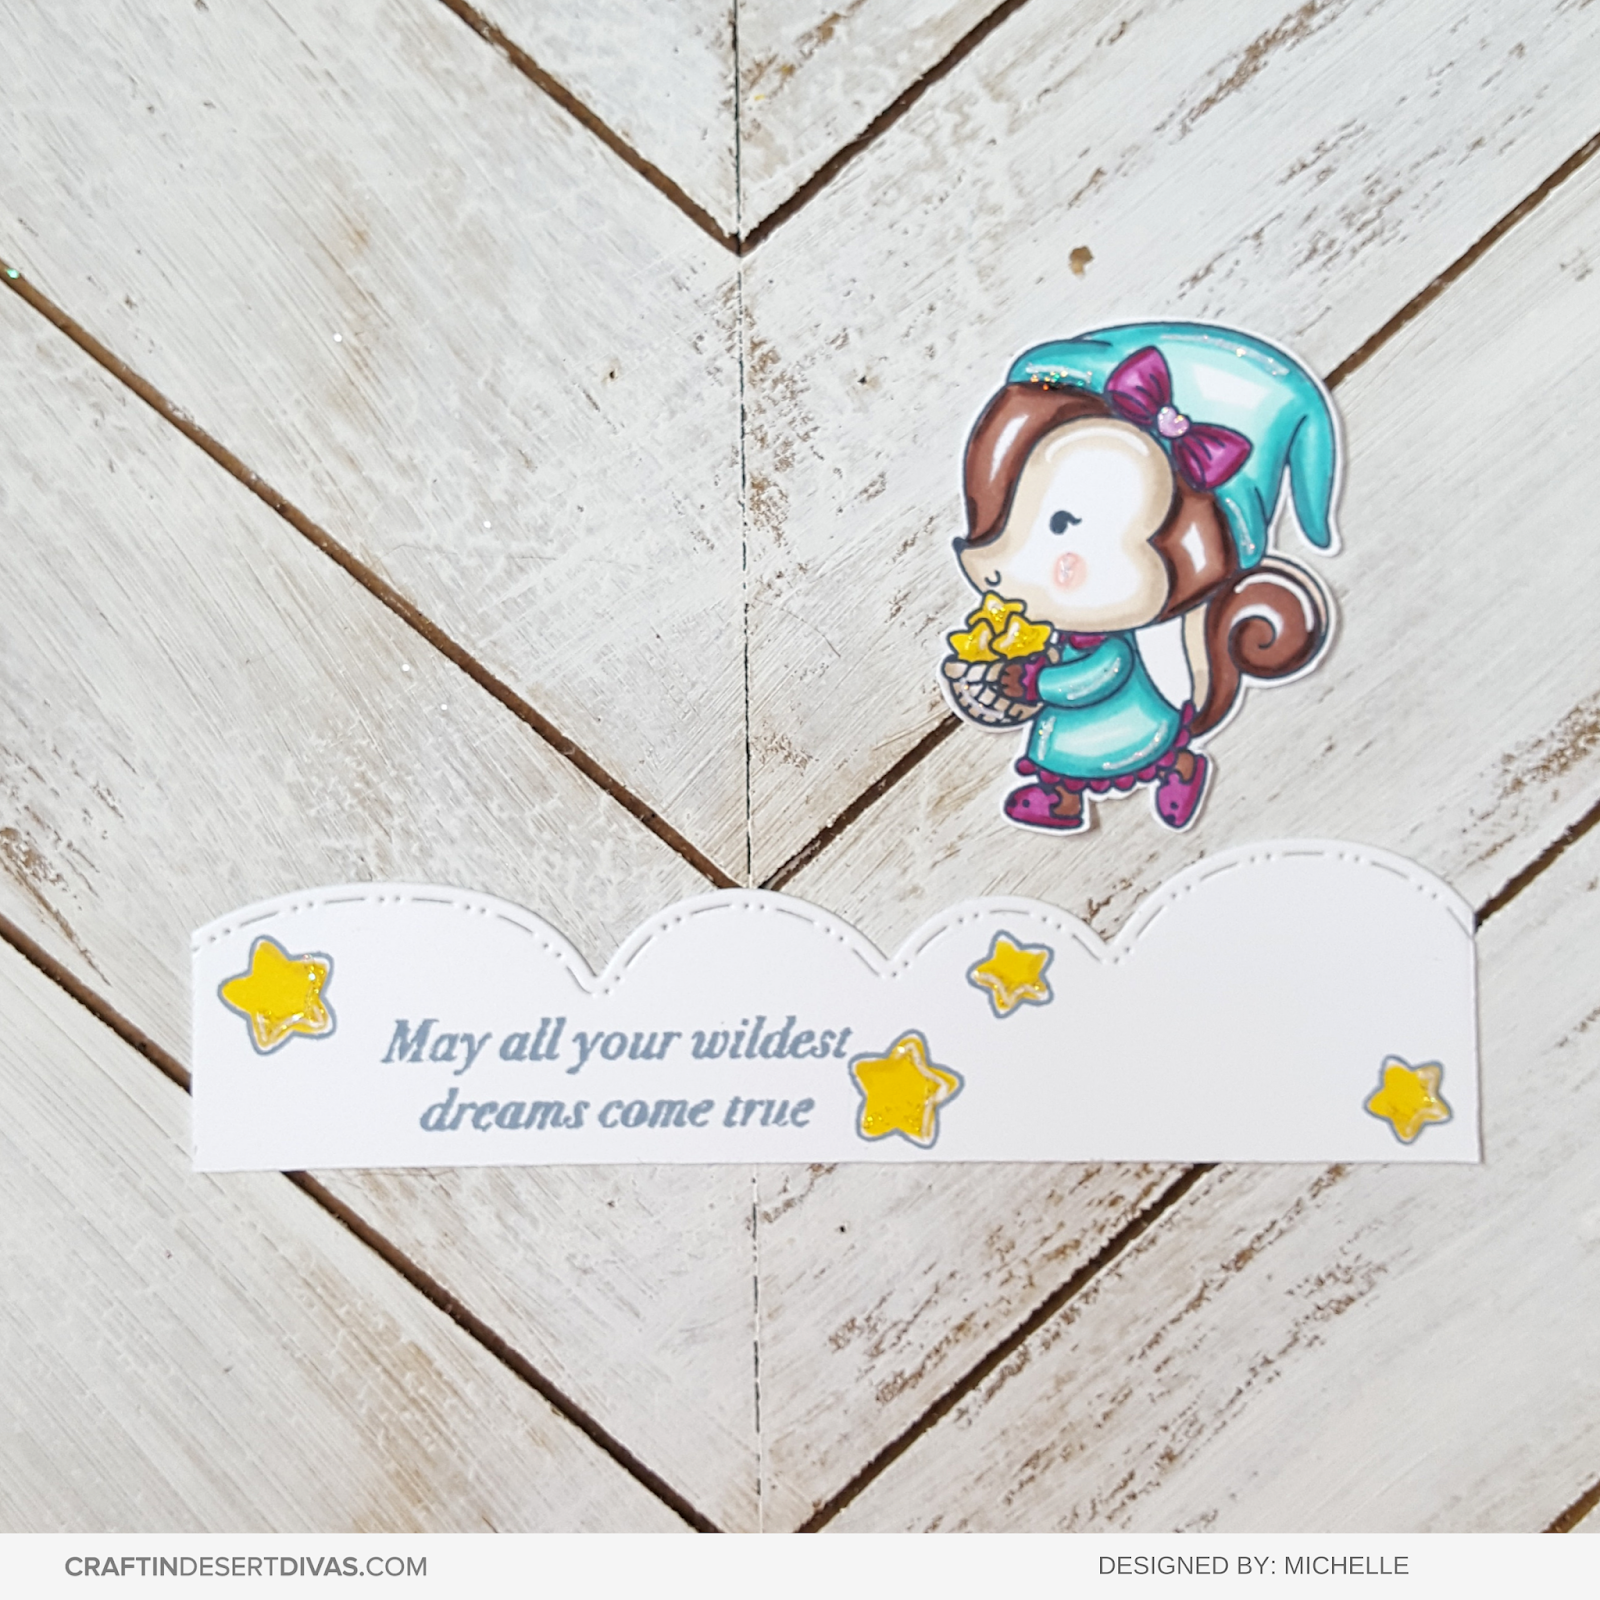
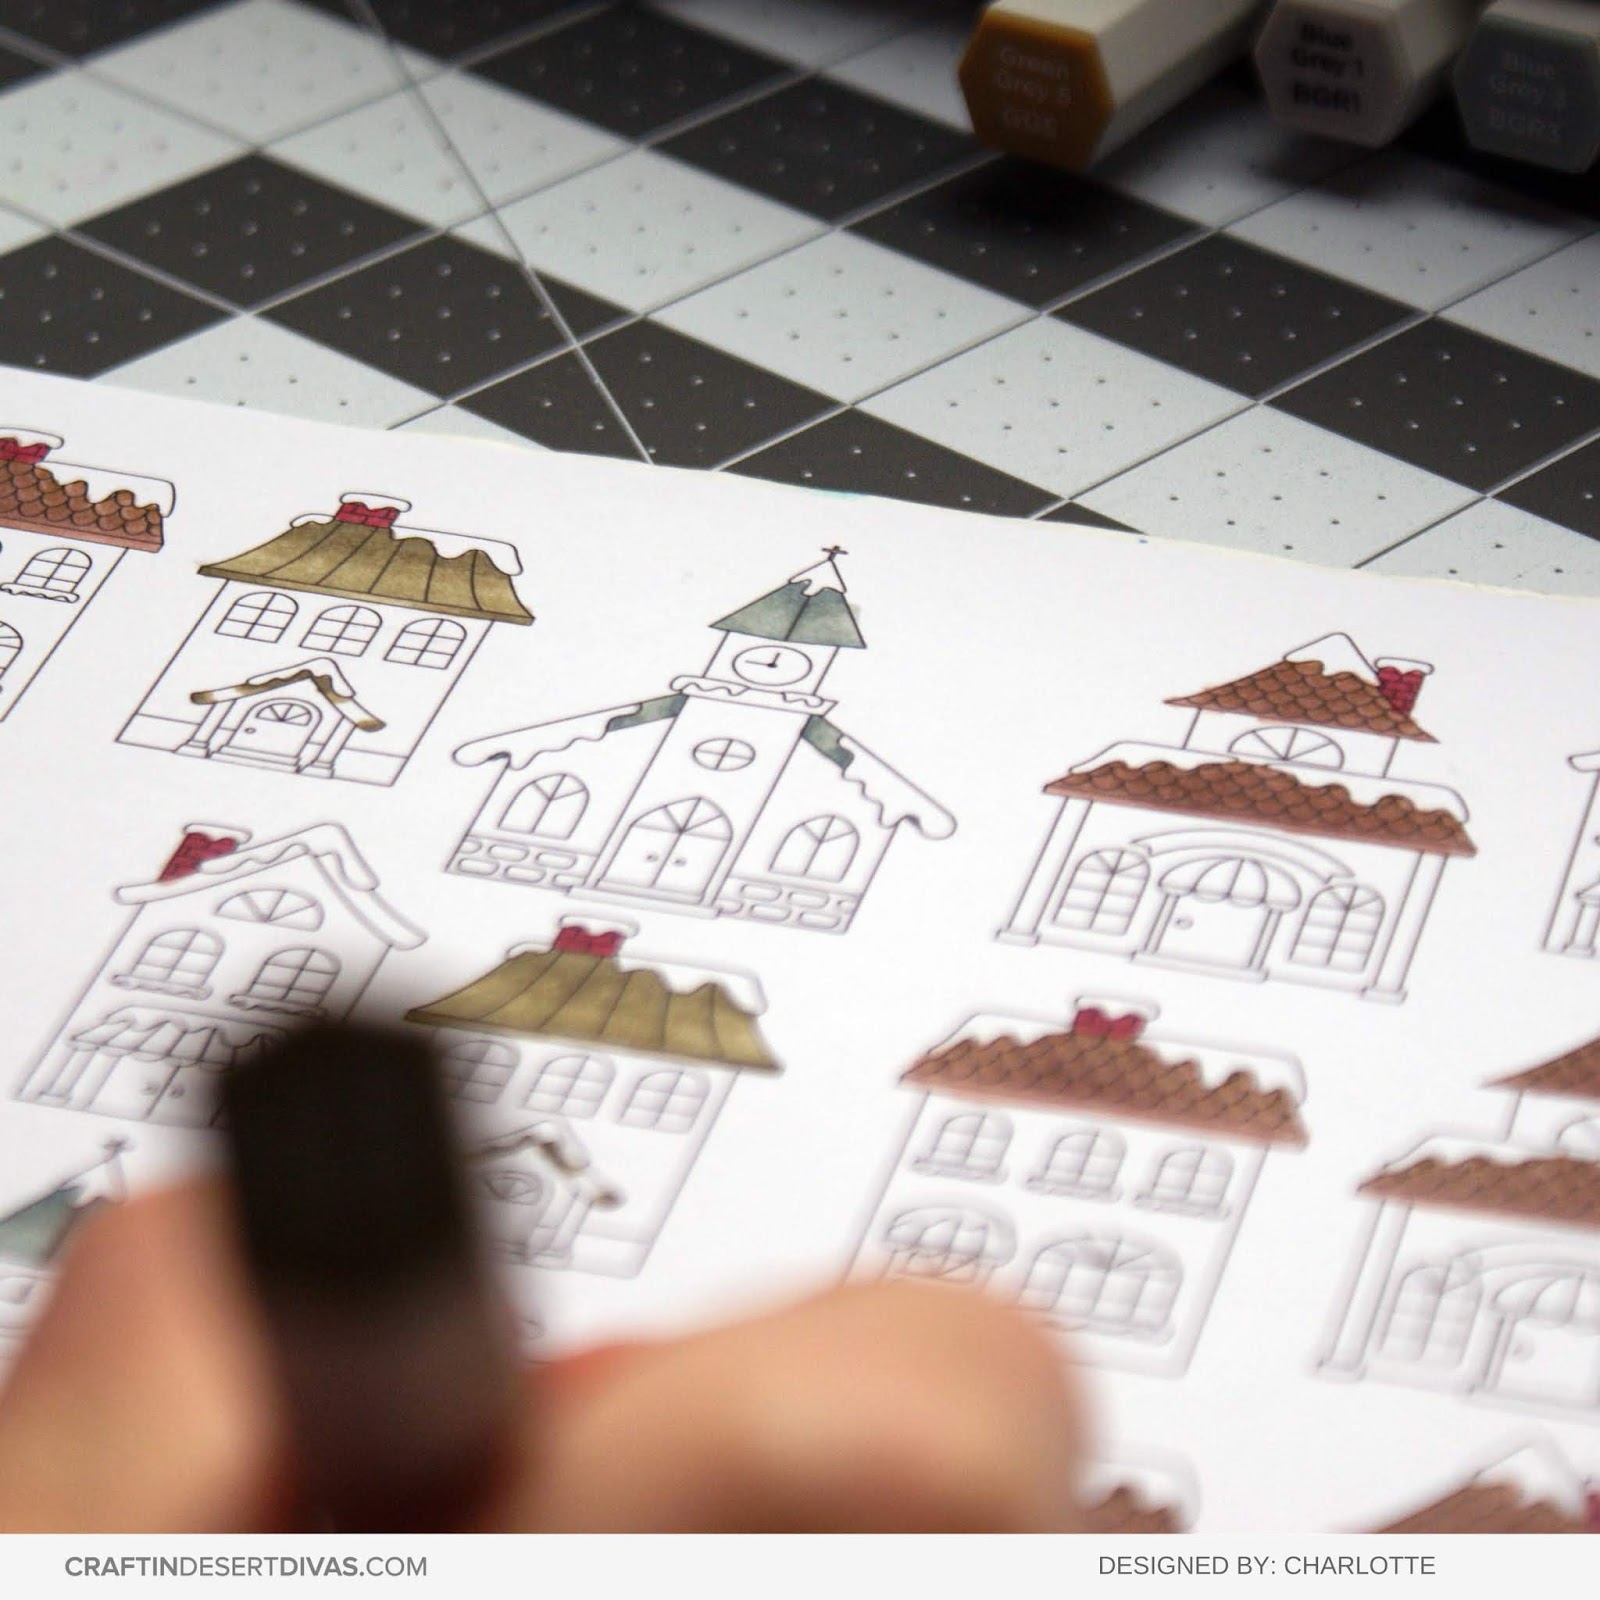
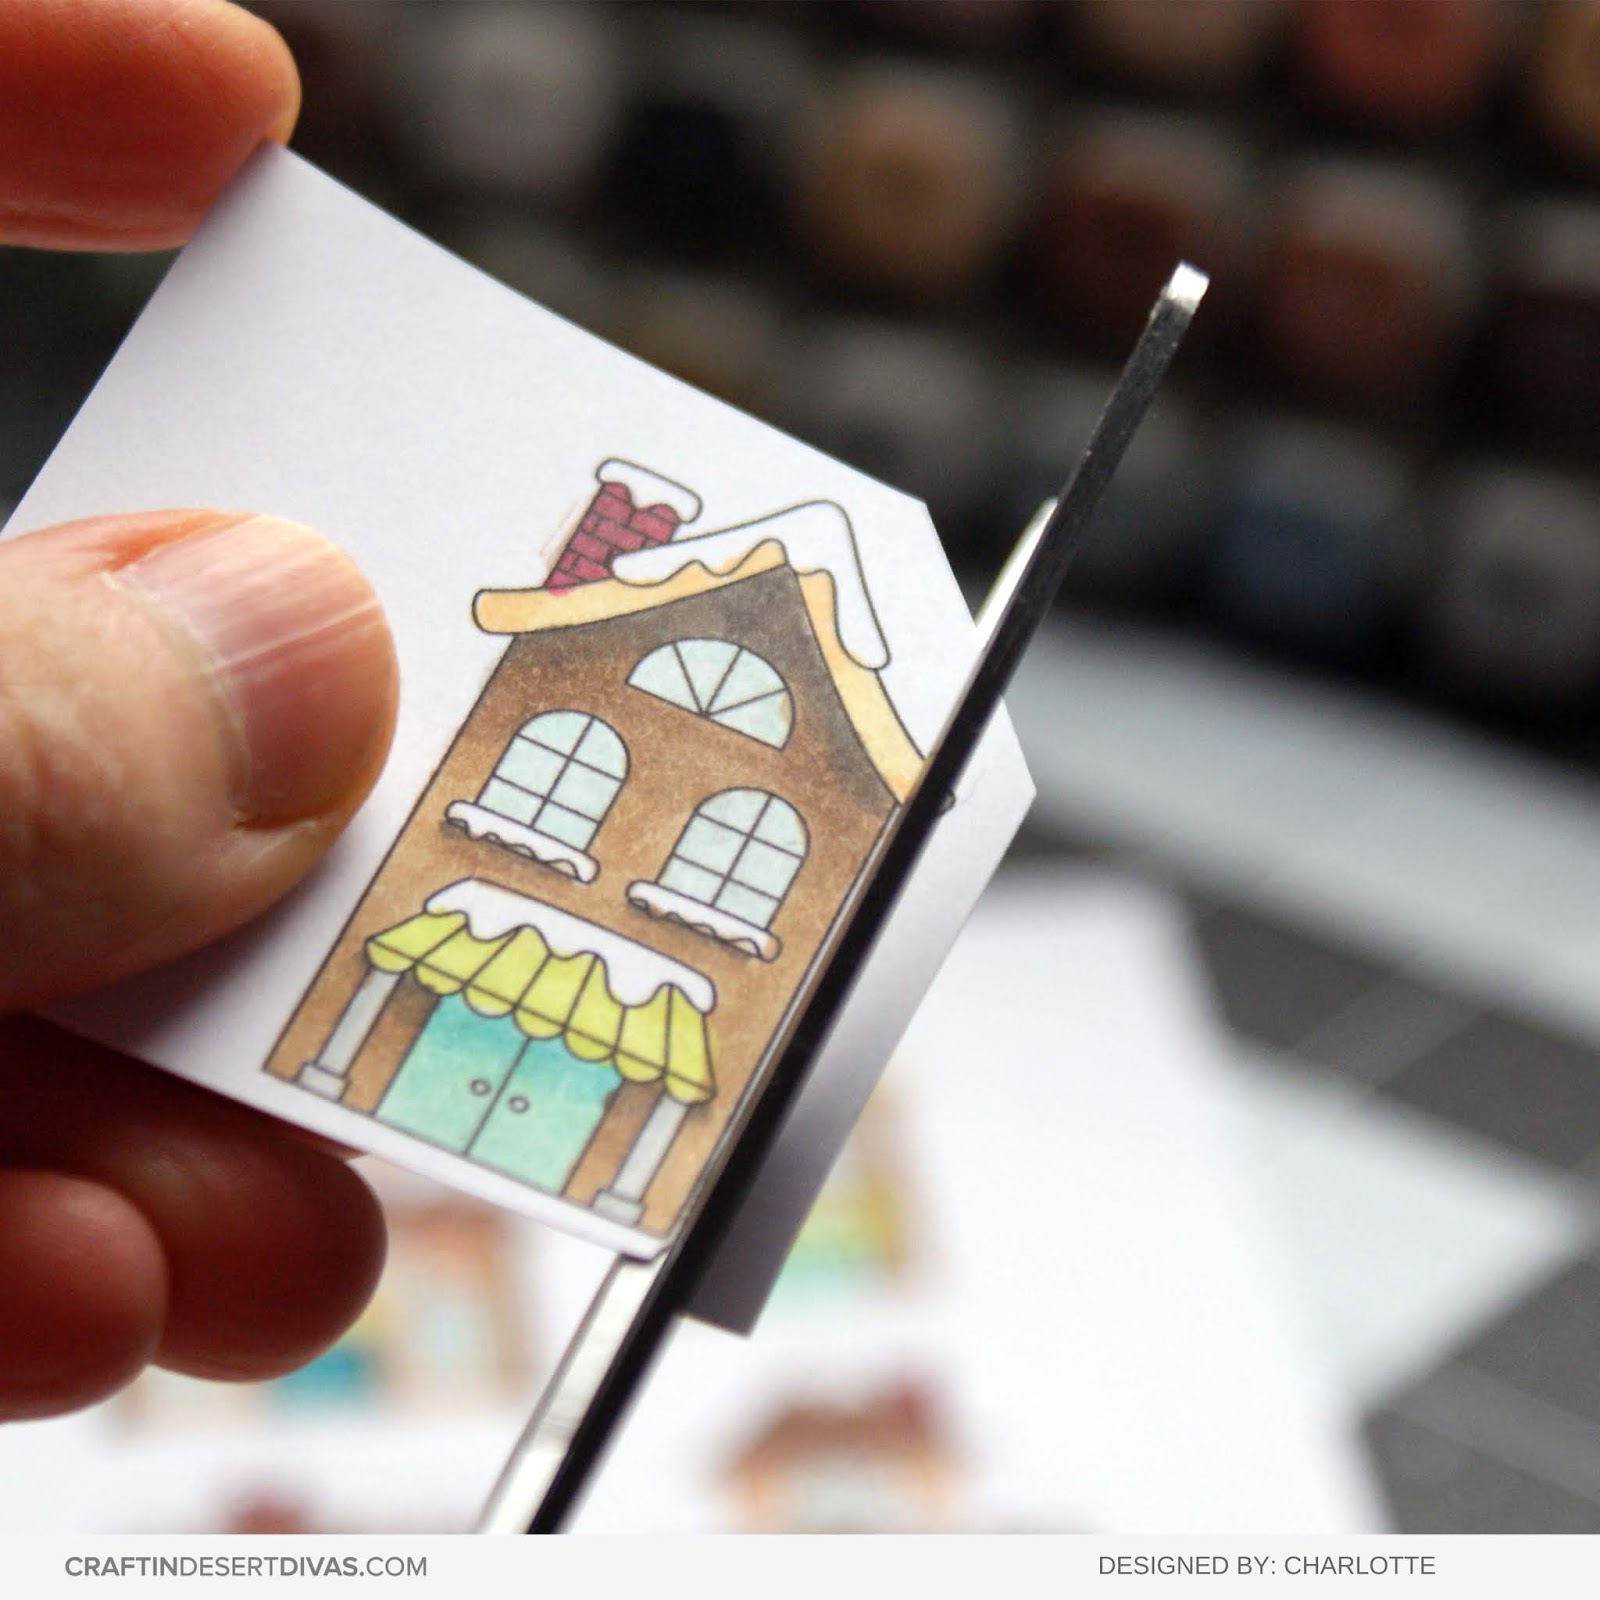
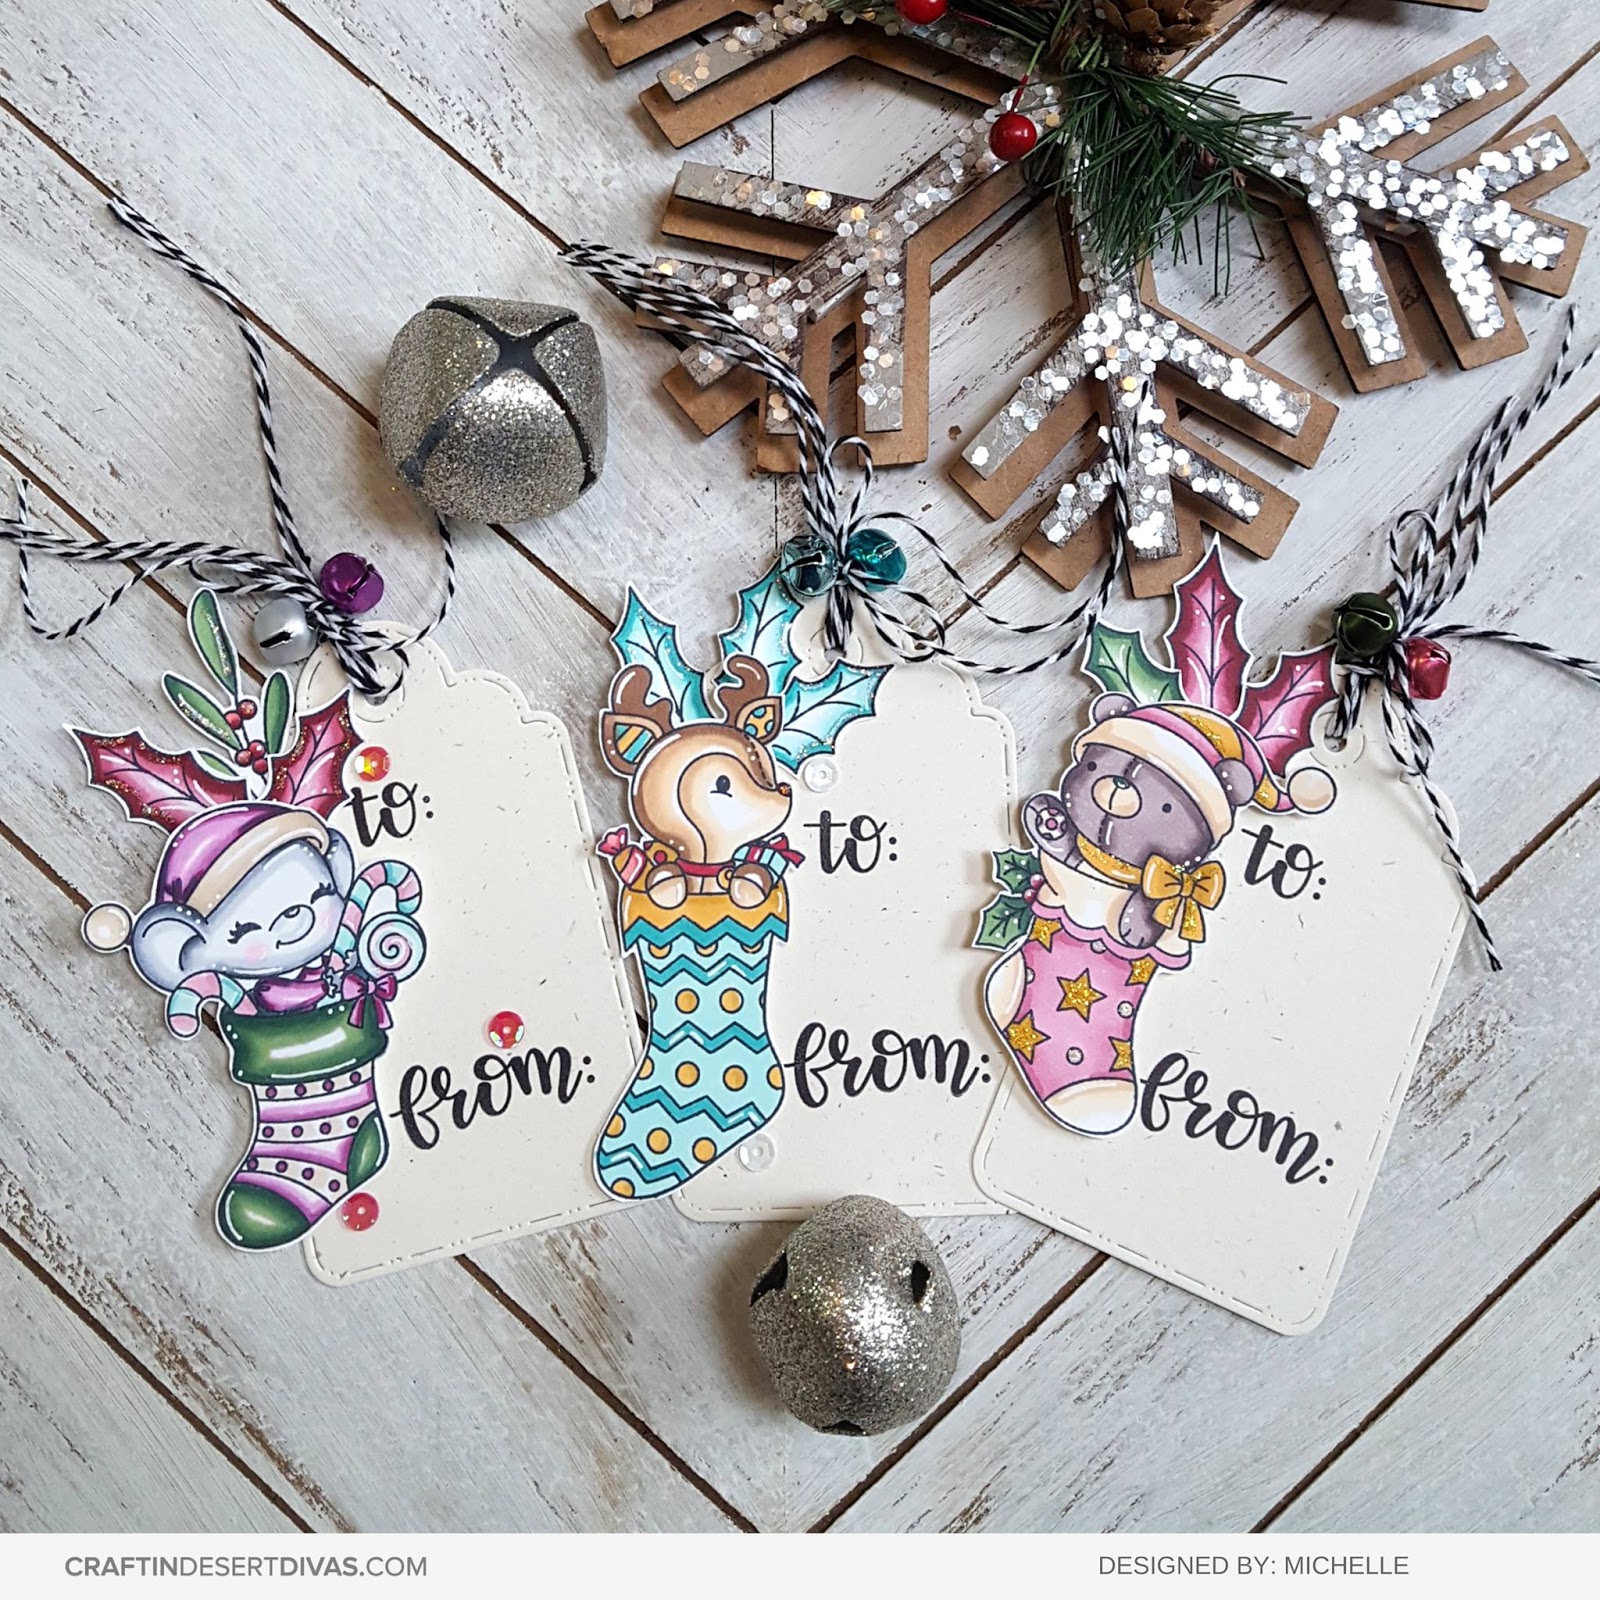
Here are some wonderful DT projects showcasing our new digital stamps.
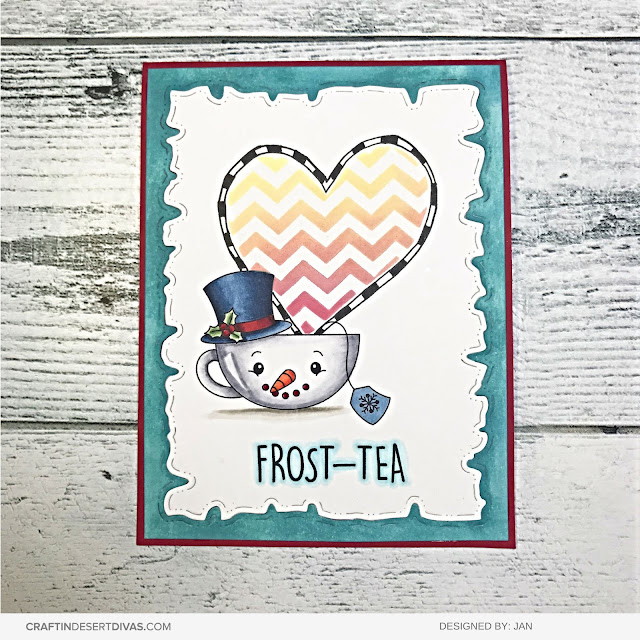


We'd love for you to join us in our CDD Gallery FB group . 

Code: Coffeehop

Thank you for joining us today! Have a wonderful day!


Tara

Sunday, November 25, 2018

May All Your Wildest Dreams Come True

Hello there!!!
This week on the Craftin' Desert Divas Blog 
we are showcasing our favorite stamps, dies and or stencils combined with our favorite technique.
I love creating my own backgrounds. Certain stamp sets are perfect for just that! 
The stamp set I used, , is ideal!
It has tiny stamps, like the stars and cloud, and moderately small stamps like the sleepy moon.
I absolutely adore the squirrel!!! The sentiment is from the set, .

Select your cardstock and stamps.
I used kraft cardstock for the base and white cardstock and vellum
for the cloudy path and squirrel.
Let's get started:
Stamp the moon and mask the image.
Stamp the stars and cloud.
Repeat.
Stamp the squirrel.

When your background is full, it's time to color.
I used Copic Markers in shades
Y15, Y15, Y26
BG11, BG15, BG18
RV63, RV66, RV69
E25, E27, E29, E49 (squirrel)
E40, E41, E43 (squirrel)
I added some white accents with a gel pen
 and outlined the some images with a white pencil.
I also added some Stickles glitter.

I used to create a cloudy path. I stamped the stars and sentiment.


Assemble your card.

Thanks for stopping by!
Hope you'll share your favorite with us!!!


Wednesday, November 21, 2018

Black Friday Sale!!


Take advantage of our Best Sale of the Year!!

Shop .


Sunday, November 18, 2018

Winter Snow Scene Shaker Card


This week at Craftin Desert Divas we're focusing on creating interactive cards. There are may different kinds of interactive cards - box cards and popup cards, waterfalls and sliders, and of course shakers. For this blog post I created a wintry double shaker card.

I began by printing out all the images I wanted to use for this card. I used images from the  as well as a . I printed and coloured more images than I ended up using, as I wasn't entirely sure how I wanted my finished design to look, and I wanted to be sure that I would have enough. I'd rather have too many than too few!


I used my Spectrum Noir Illustrator Markers to colour in all of my images. I went for a variety of browns and greys for the roofs and walls of the buildings. I chose brighter colours for the doors and awnings, and used a pale blue to add a hint of colour to the windows. For the Winter Gnomeo I decided to give him a Christmas-y look with a red and white outfit. I only have one red marker, so to add depth and shading to the red I actually bought in some green markers. Green is red's complementary colour, being opposite on the colour wheel, and combining them gives a hint of brown to the red, which works nicely for shading. Using too much of the green could create mudiness though. Once I'd completed all of my colouring I carefully fussy cut each of them out, and then set them aside whilst I worked on my background and other scene building.


I did some ink blending on some 5 1/2" by 4 1/4" watercolour card to create the sky for my background. I chose to use  and  Distress Oxides to give a wintry feel to the sky. Most of the Tumbled Glass portion actually ended up being covered in the final card, but I think it helped to add depth to the sky anyway. 


As well as my sky background I created a couple of snowy hills using the and some white glitter card stock. I used the same white glitter card stock to cut a frame to go on the front of my card. Whilst I had my paper trimmer I went ahead and cut my acetate windows too. I needed two windows, one for each of the shaker layers, and I cut these to the same size as my background panel. This way my finished shaker would be the same size as my finished card front. Next I started assembling everything. I adhered my larger die cut hill directly to the background panel, and added a couple of the buildings onto it. I then added a frame of foam tape all the way around. I made sure the foam tape would be hidden behind my frame and front elements of the scene. I then added some white iridescent glitter to the open area to create my first shaker layer. 


After removing the backing from the foam tape I adhered an acetate piece into place to close up the first part of the shaker. I had already added the remaining scene elements to this acetate piece. I then added another layer of foam tape around the edges of the card to create my second shaker layer. For this layer I used the . The  mix could also work well here


As before, after having added my shaker filling I removed the backing from my foam tape. I then added my final acetate layer and frame onto the top. I finished off the shaker by adhering my  into place. Finally I adhered the shaker to my white card base, completing the card.Craftin Desert Divas blog throughout the week for further interactive card inspiration from the team. 

Love, 

Lady Joyful  

Friday, November 16, 2018

Stamp and Digi DT Call January - June 2019 Term


    Craftin’ Desert Divas is excited to announce a brand new design team call for our Winter/Spring 2019 term!If you’ve got a great eye for detail, love coloring cute line-art images, and enjoy sharing techniques with others, we’d love to hear from you.

    This might be a bit biased, but we think our team is one of the best you’ll find. We promote a great team atmosphere and pride ourselves in being fair, flexible and most of all - fun! Please read the following description carefully and submit your applications by December 7th. If you have any questions, please get in touch with us using the email address listed below.

    Expectations:
    • Design Team term is from January 1, 2019, to June 30, 2019
    • Create 6 to 8 projects per month based on provided themes and monthly product releases, plus any additional cross-promotional events during the term
    • Work with established schedules, meet deadlines, and follow posting guidelines
    • Draft blog posts in Blogger blog platform
    • Ability to write concise step-by-step tutorial posts
    • Ability to take clear, well-lit photos
    • Basic photo editing skills (and ability to adjust size, crop, and watermark based on requirements)
    • Create step-by-step tutorials with photos and/or videos and written instructions
    • Active blog and social media accounts (one or more of the following: Facebook, Instagram, Pinterest, YouTube, Twitter, etc.)
    • Exclusive use of Craftin’ Desert Divas products on CDD blog posts (no additional stamps, sequins, dies, etc.)
    • Engagement with Craftin Desert Divas social media accounts, Facebook groups and CDD Design Team

    Benefits:
    • Generous shipments of stamps and complimentary items such as stencils, digital stamps, SVG outlines and sequins.
    • New release products and promotional products from industry collaborators
    • Discount code to buy additional products
    • Link back to your blog or website connected to each blog post featuring your work.
    • Exclusive designer affiliate program
    • Team Facebook group

    How to apply:
    Email  with the subject line: (Your Name) - Design Team Call
    Please include the following in a Word, PDF or .RTF document:
    • Your name and an introduction
    • Blog links and links to social media
    • Why you’d like to be a part of the CDD family
    • 3-4 images in .jpg format that show the type of work we can expect from you
    • Past Design Team experience
    • Links to any publications and/or project features
    • Extra info #1 - We have a special design team position for video and YouTube experienced designers. Please indicate if you would like to be considered for this spot.
    • Extra info #2 - Please indicate if you are experienced working with digital stamps and would be open to working with them.

    Term Details:
    • Term runs January 1, 2019 - June 30, 2019
    • Submissions will be accepted through December 7, 2018
    • Design Team members will be emailed no later than December 15, 2018
    • Our Design Team call is open to U.S. or International participants
    • Please email any questions to

Thursday, November 15, 2018

Handmade Holiday Tags!

Today we are sharing all different types of holiday tags to give you some ideas for the upcoming holiday season!  They are an extra touch you can easily add to presents to make them feel more personalized. 

 Michelle's tag are showcasing our stamps and .


Candice tags are sharing our new stamps and .

Janni's sweet tags are sharing our stamps,  and Dies.

Jan's elegant tags are sharing our stamps and 

Saundra's gorgeous tags are sharing our ,  and 
.


Anna's tags are the cutest and sharing our  Dies and Frosty Buddies stamp set which is an exclusive release freebie.

Hope this inspires you to make your own holiday tags. 

Tuesday, November 13, 2018

November Release: Product Reveal


Hooray - it's Release Day!

We're excited to reveal all the adorable sets that are available in the shop today.

Plus, when you shop Tuesday 11/13 - Friday 11/16 you'll get these extra perks: 

  • Spend $40 or more and you'll get a FREE exclusive mini-stamp (shown below)
  • Earn double points for Diva Rewards members

Exclusive FREE Stamp when you purchase 11/13 - 11/16!!

Here's a look at all the new products:


Let us know in the comments below what your favorite set is from this release. Thanks for stopping by!

Monday, November 12, 2018

November Release Sneak Peek: Day 5


Welcome to Day 5 of our November Release!


We're so excited to be sharing our final day of Sneak Peeks from the November Release! Today we're sharing Winter Trolls stamps.

Plus, when you shop Tuesday 11/13 - Friday 11/16 you'll get these extra perks: 

  • Spend $40 or more and you'll get a FREE exclusive mini-stamp (shown below)
  • Earn double points for Diva Rewards members

Exclusive FREE Stamp when you purchase 11/13 - 11/16!!


If you haven't joined our Facebook Gallery Takeover yet, be sure to do that today! You'll get more inspiration, ideas, and fun over in the group.

Guest Designer Jennifer Dix


I hope you have enjoyed all of the November sneak peeks. Release is available tomorrow!!
Newer Posts Older Posts Home