Saturday, June 30, 2018

Wet Feet Summer Theme Tutorial

Hi Crafty Divas, DT Janni here.

Today I want to show you this sweet summer card I made using 'Wet Feet'.


The first thing I did was to cut my background using 'Fancy Frame Dies', a banner using 'Flag Banner Dies' and a scalloped circle with  'Stitched in Circle Dies' - all in white cardstock.


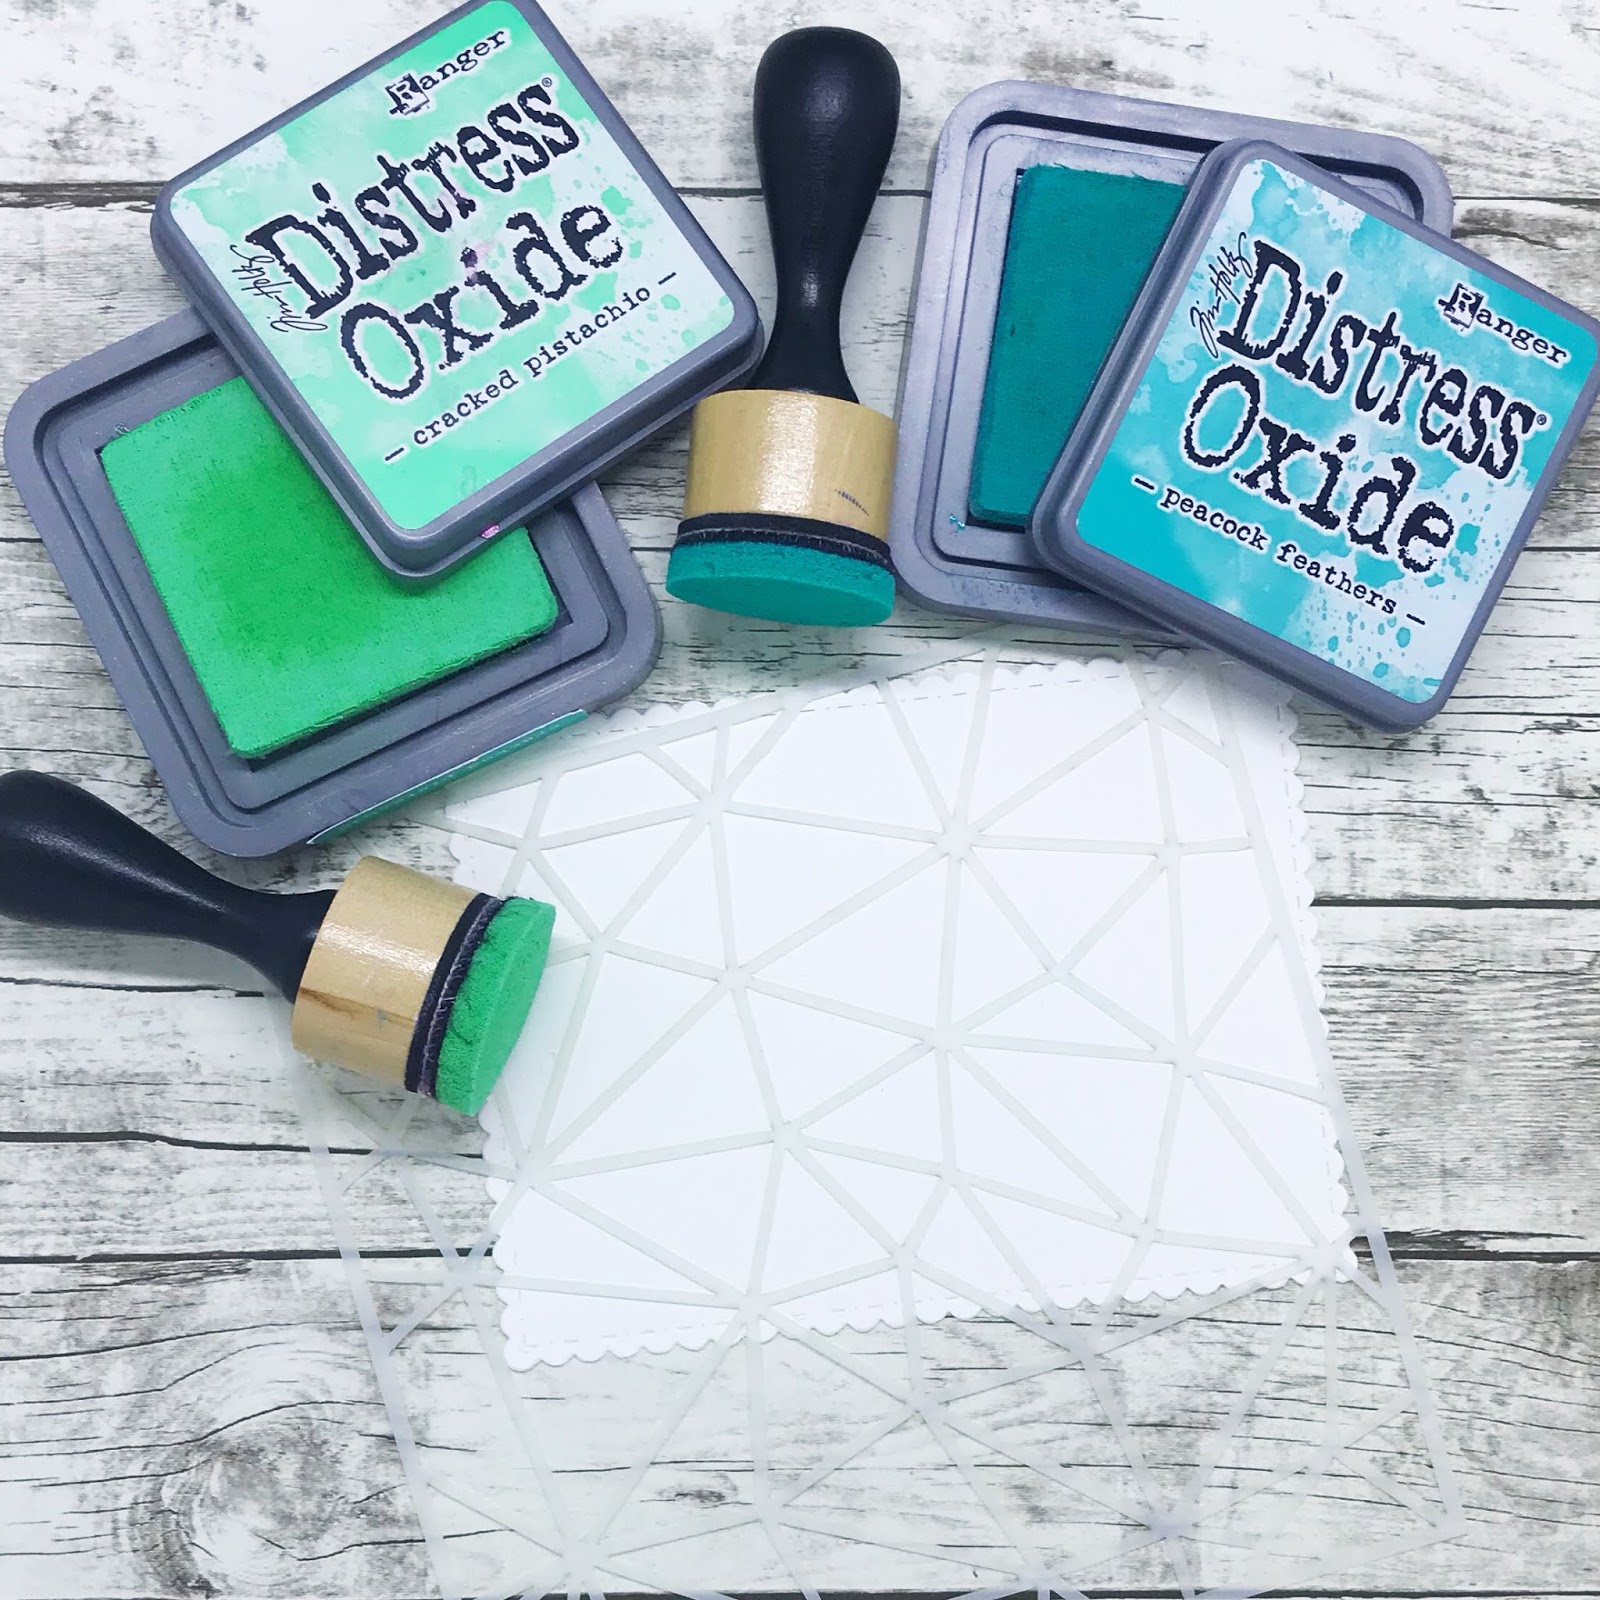
Then I lined up all the stuff I needed to make my card - my favorites. CDD dies, a cute stamp, Distress Oxides, blending tools, Stencil, Copics and sequins.


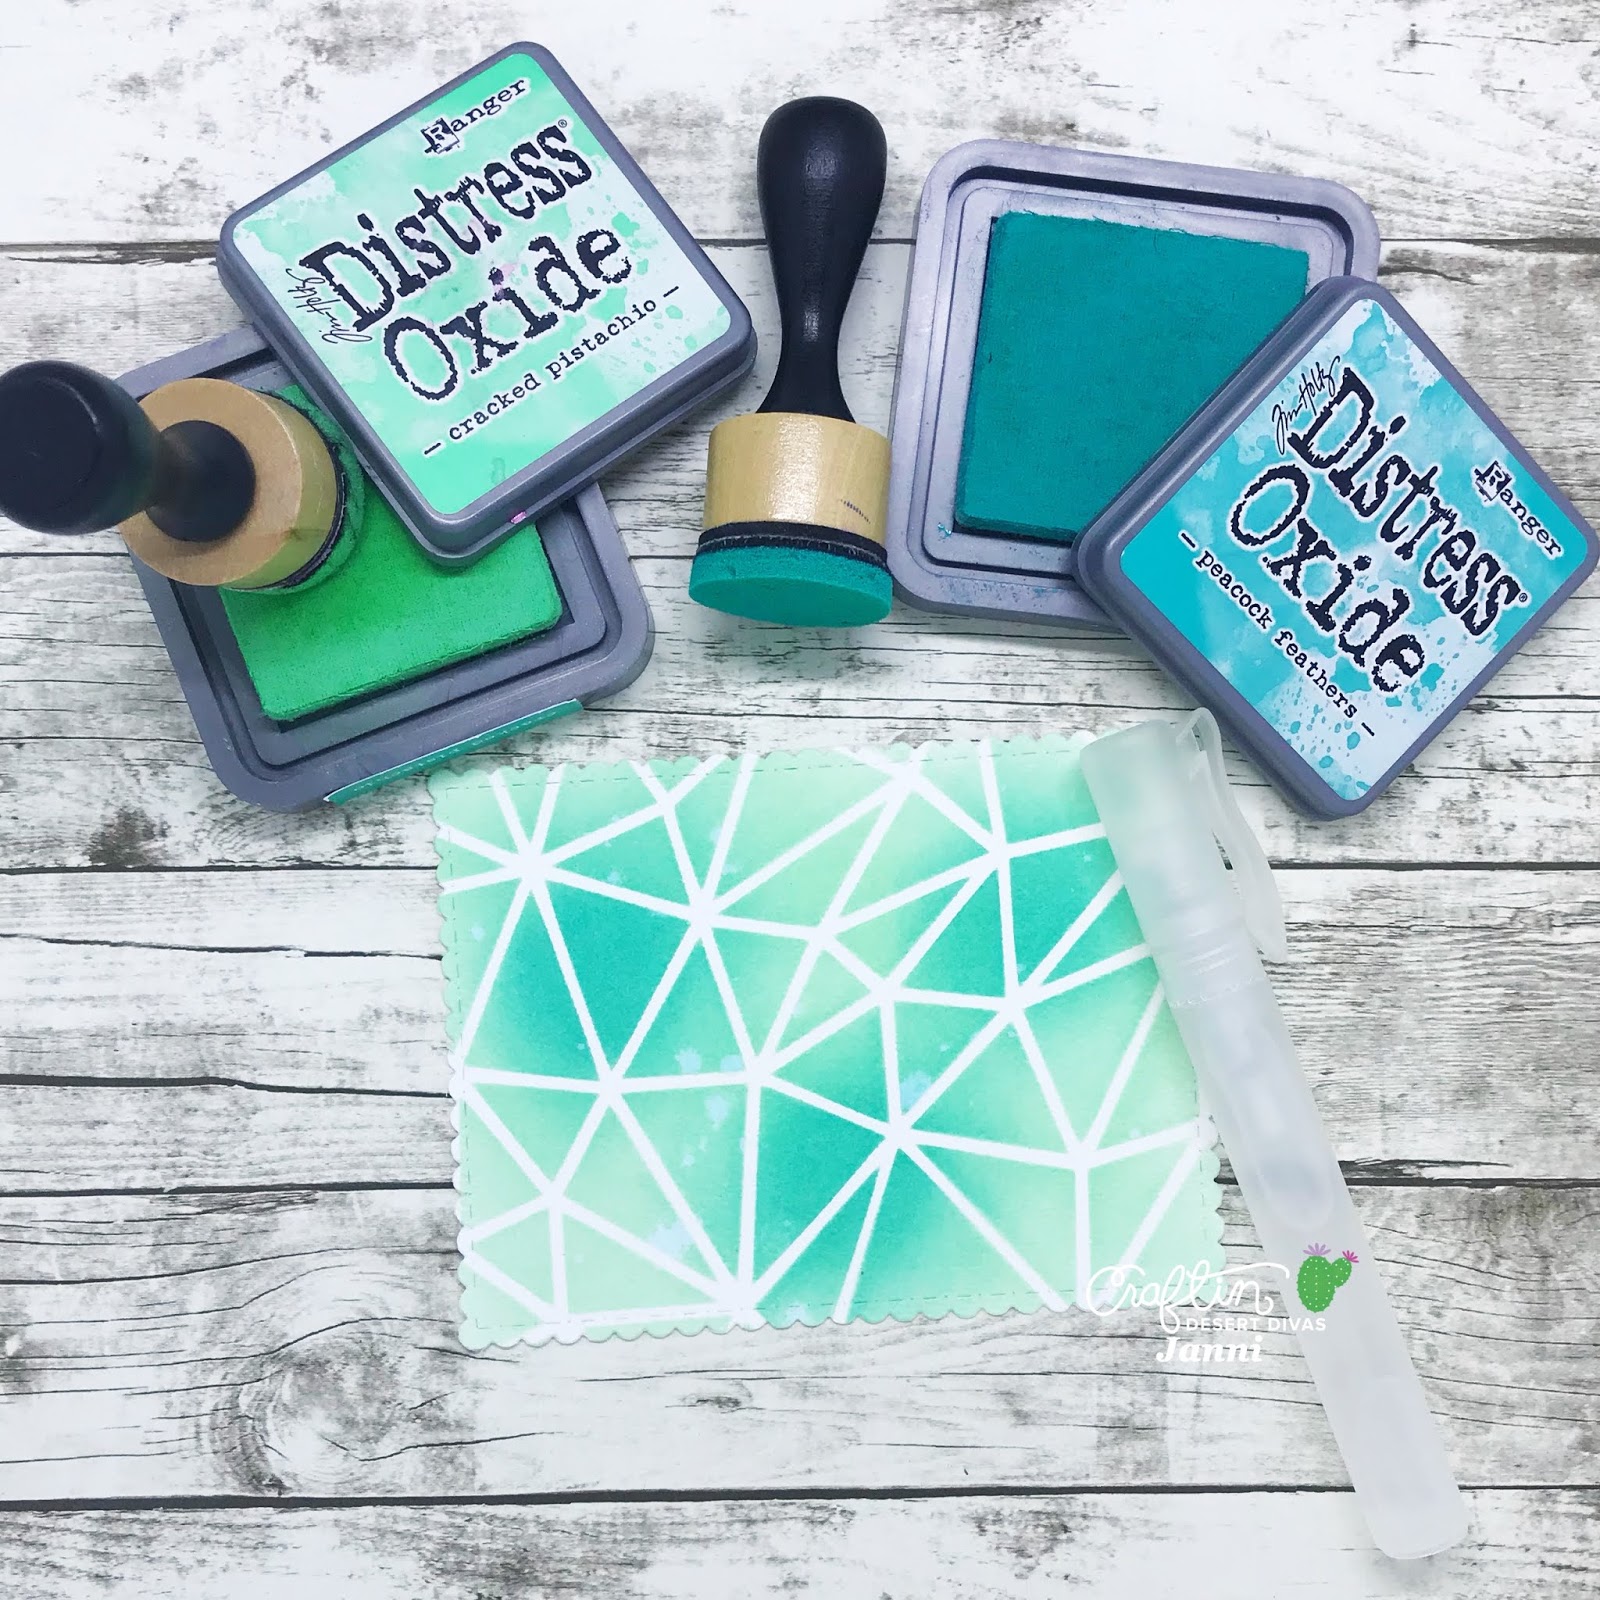
Today I'm coloring my background with the new amazing 'Polygon Stencil'. Ohh I just love to work with it, it makes such an amazing pattern. The colors I used was Distress Oxides 'Cracked Pistachio' and Peacock Feathers'


Here you see the result after I sprayed it with a bit of water - this is so amazing!


Copic Coloring time! How cute is that little flamingo <3
My combo's: R00-R12-R42, W0-W1-W3-W5-W7, G000-G00-BG32, E0000-E01.


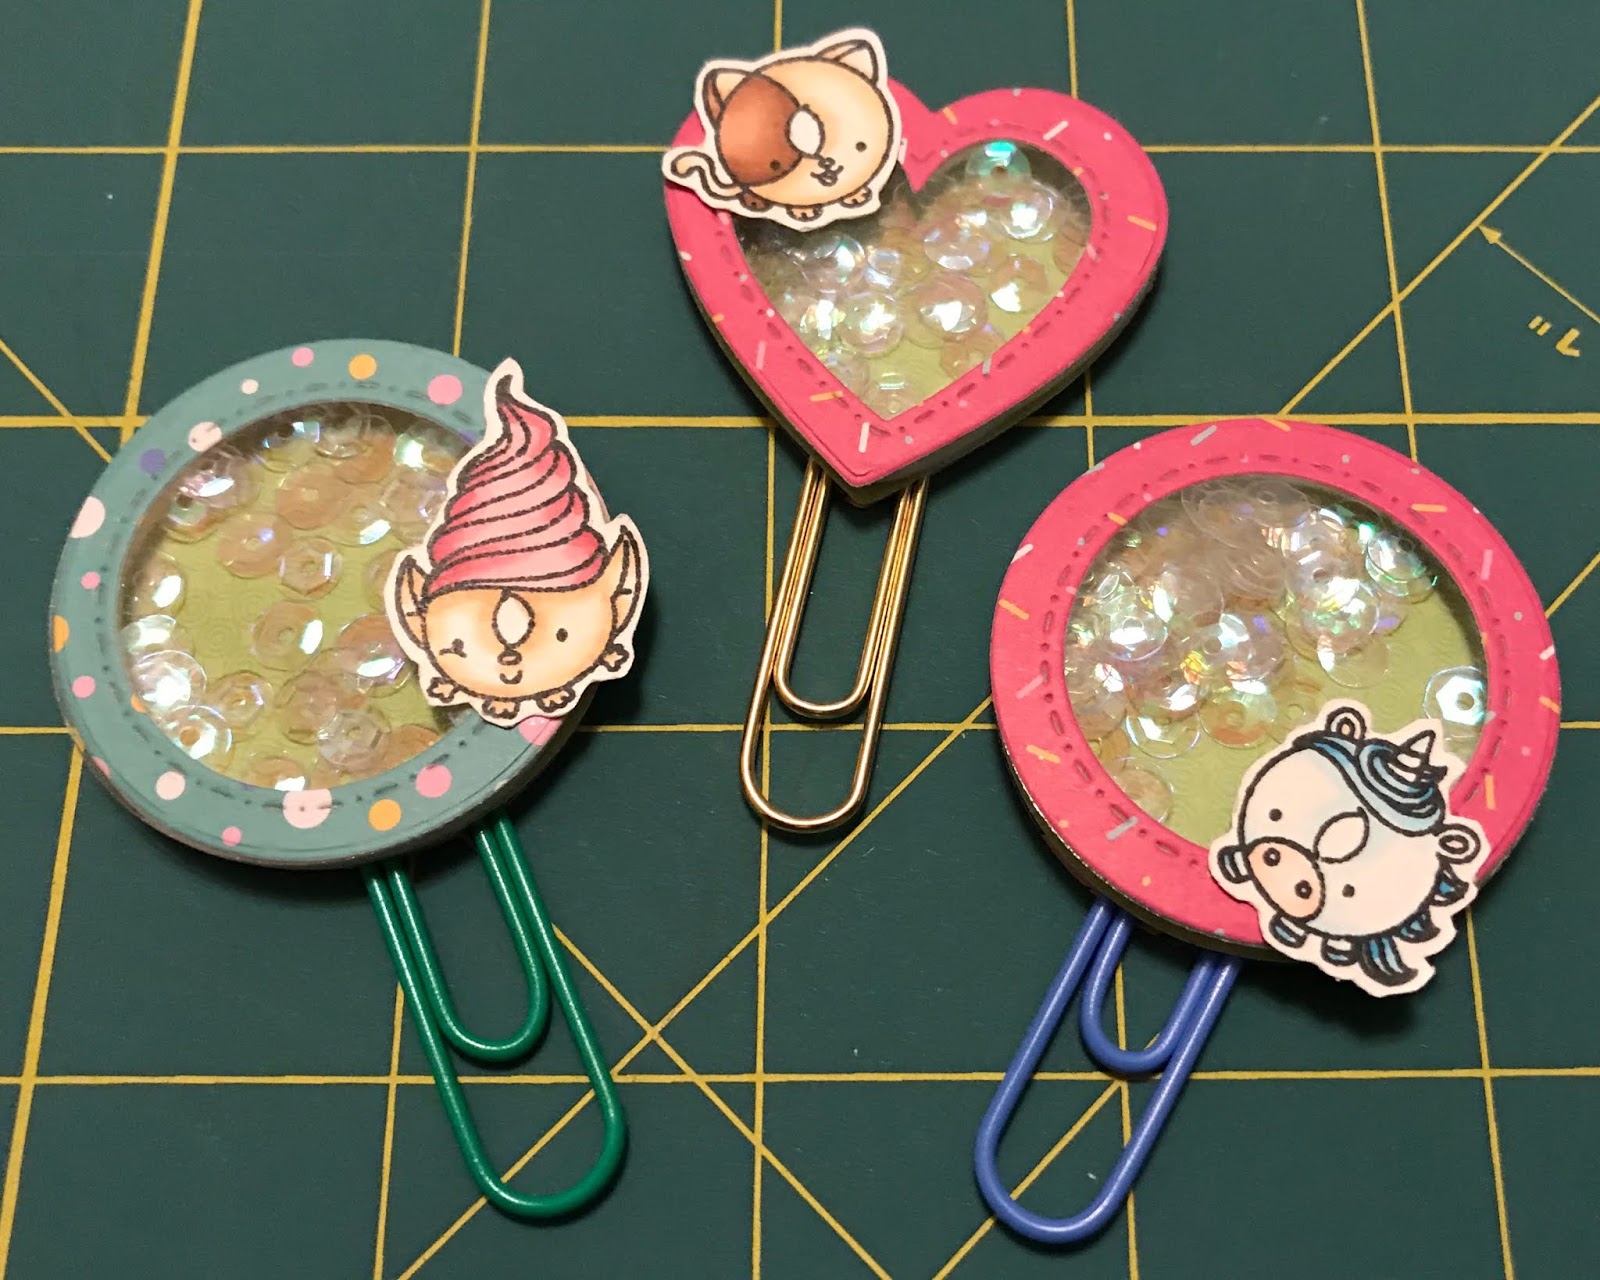
I stamped the sweet sentiment on a little banner from 'Flag Banner Dies' and placed it up in the left corner. The cute flamingo is placed on the Scalloped circle with 3d foam dots and placed in the right side of the card. I added some 'Shimmer Sequins' and white highlights on the flamingo - and the card is done.


I hope my card got you in a summer mood, thanks for stopping by.

See you soon again,
Hugs
Janni

Products used:


Polygon Stencil


Friday, June 29, 2018

Cutie Planner Paper Clips with DT Cheryl

Hello everyone it's Cheryl with the DT here to show you how to use the Mini Shaker Clips Die set to make fun shaker paper clips! Can you tell that this planner girl loves her shaker clips! :P


First I cut out some patterned cardstock using the dies, the first picture shows how I stacked two dies to make a window for the shaker. Next I cut additional die-cuts for the back of the shaker.


In total, you'll need 1 die-cut that has a window, 1 die-cut using acetate, and 2 die-cuts for the back. Pictured here are the total die-cuts for 3 shaker clips.


Next, I glue the acetate to the die-cuts with the window, and use an anti-static bag to remove any potential cling for the sequins I will use.


Then I measure out some craft foam tape and cut the width into quarters.
 
When applying the craft tape, it's always easiest to remove the wax paper backing, use two layers of foam tape to allow plenty of room for the sequins to move! Next, I added some shimmer sequins and then stuck one of the backings to close up the shaker.


I've got some donut critters colored and cut ready to get on some shaker clips!!! ;P


Turn the shaker clip over and generously apply some craft glue, then add your paper clip, making sure the end with two loops is facing down. Add a little more glue over the paper clip if needed, then add the other backing


There you have it! Mini Shaker clips that'll be sure to put a smile on your face!

Products Used: 


Thursday, June 28, 2018

Party Treat Bag With DT Waleska

Hello CDD Fans Waleska here from , to share with you my last post as a Design Team Member.... The theme for this week is "Non card project" so I got creative inspired on the coming Pijama Party my daughter will be having this Friday!! She loves trolls, I used the  stamp set, so she was thrilled with this little details for her party!!!  It is so fun to craft and even though I love making cards it is so refreshing to do different projects too...


PROJECT DETAILS:

To start this projects I cut a strip of white cardstock 16 x 25 cms to create the milk wrap, I used oxide inks to create the night sky in colors Peacock Feathers, Seedless Preserves and Black Soot.  To finish the night look I did some splashes with white paint to be the starts.  I adhere the cute girl troll in her pijamas in the center... (so adorable!!!!)


To create the box I used the , I cut the two pieces to ensemble the treat bag, and masked around the front of the bag to ink only the front.  I used the same colors I mention before to create the night sky and added white splashes and cute troll.  I am thinking on putting the names of my daughter´s friends on a small tag attached to the bag. What do you think??


I am also thinking on giving them my daughter´s favorite cookies and give them some chocolates inside the treat bag. Sweet enough???


I hope I inspire you to create some cute accesories for your parties!!!! I had the best time on the CDD Team, I learned a lot and made some amazing friends!!! Take care thank you so much for all your kindness during my time as a DT Member!!! 

Keep on Crafting!!!

Love,


CDD Supplies:


Wednesday, June 27, 2018

Introducing the Summer/Fall 2018 Craftin Desert Divas Design Team!


We are SO excited to introduce our Fall/Summer Design Team today! Thanks so much to all who applied. We can't wait to see what each of these talented ladies create for you. 

Click the links below to visit each of our designer's blogs and help us give them a warm welcome (and welcome back!) to the team.

Stamp Team: 


Janni: 
Rachel: 

Sherry: http://www.sherrycarrigan.com


Digi Stamp Team:

Caren: carenwithac.com
Mari: www.marikocreations.blogspot.com

Design Team Coordinator: 


Jan: 
Newer Posts Older Posts Home