
Hi and welcome, everyone! Lisa M. from In The Crafting Cave bringing you the CDD daily post.
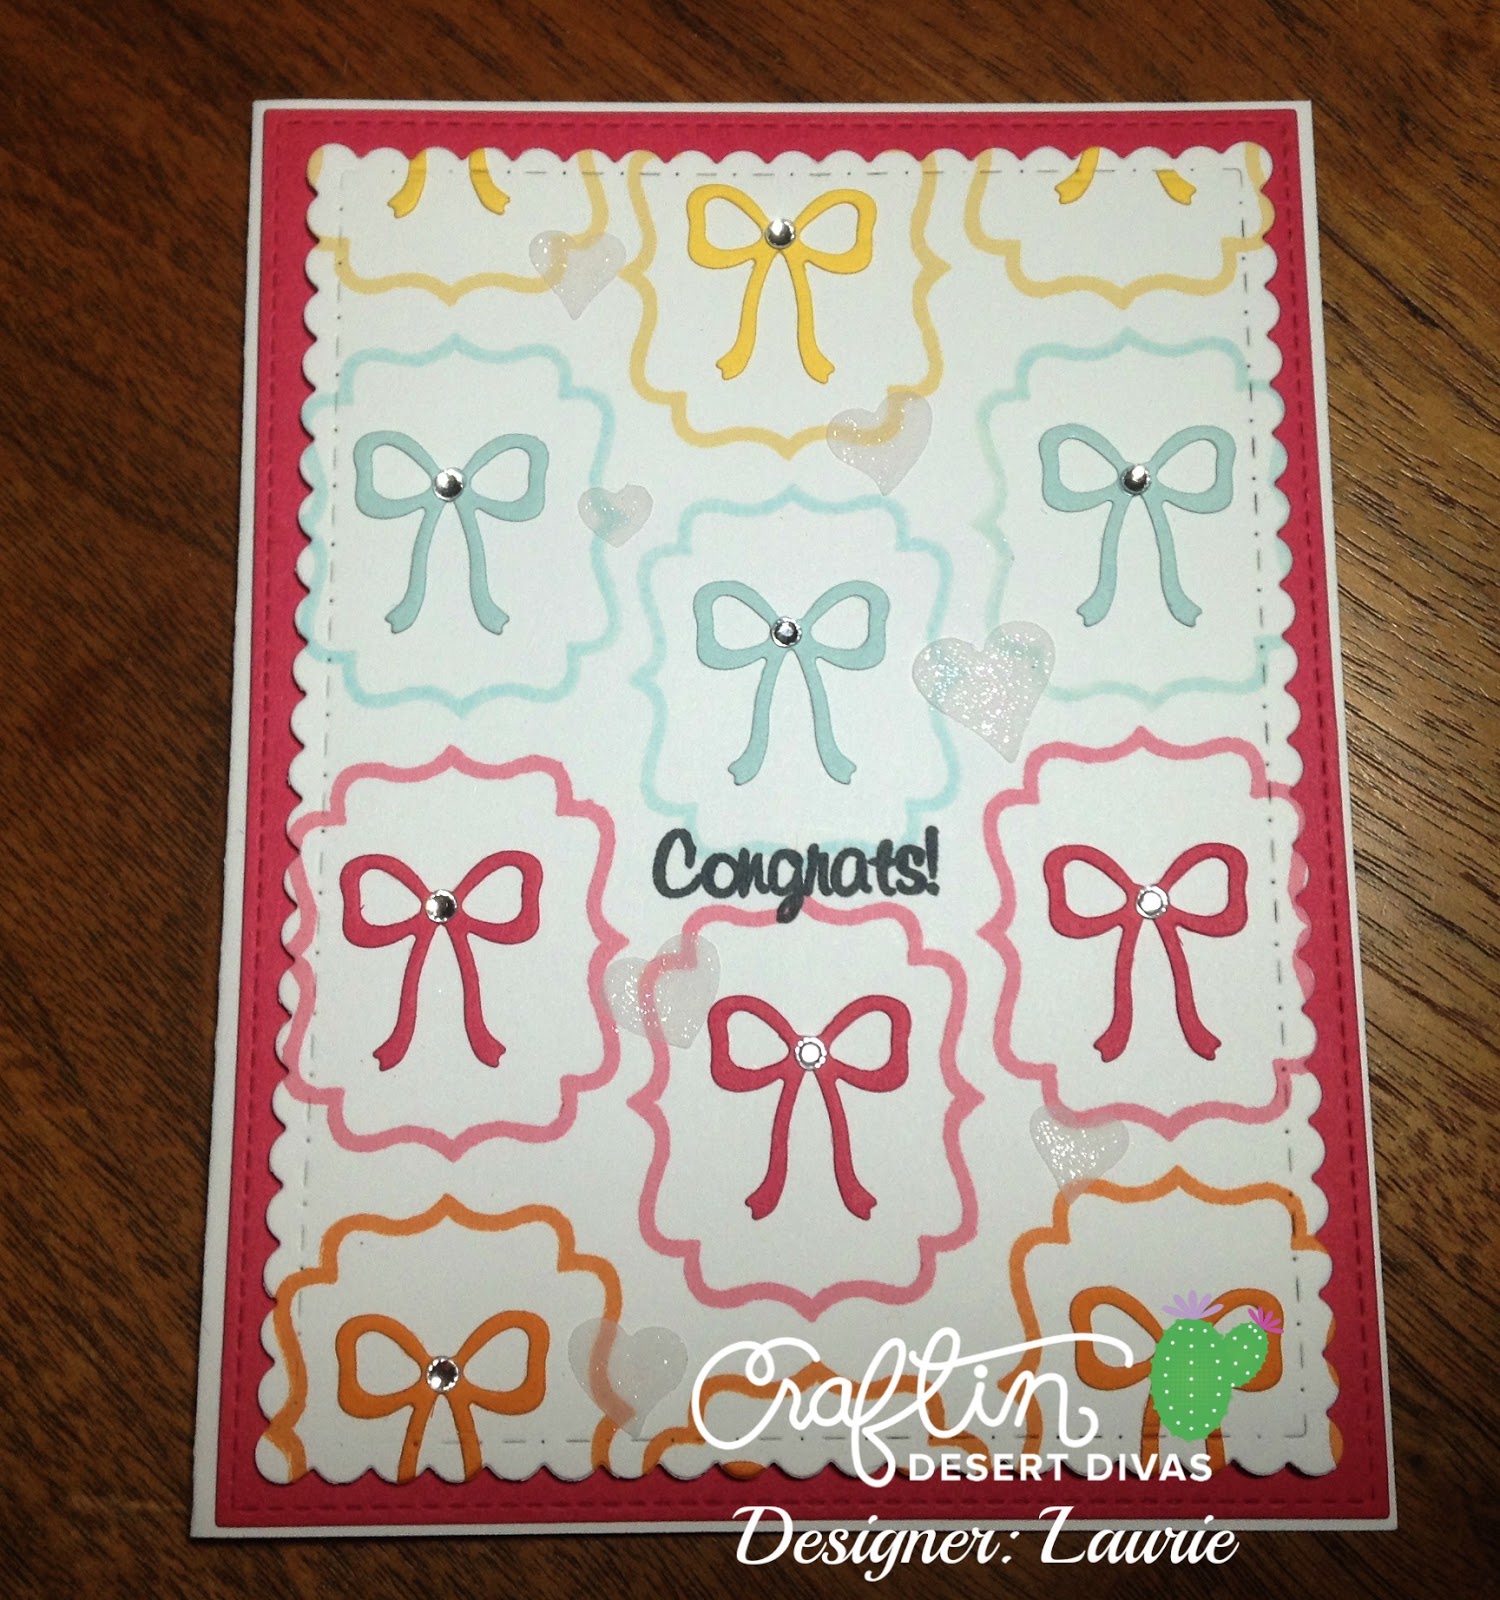
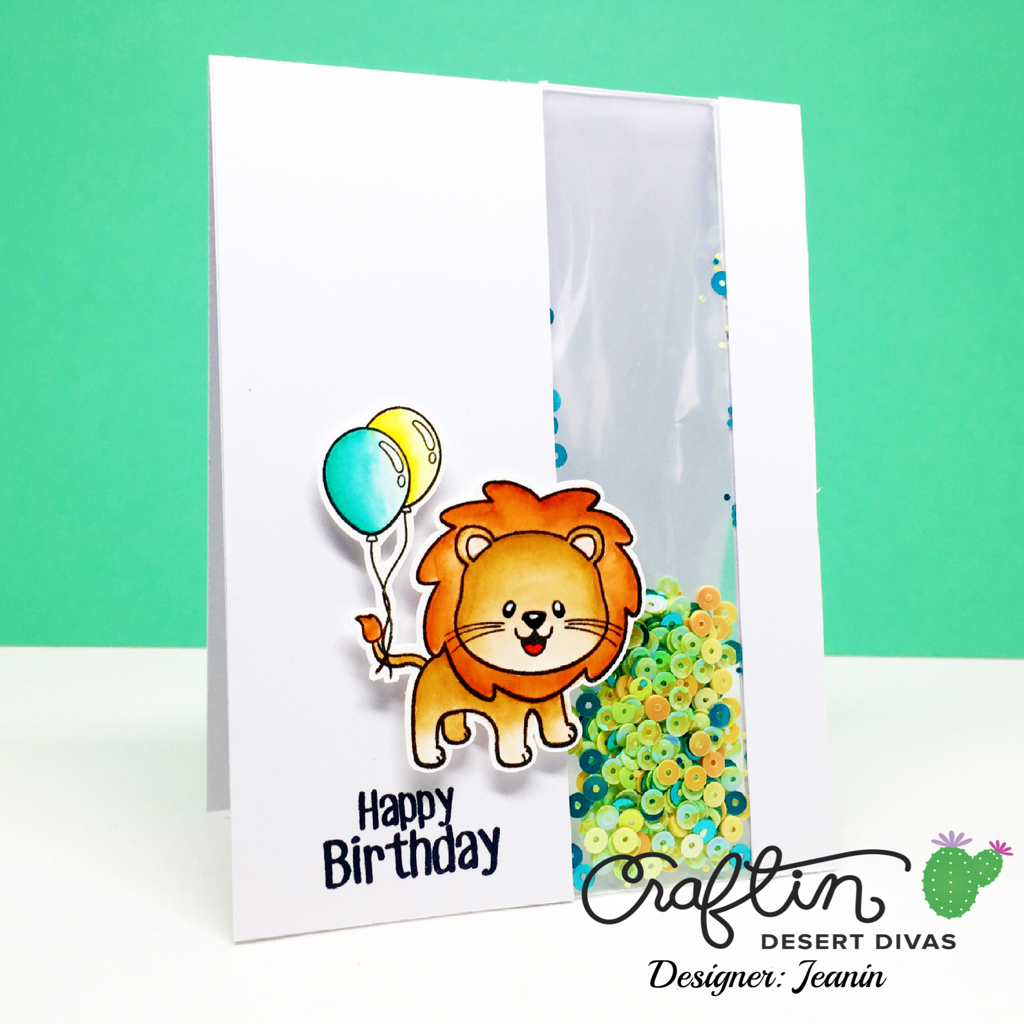
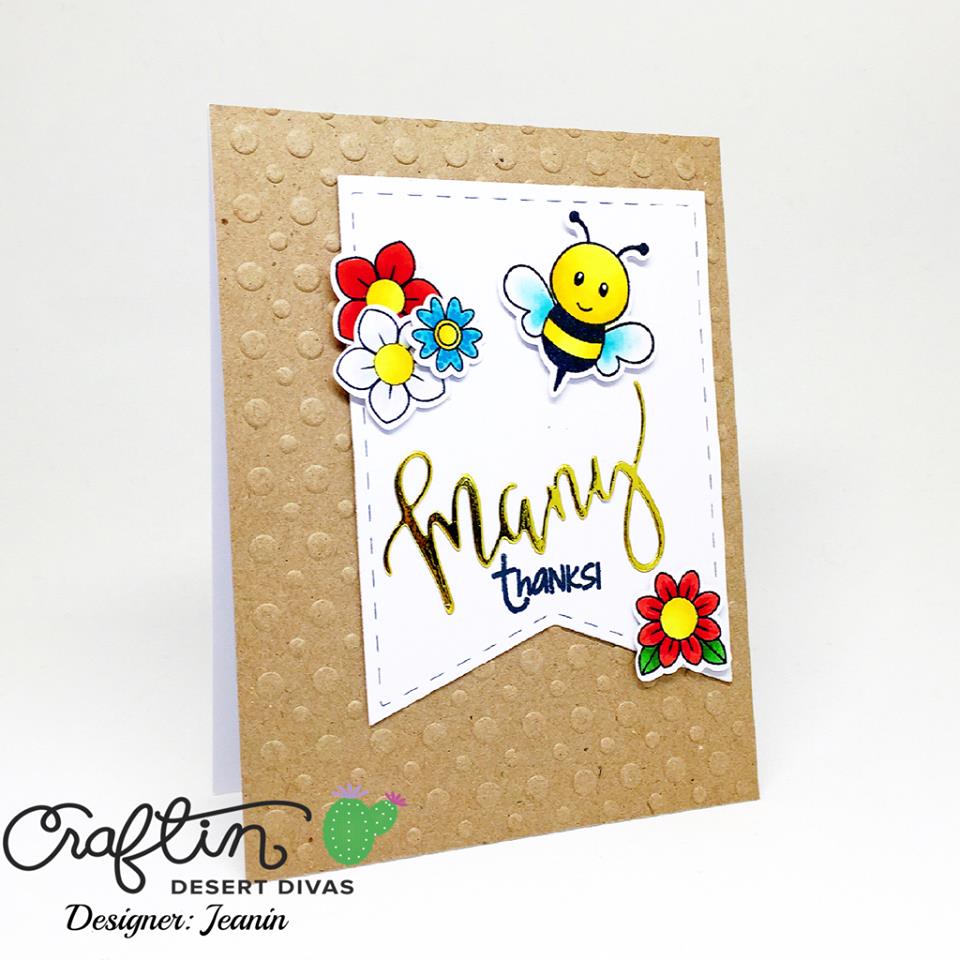
For today's daily post I want to show you a fun way to combine three stamp sets and create a unique gift. Using , , and Stamp Sets I created this card with one thought in mind, the gift of pictures. As I sit here and write this post, I realize the many different ways this can be used. Give a gift certificate to the local photography studio, gift a camera or a scrapbook. See, the possibilities?
For today's daily post I want to show you a fun way to combine three stamp sets and create a unique gift. Using , , and Stamp Sets I created this card with one thought in mind, the gift of pictures. As I sit here and write this post, I realize the many different ways this can be used. Give a gift certificate to the local photography studio, gift a camera or a scrapbook. See, the possibilities?

|
| I love using different stamp sets to create one card. I feel like I'm getting my monies worth then. |
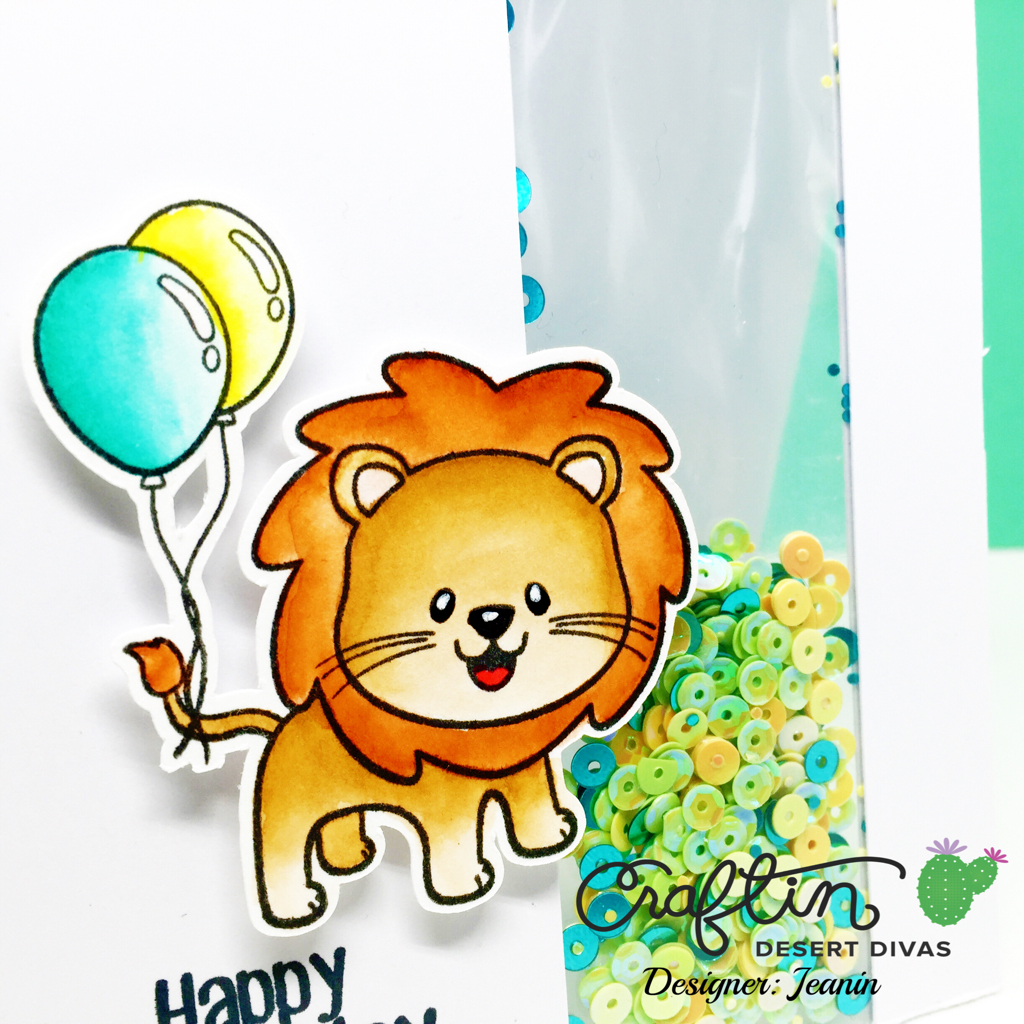
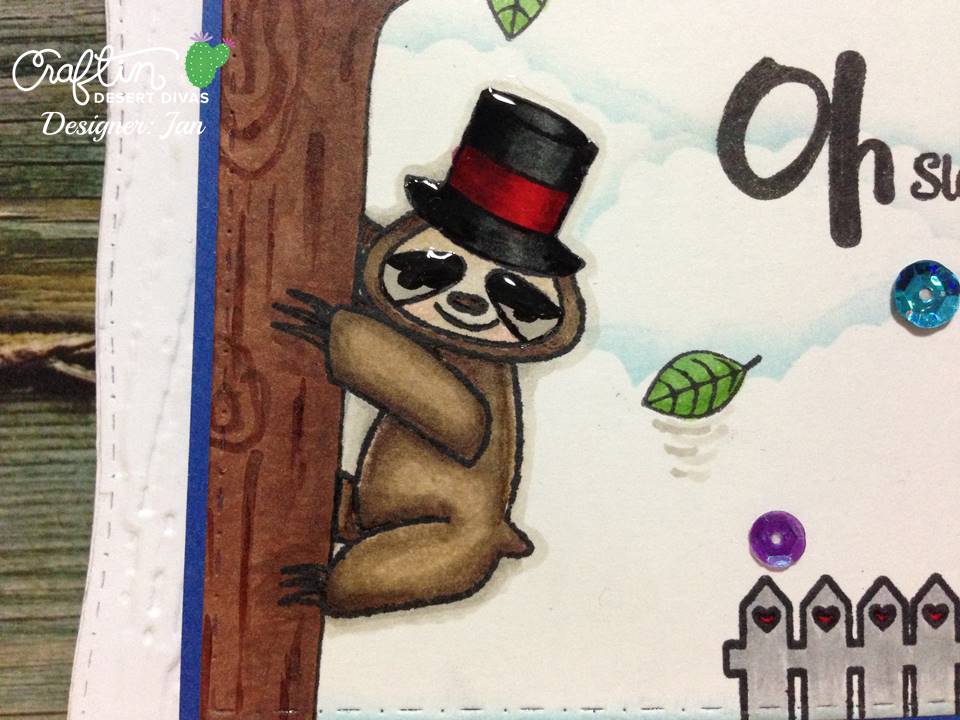
I don't do a lot of no-line coloring, so I thought this would be an excellent opportunity to give it a go.
I like the look of it with this particular card. While this card is very fun and whimsical, the no-line coloring keeps the feel of the photo real, as real as it can. You could even take this a step further and add a background to the picture.

|
| I use the Picture That Stamp Set for so many things. It's on my favorites list. |
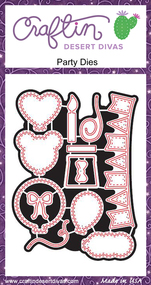
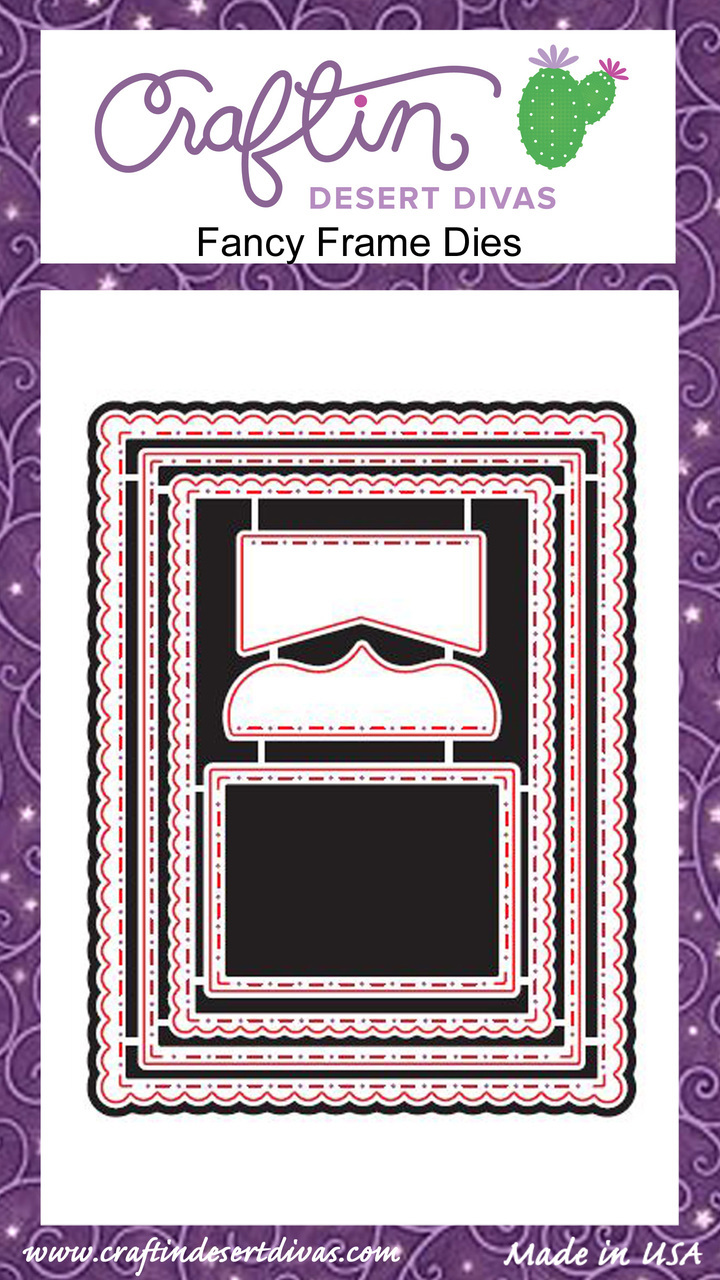
Here are the products I used:
This card is super easy to create. You can find all the details along with a step by step tutorial on my blog, In The Crafting Cave.
As always, thank you for stopping in!
And don't forget you can find us at


