

What's the first thing you think of when it comes to coloring?
Usually, most people would say "Time!" or "I'm not that great yet." For today's Creative Challenge, our designers wanted to share some quick coloring tips and ways you can practice and elevate your skill level - right where you are!
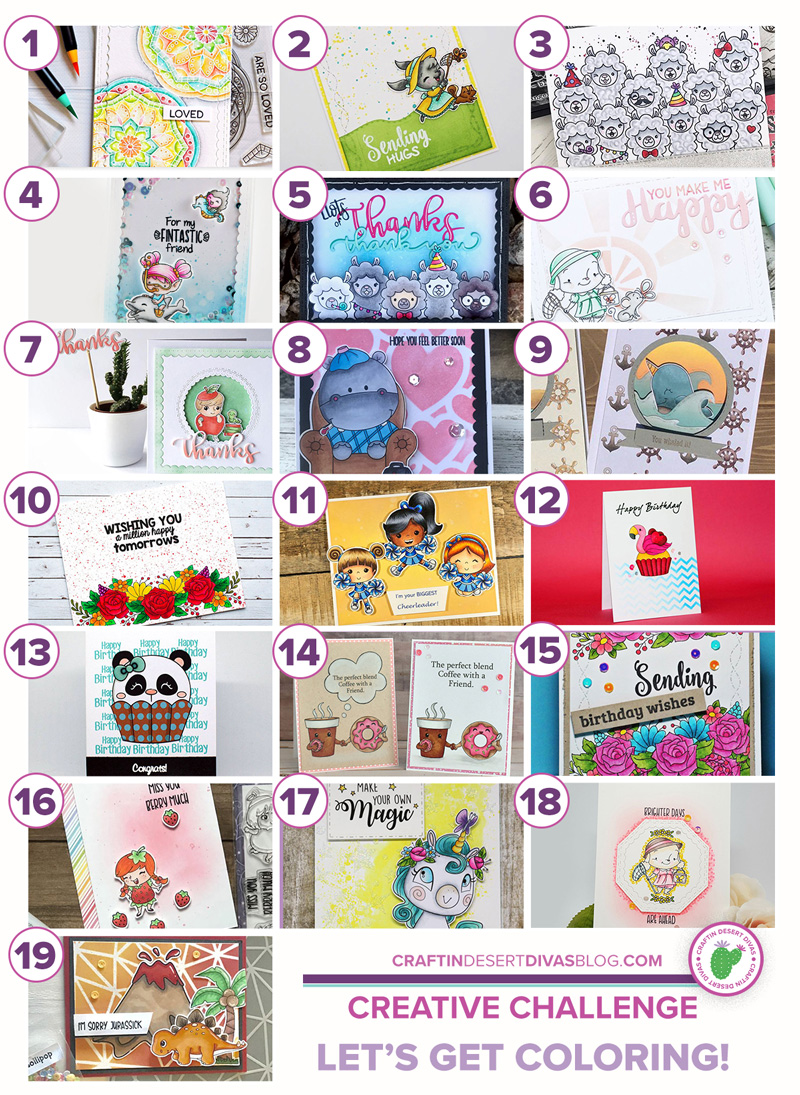
DESIGNER INSPIRATION IMAGES plus
OUR DESIGN TEAM'S 13 BEST COLORING TIPS
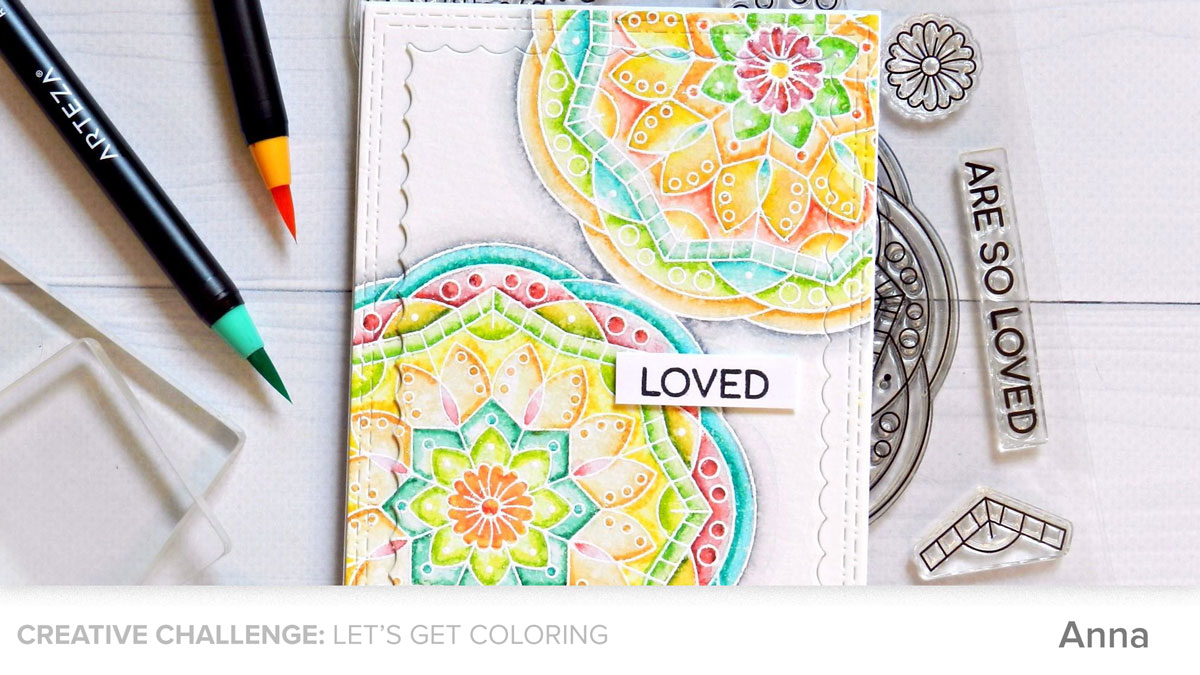
#1 - ANNA

#2 - CLAIRE-ANNE

#3 - ELAINE
----
DESIGN TIP #1. Keep a swatch book
I always write new combos I like down in my Copic book, that way I can easily recreate my favorite looks. - Janni
Whenever you buy new colors, be it inks, alcohol markers, pencil colors, watercolor pans/tubes, etc. the first step to do is to swatch them. That way you have the chart ready when you want to use them. - Joy
DESIGN TIP #2. Your paper matters
When using different coloring mediums, your type of paper really will make a difference. When using alcohol markers you want a paper that is slow-drying so you have time to blend the colors more. When working with watercolor pencils or markers you want the watercolor paper to allow the water to spread and soak up and not bleed on your image. - Candice
----

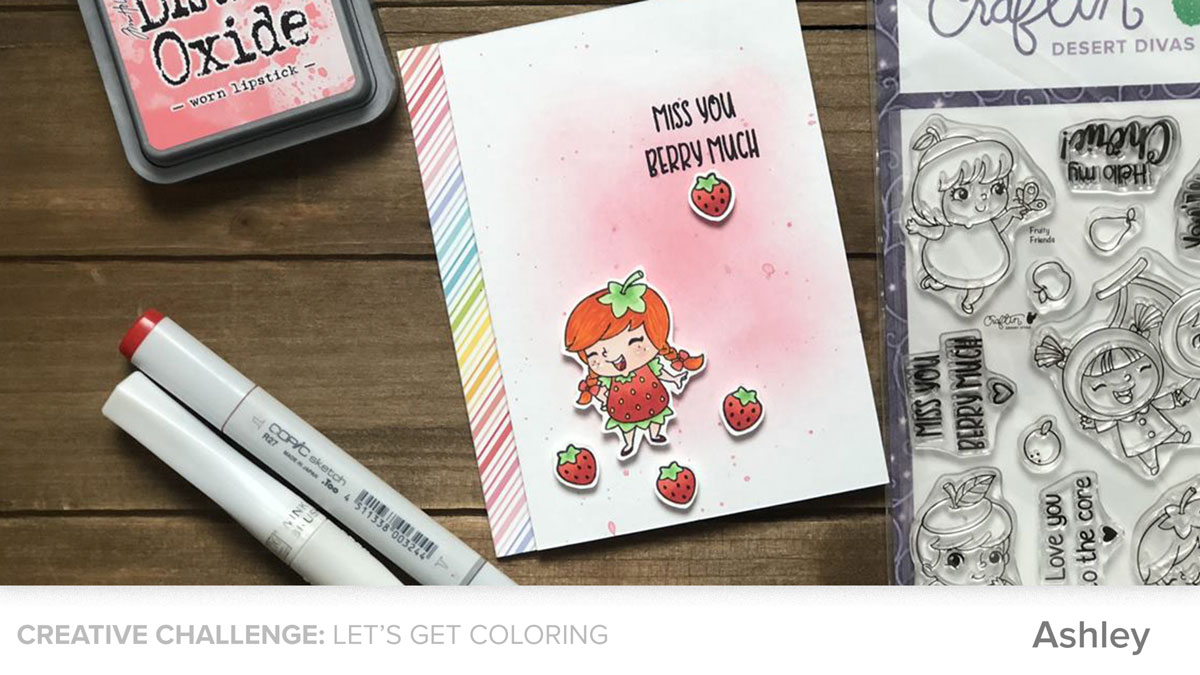
#4 - ASHLEE

#5 - JACKIE

#6 - JANNI
----
DESIGN TIP #3. Your ink matters, too
Make sure you use ink that is compatible with the type of marker you are using. Solvent inks will run if you are using Copic (alcohol) markers. Memento, Brilliance or Ranger Distress inks are best when using Copic Markers. - Claire
DESIGN TIP #4. Try heat embossing first
If you are a beginner, you can stamp and emboss the image with clear embossing powder. This helps you stay within the lines. I do use this trick most of the times. However, this does not work with alcohol inks/markers. - Joy
----
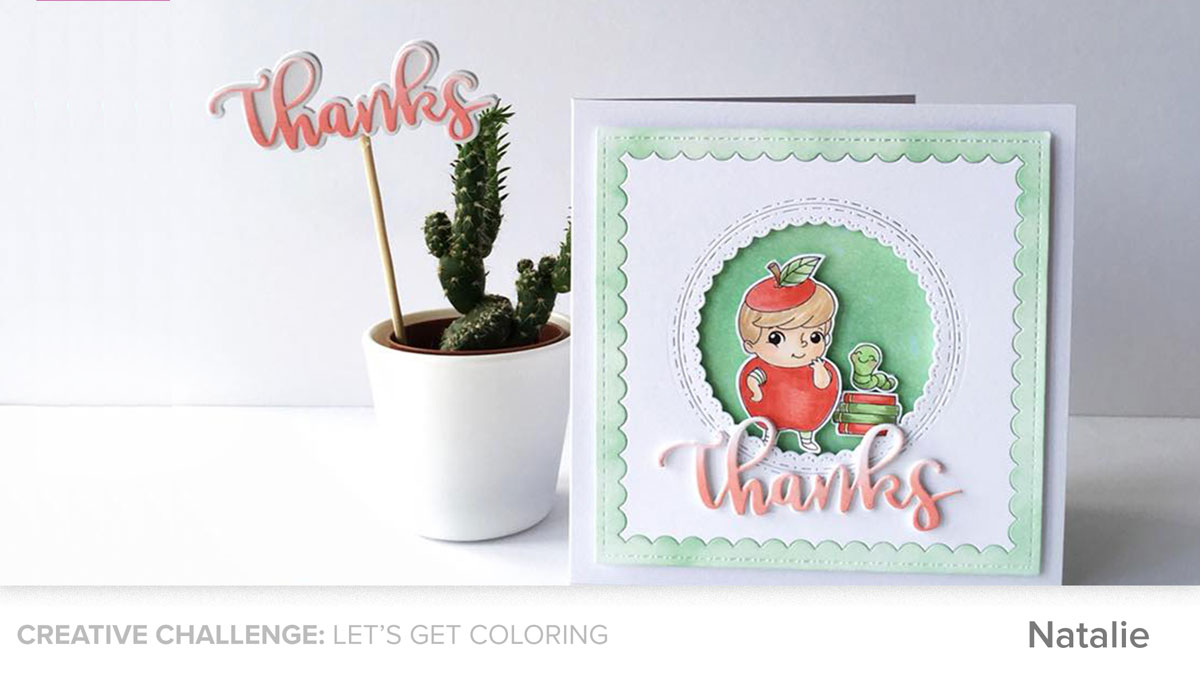
#7 - NATALIE
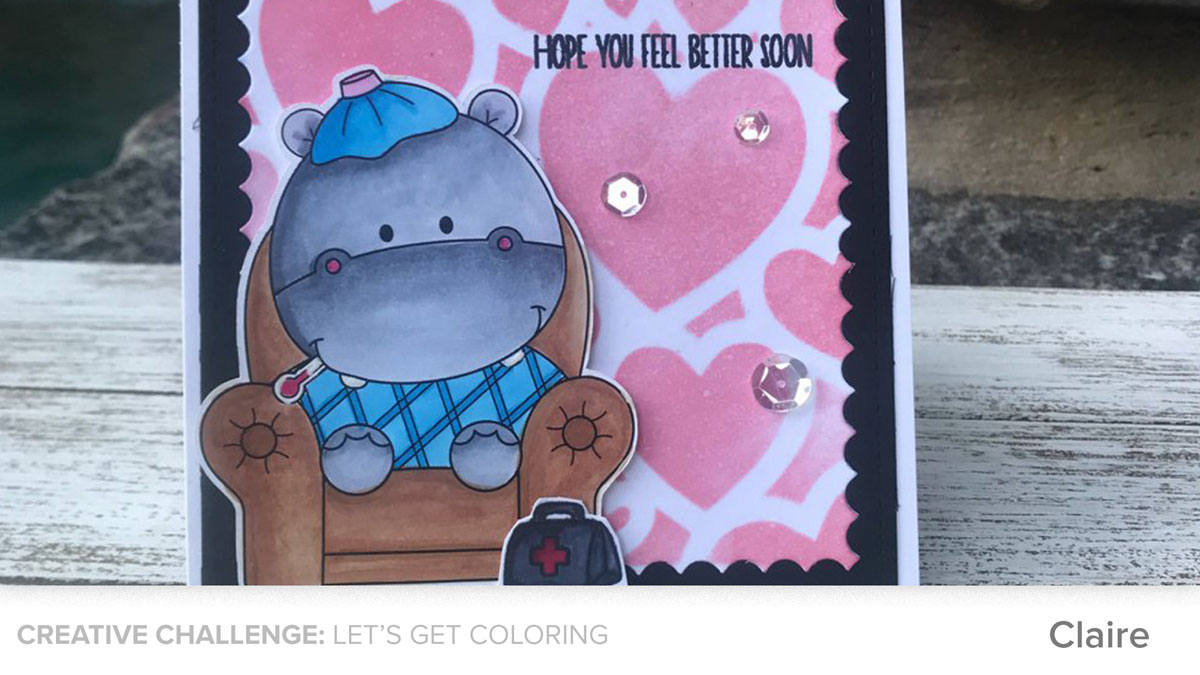
#8 - CLAIRE

#9 - CANDICE
----
DESIGN TIP #5. Create your own method
When coloring with alcohol markers, my method uses just a few steps. First, I lay down a nice juicy foundation all over the segment I'm coloring with the lightest color. Then, I add the shades with the darkest, blend those out with the middle color and finally, I blend the middle with the lightest again. Sometimes I only use two shades. - Maaike
DESIGN TIP #6. Shading adds instant dimension
Adding shading to your paper piecing can really help it pop - a light grey alcohol marker will work to add shading on almost anything. - Charlotte
----
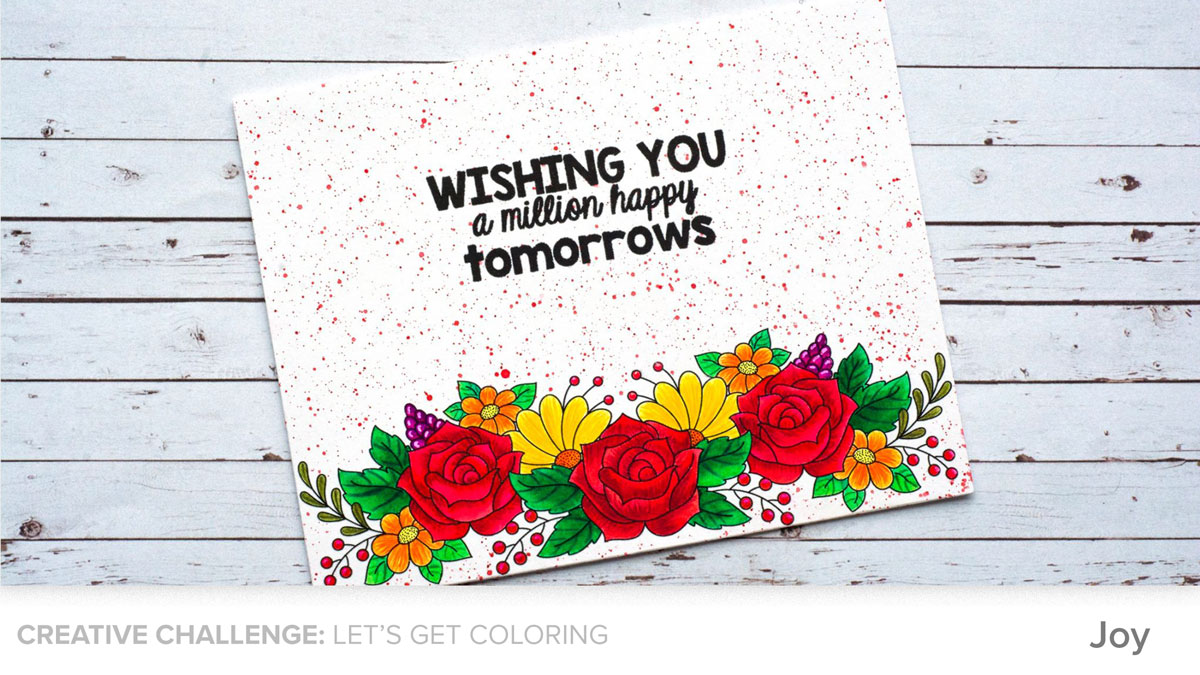
#10 - JOY

#11 - COURTNEY

#12 - MAAIKE
----
DESIGN TIP #7. Achieving the no-line watercolor technique
For no line watercolor technique, stamp the image using a light water soluble ink. If you do not have a lighter color, you can use the second generation stamping technique to get the same effect. Antique Linen Distress Ink is excellent for no-line watercolor. - Joy
DESIGN TIP #8. Test color combos first
Before you start coloring choose your favorite colors and test it on an extra piece of paper if the colors fit together. - Angela
----


----
DESIGN TIP #9. Experiment with different textures, mediums, and colors
Using two mediums can give you amazing results. When you use watercolors to color the image, you can add details with pencil colors or gel pens. - Joy
Use a color wheel or color chart. Try mixing up new colors you would never think of using together. - Holly
DESIGN TIP #10. Highlights can make all the difference
When coloring hair with Copics, use light, varying flicks, barely touching the paper. Be sure to leave a highlight, and maybe even some white space. - Courtney
----

----
DESIGN TIP #11. Colored pencil favorite combos
If I color with Polychromos pencils my favorite paper is Neenah Solar white paper. My favorite pink colors: Fuchsia 123, Light Purple 128 and my favorite turquoise colors are Helio Turquoise 155, Cobalt Turquoise 153 and Light Cobalt Turquoise 154. - Angela
DESIGN TIP #12. Keep your pencils sharpened and your eraser handy
It's also very important that your pencils are always good sharpened and you need a good eraser if you color over the lines. - Angela
DESIGN TIP #13. Make a palette for ink control
I use clear contact paper when applying distress inks. I ink up the applicator, then dab on plastic contact. This allows me to have control of how much I apply, have an even amount of ink on the sponge, and not waste any ink. - Michelle
----

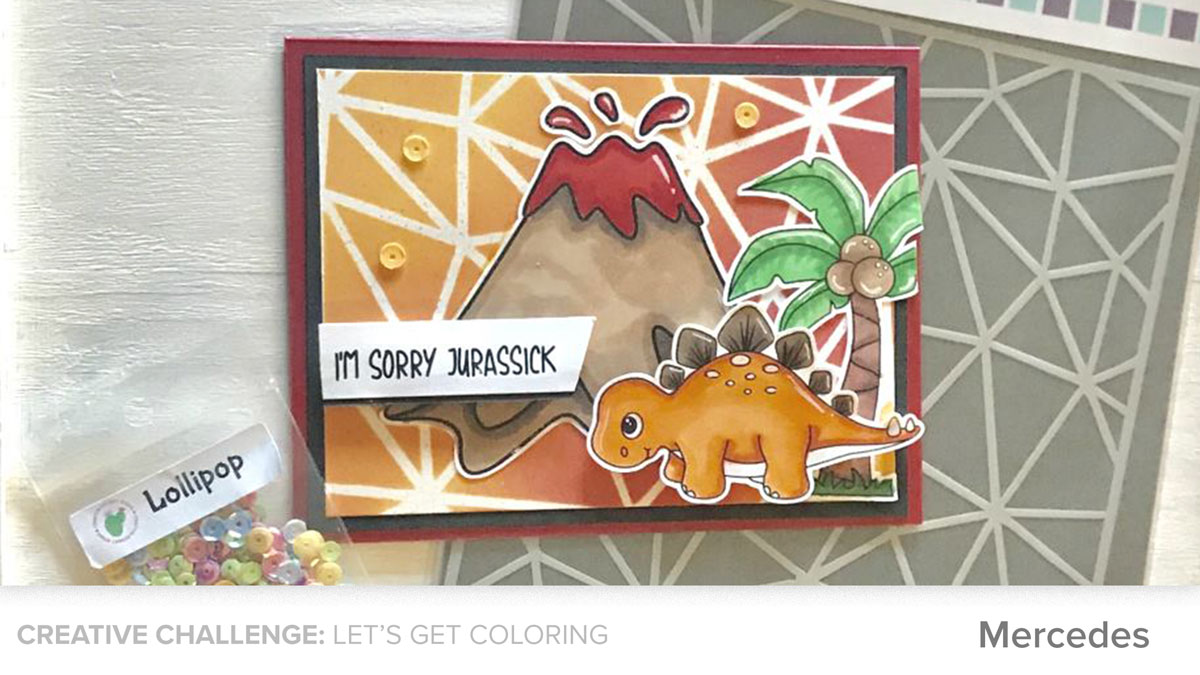
# 19 - MERCEDES
----
CDD Design Team's 13 Best Coloring Tips
----
DESIGN TIP #1. Keep a swatch book
I always write new combos I like down in my Copic book, that way I can easily recreate my favorite looks. - Janni
Whenever you buy new colors, be it inks, alcohol markers, pencil colors, watercolor pans/tubes, etc. the first step to do is to swatch them. That way you have the chart ready when you want to use them. - Joy
DESIGN TIP #2. Your paper matters
When using different coloring mediums, your type of paper really will make a difference. When using alcohol markers you want a paper that is slow-drying so you have time to blend the colors more. When working with watercolor pencils or markers you want the watercolor paper to allow the water to spread and soak up and not bleed on your image. - Candice
DESIGN TIP #3. Your ink matters, too
Make sure you use ink that is compatible with the type of marker you are using. Solvent inks will run if you are using Copic (alcohol) markers. Memento, Brilliance or Ranger Distress inks are best when using Copic Markers. - Claire
DESIGN TIP #4. Try heat embossing first
If you are a beginner, you can stamp and emboss the image with clear embossing powder. This helps you stay within the lines. I do use this trick most of the times. However, this does not work with alcohol inks/markers. - Joy
DESIGN TIP #5. Create your own method
When coloring with alcohol markers, my method uses just a few steps. First, I lay down a nice juicy foundation all over the segment I'm coloring with the lightest color. Then, I add the shades with the darkest, blend those out with the middle color and finally, I blend the middle with the lightest again. Sometimes I only use two shades. - Maaike
DESIGN TIP #6. Shading adds instant dimension
Adding shading to your paper piecing can really help it pop - a light grey alcohol marker will work to add shading on almost anything. - Charlotte
DESIGN TIP #7. Achieving the no-line watercolor technique
For no line watercolor technique, stamp the image using a light water soluble ink. If you do not have a lighter color, you can use the second generation stamping technique to get the same effect. Antique Linen Distress Ink is excellent for no-line watercolor. - Joy
DESIGN TIP #8. Test color combos first
Before you start coloring choose your favorite colors and test it on an extra piece of paper if the colors fit together. - Angela
DESIGN TIP #9. Experiment with different textures, mediums, and colors
Using two mediums can give you amazing results. When you use watercolors to color the image, you can add details with pencil colors or gel pens. - Joy
Use a color wheel or color chart. Try mixing up new colors you would never think of using together. - Holly
DESIGN TIP #10. Highlights can make all the difference
When coloring hair with Copics, use light, varying flicks, barely touching the paper. Be sure to leave a highlight, and maybe even some white space. - Courtney
DESIGN TIP #11. Colored pencil favorite combos
If I color with Polychromos pencils my favorite paper is Neenah Solar white paper. My favorite pink colors: Fuchsia 123, Light Purple 128 and my favorite turquoise colors are Helio Turquoise 155, Cobalt Turquoise 153 and Light Cobalt Turquoise 154. - Angela
DESIGN TIP #12. Keep your pencils sharpened and your eraser handy
It's also very important that your pencils are always good sharpened and you need a good eraser if you color over the lines. - Angela
DESIGN TIP #13. Make a palette for ink control
I use clear contact paper when applying distress inks. I ink up the applicator, then dab on plastic contact. This allows me to have control of how much I apply, have an even amount of ink on the sponge, and not waste any ink. - Michelle
----
We hope this helps you get into the coloring groove!
Thanks for stopping by! And thank you to each designer for sharing your knowledge and talent with us all.
Leave a comment below and let us know which cards or tips inspired you the most.
2 comments:
I appreciate you taking the time to visit my blog and leaving a comment. Have a crafty day!!