Michelle is up on the blog today showcasing four fabulous ways to create with our Leafy Background Stamp! Check out her full post below!
----


You can do pretty much anything with this stamp!!!!
One of my favorite craft must-haves is coordinating paper!!!
If I don't have any on hand.... I can color some up with Distress Oxide Ink!!!
First Card
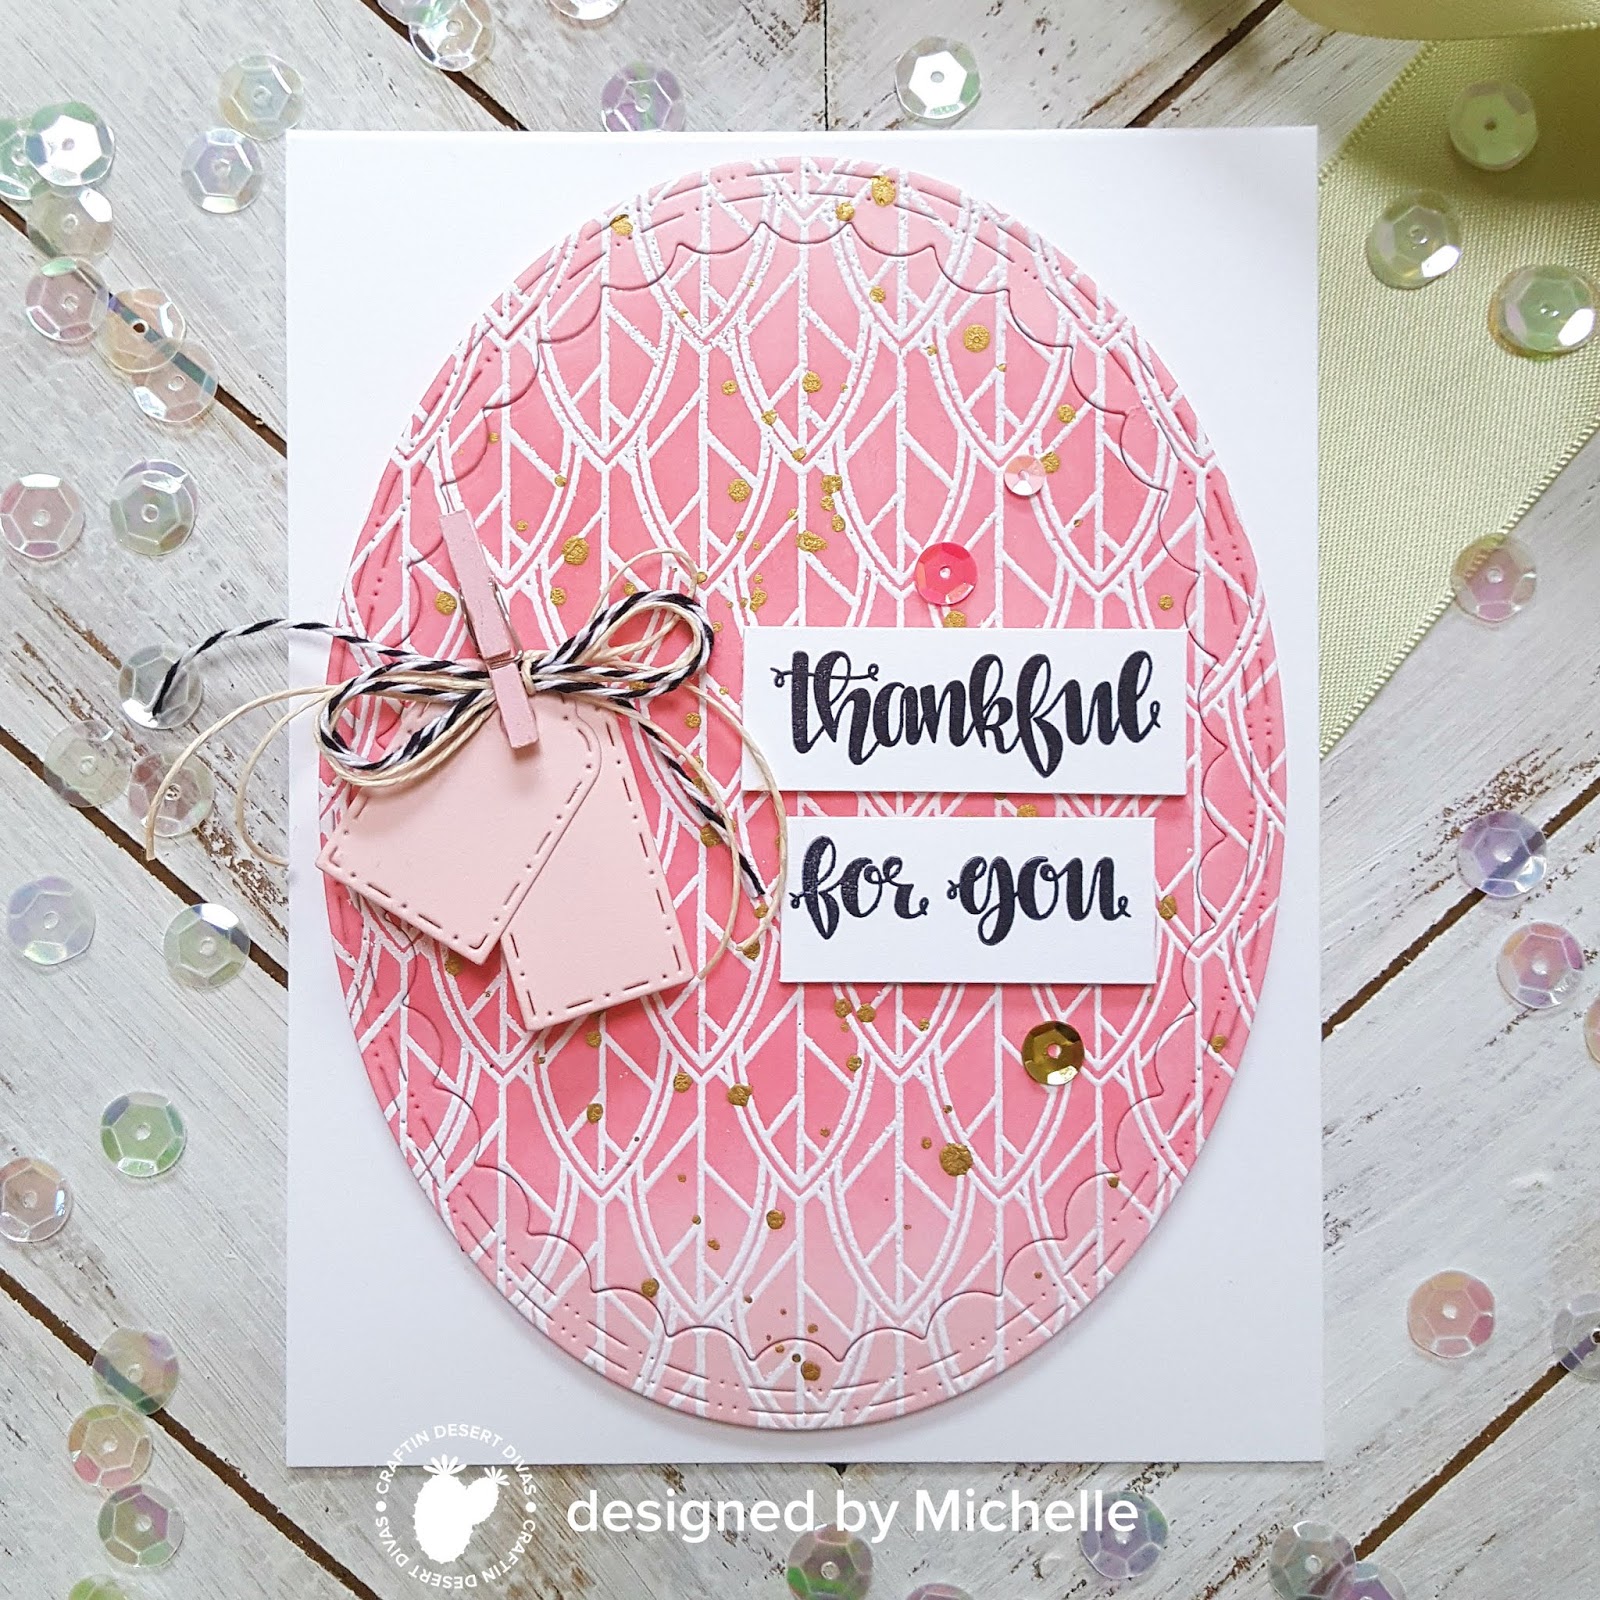
Here's how to create this look:
- Select your colored cardstock. I chose light pink.
- Die cut two tags and set them aside.
- Heat emboss the leafy background stamp onto the colored cardstock.
- Select your ink. I chose Worn Lipstick Distress Oxide ink.
- Ink up the embossed cardstock.
- Use a die to cut any shape.
DESIGN TIP: I made sure to fade the ink on the top and bottom for an ombre effect.
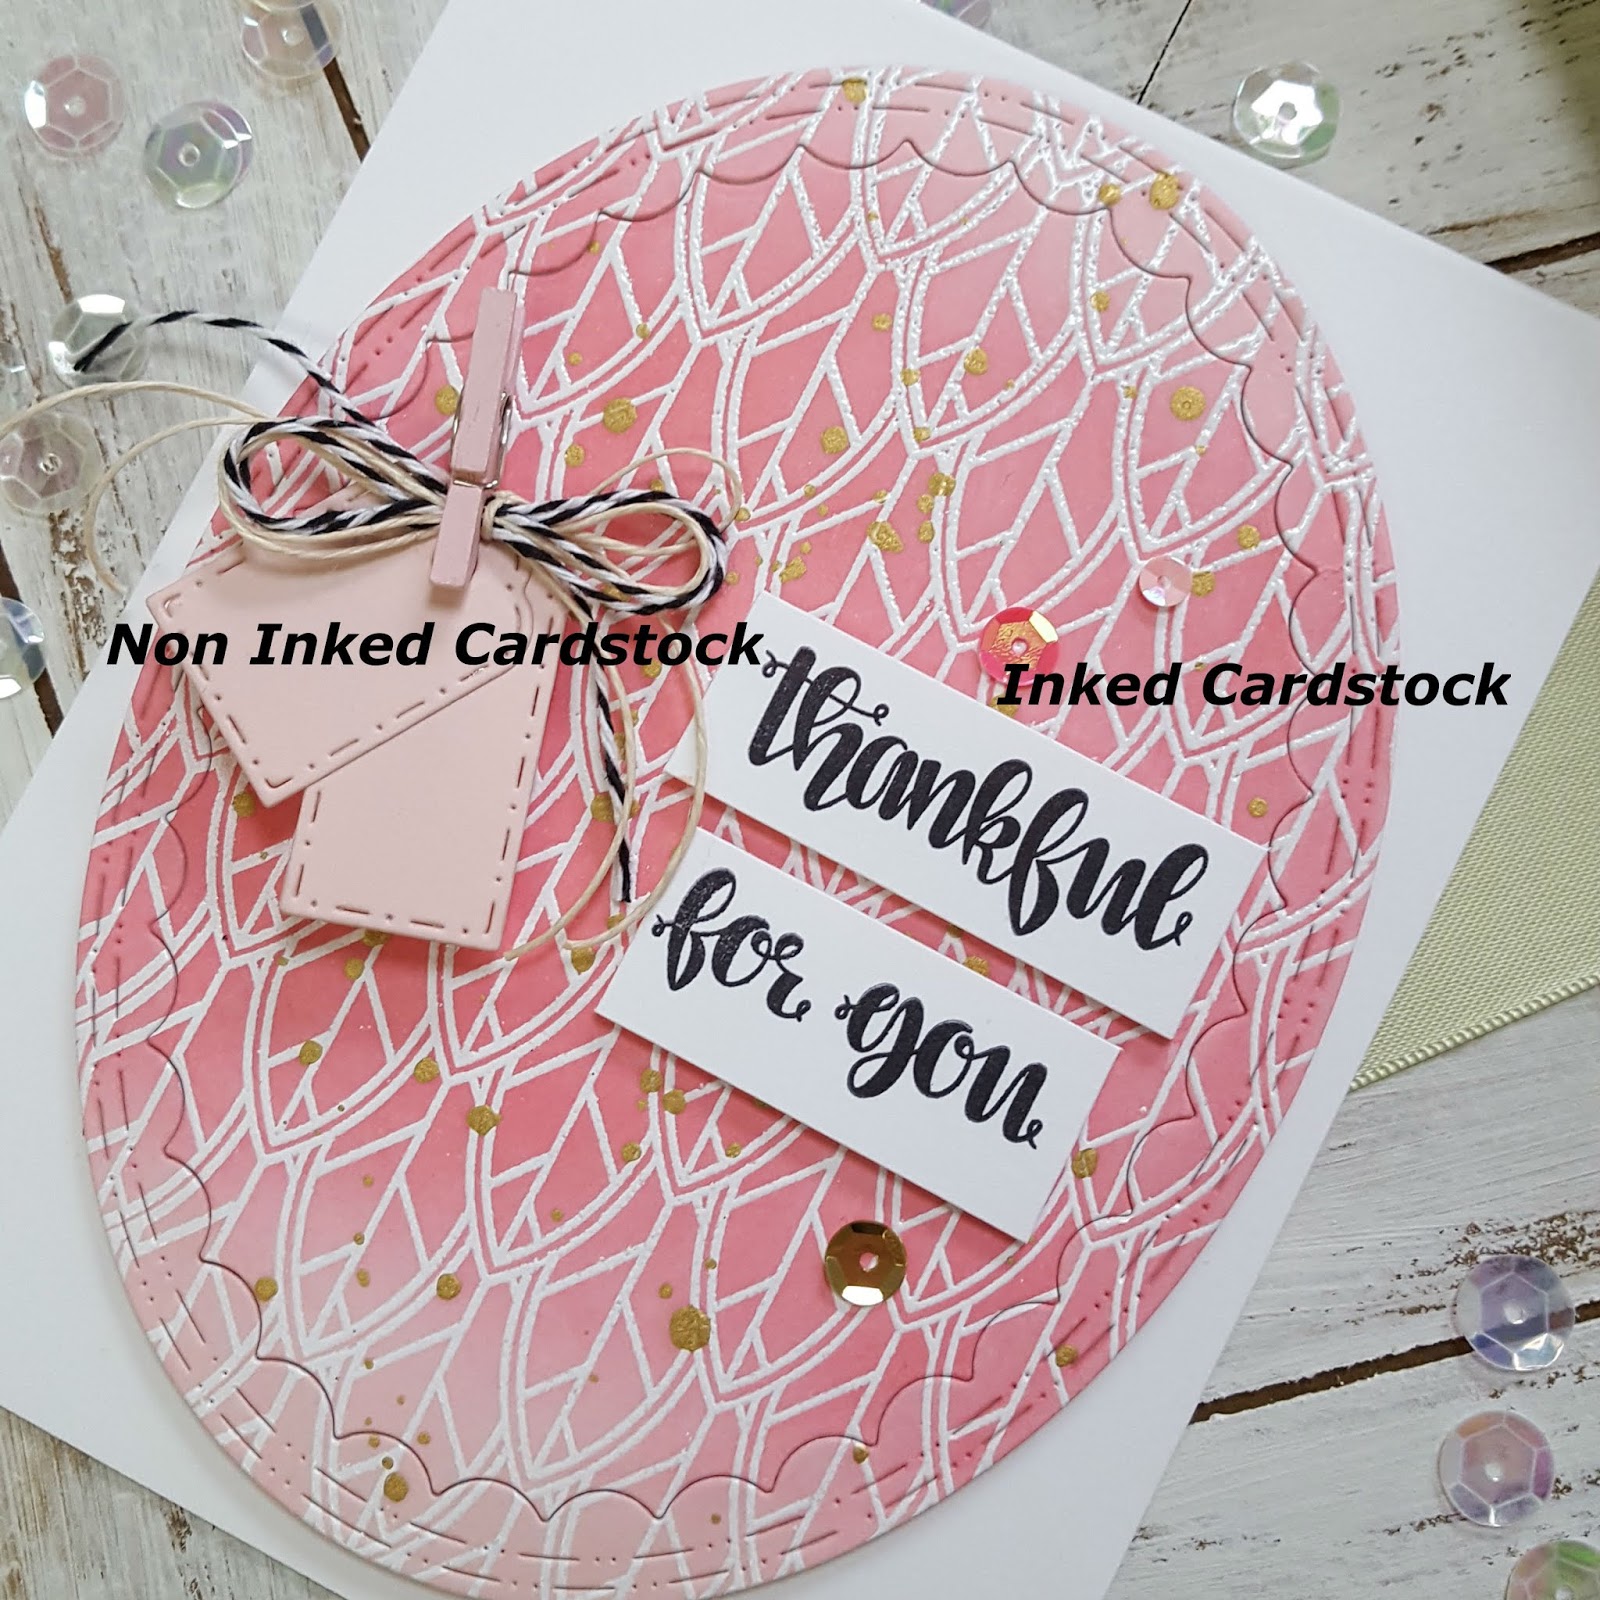
Card Two

This card uses the same technique and same steps. I used Peeled Paint Distress Oxide ink.
DESIGN TIP: Always test the ink on cardstock first to see if you like the desired color.

Have fun mixing and matching cardstock and ink...the possibilities are endless!!!
Card Three
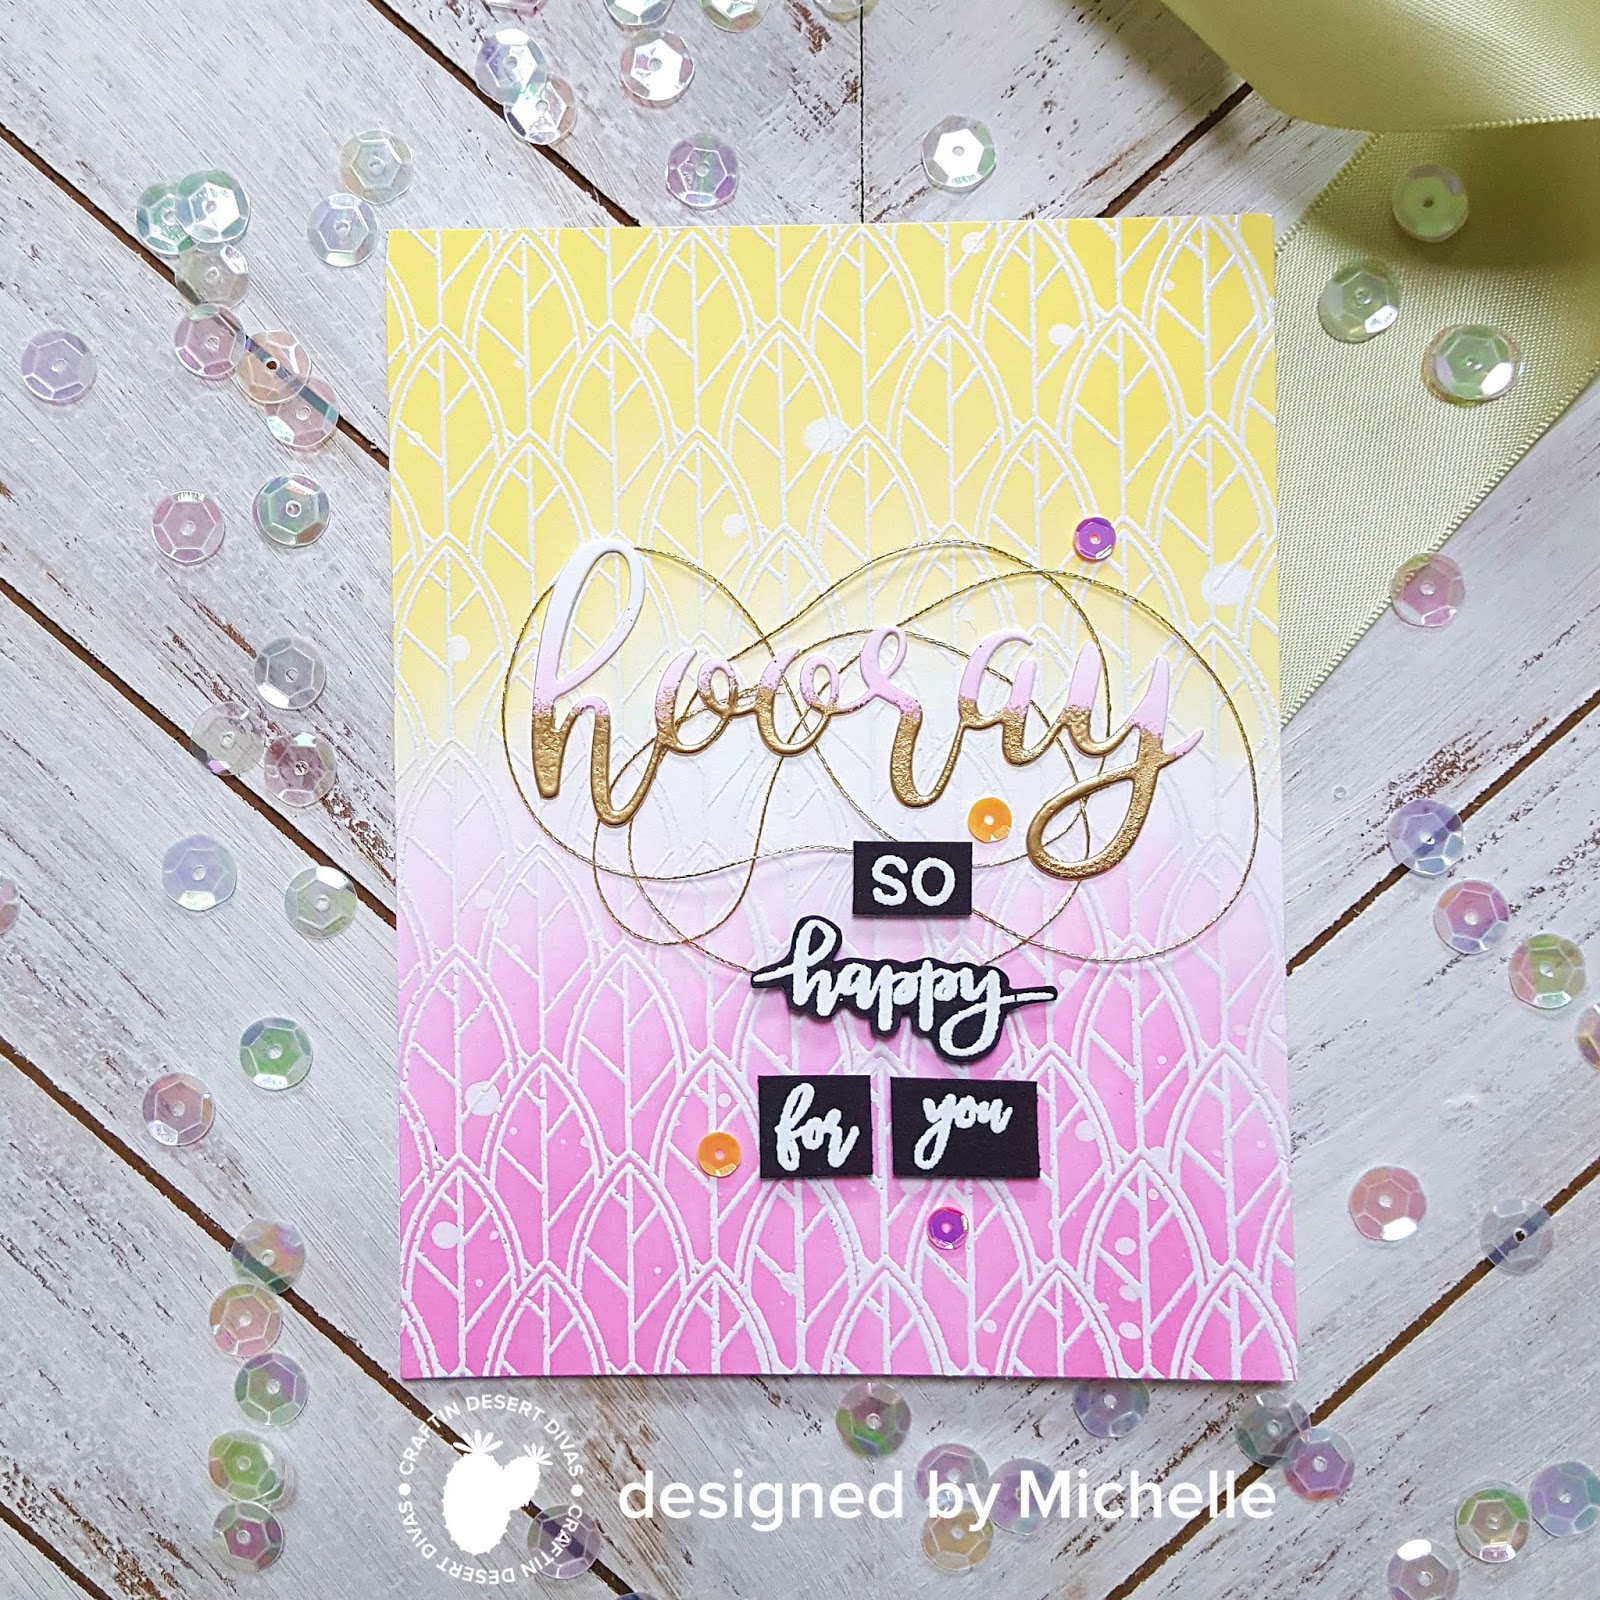
Ombré backgrounds are a very popular technique!
Here's how to create this look:
- Choose two complimenting distress oxide inks.
- Heat emboss the image.
- Ink up the top and bottom portions of the embossed paper.
- Keep it darker at the edges and lighter toward the center.
Card Four
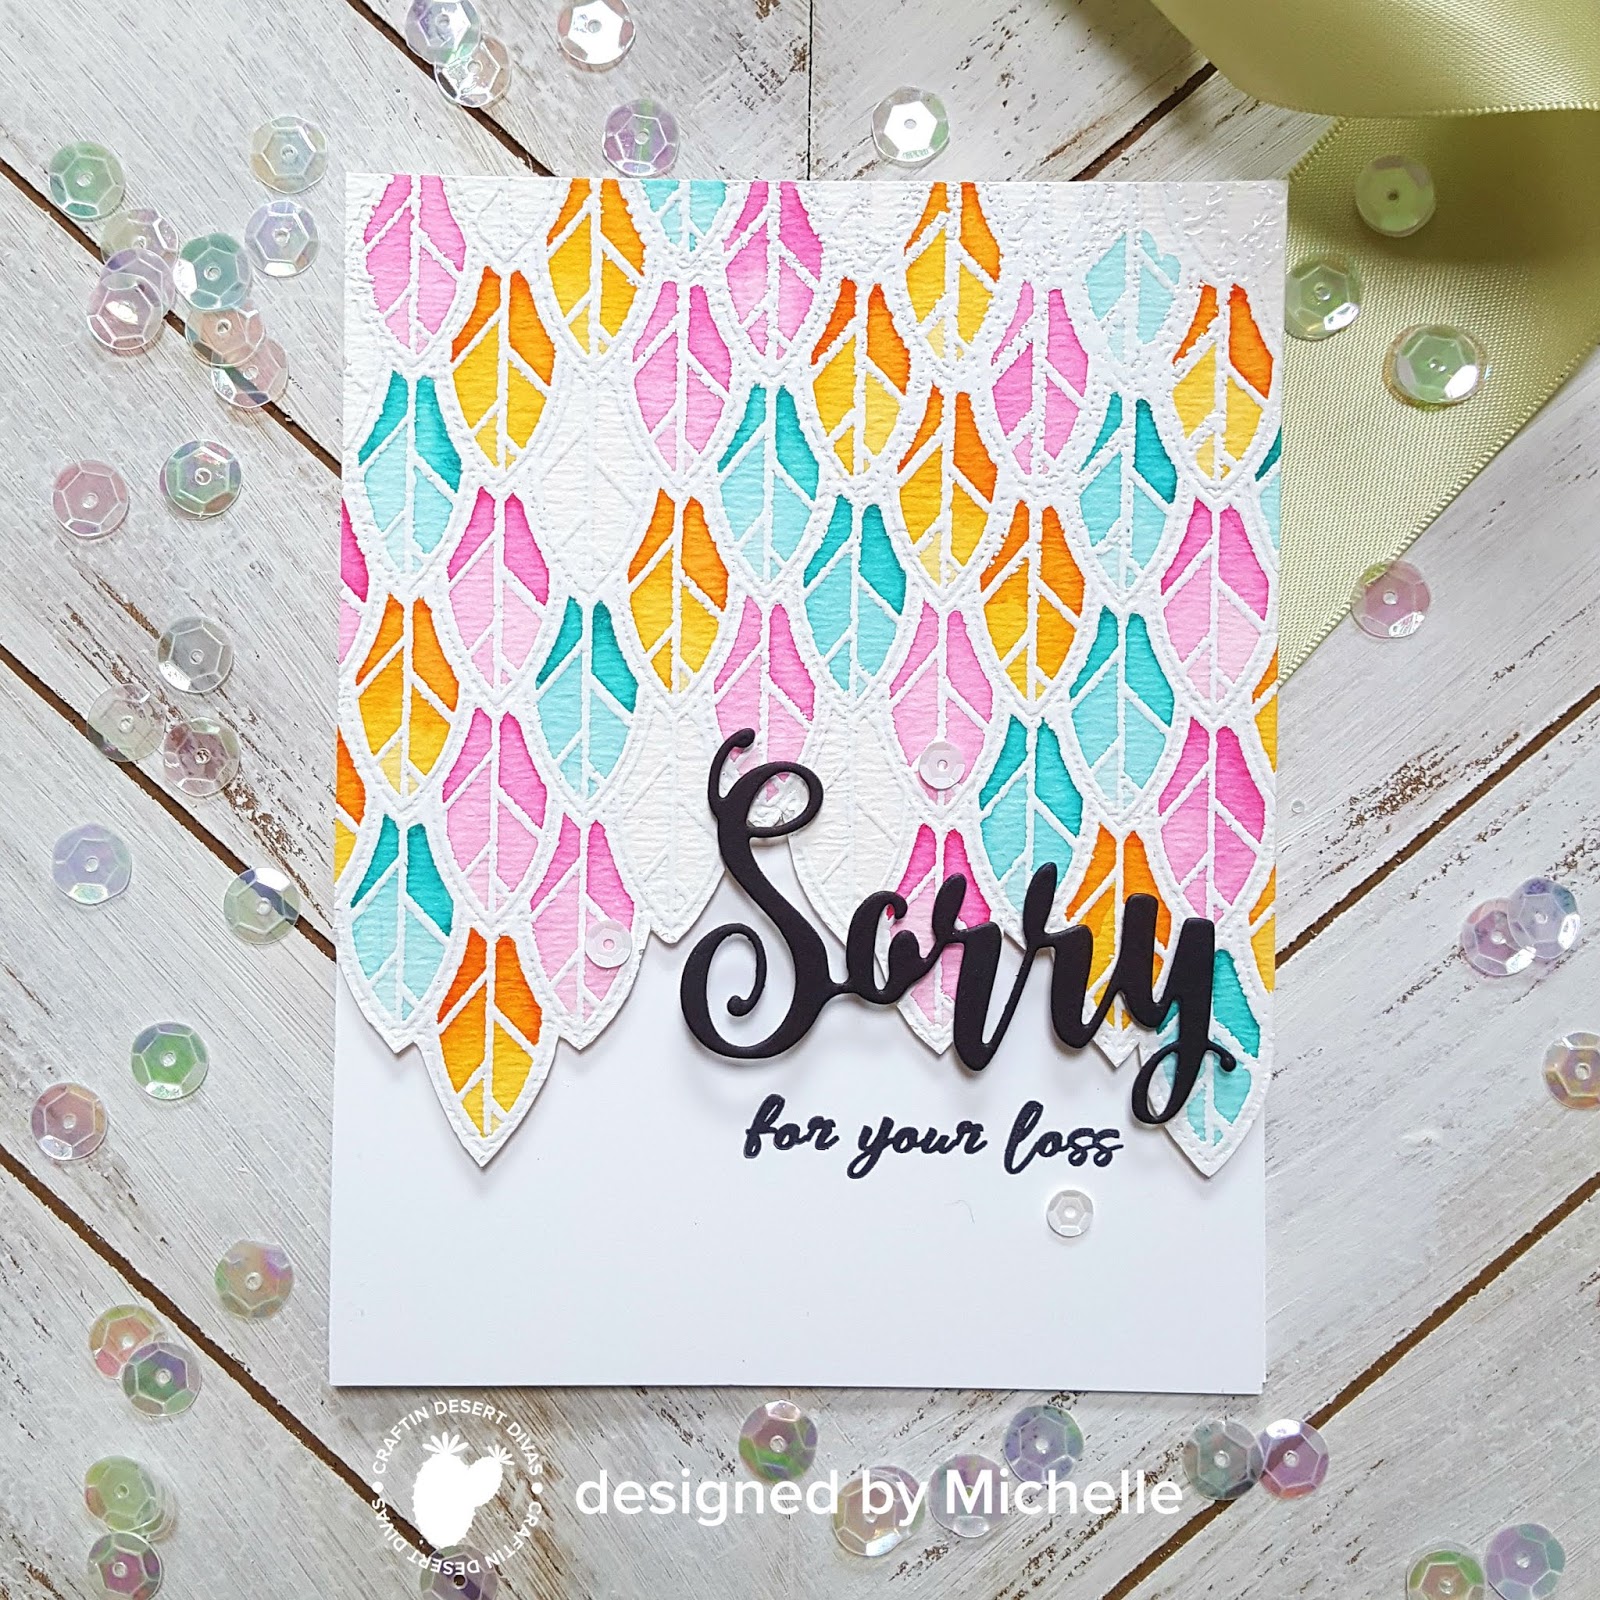
Here's how to create this look:
- Heat emboss the stamped image onto watercolor cardstock.
- Lightly wet the cardstock.
- Add Distress Oxides with a paintbrush and some water.
- Colors Used: Peacock Feathers, Picked Raspberry, and Carved Pumpkin.
- I trimmed up the bottom part of the watercolored leaves so they appeared to be cascading.
Thanks for stopping by!!!!
Hope you give any of these techniques a try and don't forget to show us!!!!!
Use #craftindesertdivas so we can find you on social media!
Michelle
---
Find the supplies used in today's post in our shop: