Showing posts sorted by date for query toni. Sort by relevance Show all posts

Monday, June 18, 2018

Summer Inspired cards with Toni


Hello Beautiful Divas!  Toni here sharing yet more nautical cards--love this summer season!  


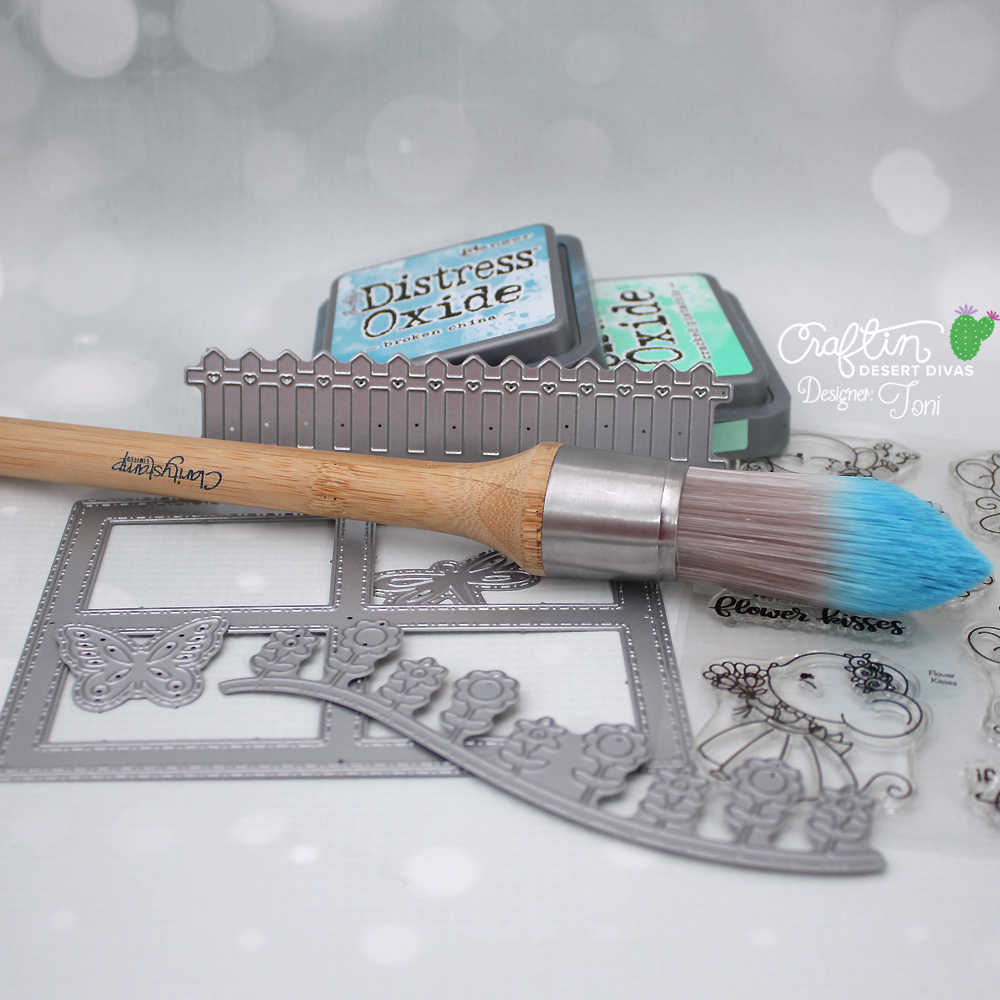
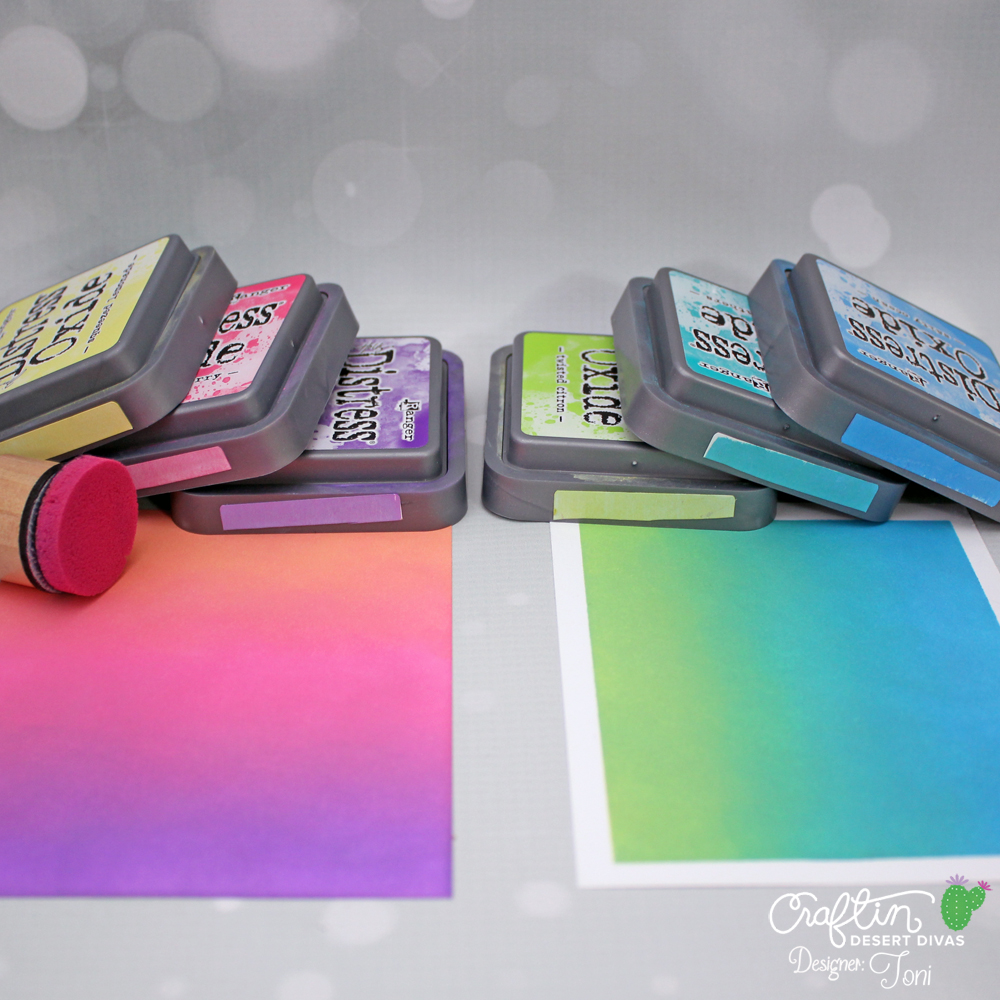
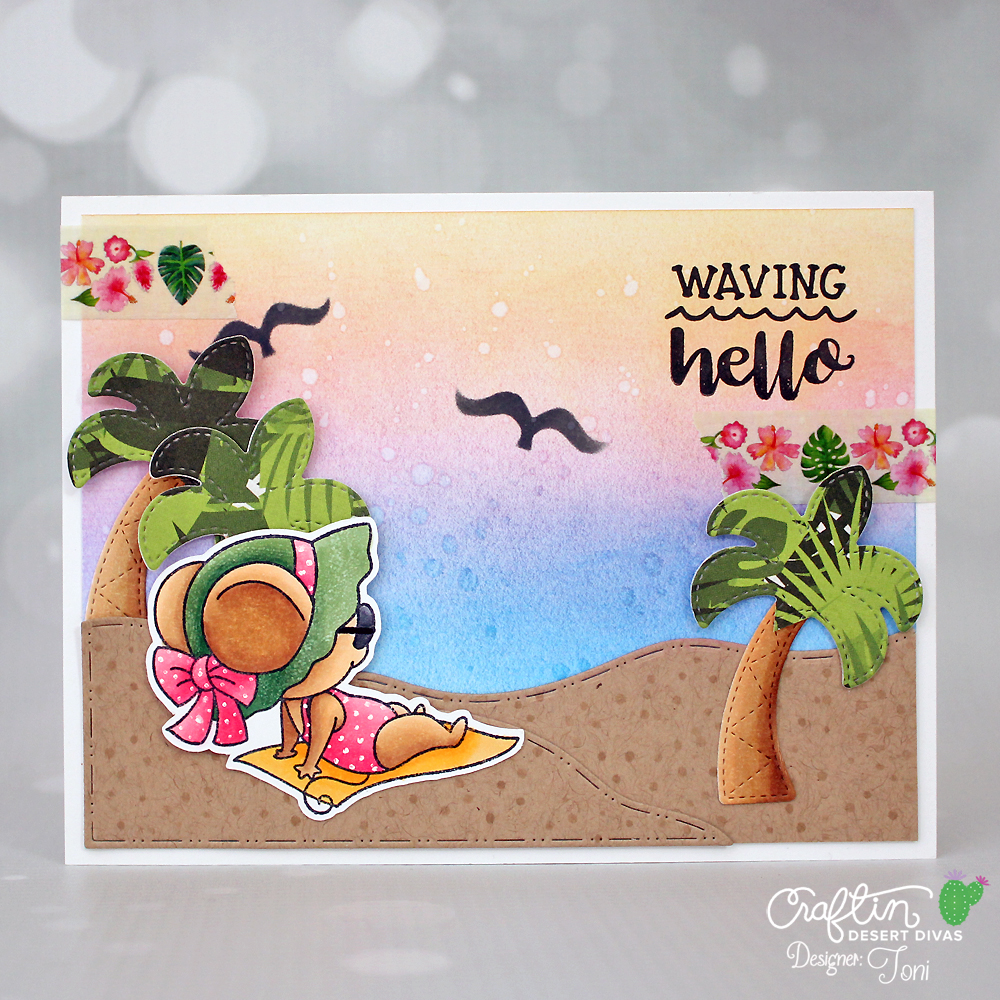
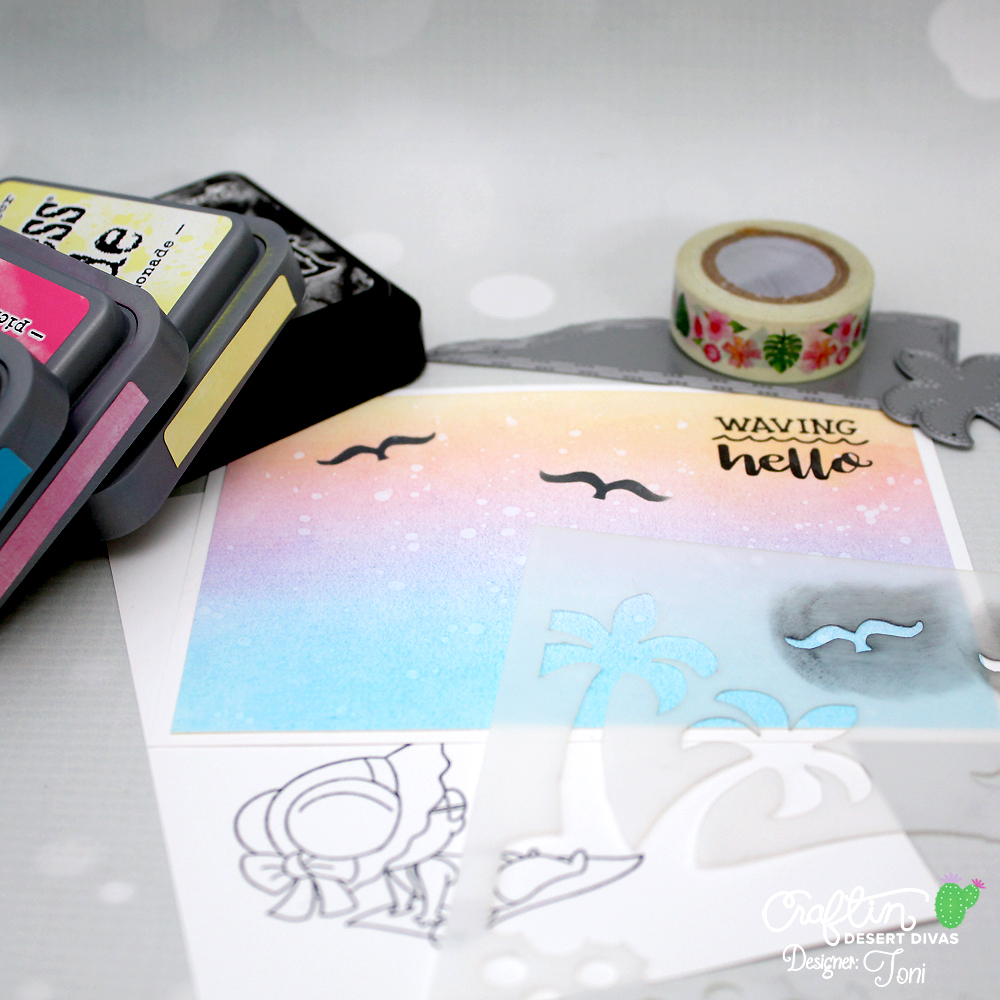
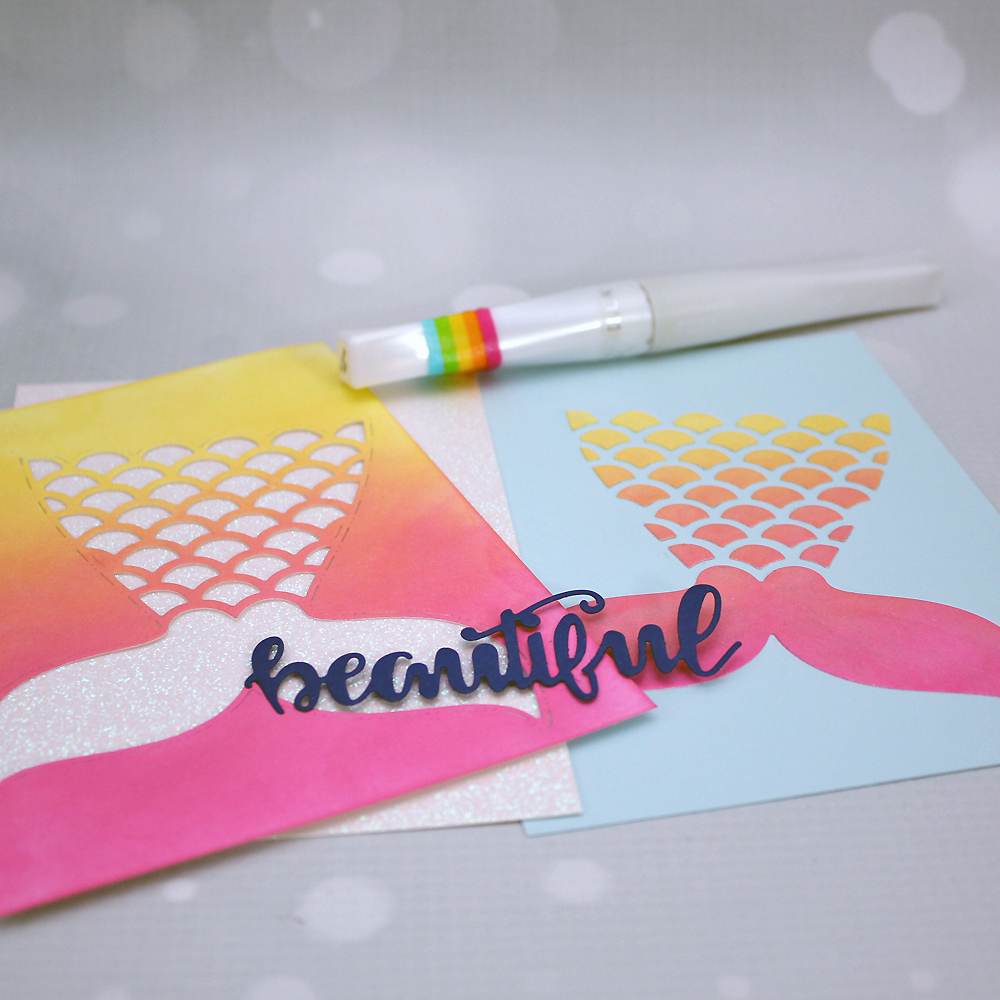
I started my cards by sponging my absolute favorite Distress Oxide combo of and onto a 100lb cardstock. Swoon, right?!


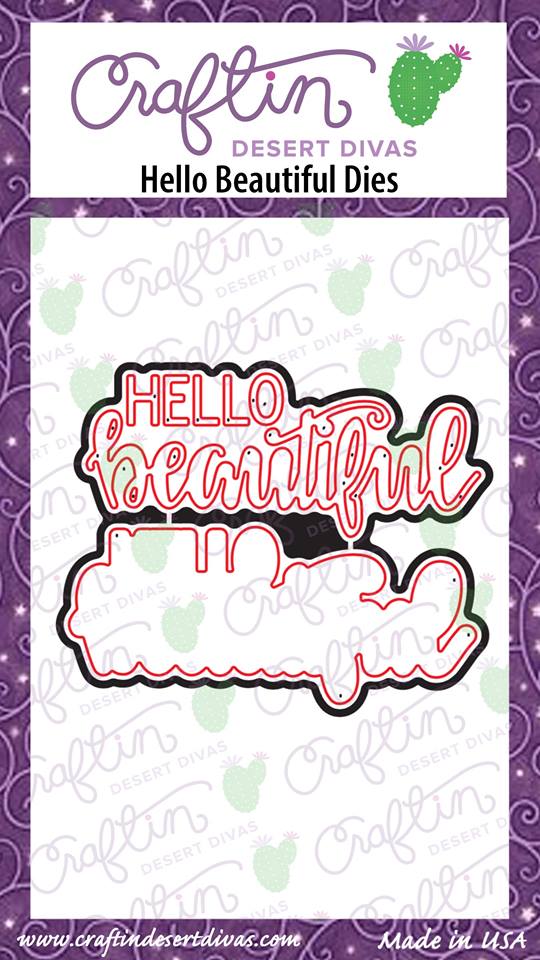
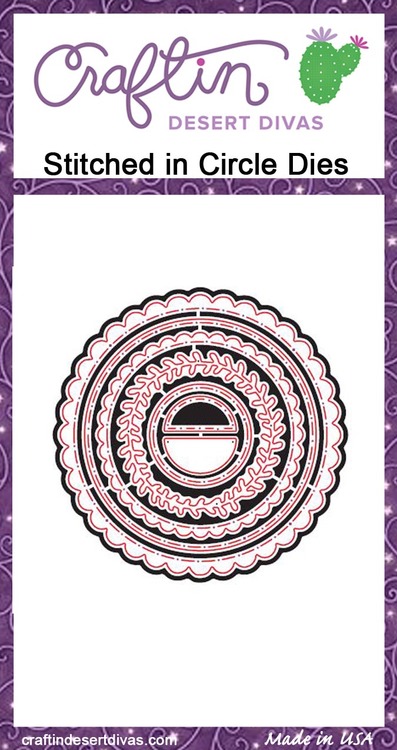
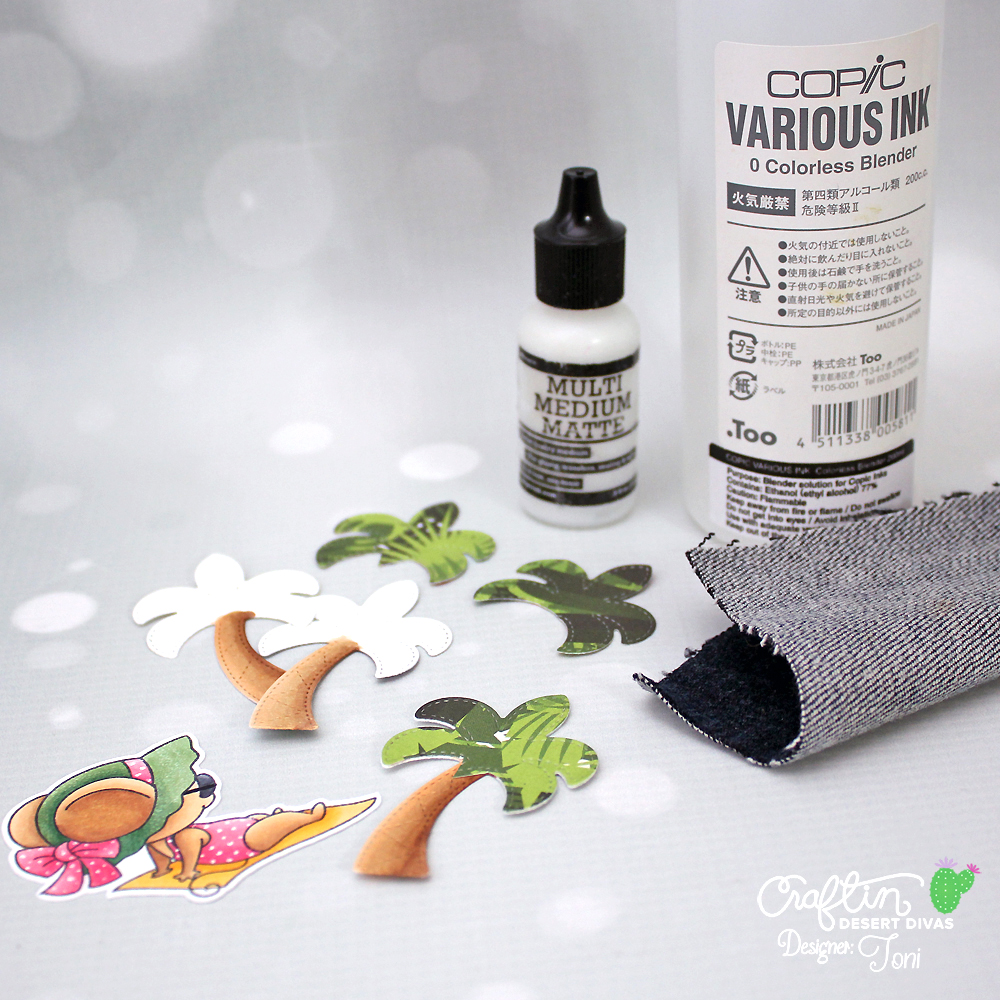
You may not have realized that the cuts partially in that you end up with two perfectly usable options.  To take advantage of the scales, I dotted on the backside of them after diecutting and before removing the pieces from the die. Next I placed the blue cardstock on the backside of a mousepad.  I then pressed the tail onto the cardstock.  

Any sort of slightly spongy surface would work--the point is to have some give so when you press down with the die and cuts, the metal cutting edges don't interfere with the glue being able to reach the cardstock base.  You then gently remove the die, maybe fix a couple of scales that didn't quite adhere, and voila, you have two gorgeous card fronts.


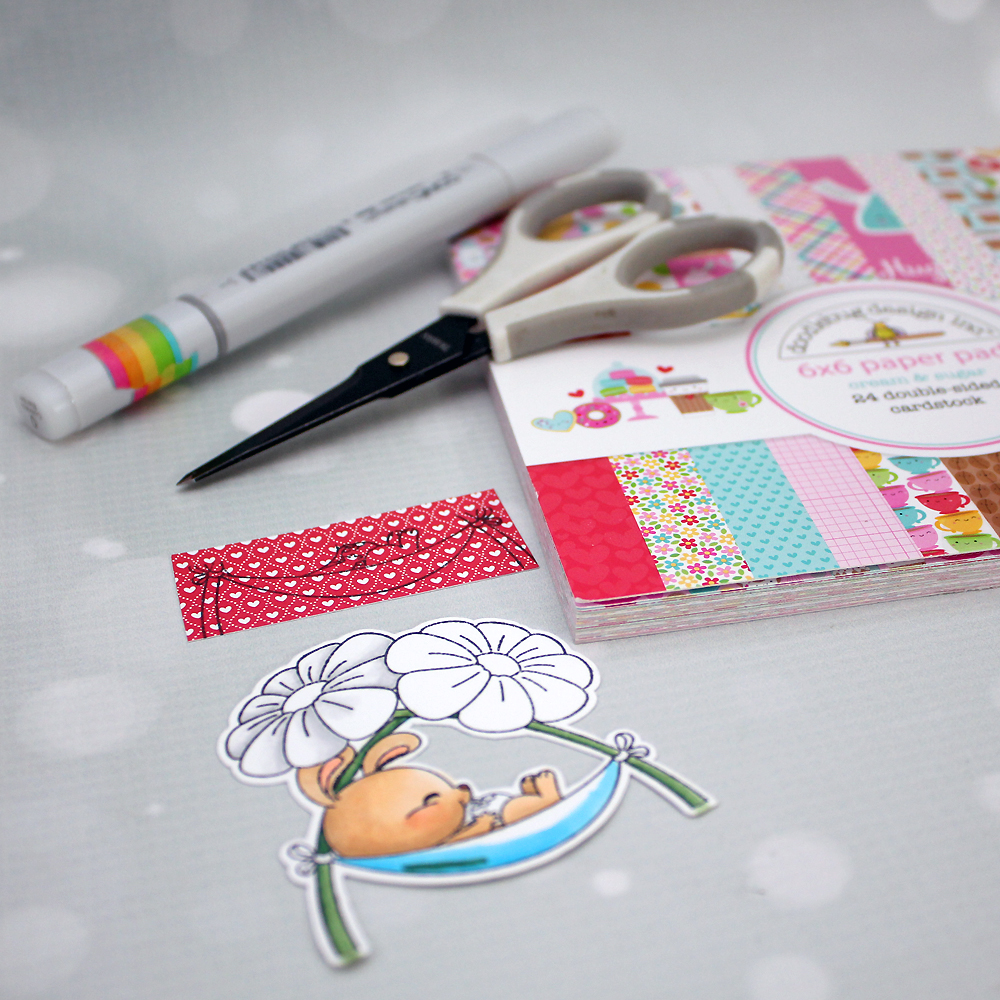
To finish up my cards, I:
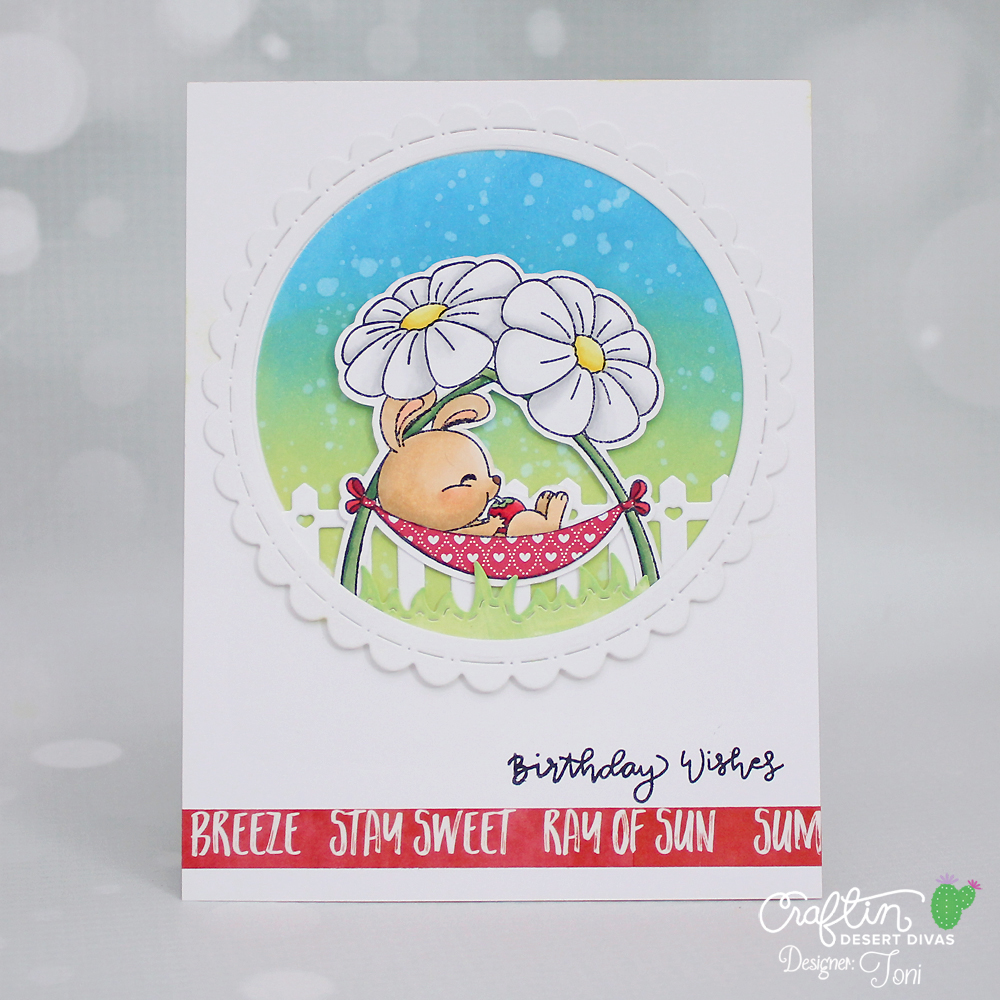
Card 1
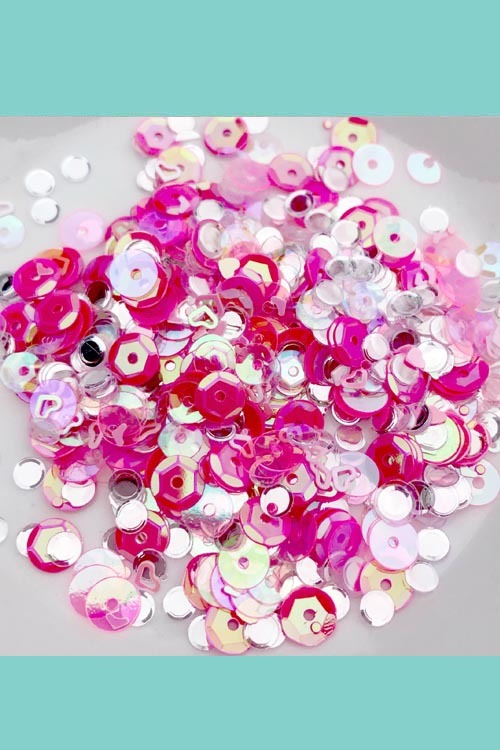
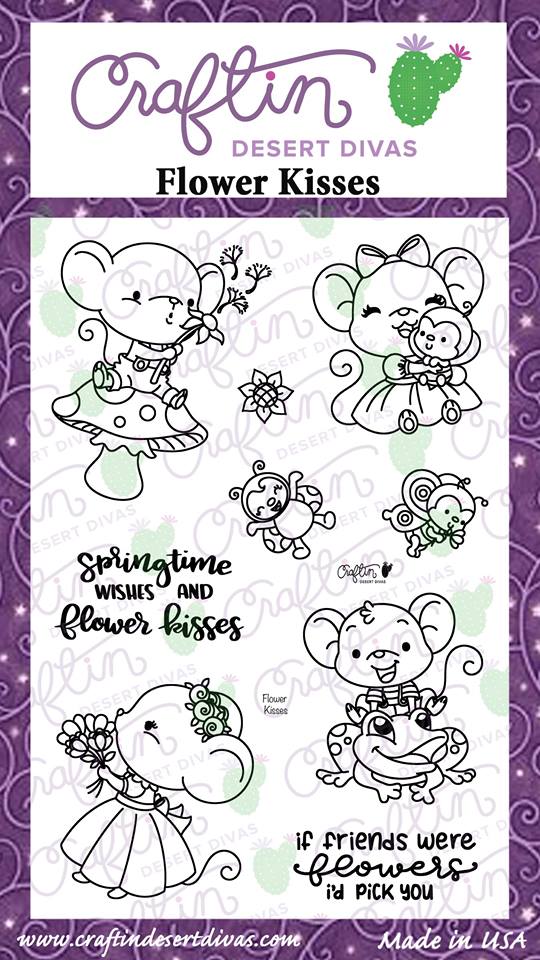
I spattered water on the inset tail then placed it on a glitter base.  I used the for the sentiment. I really like how I was able to curve the hello to follow the tail.
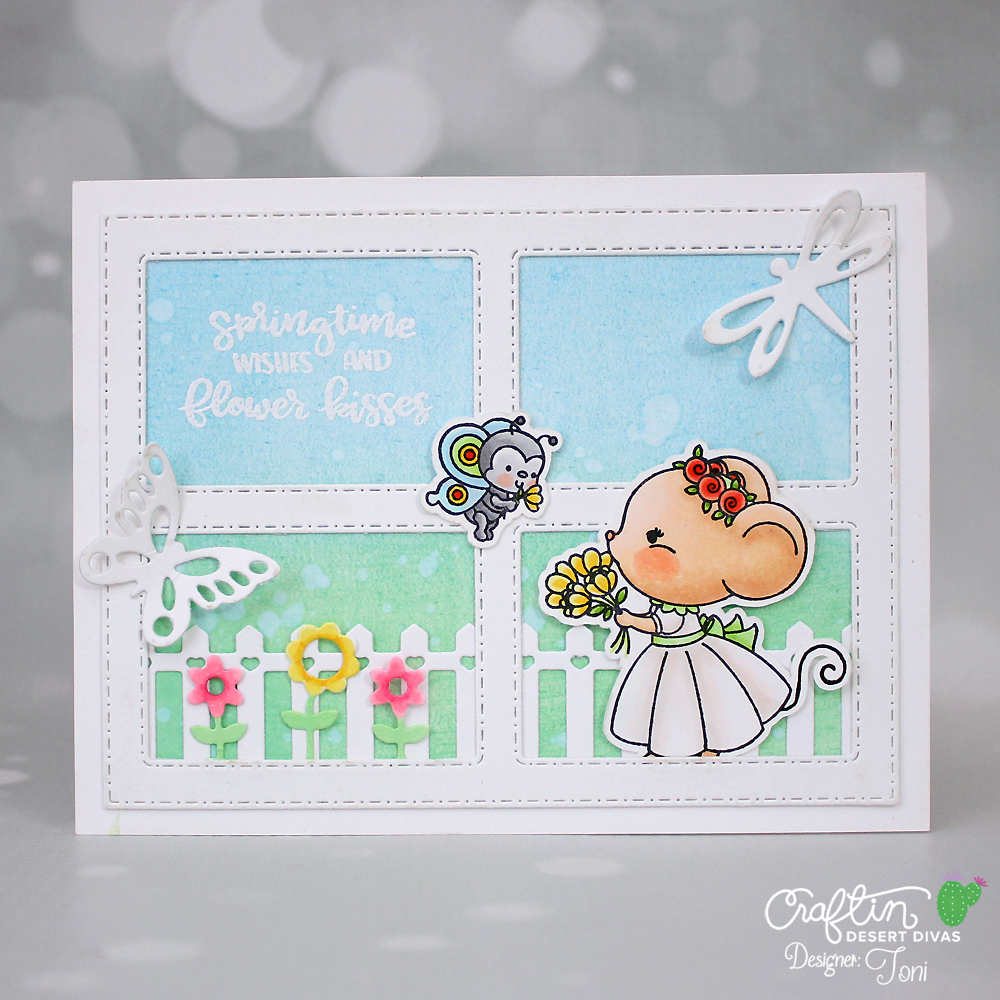
Card 2
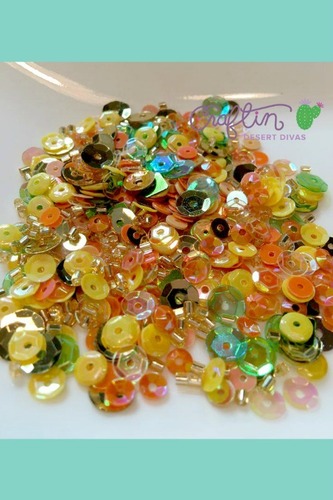
I used on the embossed card.  You can see that best in the top photo.  I then used both parts of the to pop up the sentiment.  That done, I used to adhere and to the scales.  Blingy ding ding!


You have another couple of weeks to join us for the last (you can also tag #cddmonthly to play).


Thursday, June 7, 2018

Paper Piecing Fixing Mistake With DT Toni

Hi Divas!

Toni here with you today to continue our discussion this week about ways to fix those pesky little mistakes we all make periodically, or in my case, with about every card. LOL!

This past Monday I posted a card for the current June Moodboard challenge which allowed me a few ways to show you how I fix oops. (You can see the finished card at the bottom of this post as well.)  


In this case, I used a Copic 0 (I ALWAYS have that on hand when I'm coloring) as well as designer paper () and my craft . Isn't the image from CDD adorable?


My most common mistake is to color outside the lines with my Copics. Can you see the boo boo where the flower stems cross on top? And a tiny one on the hammock tie on the right side? I immediately applied Copic 0 to those with great results as seen in the below pic. 

You do need to be careful not to apply too much Copic 0 or you could affect the color within the lines.  Trust me. I so know. Just apply a little and let it dry before trying again if necessary. The worst color I've found for fixing is red and the best is gray.


Now my other mistake with this card was to grab the wrong color when I was working on the hammock.  As you can clearly see, I grabbed the green from the stem rather than the darker blue I intended. (insert primal scream)

I can assure you that no amount of Copic 0 was going to fix this so I decided to paper-piece the hammock. I just stamped the hammock on the then cut it out and glued it over my boo boo using .

Super easy and what a cute way to bring in more color and design without having to color it myself.  Looking at the finished card, you'd never know there were so many bumps along the way!


Monday, May 21, 2018

Ombre Effect With DT Toni


Hello Divas! Toni with you today using , ,  and  to create a soft spring scene inspired by the current moodboard (enter by joining the or tagging #cddmonthly). 

There is a lot going on with this card so I used lots of white (the window frame, insects, fence, and dress) but used pops of color on the flowers and bee to keep the card from becoming too visually cluttered.

 
Now let's talk about ombre a bit.  If you're familiar with my work, you know I'm quite fond of ombre whether it be bold and bright or soft and subtle.


For this card I used and to create a very soft background. My favorite way to do this is using a brush to slowly add color. Just like with cooking, you can add a lot easier than you can take away. Can you see the paler green at the bottom, a bit of transition blue-green then the blue above?


Now that is not to say I don't love creating an ombre background using my sponge applicators.  Check out how beautifully the Distress Oxides blend. On the left I used , and ; on the right, , and . So very bold and yummy!

I hope you'll be inspired to show us in the your ombre skills!


Monday, May 7, 2018

May Sneak Peek Release Day 1


Hello, Divas!  Toni with you today sharing the first of our May release sneaks.  I'm using the new . I know you're going to love these and the other products as much as I do!  They'll all be !


I started by applying on my background then spattering with water. Can't you just see that sunset and feel the ocean breeze? Once that was dry I sponged seagulls from the and stamped the . 


I have to confess I had doubts about my card concept until I started putting in the finishing touches.
  • Using a piece of denim and Copic 0 to create texture on the critter's hat from . Be warned you should do this before other parts of the image are colored.  I didn't think of it until later so had to mask like crazy--ick.
  • Paper-piecing the using a fun tropical print and . I LOVE how the palm trees have built-in texture with the criss-cross pattern on the trunk without having to use an impression plate.
  • Adding dots to the using a .
  • Using Copics to add dots to the cutouts. 
  • Adding a couple of strips of tropical washi tape for balance and fun.
  • Darkening the Distress Oxide blue section of the background for a more interesting transition between water and sky.
What a huge difference, huh?!  When I see this card I think of my mom and know she would have loved to have spent time relaxing like this. Just like her daughter!


The is all about spring flowers, moms, love and whatever else moves you. Join along by posting your card in the or tagging #cddmonthly!


Next Posts Home