Monday, April 30, 2018

Spotlight Technique With DT Marine

Hey there, it's Marine from DT! I hope you're doing well! Today I'm showcasing a technique I had never used before: the spotlight technique. I even had to make a quick research on the internet to know exactly what it was LOL And when I discovered this technique, I was very excited to give it a try!


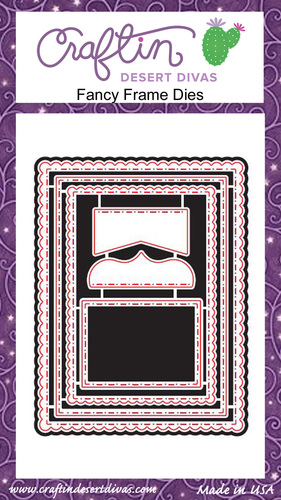
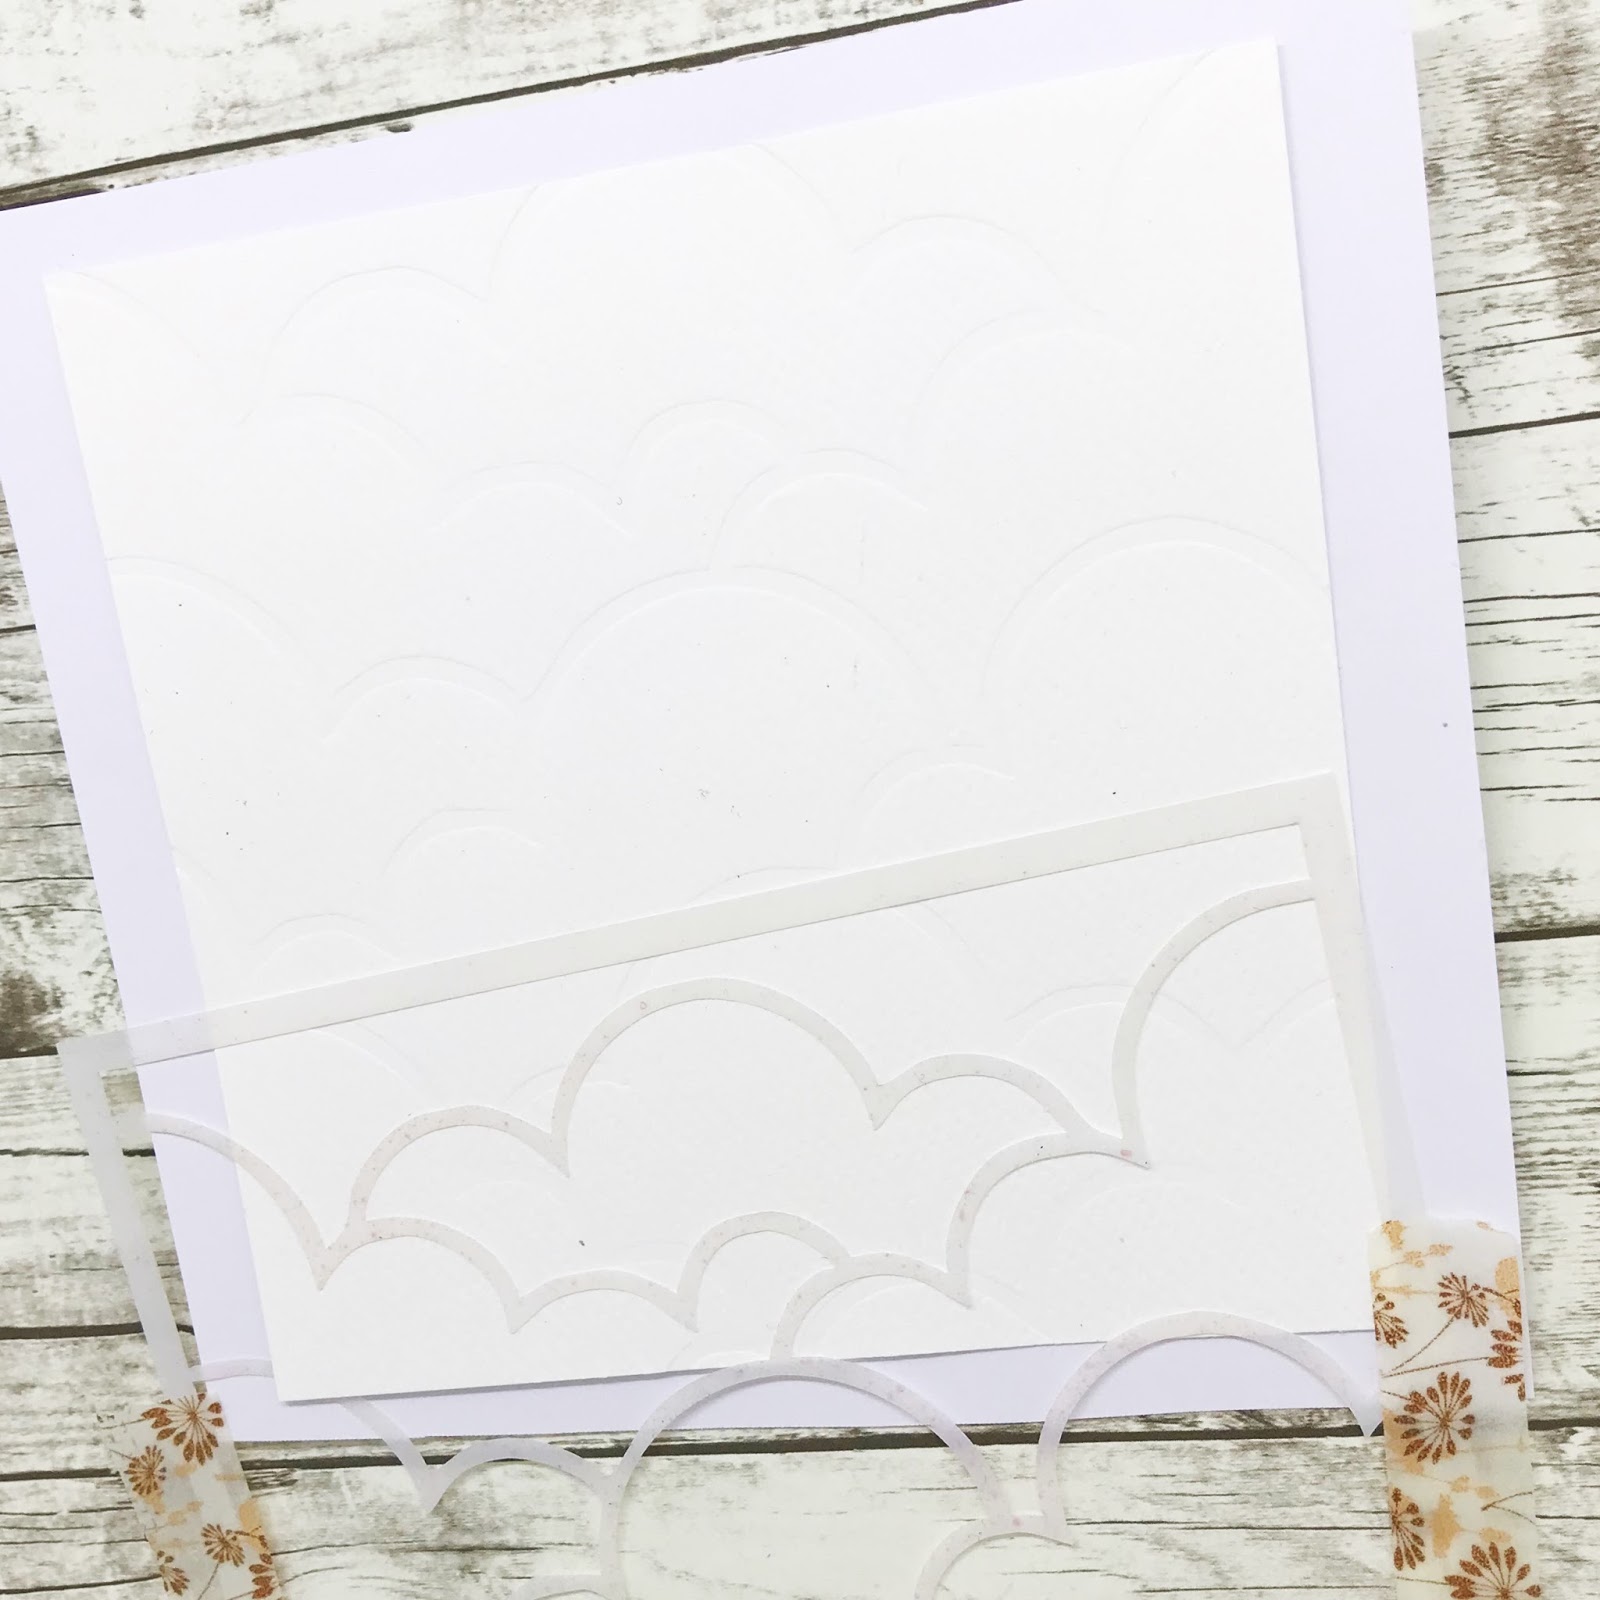
I first started by stamping the same flower background twice on alcohol marker friendly cardstock. I die cut one background using a scalloped frame and did the same thing with the other background using a smaller scalloped frame die, making sure this smaller frame would match the larger one in the middle

(please watch the video because I don't feel I sound clear LOL)


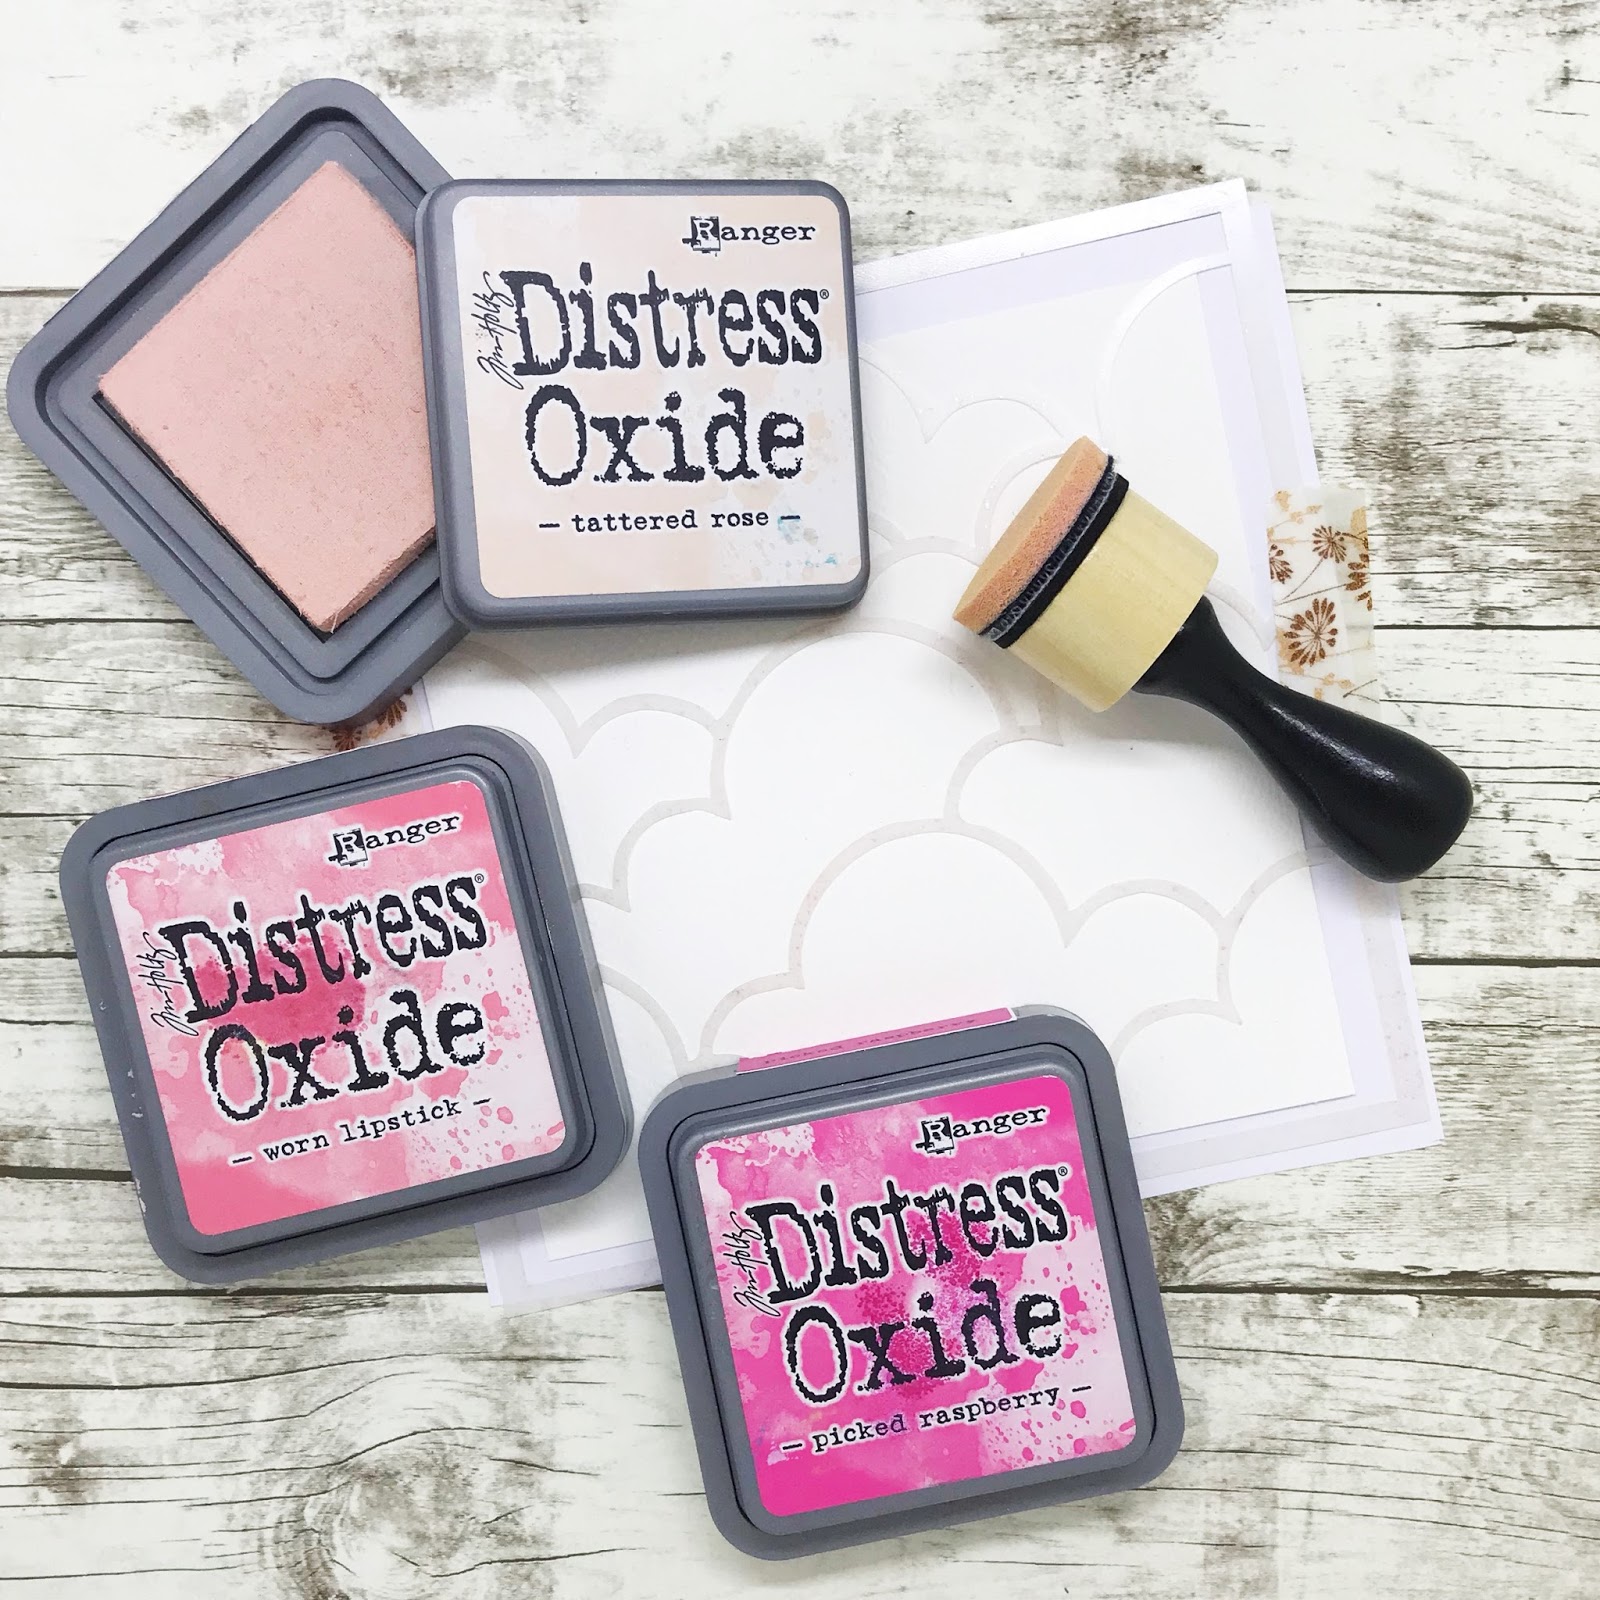
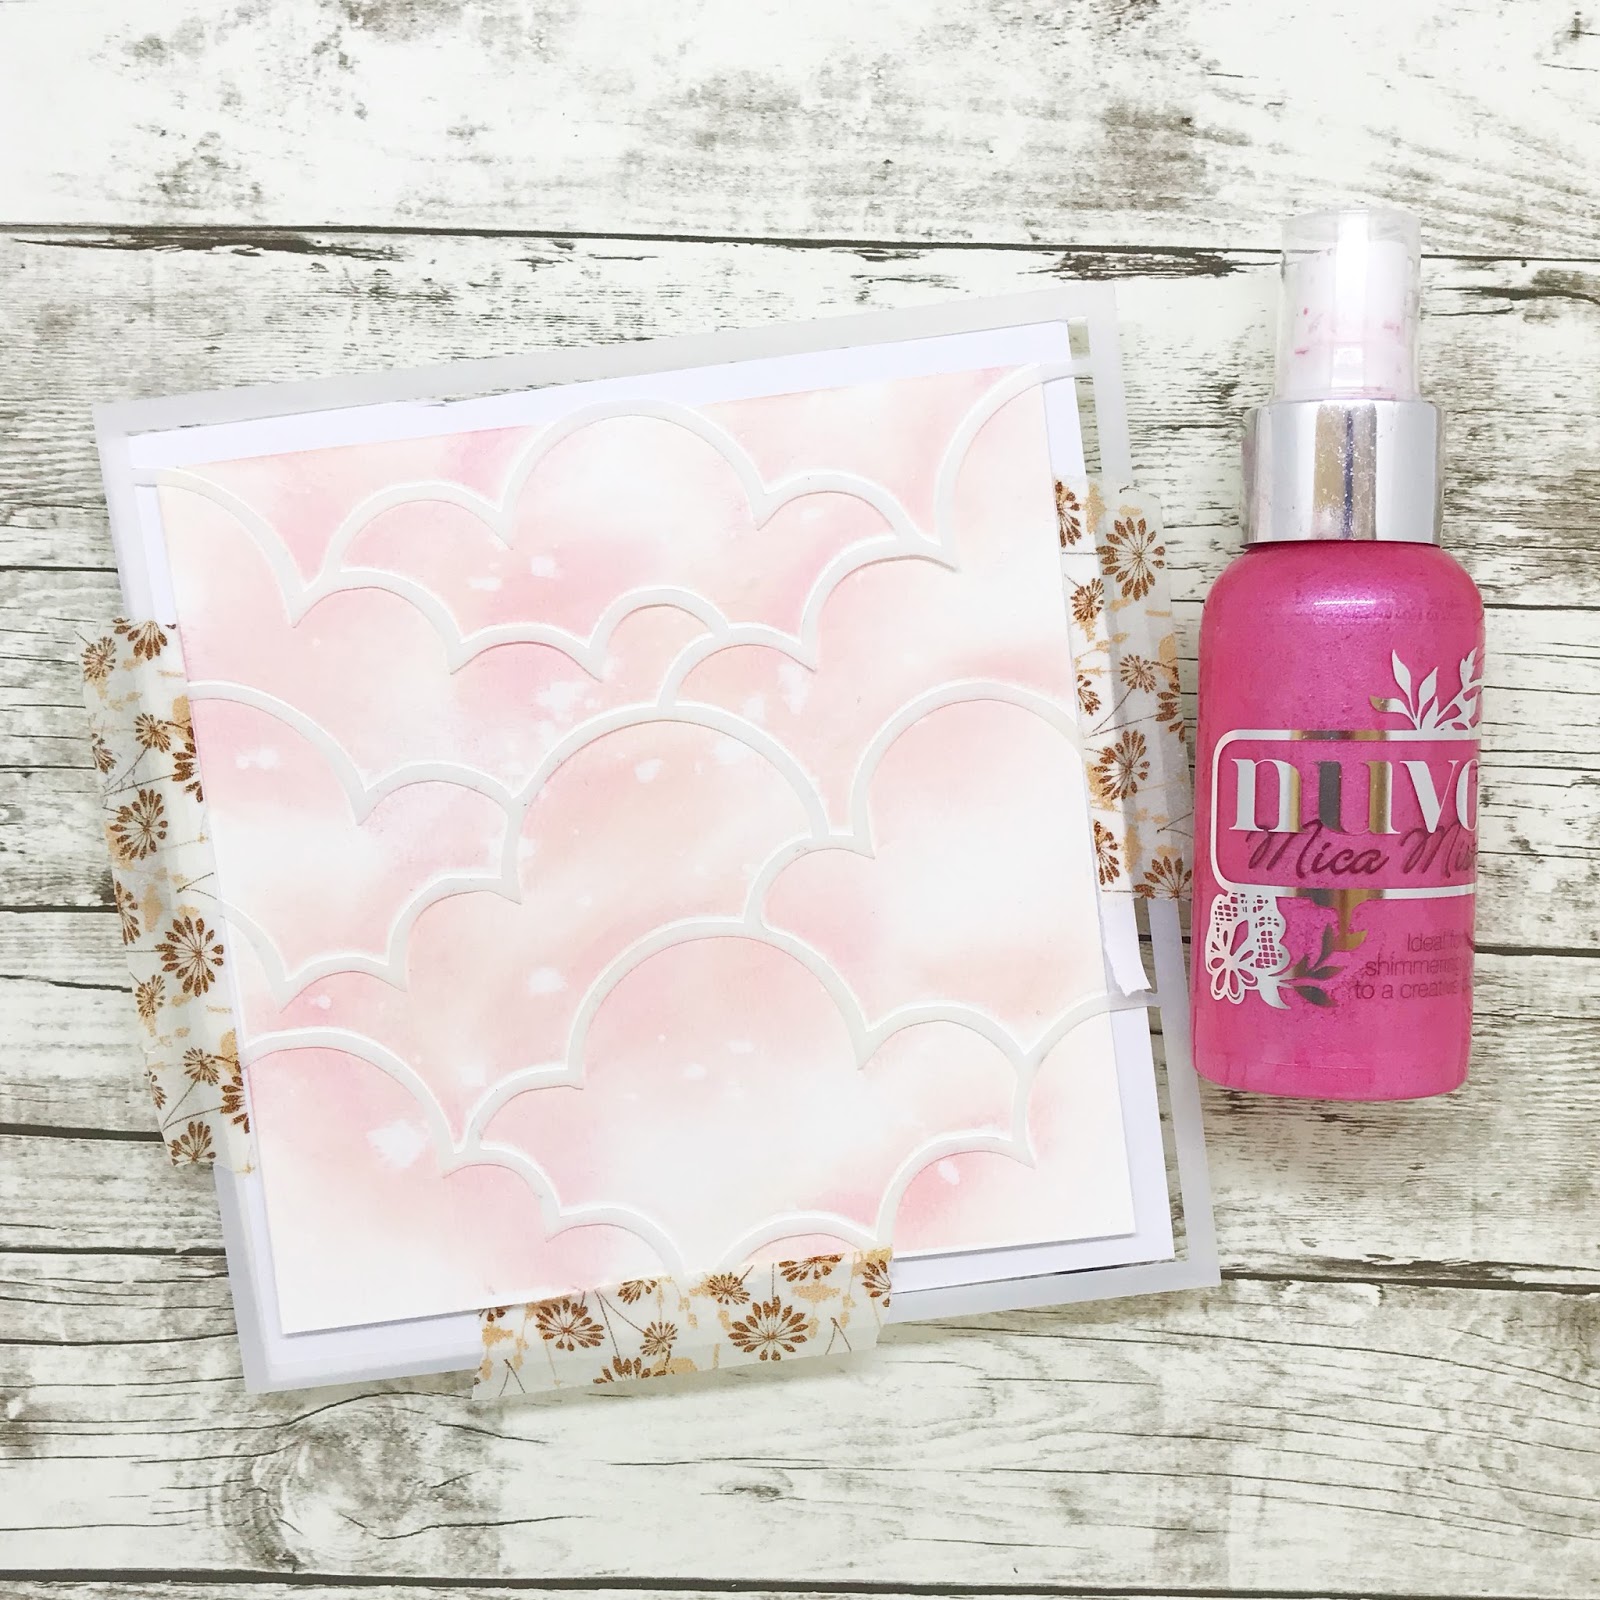
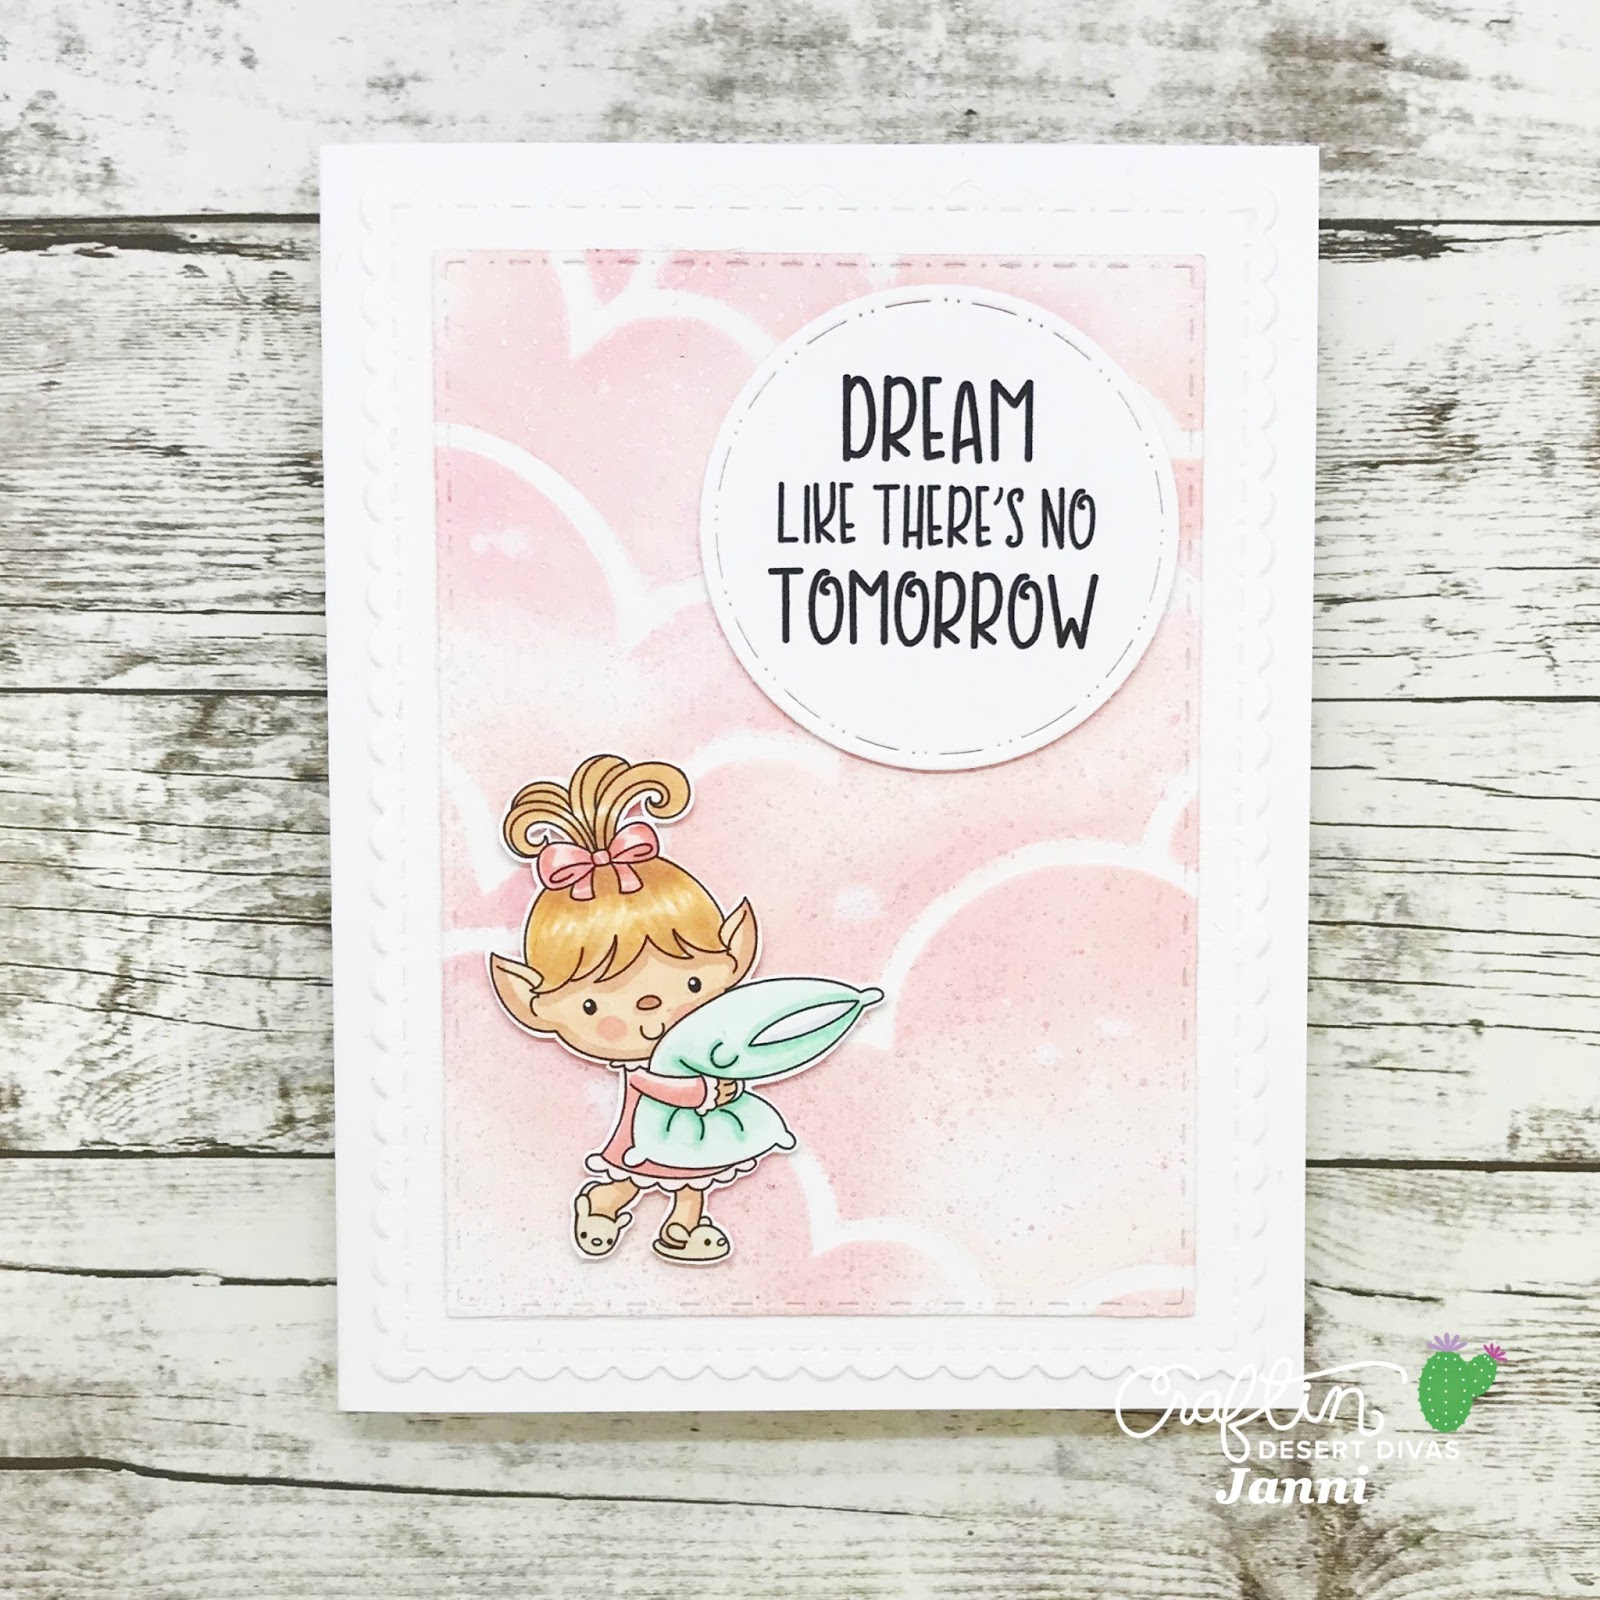
I used my alcohol markers to color the flowers and leaves, but just the ones on the small panel. Attached the large non colored panel on a white card base, and then the small colored panel right on top using a piece of foam.


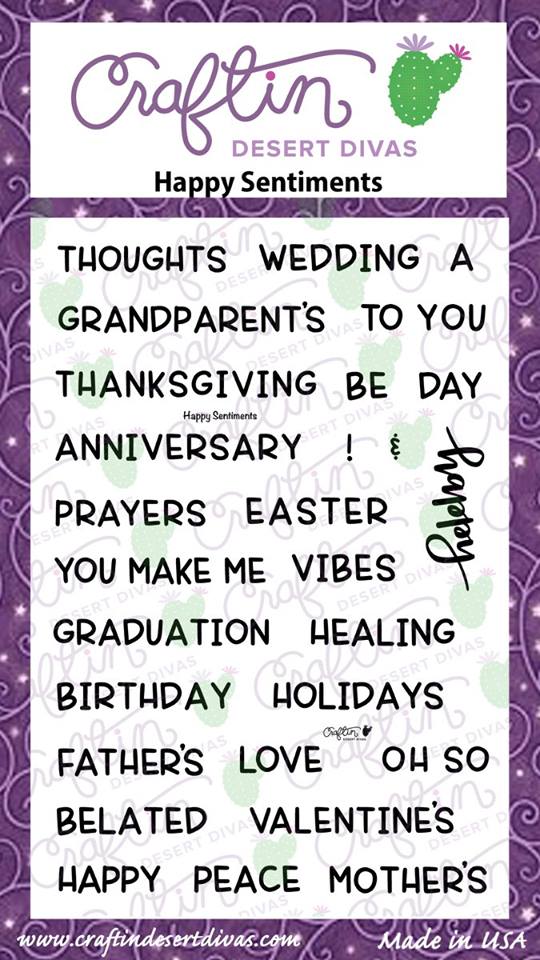
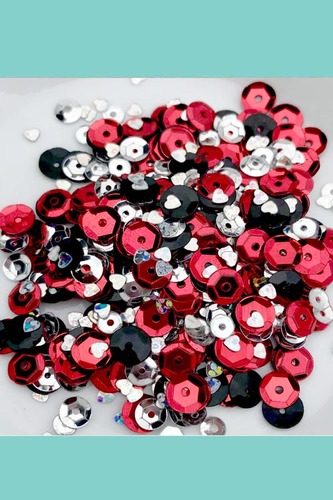
White heat embossed my sentiment on black cardstock and attached it at the bottom right corner of my card. And to finish the card, I simply added some clear drops here and there.

*  *

Don't hesitate to give this technique a try! Have a beautiful day, and see you soon! 


CDD SUPPLIES


Sunday, April 29, 2018

Fun Time With Stencil With DT Laurie

Hello crafty friends and welcome back!!  Laurie here to share a couple of projects featuring two ways to use a stencil and embossing paste.  
This was the first time I tried either of these techniques and it was so easy and super fun!!


I started by die cutting two panels using the largest scalloped die in the Fancy Frames Die Set out of Strathmore Mixed Media paper.  This paper has become one of my favourites for all ink blending and watercolour techniques.  It isn't quite as heavy weight as your typical watercolour paper but it is bright white, stands up to water well and inks blend beautifully on it.


I chose the new Star Galaxy stencil and three Distress Oxide Inks in the colours Picked Raspberry, Peacock Feathers and Wilted Violet.  For my first technique, I decided to colour my white Texture Paste with the inks.


Basically, just smoosh some ink onto a slick surface, drop a blob of texture/embossing paste into and mix with a spatula. A plastic knife or old credit card would work as well!  I laid the stencil over the die cut panel and added the paste.  I mixed up all three colours and overlapped them on the stencil.


Looks pretty awful, doesn't it??  When the stencil is pulled off, the result is fantastic!


I did have a couple of areas that I pressed too hard with the spatula which resulted in a couple of "smoothy" areas but I was okay with this :)

For my next background, I decided to add colour to the panel first.  I used the same colours and wasn't too worried about getting a smooth blend.  I added a lot of water splatters to give a bit more interest.


I placed the stencil over top and applied the white texture/embossing paste.  


As you can see, these are two completely different looks!


I noticed that because the inks were still wet when I applied the embossing paste to the ink blended background, the white areas started to wick some of the colour. If you think this might bother you, I would recommend waiting for the inks to dry!

I chose the Magical Unicorn set for my images because I thought they work work perfectly with these backgrounds.  I stamped a few images, coloured them with my alcohol markers and fussy cut them out.


I ended up only using the two unicorns but I love that rainbow image!!  I used the unicorn on a cloud image for the coloured embossing paste background.  I embossed the "Make a Wish" sentiment from the same stamp set onto black cardstock using white embossing powder.


I used foam adhesive to adhere both the sentiment and the focal image.


To finish the card off, I used some Clear Wink of Stella on the mane, Glossy Accents on the horn and picked a few of the tiny hearts out of the Lady Bug Sequins pack.


The other background was finished in a similar manner. 


I used a combination of liquid glue and foam adhesive to adhere the images and sentiment.


I also used the small cloud die (which was a free with purchase die) to create a puffy place for the unicorn to sit. A bit of glitter pen, Glossy Accents and a few silver sequins complete this card!


Thanks for hanging around to the end of this long and "photo heavy" post!  I appreciate you stopping by today and hope you got inspired to try these easy techniques!!

Here's a list of CDD supplies used:


Saturday, April 28, 2018

Fun Time With Stencil With DT Janni

Hi Craft Divas, DT Janni here.

Today I'm going to show you how I used 'Cloudy Sky Stencil' to make this gorgeous dreamy pastel card.


Here I have lined up all the products I used to make the background.
I picked my favorite Distress Oxide combo: Tattered Rose, Worn Lipstick and Picked Raspberry. Have you tried the Nuvo Mica Mist yet? Oh my all that pink glitter, it's soooooo pretty, please give it a try! I used it for the first time for this card, and I love it all ready <3


I started by using the stencil to emboss my background. I placed the stencil on the paper and added an extra piece of paper so the embossing gets better. Then I ran it through my Big Shot a couple of times.


The result of the embossing.


I taped the stencil to the paper again, it's time for some Distress Oxide coloring. I started with Tattered Rose, then Worn Lipstick and a little bit of Picked Raspberry.


After the coloring I sprayed a bit of water to the paper and dried is of. Is this gorgeous or what - I just love this soft and dreamy pastel look.


Again I taped the stencil back on the paper and sprayed a little with the new Nuvo Mica Mist <3


Look at that it's so pretty with the pink glitter, and I only sprayed twice.


I used the Fancy Frame Dies to make my backgrounds.


I colored up the cute little troll with some Copic pastels. Skin: E21-E11-R11, Hair: E50-E51-E53, Dress/Bow: R00-R42, Pillow: C1-G0000-G00, Slippers: E41. I added some 3D foam to her to make her pop up a bit. The Sentiment is from the same set Twinkle, Twinkle, and for that I used a stitched circle die, from the new Star and Moon Dies.


I hope this gave you some inspirations.

See you soon again.
Hugs,
Janni
Products used:


Newer Posts Older Posts Home