We're rounding out our Shaker Week with more inspiration from our Design Team today! You can see all the , and we carry for shaker cards in our shop.
Here's a recap of what we've posted this week:
- Sherry demonstrated how she created a beautiful fall-inspired shaker card on our YouTube channel.
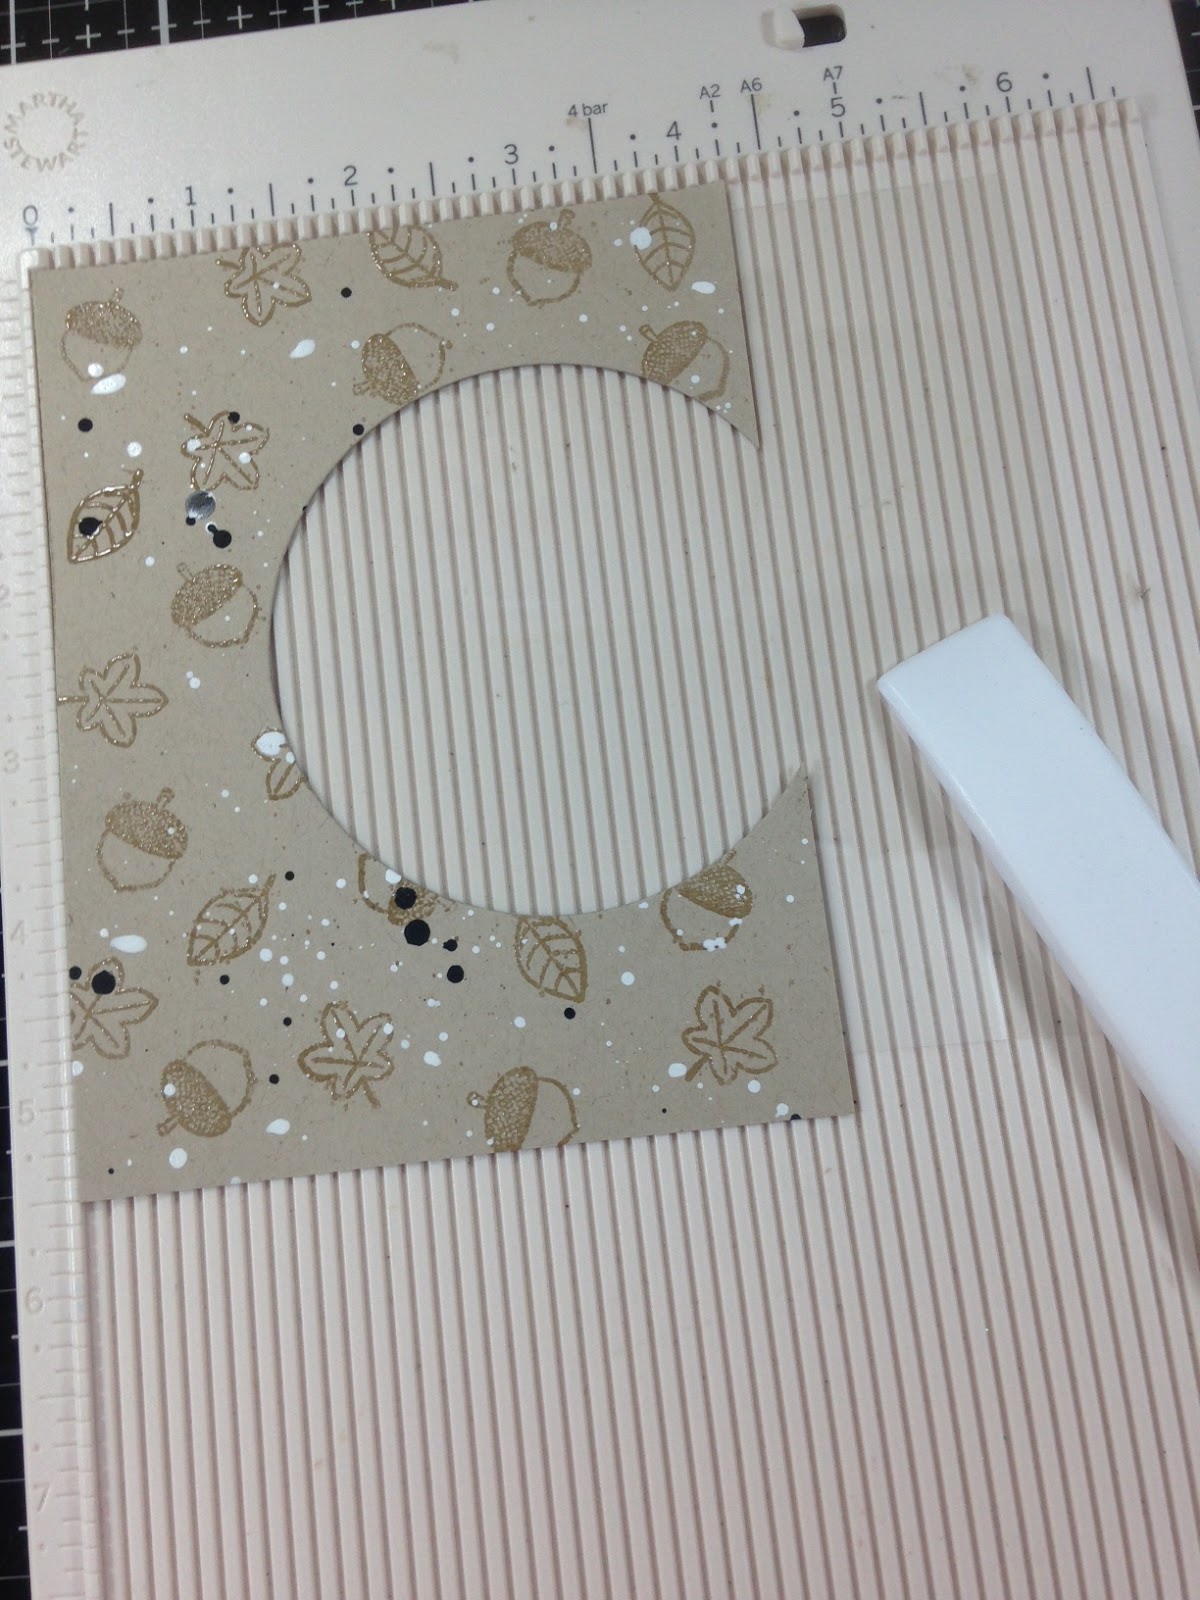
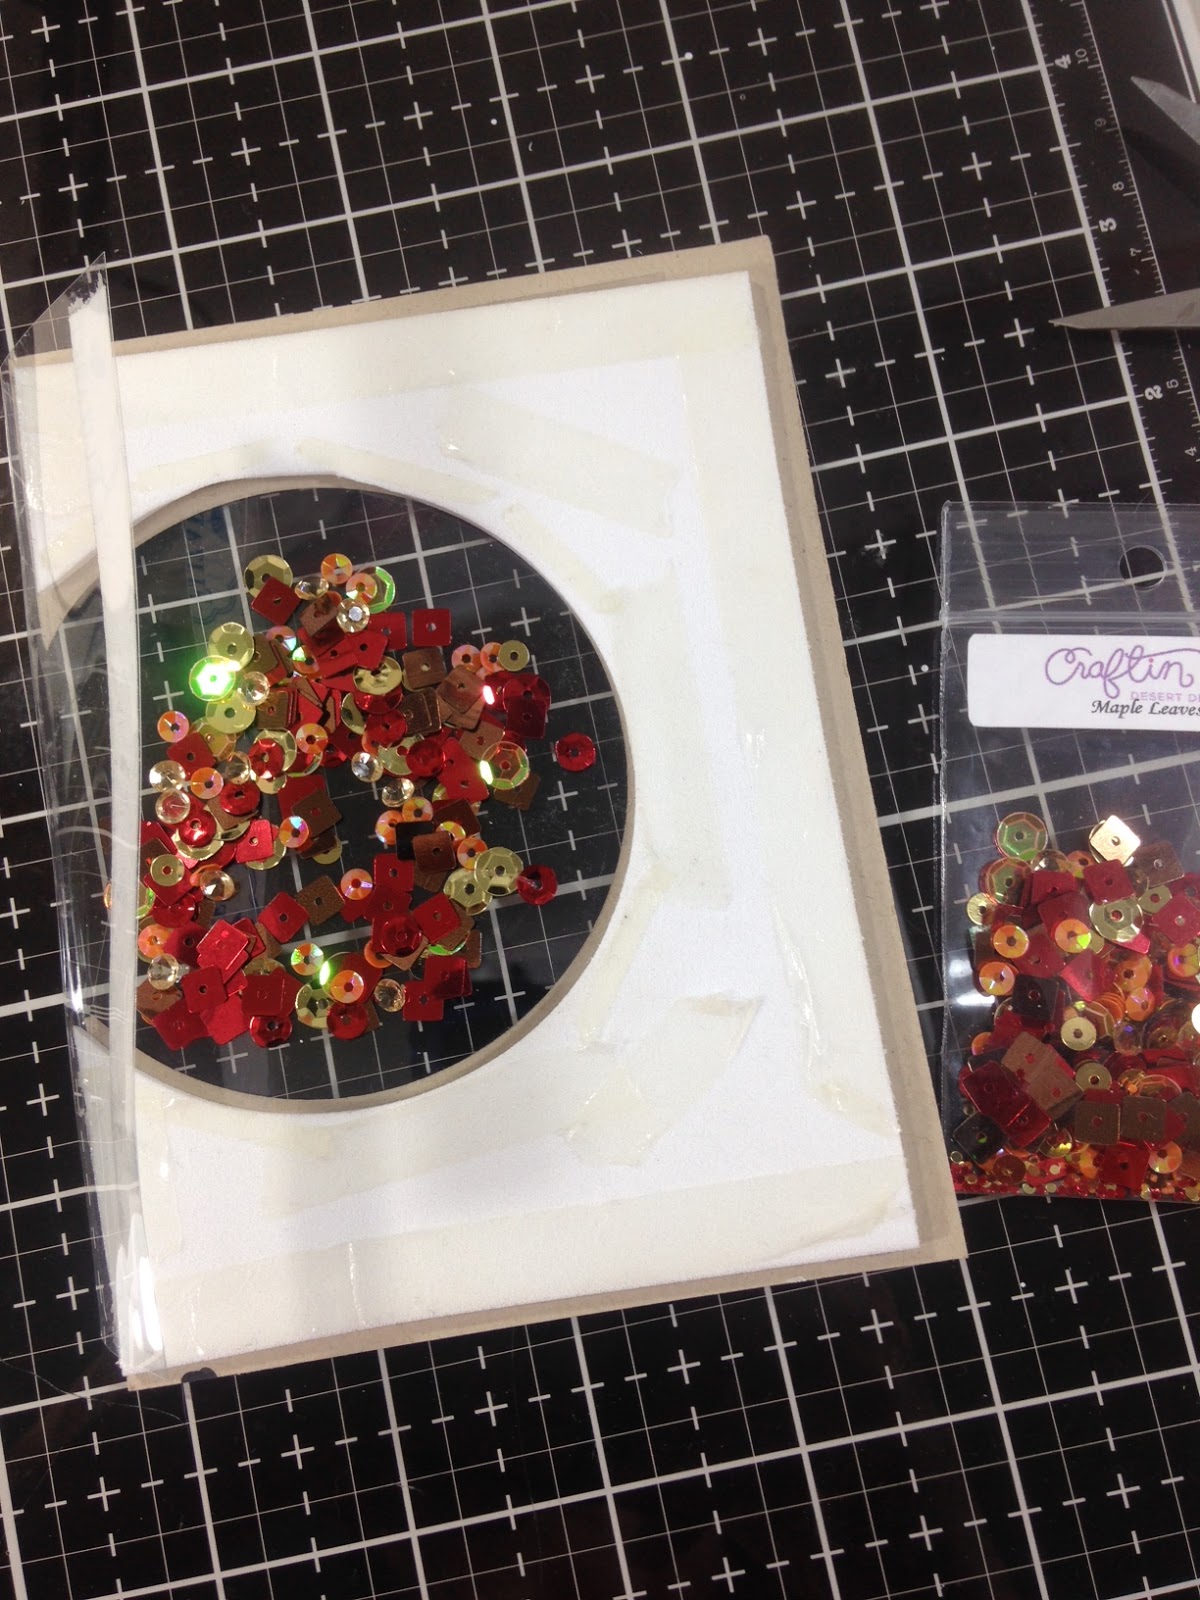
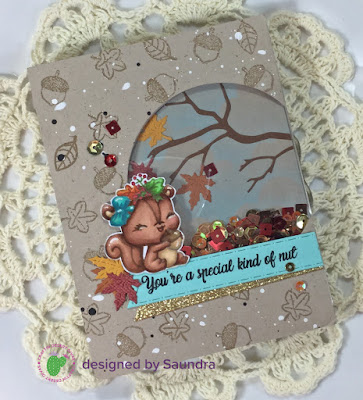
- Saundra shared a fabulous step-by-step written tutorial for making a shaker card from start-to-finish. Click to view the post
Keep scrolling to see more, then tell us YOUR best shaker tips or the best tip you've read this week in the comments below.

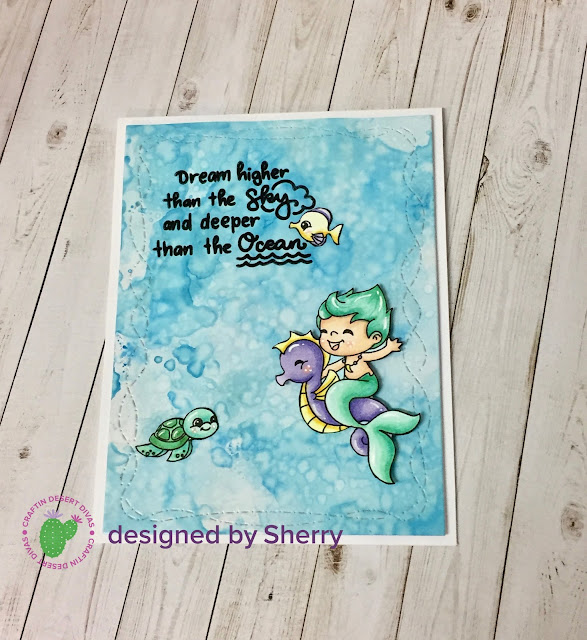
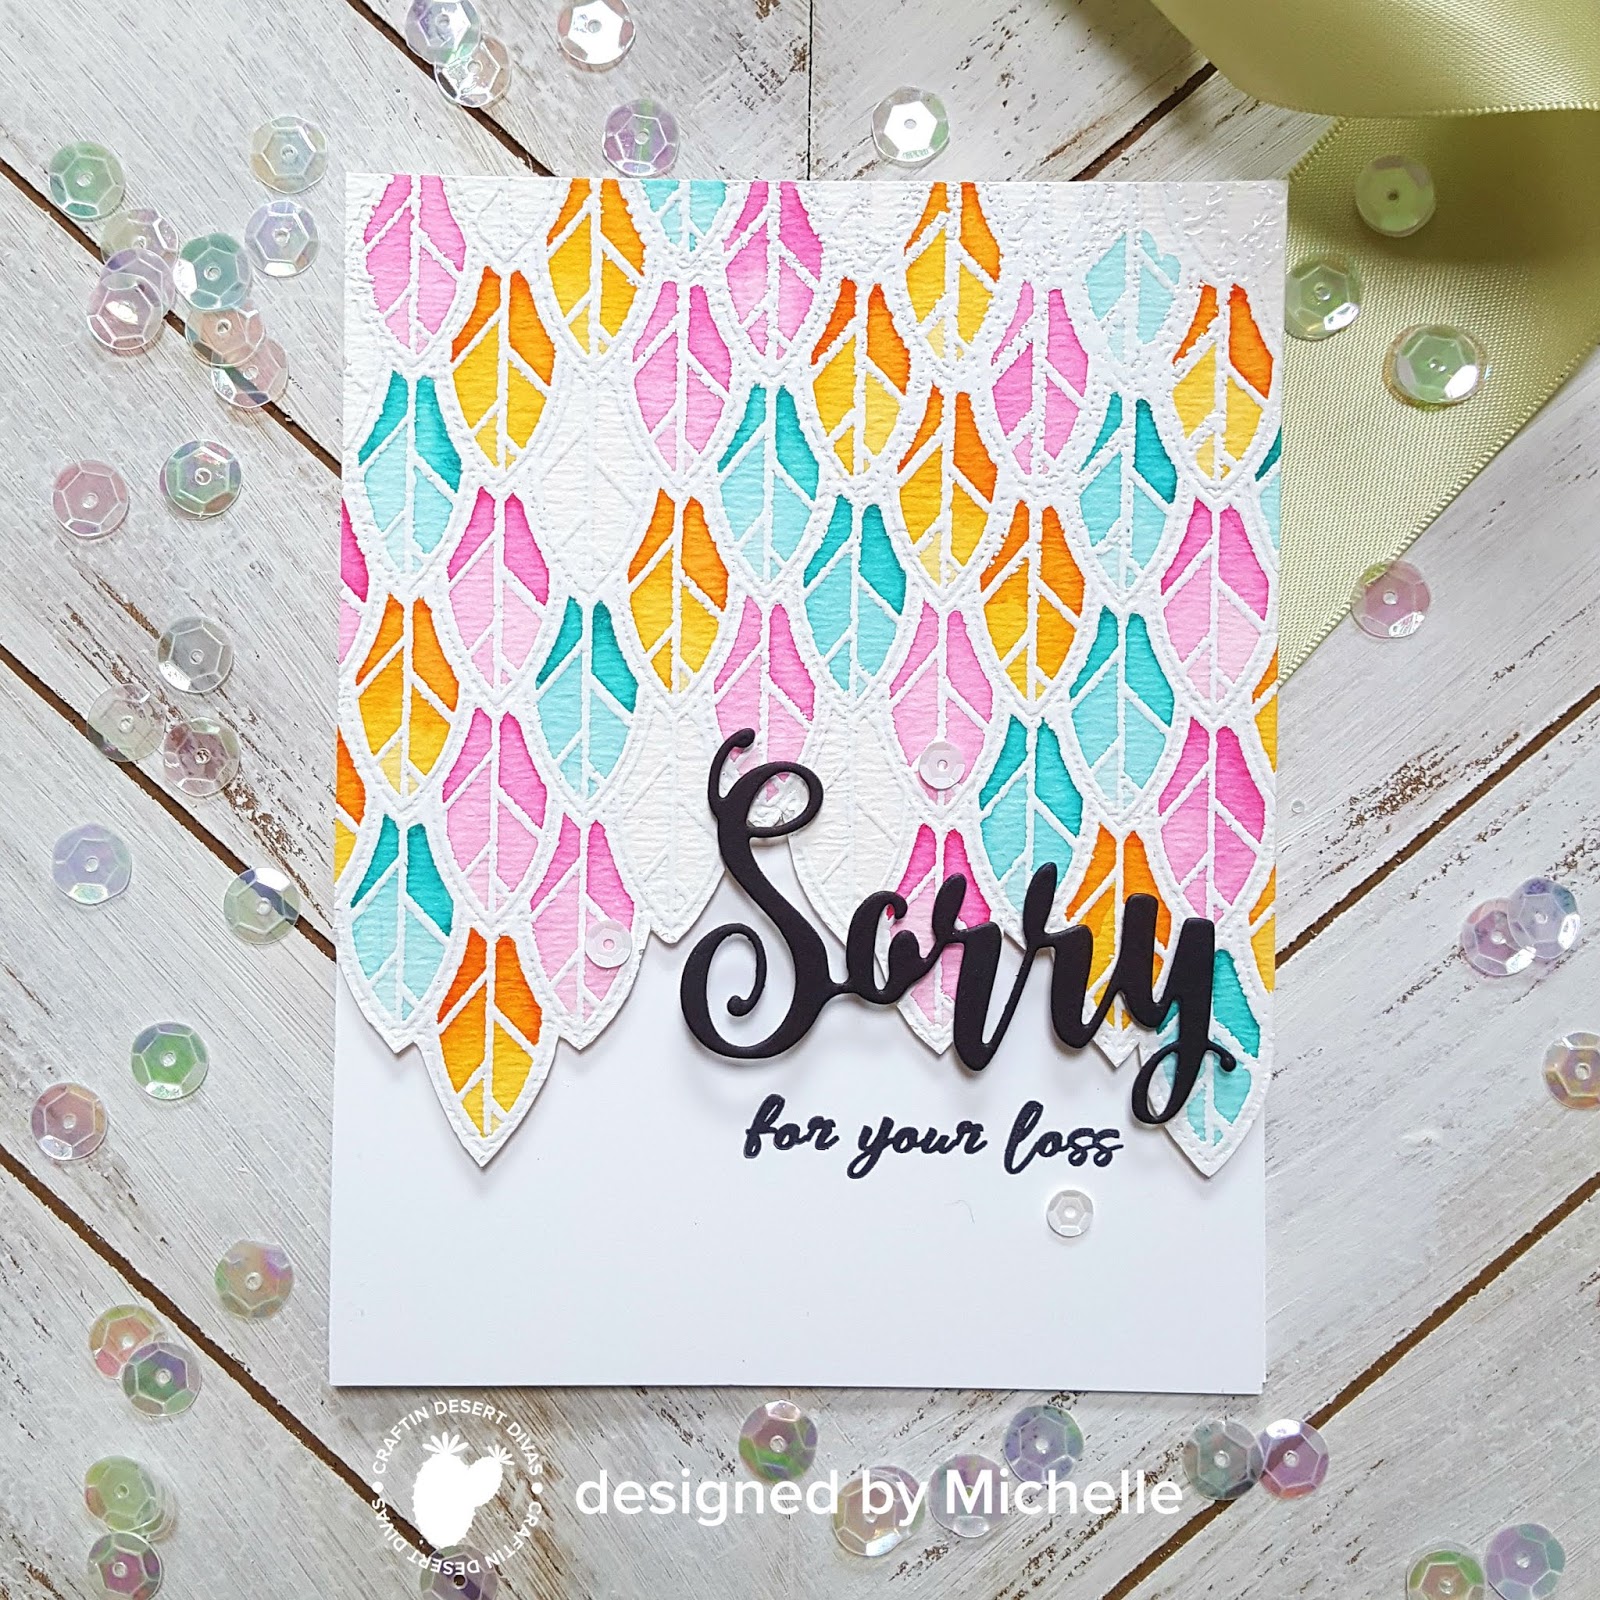
ELAINE

ASHLEE

JACKIE
DESIGN TIP:
When making a shaker card, make sure your foam adhesive isn't sticky along the edges. For those who don't have a non-stick tool, baby powder or corn starch works great!!
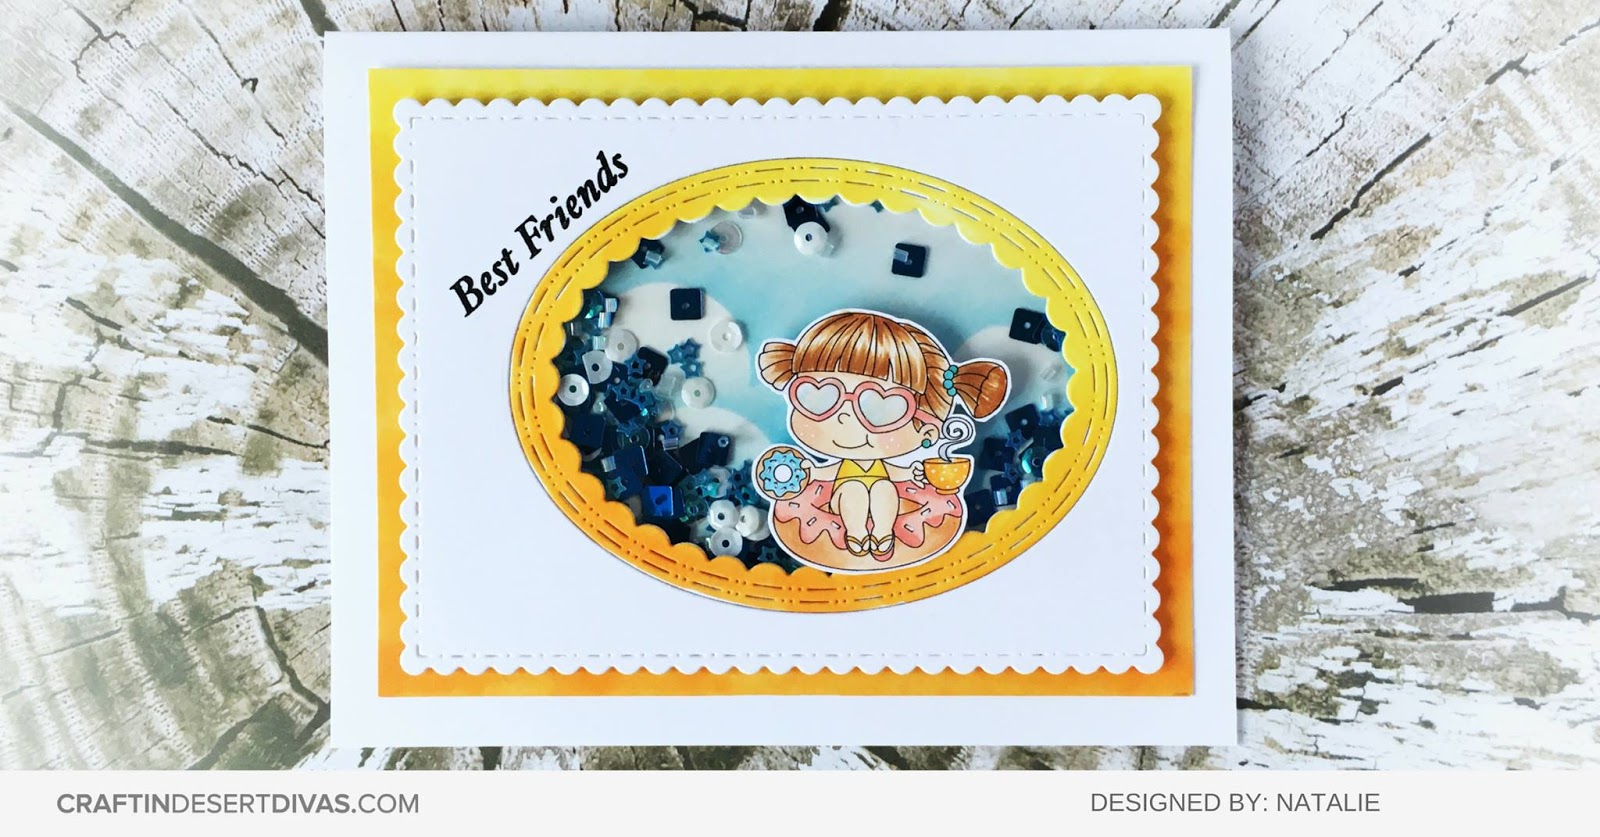
NATALIE

DESIGN TIP:
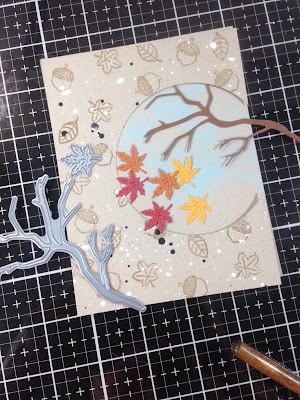
Think outside of the box when you fill your shaker. You don’t just have to use sequins there are many things you could put in there including stamped images.

SAMANTHA

ANNA

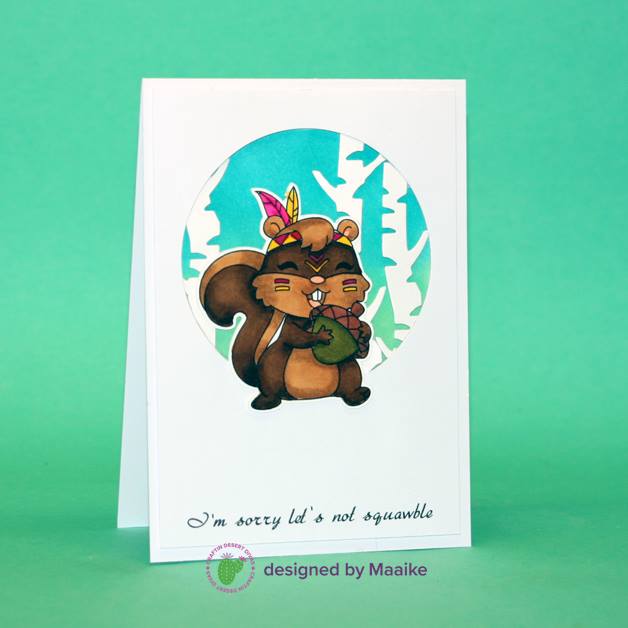
MAAIKE

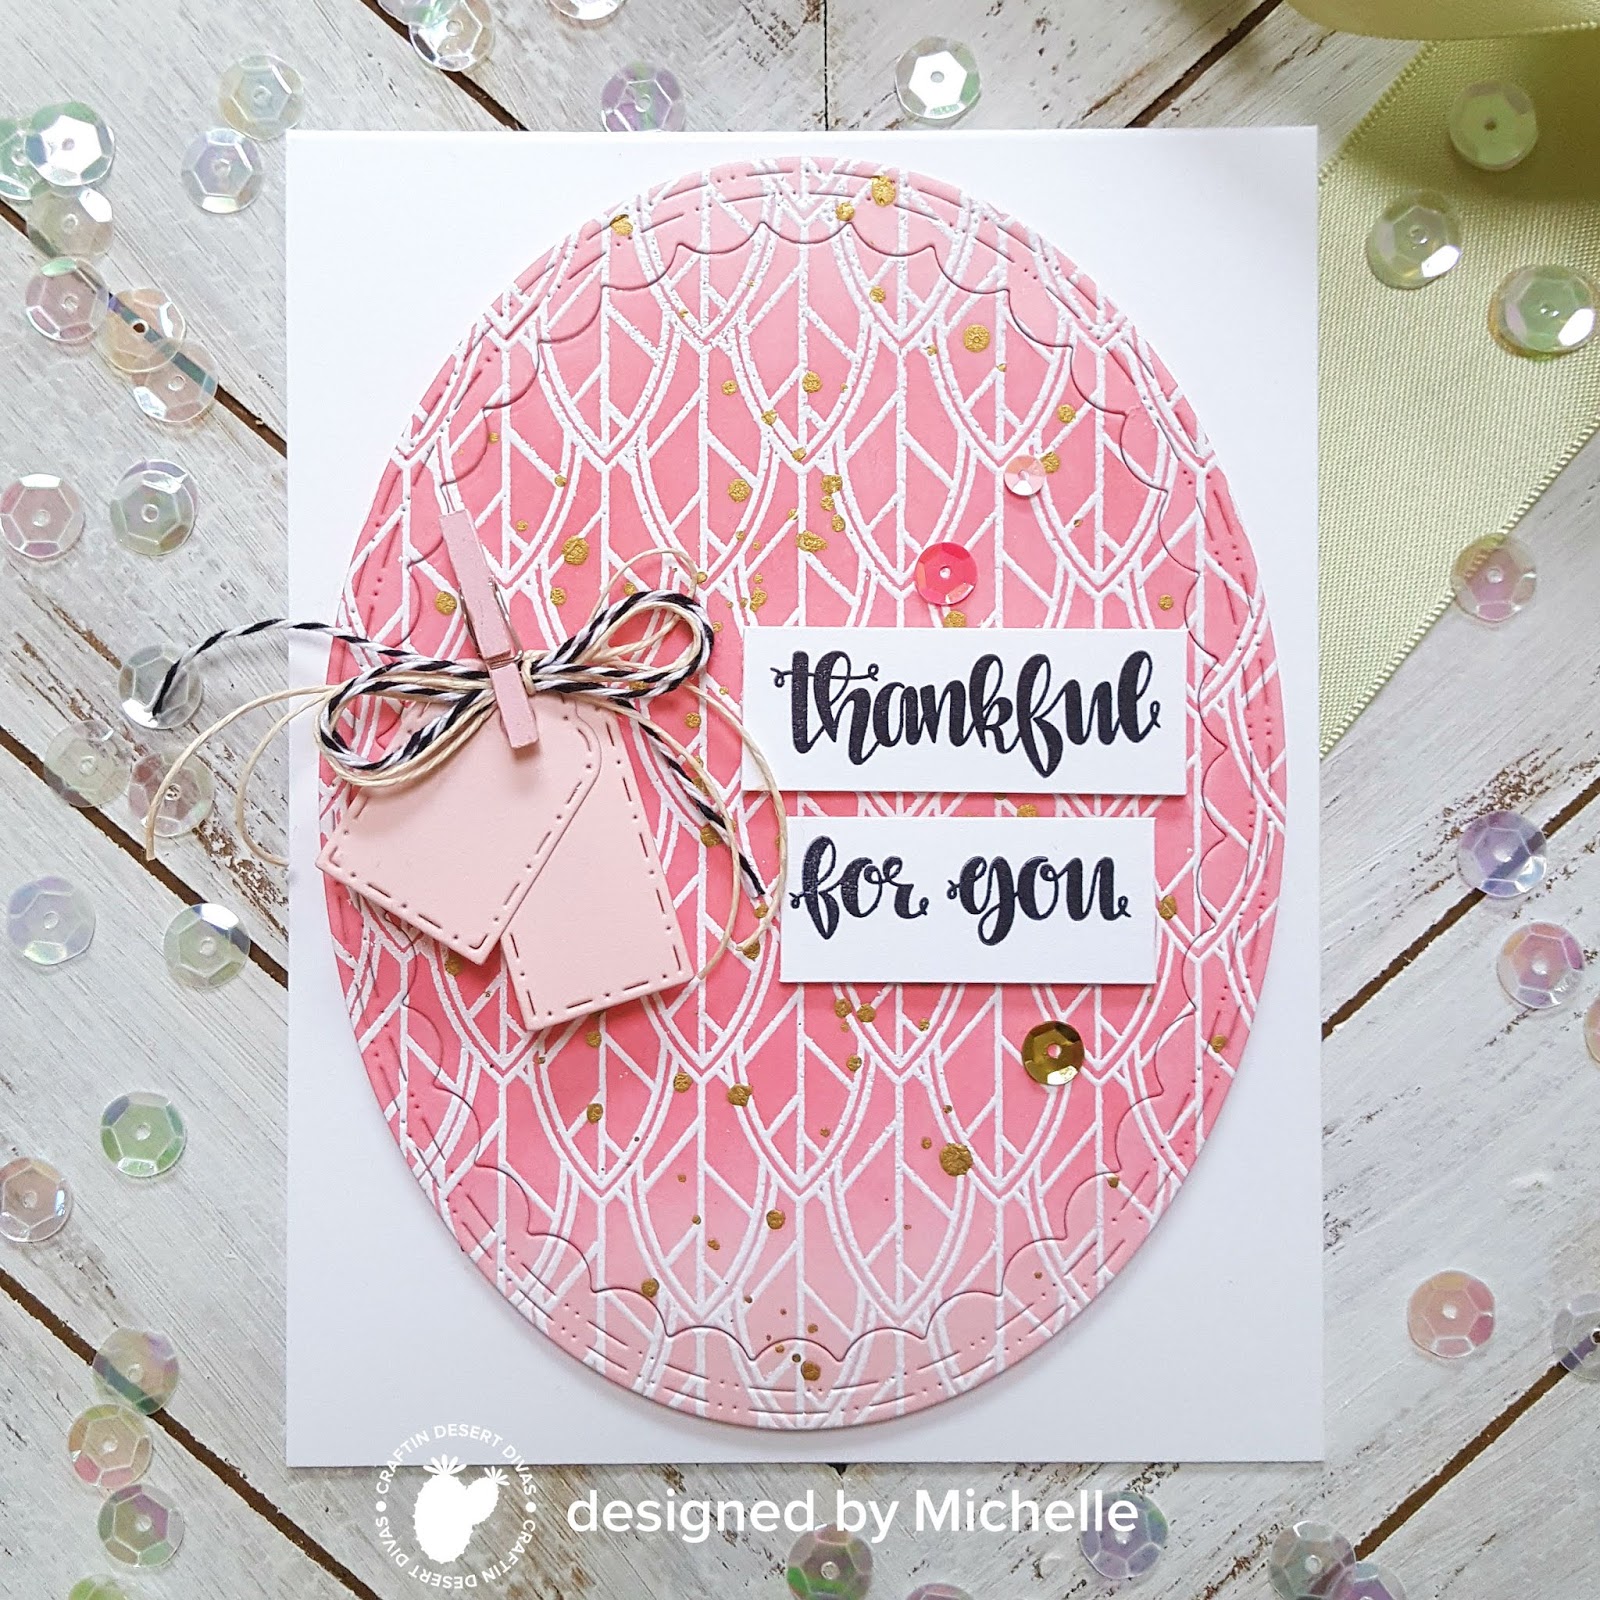
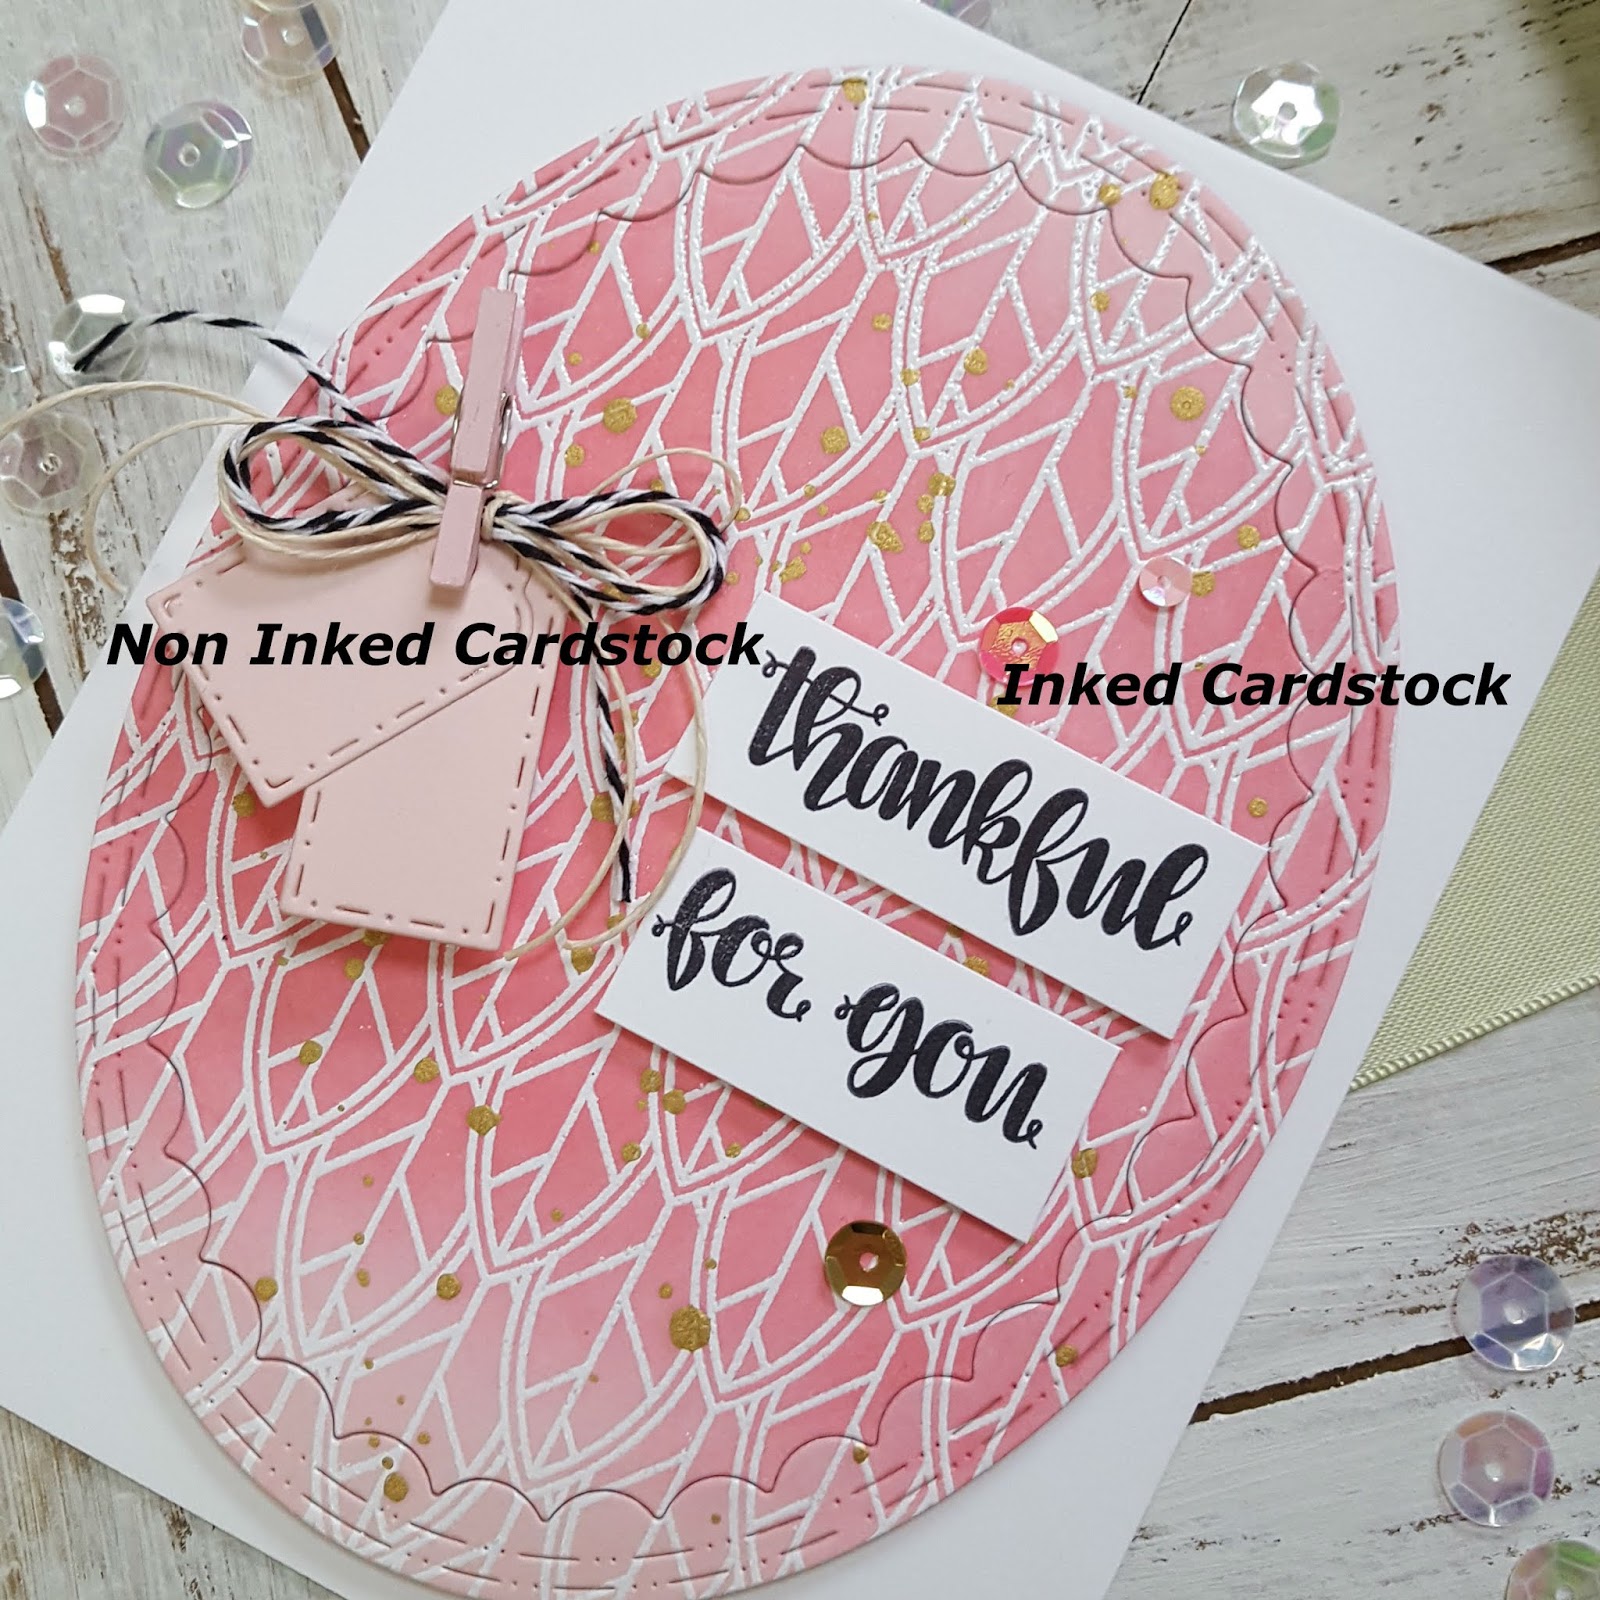
CANDICE
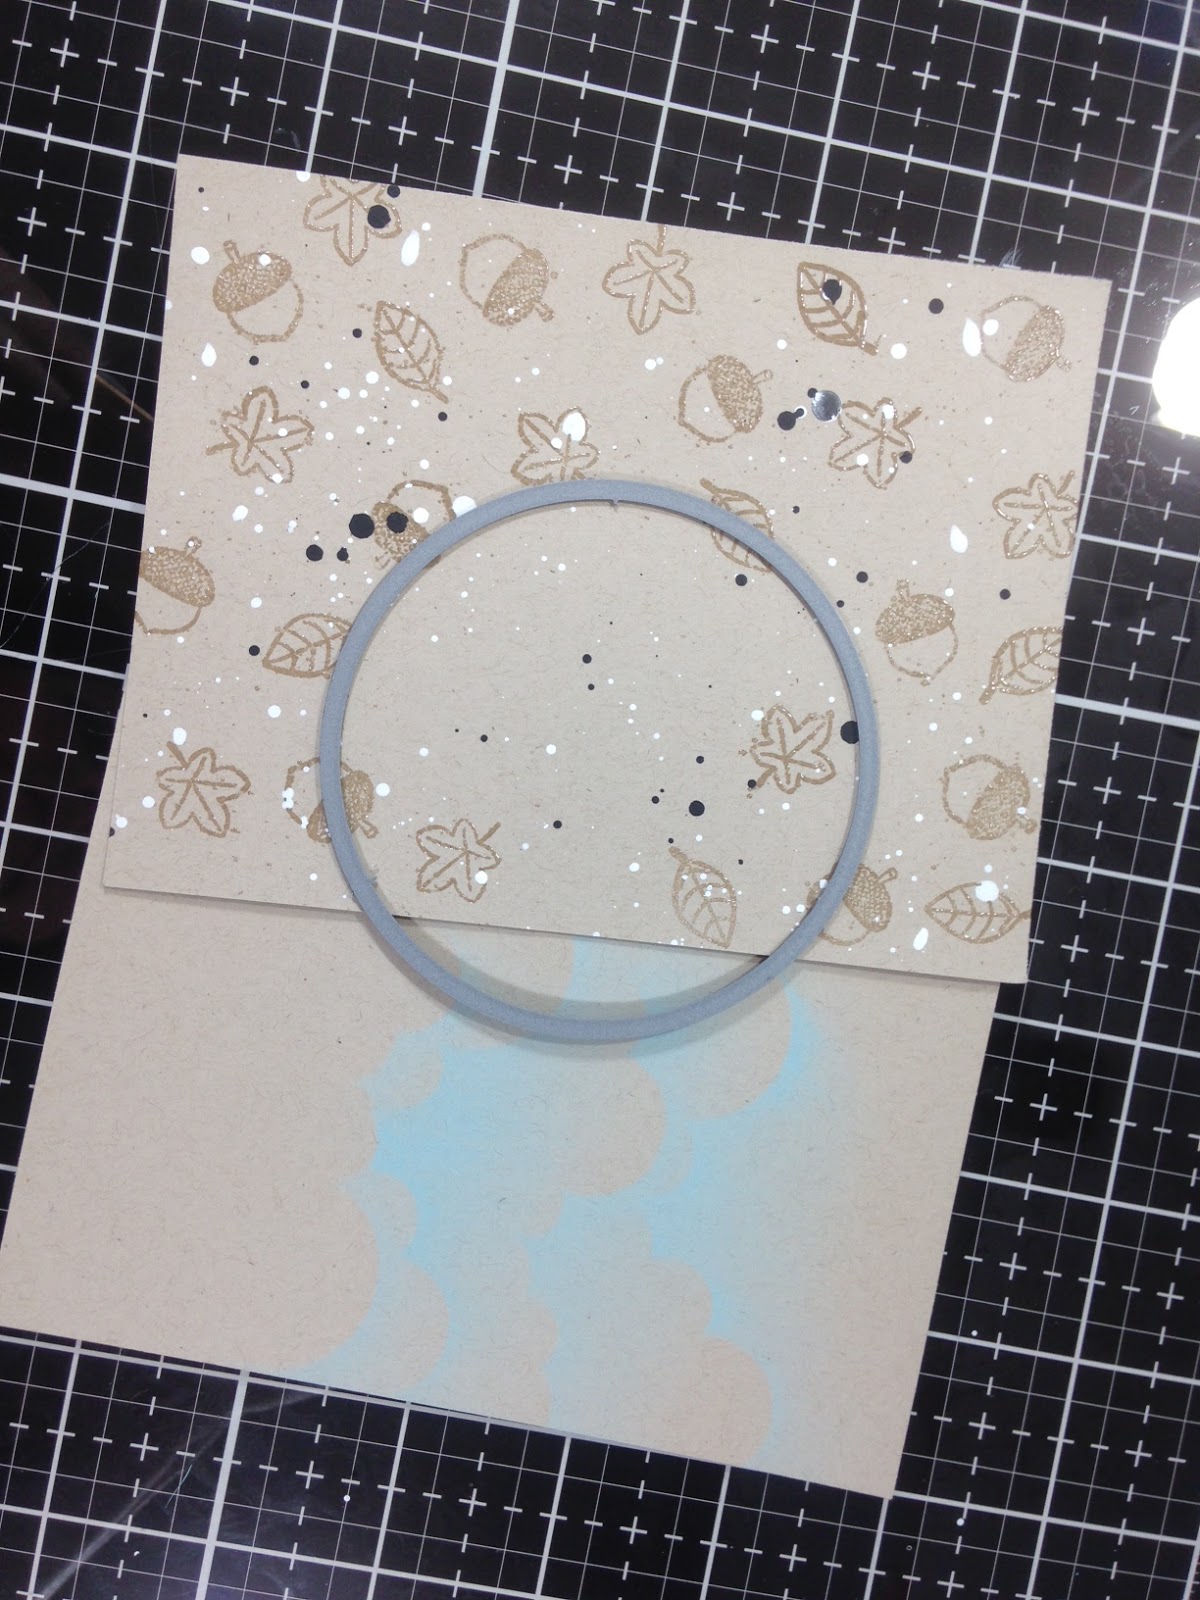
DESIGN TIP:Something that I have found that make shaker cards so easy, is double sided foam adhesive sheets. They allow you to run your thin wafer dies, any shape, through your die cutting machine and you have a solid piece to create your shaker with!

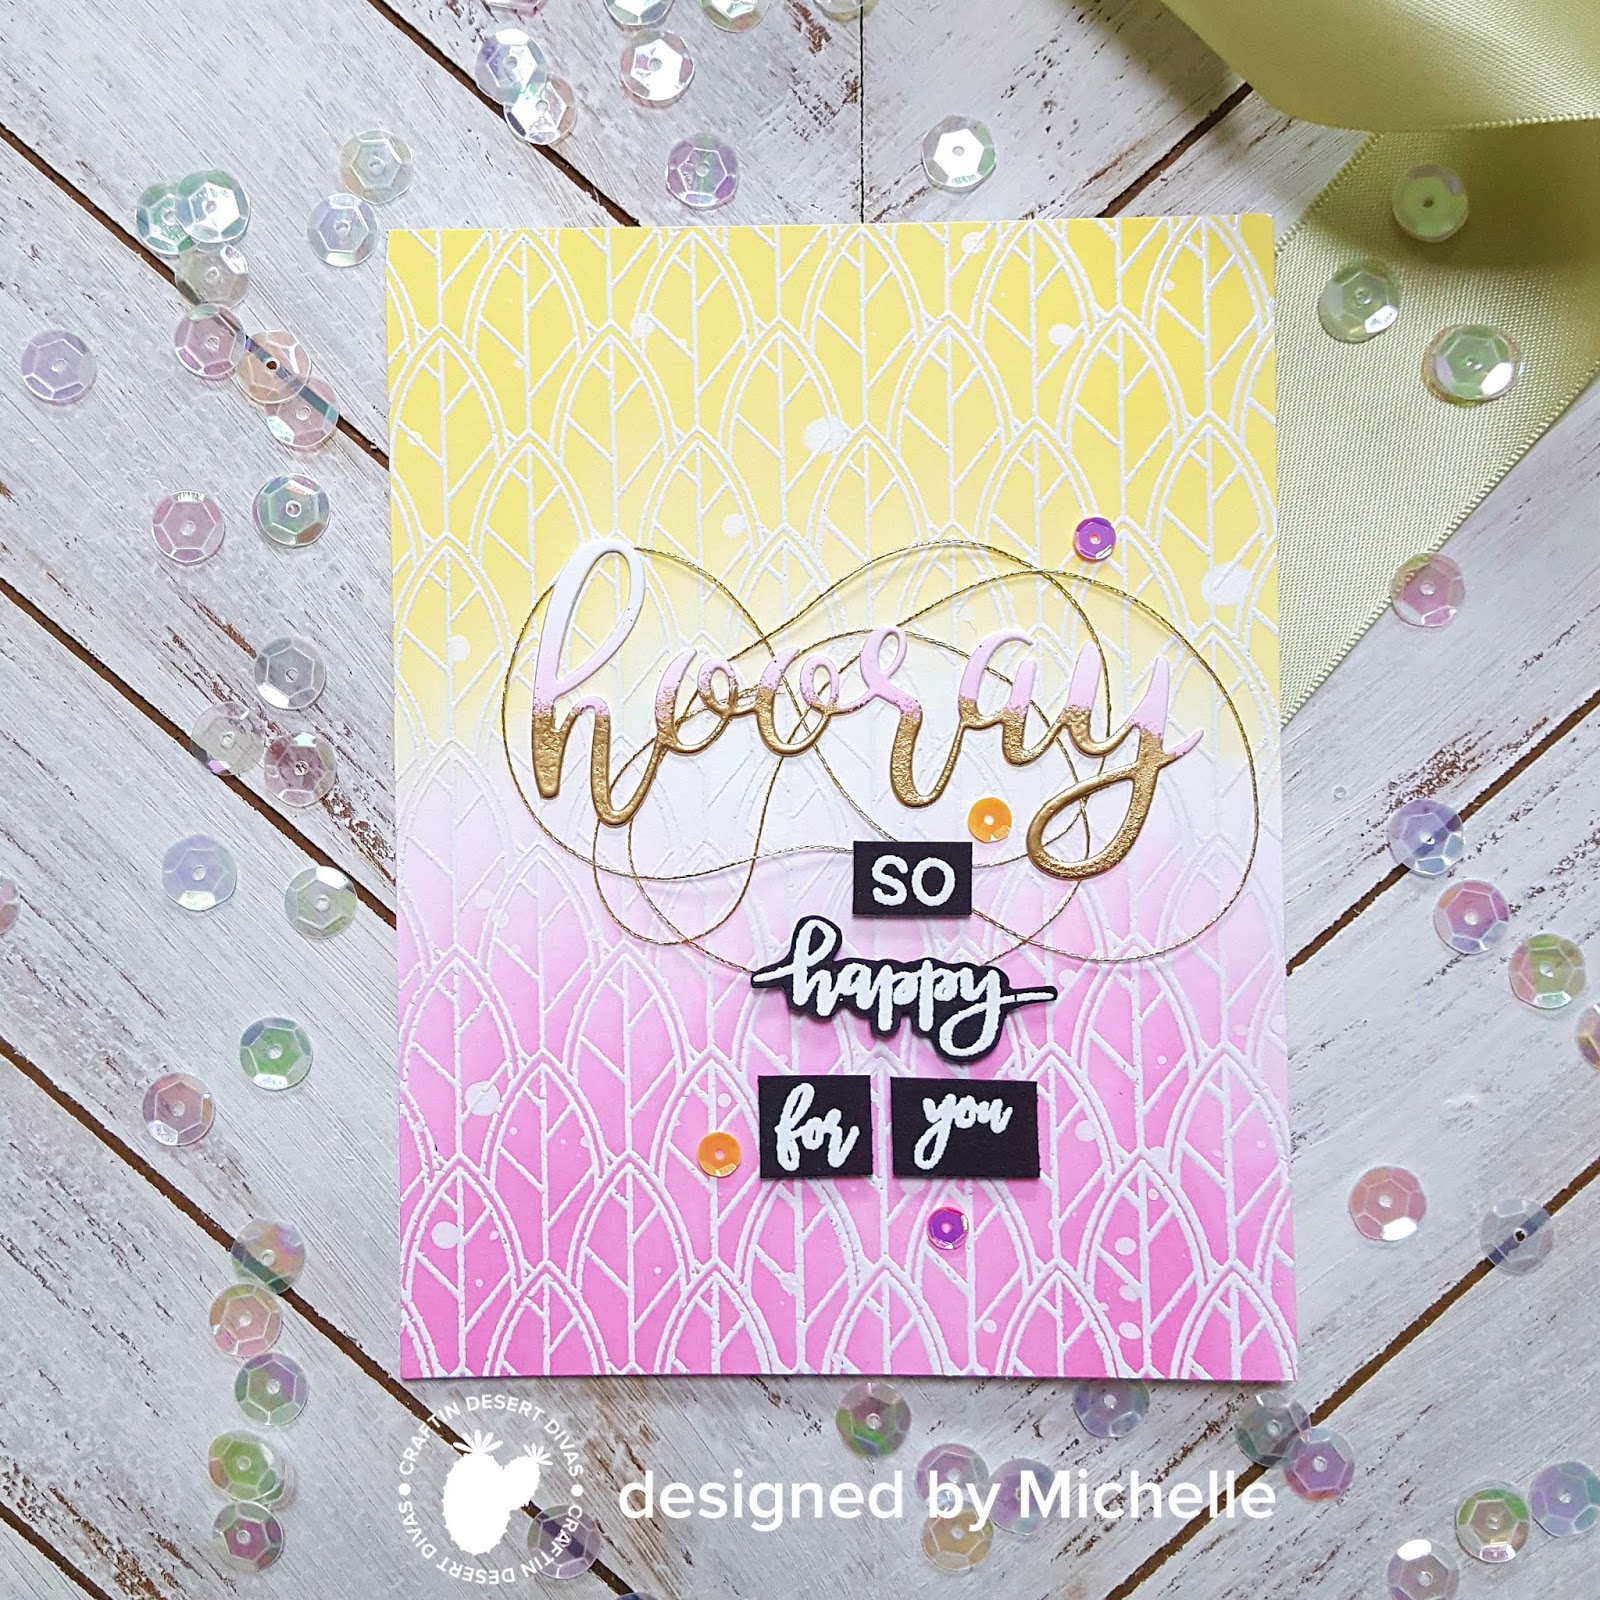
ANGELA
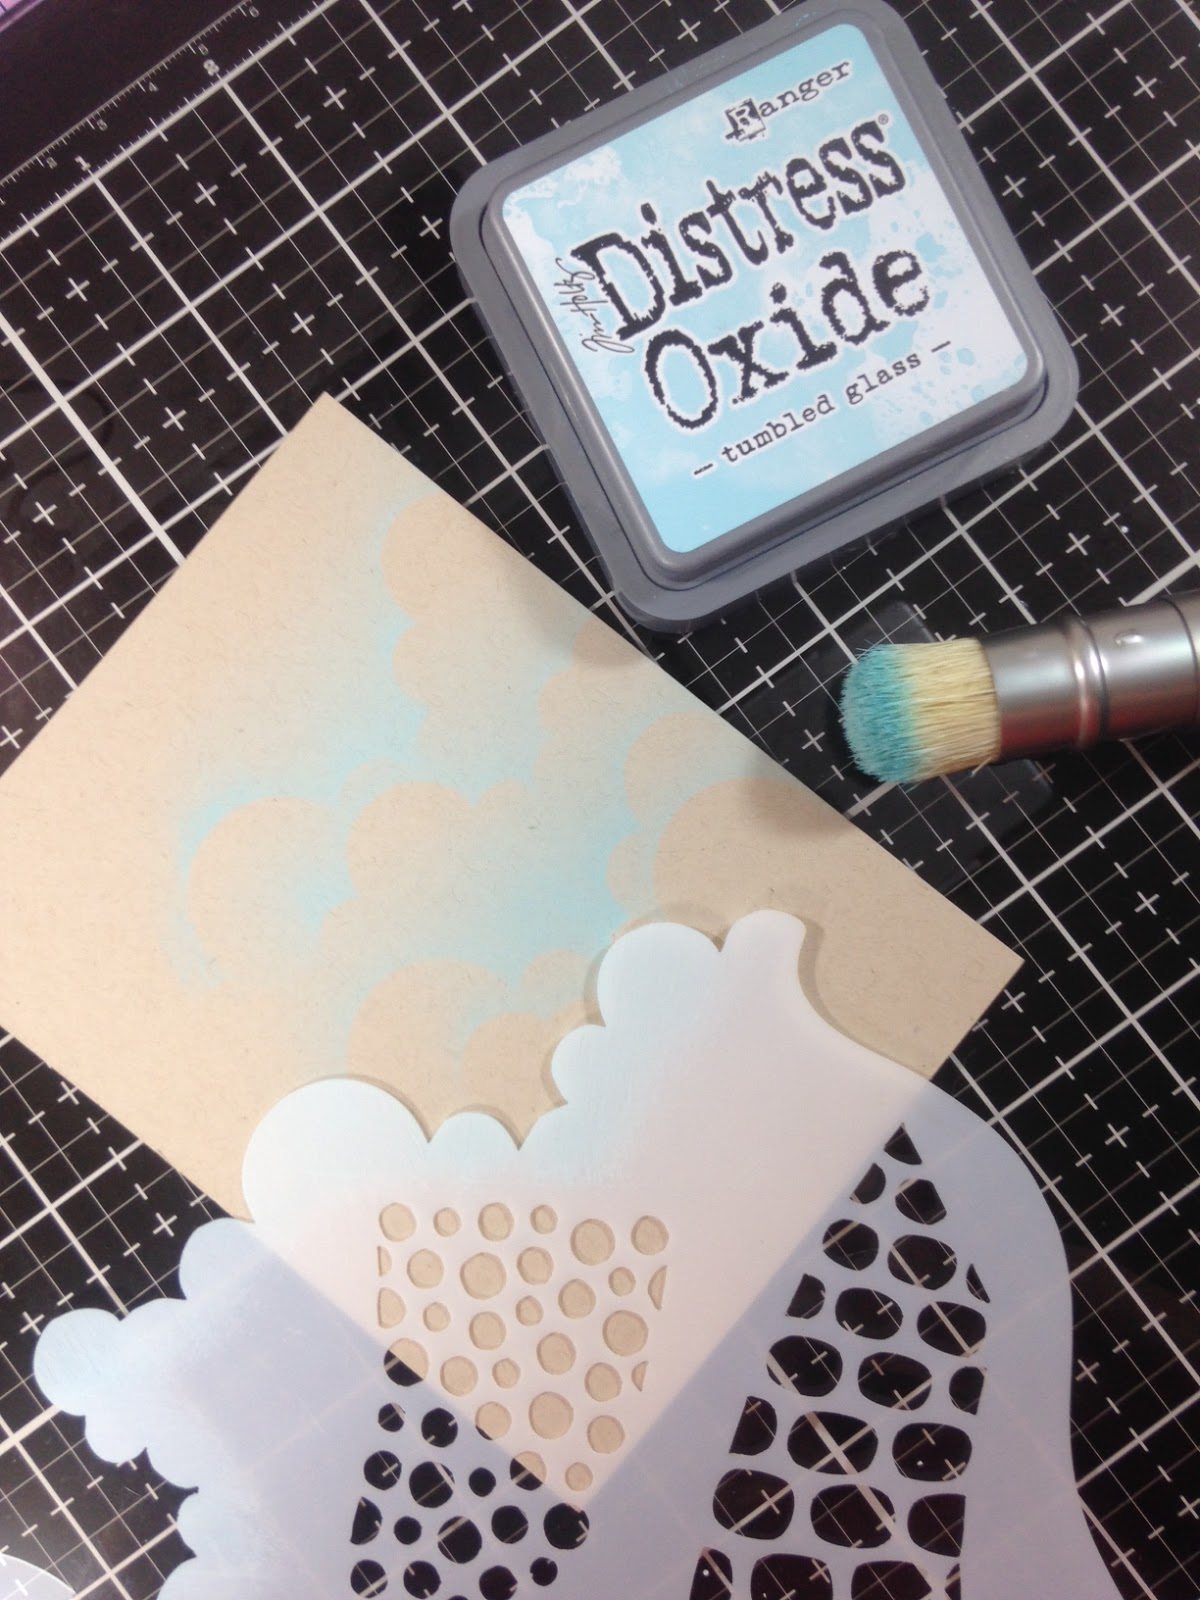
DESIGN TIP:
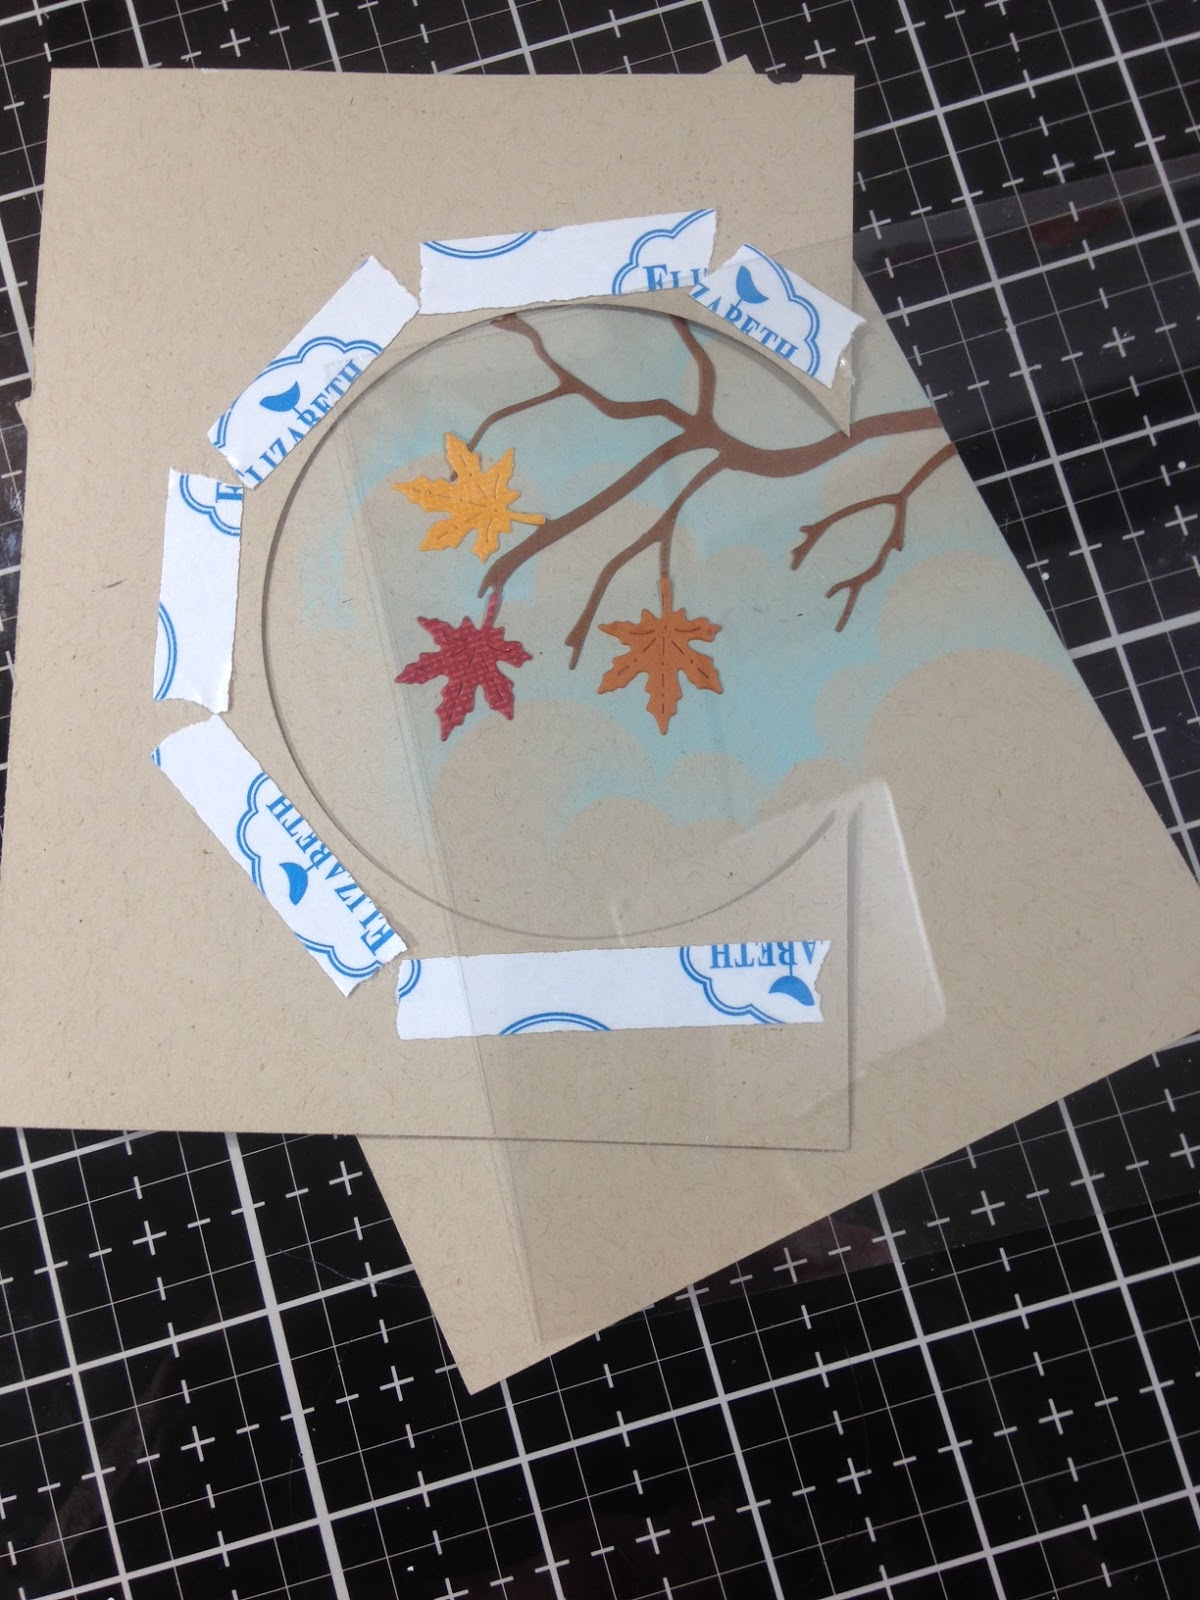
Using a solid acetate is much better than a thinner acetate and my favorite tool for shaker cards is the Powder Tool Applicator from Craftin Desert Divas. Before you fill up your shaker element with sequins, use the Powder Tool Applicator. Then you can be sure that no sequins stick on your acetate.

MERCEDES
DESIGN TIP:My tip for shaker cards is to glue down some of the sequins so that even when the card isn't being shaken you can see the sequins!

DESIGN TIP:
Don't overfill your shaker card. Use a variety of items in the shaker for more interest. (sequins, tiny beads, or die cut items that go along with the theme of your card).

CAREN
DESIGN TIP:
Use a powder tool on the edges of the foam adhesive so that shaker bits don't stick to the adhesive.
HOLLY
DESIGN TIP:When using larger sized fillers for your shaker cards double up the height of your foam tape to leave extra room for your bubbles to move around. Mix it up and use tiny. beads, sequins and confetti.
----
Now it's your turn!
Share your Shaker Card inspiration in the - our official Facebook Group! When you add your project into the Gallery you'll be entered to win a giveaway this Saturday. Have fun and we can't wait to be inspired by you!!!