We're continuing our Essential Embossing week with Candice and this adorable card! Read on how to create an embossing resist and to see how she pairs it with Distress Oxides!

STEP 1 | I trimmed some watercolor paper, rubbed with my , and taped my over it. Next, I dabbed my favorite embossing ink, , over the stencil and then carefully removed the stencil and tape. I covered it with Polysparkle embossing powder, and heat set the design. A little bit under the circles, I rubbed some more with the , stamped the with , and heat embossed with .

STEP 2 | This is where the magic happens! First I added over the embossed circles and worked my way down with and , blending as I go. This is where I have learned that paper does make a difference in blending, and watercolor paper works best for me!

STEP 3 | I die cut the die along the top of the embossed circles and kept both pieces. Next, I created my frame using the negative from the on kraft paper and trimmed the edges. This is one of my favorite things about the dies, they have the stitching on both sides of the metal die and allows you to use them for so many different options!

STEP 4 | I used the to create my stencil for the clouds. Using ink I worked my way down the paper shifting the stencil as I went. Yet, another different way to use ! Woo-hoo!

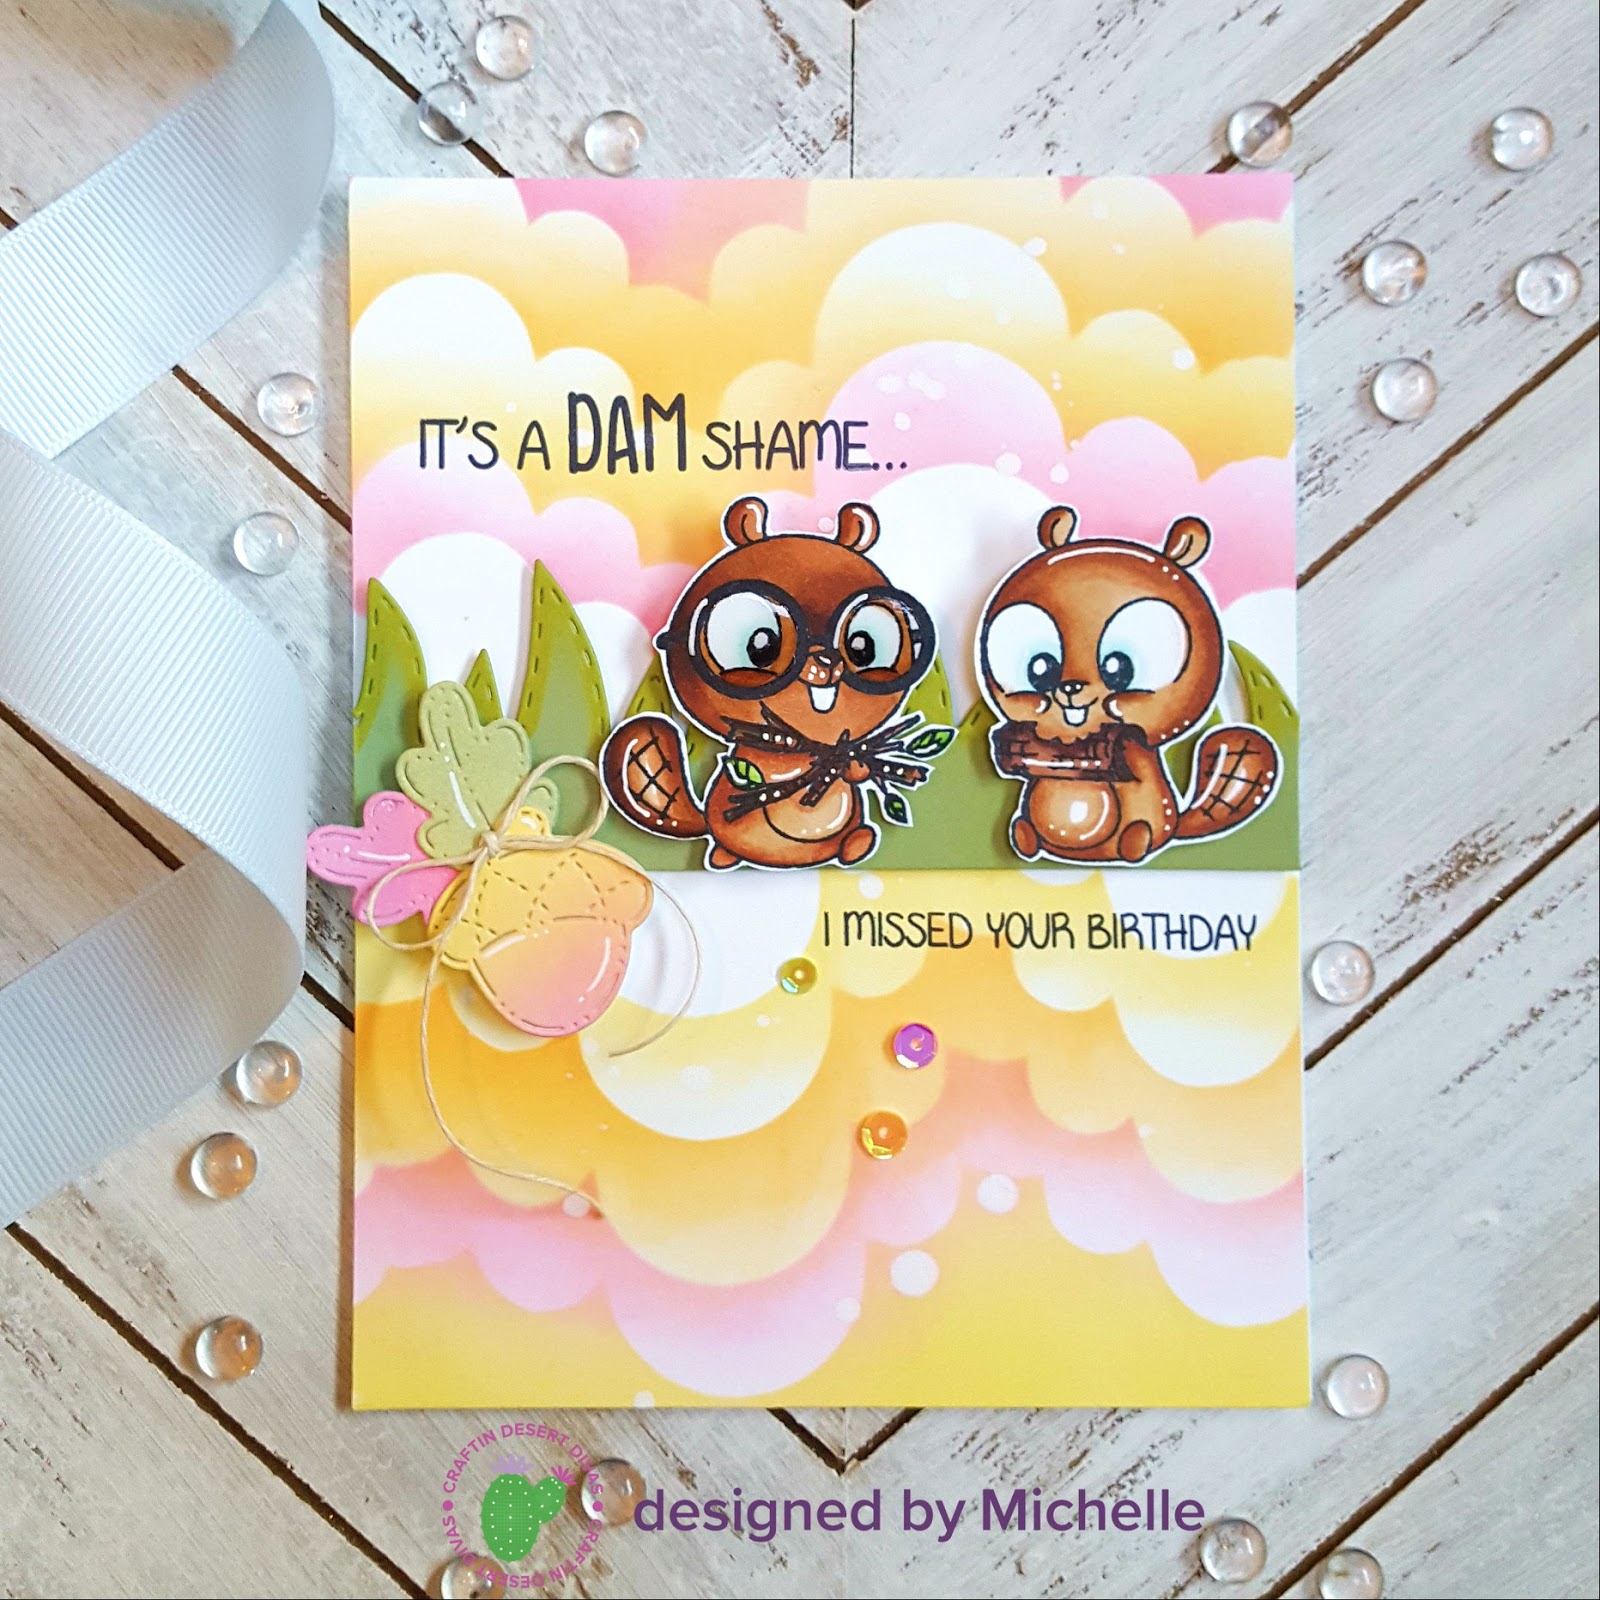
STEP 5 | I stamped my beavers and dragonfly from the adorable with , colored the images with Copic markers, and fussy cut them out. If you haven’t seen this stamp set, you have to check it out - Such punny sentiments!

STEP 6 | This is where I assembled it all together. I glued the cloud paper down first. Next, I glued the beavers behind the middle of the wave and added pop dots behind the top of the wave and adhered over the little piece left over. I pop dotted this whole section to the bottom of the cloud paper and added the frame with pop dots. Last, but not least, I added the cute dragonfly to the top corner.

Gather your stencils, embossing powders, and colored inks, and give this heat embossing resist a try!
Stamps:
Dies:
S
O
Stencils:
B
Inks:
A
B
S
B
V
M
Embossing Powder:
W