
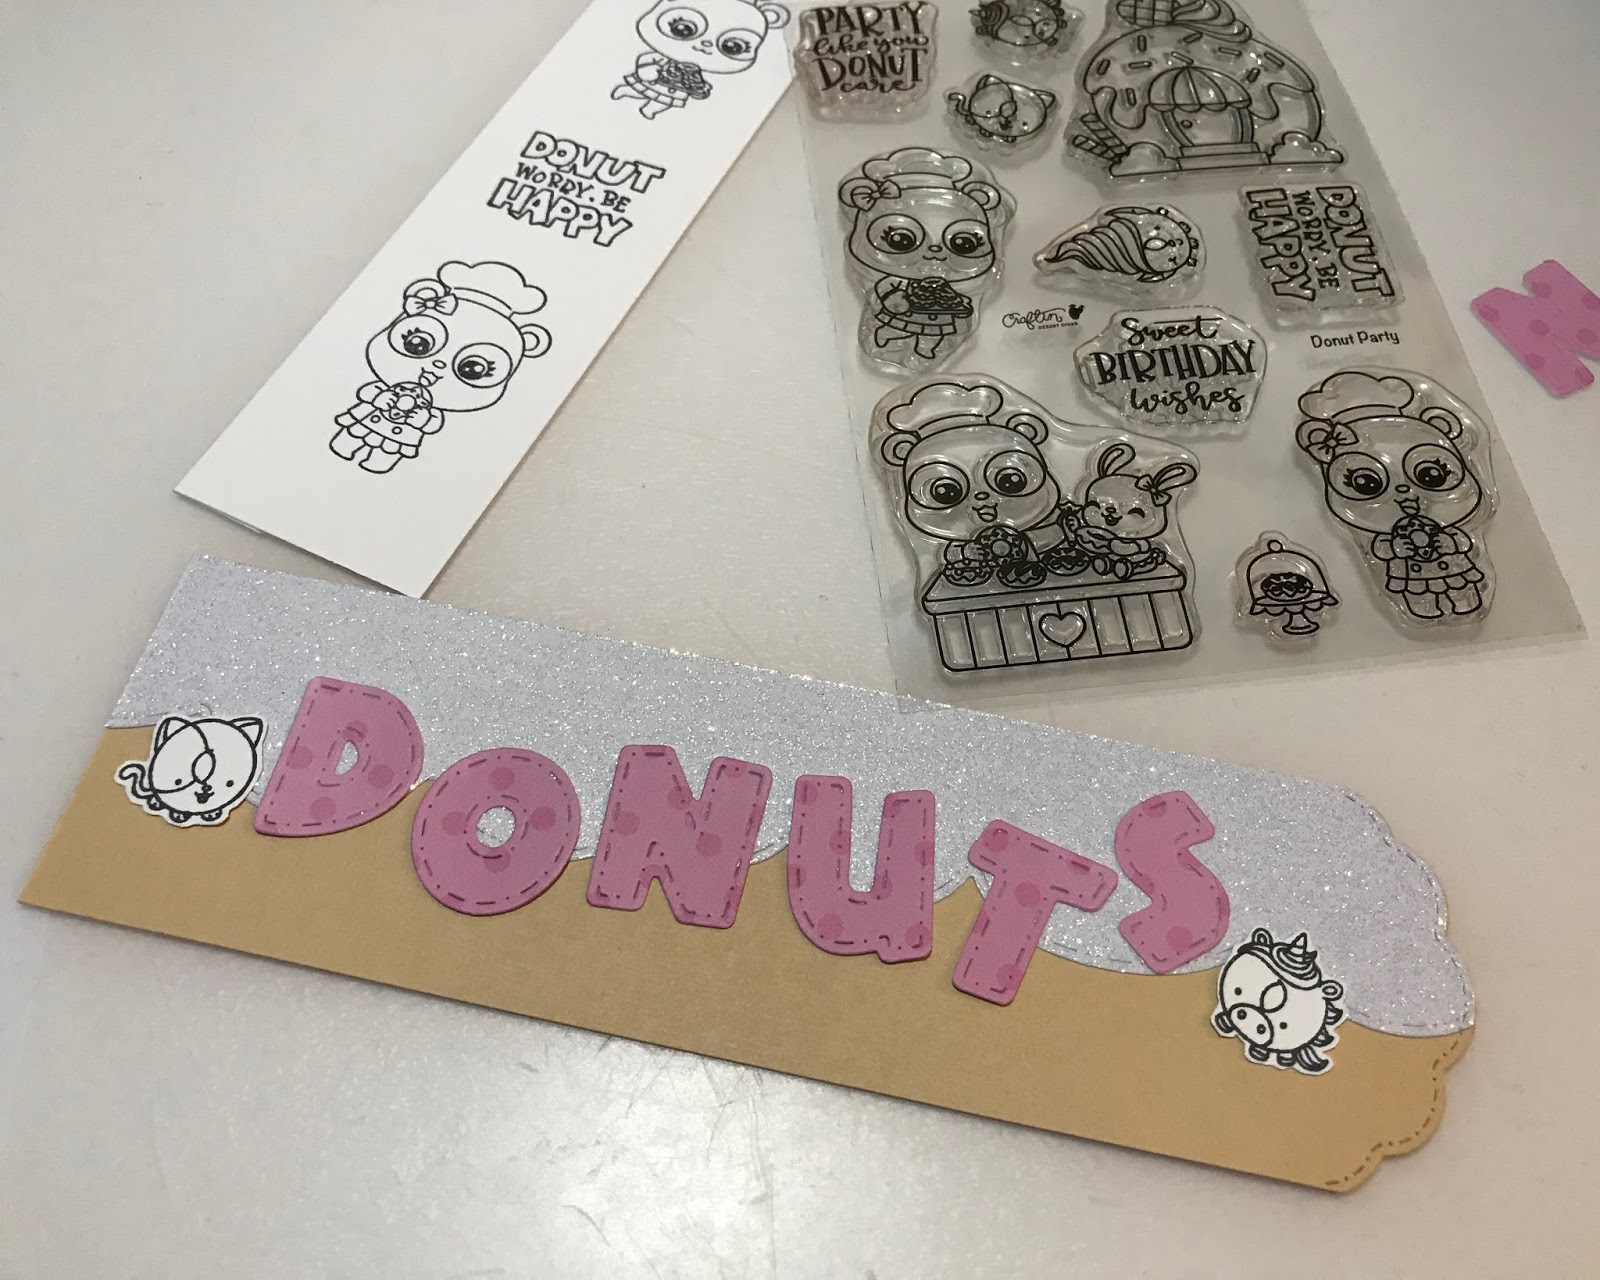
Hello Crafty Friends! It's Cheryl with the Design Team here to give you a sneak peek of the new Donut Party Clear stamp set and the new Stitched Alpha Dies that are part of the ' February Release!

If you haven't already join the fun in the Facebook event by clicking on the image below! You get to see more sneak peeks from the design team and there's lots of freebies and giveaways!
First I cut out beige and glitter white cardstock to about 8" x 2.5" to use as the base of my bookmark, then I used the the medium scallop die in the to mimic drippy donut icing! :P Next I adhere the glitter cardstock onto the beige cardstock, and then cut out the top tab using the rounded scallop die from the


Next I cut a sheet of patterned paper about 8" x 2.5" for the other side of the bookmark and cut the top tab using the same rounded scallop die in the previous step. Using the same patterned paper, I used the new Stitched Alpha dies to cut out the word "DONUTS". I also stamped the adorable cat and unicorn donuts onto white cardstock and fussy cut them. Then I colored the images in with alcohol markers and adhered the images and the letters onto the bookmark.
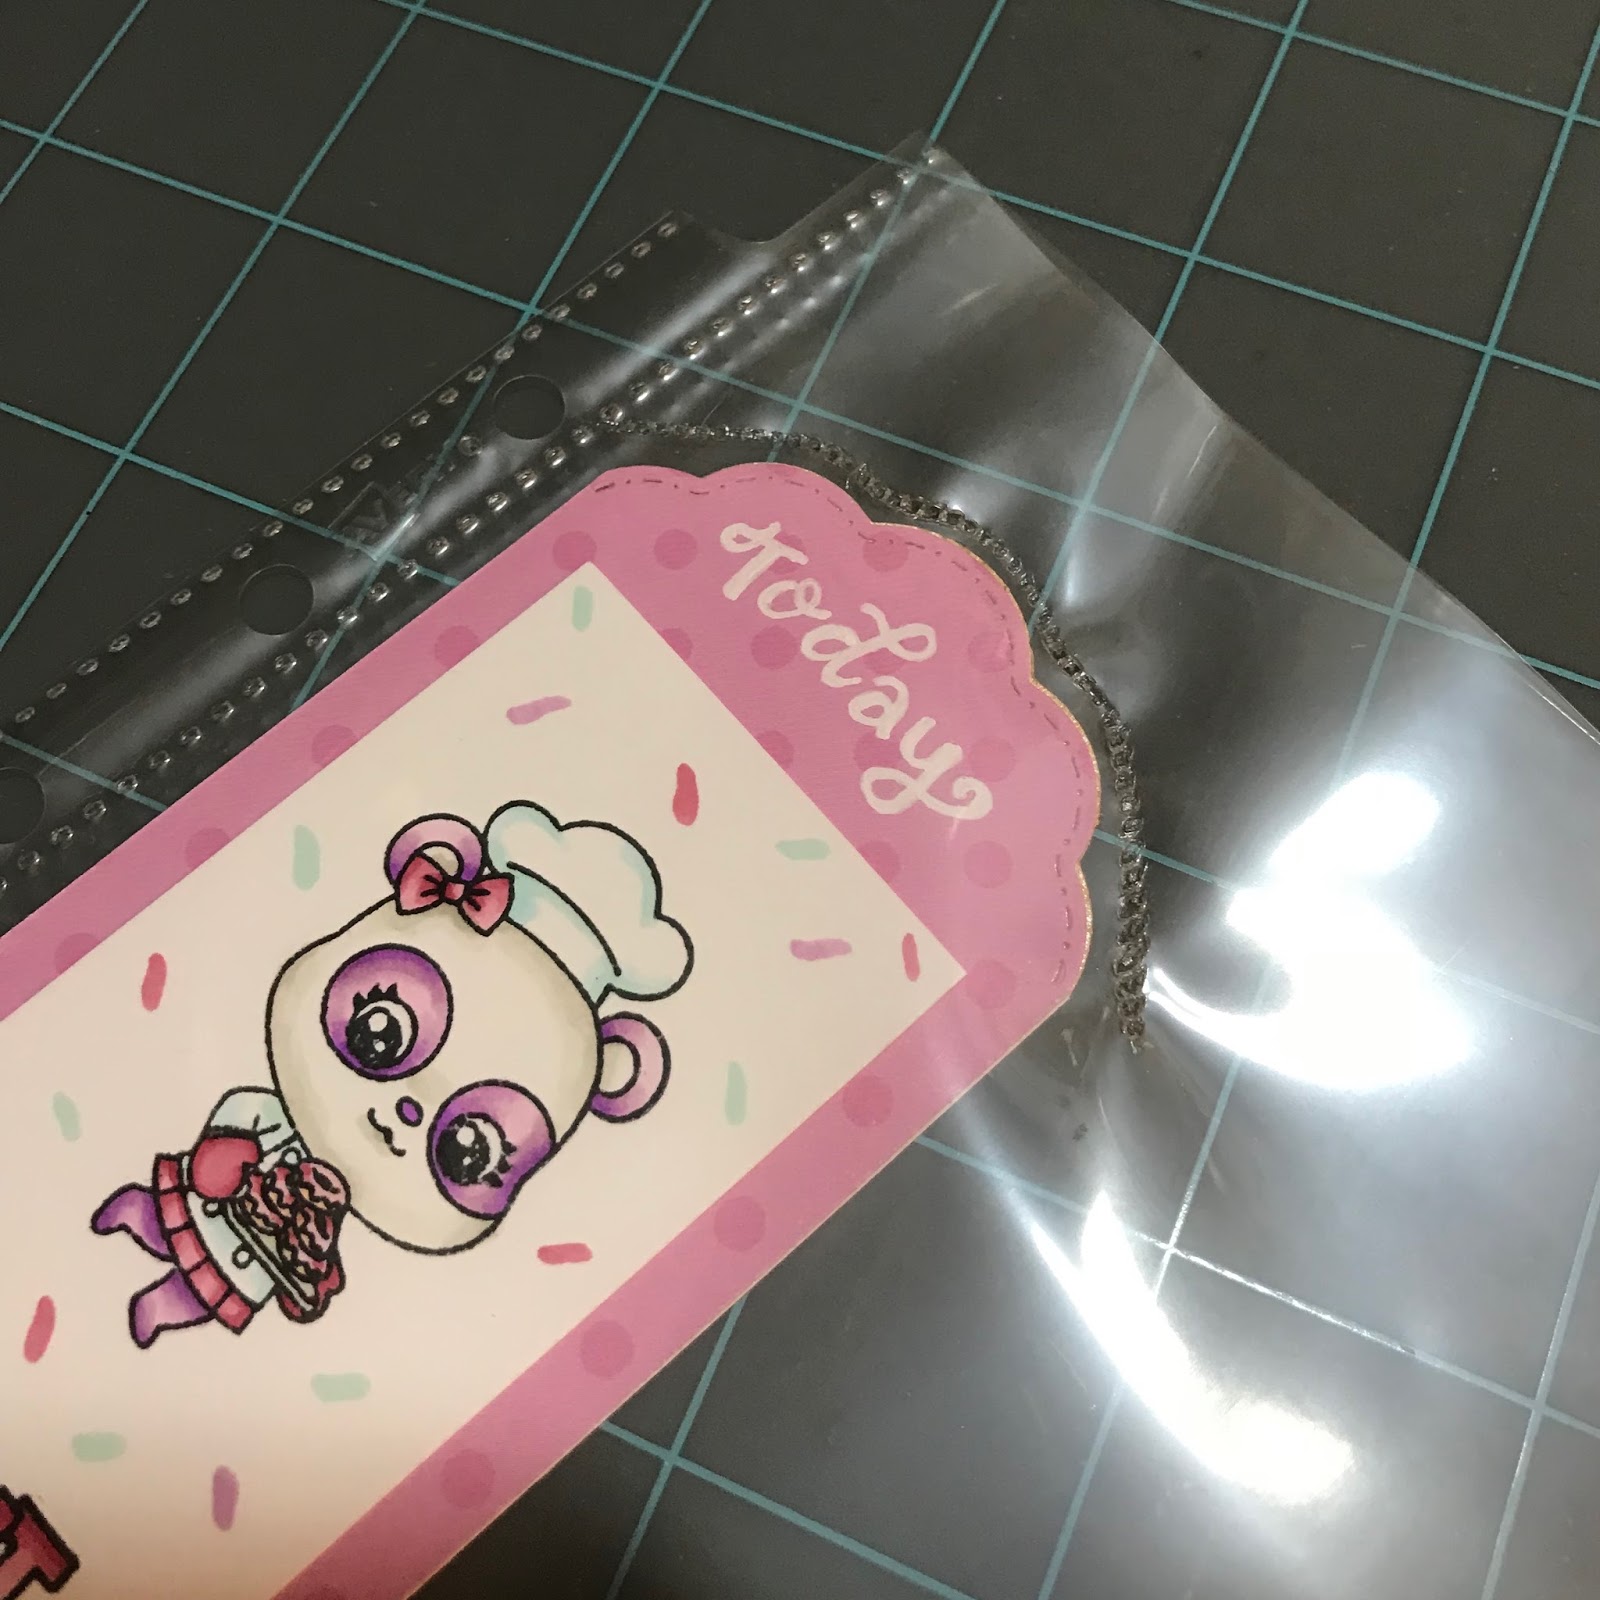
Then I cut out a white panel to put over the patterned paper that's about 6.5" x 2" and stamped the little Pandas and the sentiment "Donut Worry, Be Happy" and colored it in using alcohol markers. I also drew in some sprinkles using the same colors I used to color the Panda. Next, I adhere the white panel onto the patterned paper. Then I used a white gel pen to write the word "Today" on the top of the tab.

Now that all the prep work is ready, it's time to use the Fuse tool! I start by heating up the fuse tool with then fusing tip on. Then I put the bookmark in a plastic sheet protector and trim the protector leaving room ample room around the bookmark to fuse.
I fused the rounded top first, then added some (this should only be done if you have 3 sides closed off). Once the sequins are in the bookmark I fused the remaining open side. I trim the straight sides using a paper trimmer leaving a little extra on the left hand side of the bookmark and then I hand trimmed the rounded edge.
Lastly, I cut the white glitter cardstock into two .5"x7" strips and punched them with a planner hole punch. Then I use a tap runner to add adhesive to the back sides of the glitter cardstock and adhere the punched cardstock to the left side of the bookmark.

There you have it! A fun shaker bookmark for your planner! :D


Products Used:
Cute!!
ReplyWow Cheryl, this is really a wonderful idea and looks so amazing. Many thanks for sharing.♥
ReplyHugs
Angela
This is such a fab idea, not just for planners either. Thanks for sharing.
Reply