
Hi,
DT Susan here with another blog post for Craftin' Desert Divas. Today's tutorial focuses on the faux letterpress technique using a stencil and distress oxides. I really like this technique as it is easy to make multiple cards. I have a You Tube video below to show you how I made this card.

First I created the correct sandwich for my machine which is a Spellbinders Platinum 6. Check your machine for the proper settings. In my machine the stencil goes down first.
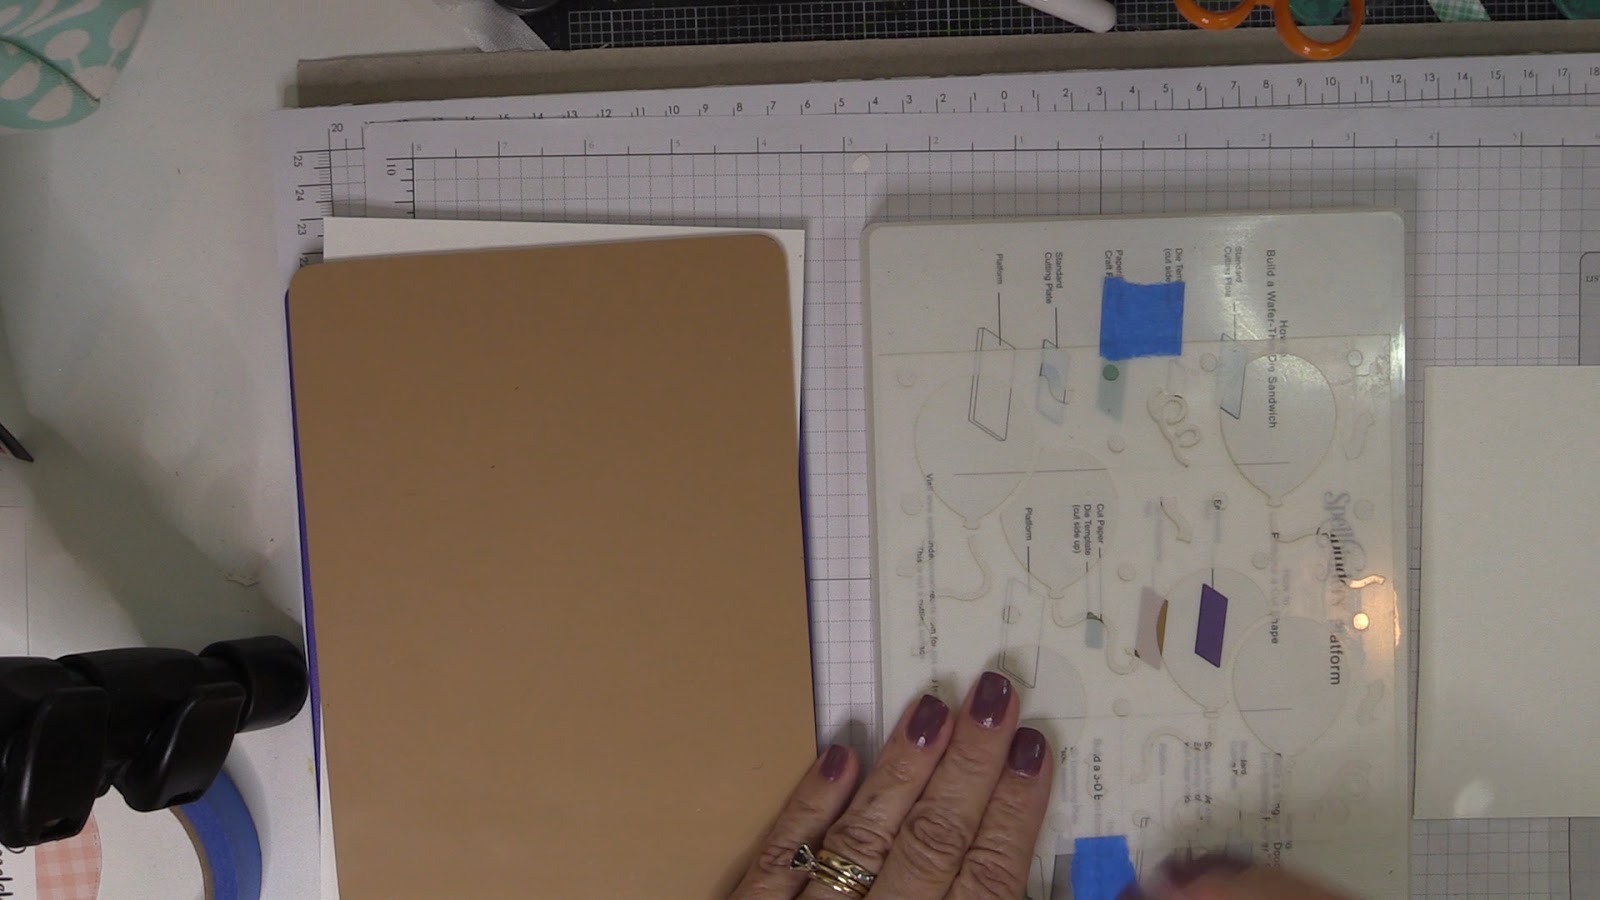
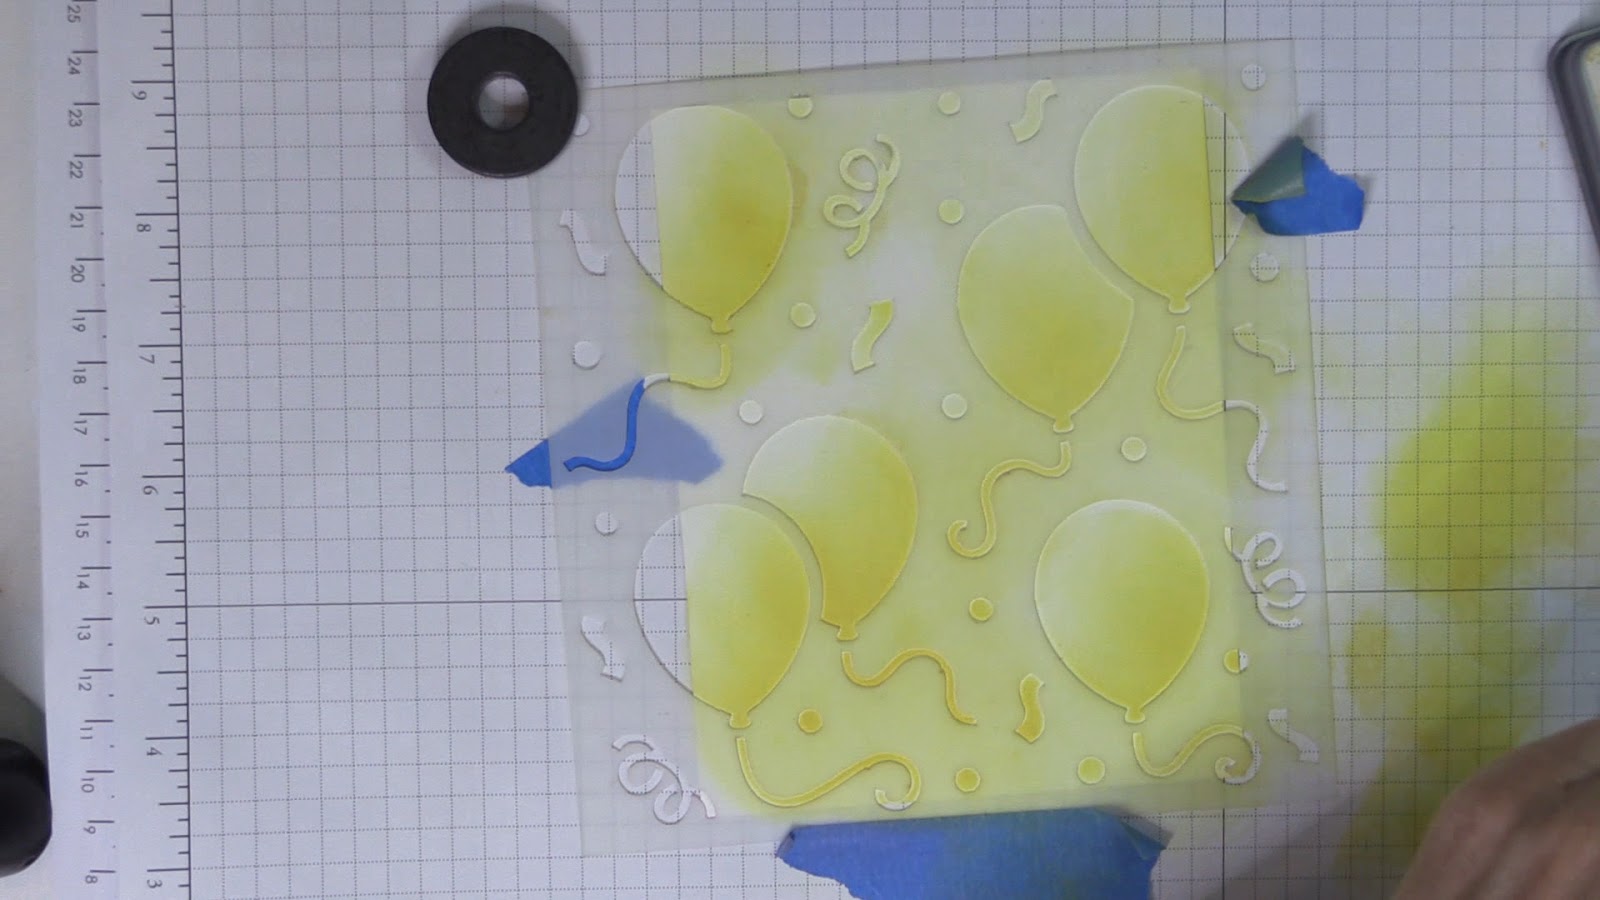
Then I layered a piece of linen textured card stock with linen side down on top of the stencil. I adhered this into place with a few pieces of painter's tape. I then placed it in my machine. Once the image was embossed I laid the stencil back on top being careful to line the embossed images up with the stencil.

I then added three shades of distress ink to the balloons - Squeezed Lemonade Distress Oxide, Fossilized Amber Distress Oxide and Scattered Straw Distress Ink. I left a highlight at the top of each balloon. I then colored my image and assembled the card.
I then adhered the flower pot image from Ladybug Garden stamp that I colored with copic makers toward to bottom right and the sentiment is from Garden Bug stamp.
I hope you like it and Thank you for stopping by.
Susan
Copics:
Flower: Y11, Y13, Y15, Y17 and YR24Face: E0000, E00, E01, E04 and RV10
Dress: RV10, RV13 and RV19
Greens: YG11, YG13, YG17 and G29
Clay Pot: YR18, E19, E09
Craftin Desert Divas:

|

|
|
|

Cute!!
Reply