


Now, as you may be aware, using Distress Inks for my backgrounds is one of my favorite things to do. So, I want to quickly give you a few tips and tricks. You ALWAYS want to have scrap paper under your project when inking backgrounds. This will help you have a smooth transition onto the paper, and help with the amount of ink that goes down initially on the paper. I have a VERY heavy hand. It takes a lot of practice for me to remember to start applying the ink off of the project, and working my way in. If you start directly on your paper, you may get blotches of color. If that happens, you project isn't ruined, just add more color to other areas to help blend it out.

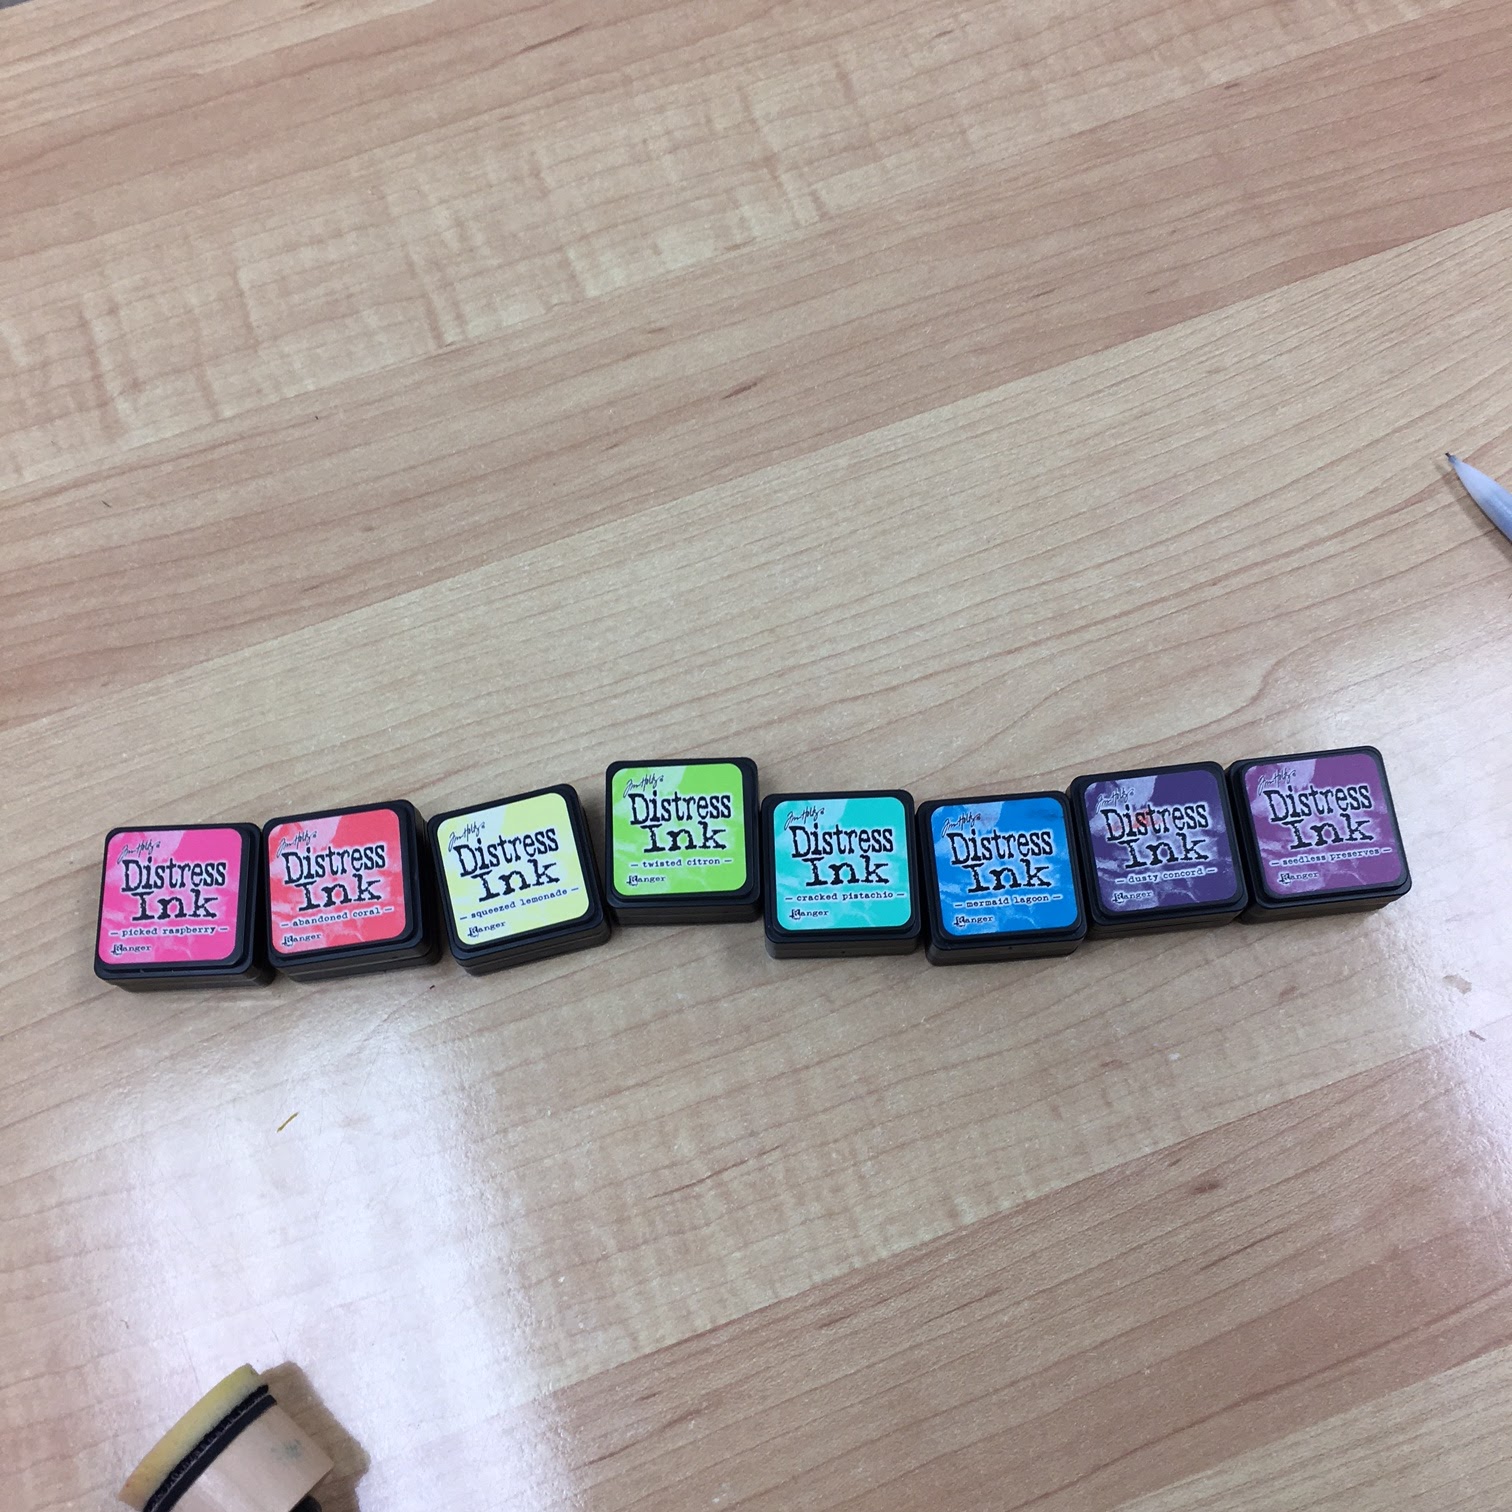
Dye inks, such as Distress Inks will seep into your paper and possibly bleed through. This is why it is very important to use some type of applicator to transfer the ink to the page. I use a blending tool, but you can also use an ink dauber or even a make-up sponge. Each will transfer a different amount of ink to the paper and in a different pattern. Practice on scrap paper first so you know what to expect. If you have seen any of my other layouts, you know that I use a TON of ink. Many times, like today, I cover my entire planner spread. If you use an ink applicator, the ink will NOT bleed.

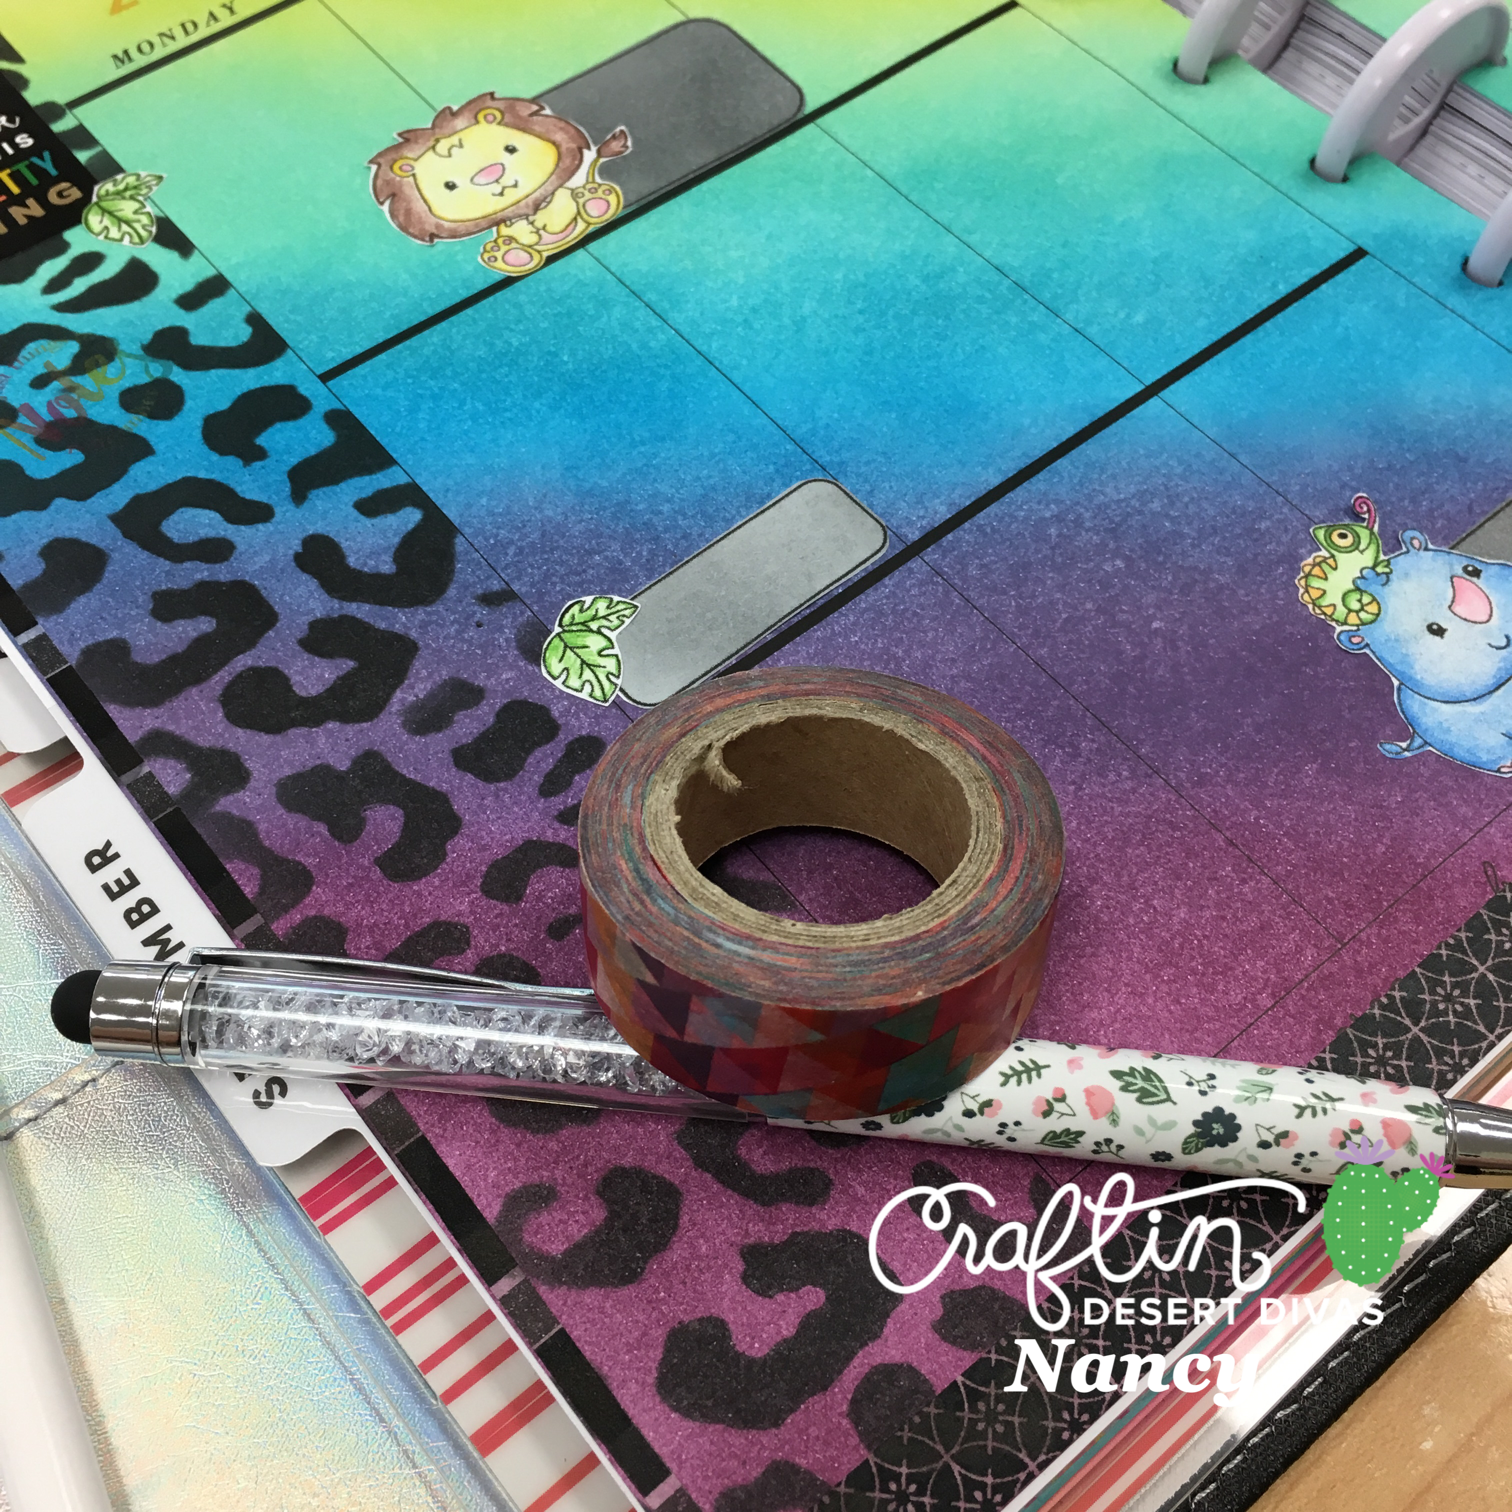
If you are using this technique in a disc bound planner, such as the Happy Planner, be very careful when applying ink to the center of the pages. Due to the notches where the paper attaches to the discs, it is very easy to bend or rip the paper. Often, I bend the paper in this area from using too much pressure when applying ink. Occasionally, some of the ink from the project I'm working on will end up on another layout. It's hardly noticeable when you reattach your pages to the planner. But, if it bothers you, you can use a sand eraser to lightly buff out the ink.
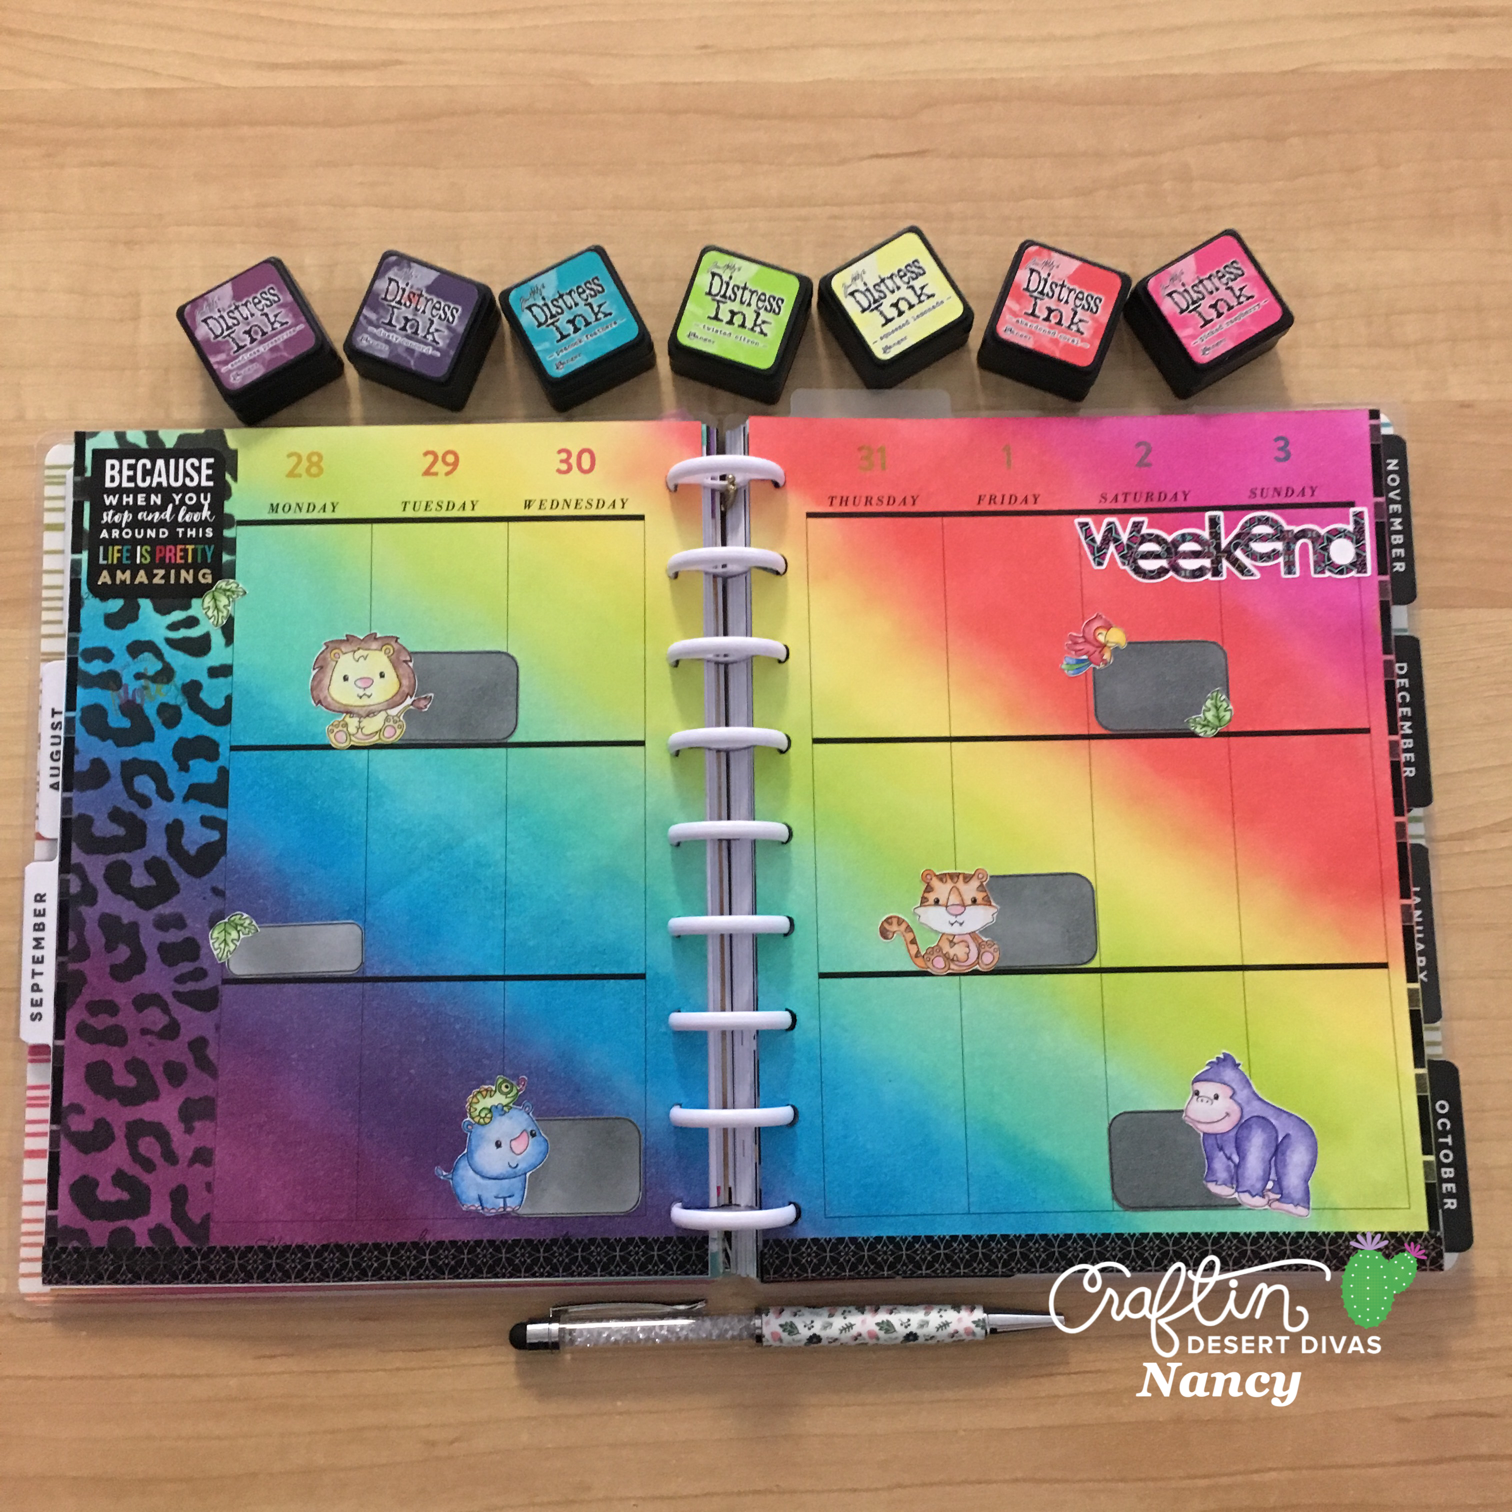
I continued to apply the ink to the pages in unmeasured diagonal stripes in rainbow order across the pages. I did washi tape the pages together at the center to minimize bending or tearing the paper. Warning: not all washi tape is created equal. Some is MUCH stickier than others. If you are going to tape your pages together, or tape them to your work surface, use the tape with the smallest amount of tackiness that you have. Sticky washi can tear your pages, especially in the center due to the number of cut outs from the discs. I DID slightly tear my pages on the back side when I removed this washi tape.
When you are finished coloring the background, it's time for the really fun stuff. Stamping time!! I stamped all the animal images from the Get Wild set on sticker paper and colored them. I also stamped a few jungle leaves to use as accents. I tried to keep my animals colored boldly to keep with the theme of the page. I also decided to add some leopard spots to the left side of the page to cover the notes section.
Next, I printed out the large rounded rectangle and the medium rounded rectangle from the Planner Basics Digi Bundle on sticker paper. This set is a MUST have for planners. All of the elements are generic enough to use every week, but also unique from other planner sets. I have pages and pages of each of the planner boxes printed so that I have them at close hand whenever I am planning. One of the greatest things about this digi, besides being able to size them, is that you can color or ink them to coordinate with your planner theme. After I printed the medium and large rounded rectangles out, I inked them with a black distress ink. Notice I didn't make them super dark, so I can still write on them with a black pen. I added a few sticker accents and my layout was ready to go!
That's about it for this time. Make sure to visit the CDD shop and pick up some of the new releases as well as the digi bundle. If you have any questions or comments, please feel free to ask below or visit me in the CDD gallery on Facebook or on my Instagram: Til' next time, happy stamping!


This is absolutely stunning !!
ReplyBeautiful planner pages!! Very colorful!
Reply