Sunday, December 31, 2017

Alcohol Ink Background with DT Waleska

Hello Friends, Waleska here with the very last post of the year!!!! What a year we had at CDD.... the cutest stamps, unique and great dies, lots of new products added to the shop, the amazing digital stamps well... too many cool stuff to mention!!! we are ready for a new year of more products you will love!!!  today I want to share with you a fun card with a very unique background made with the very popular Alcohol Inks! 


CARD DETAILS:

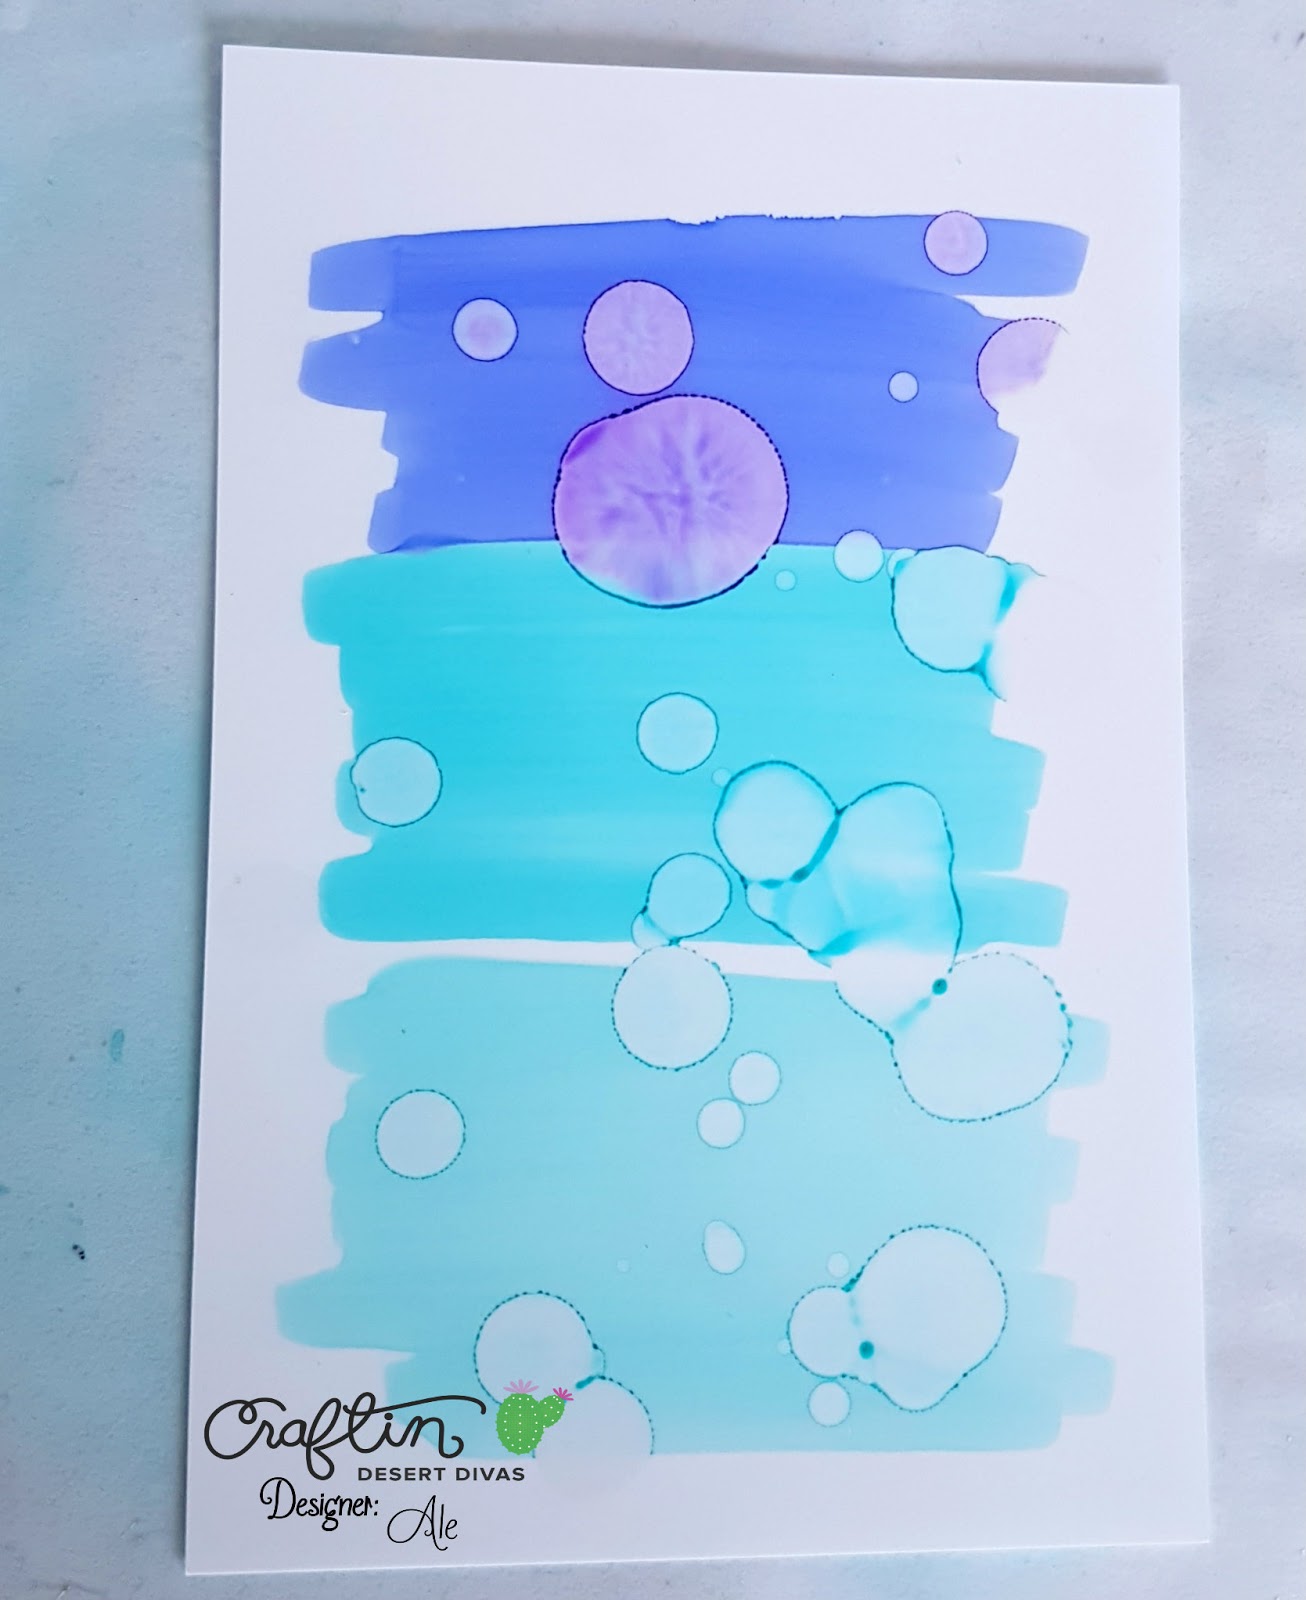
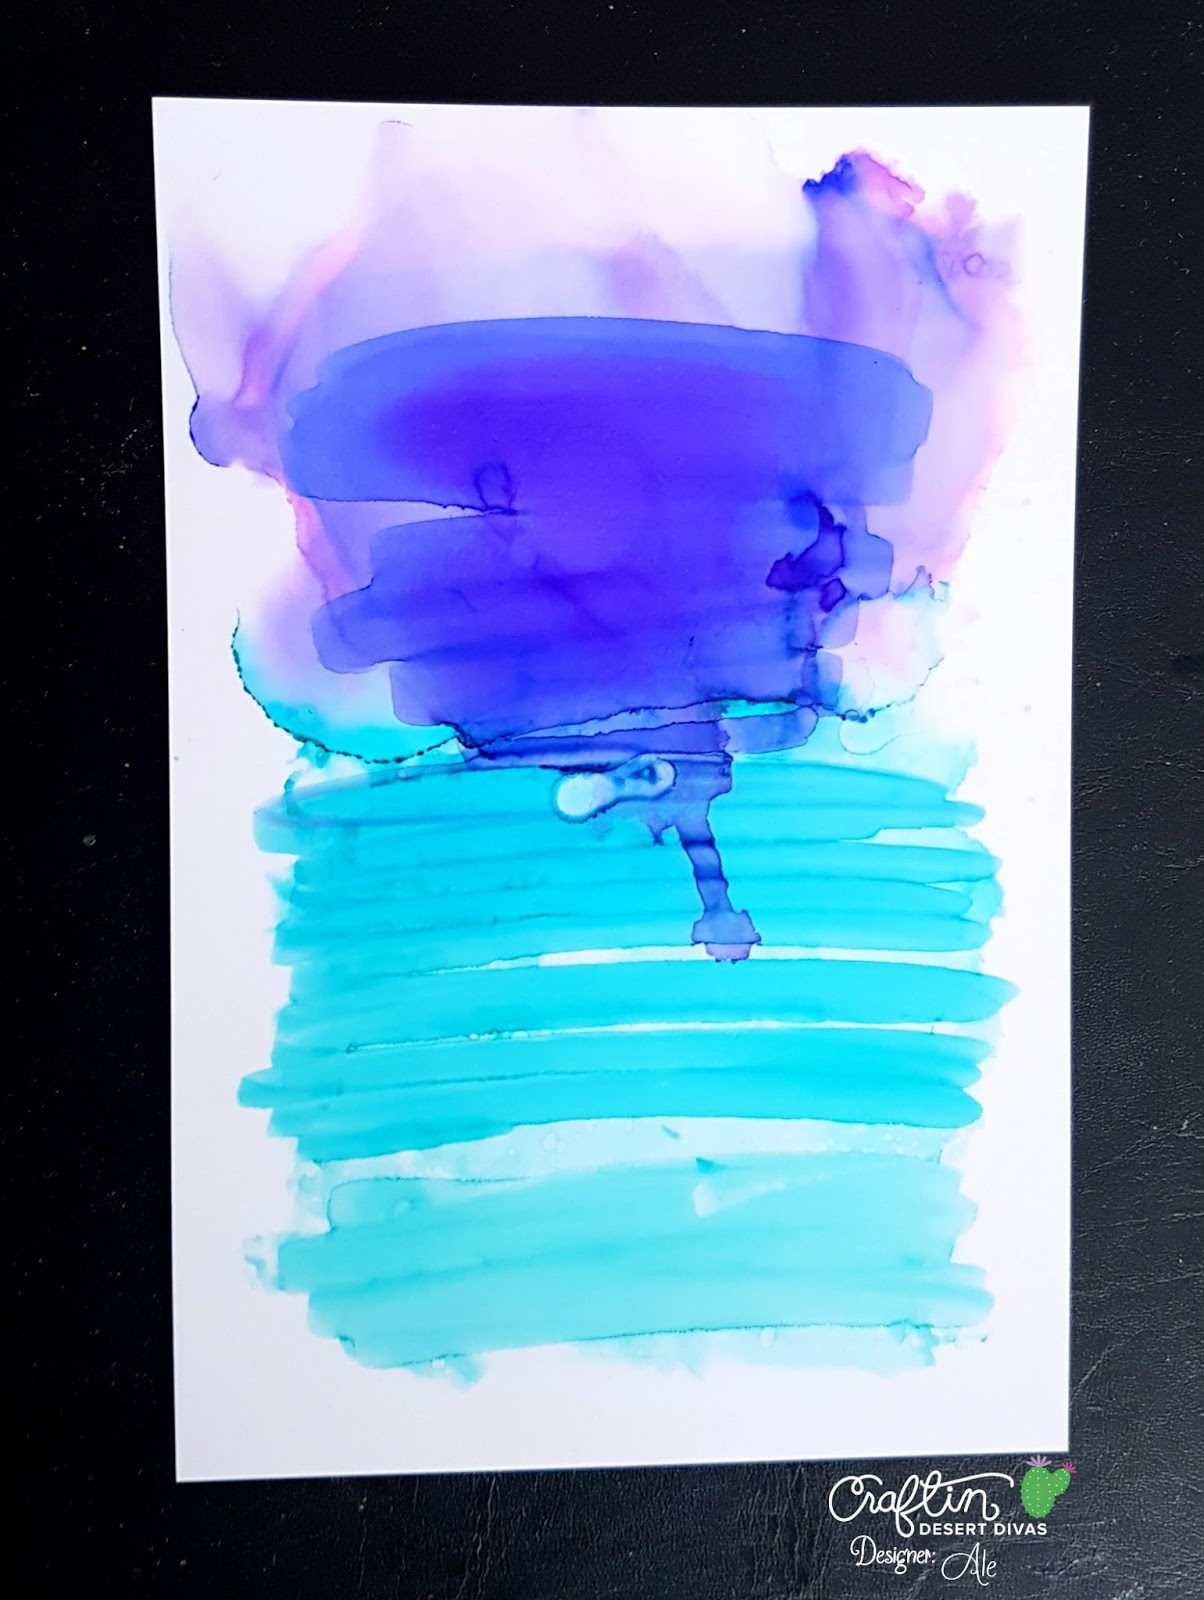
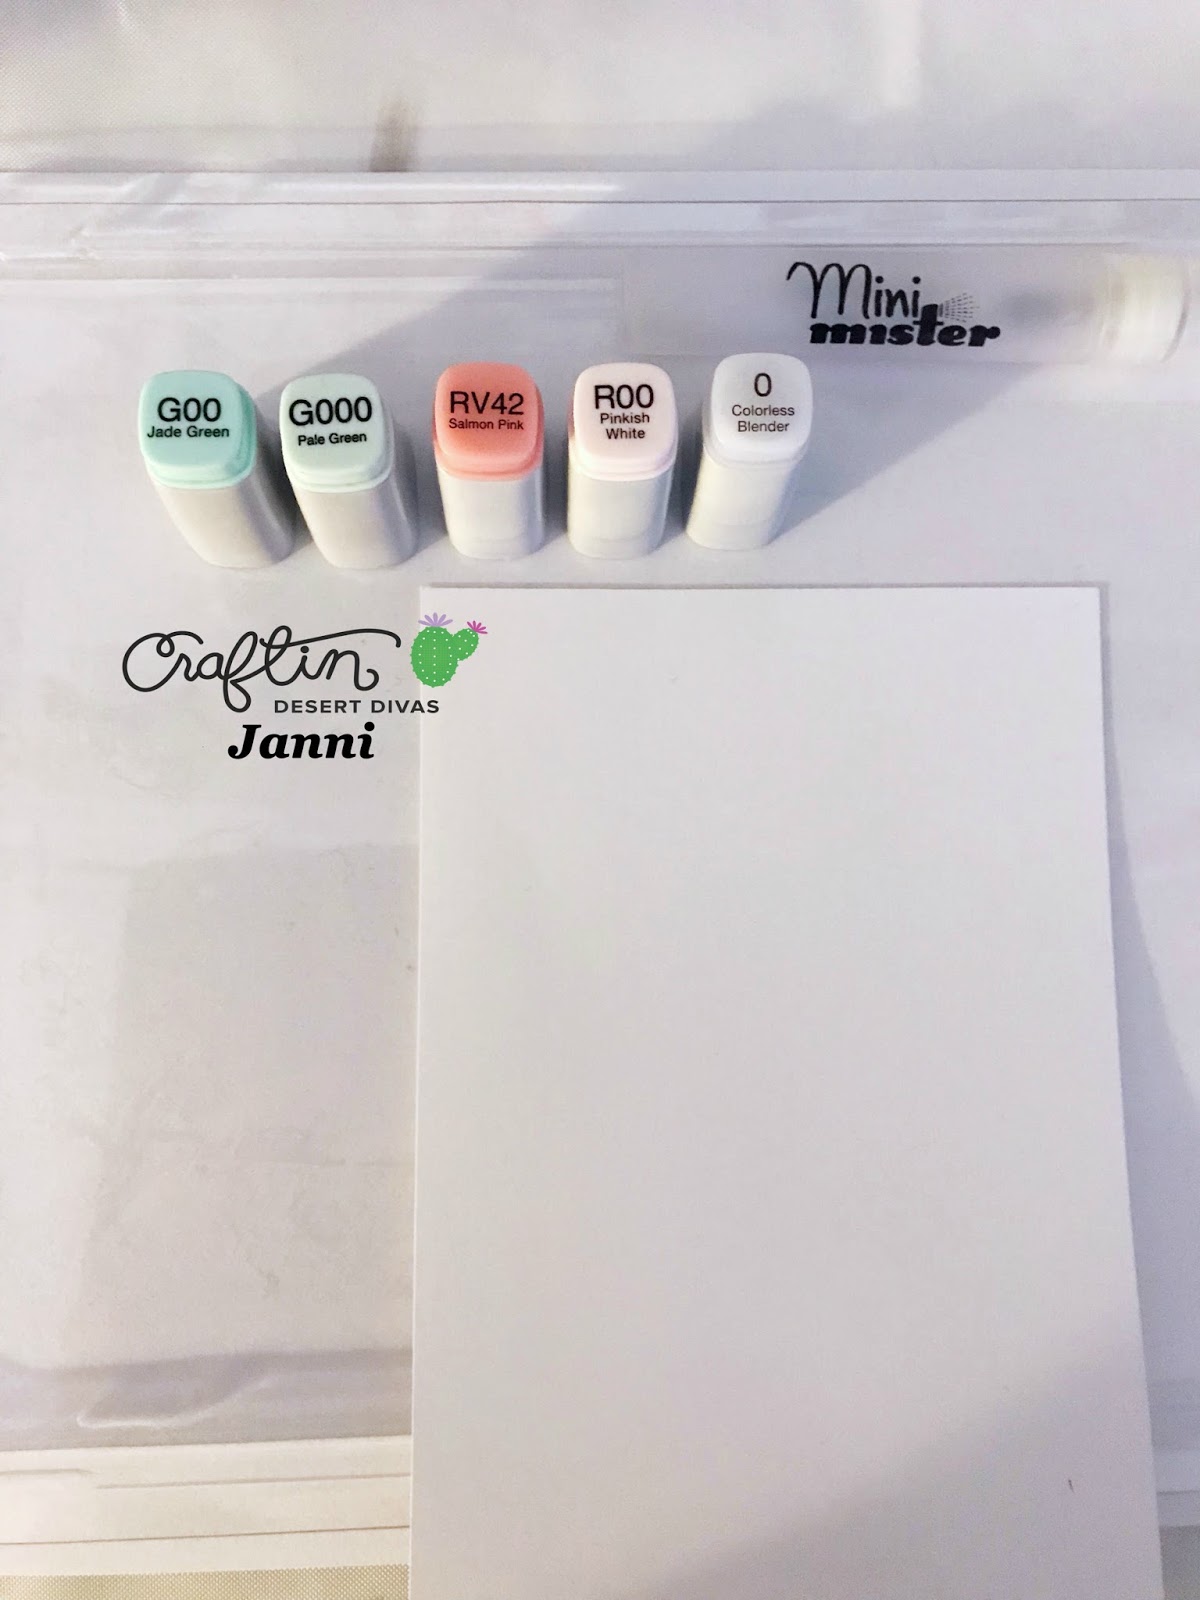
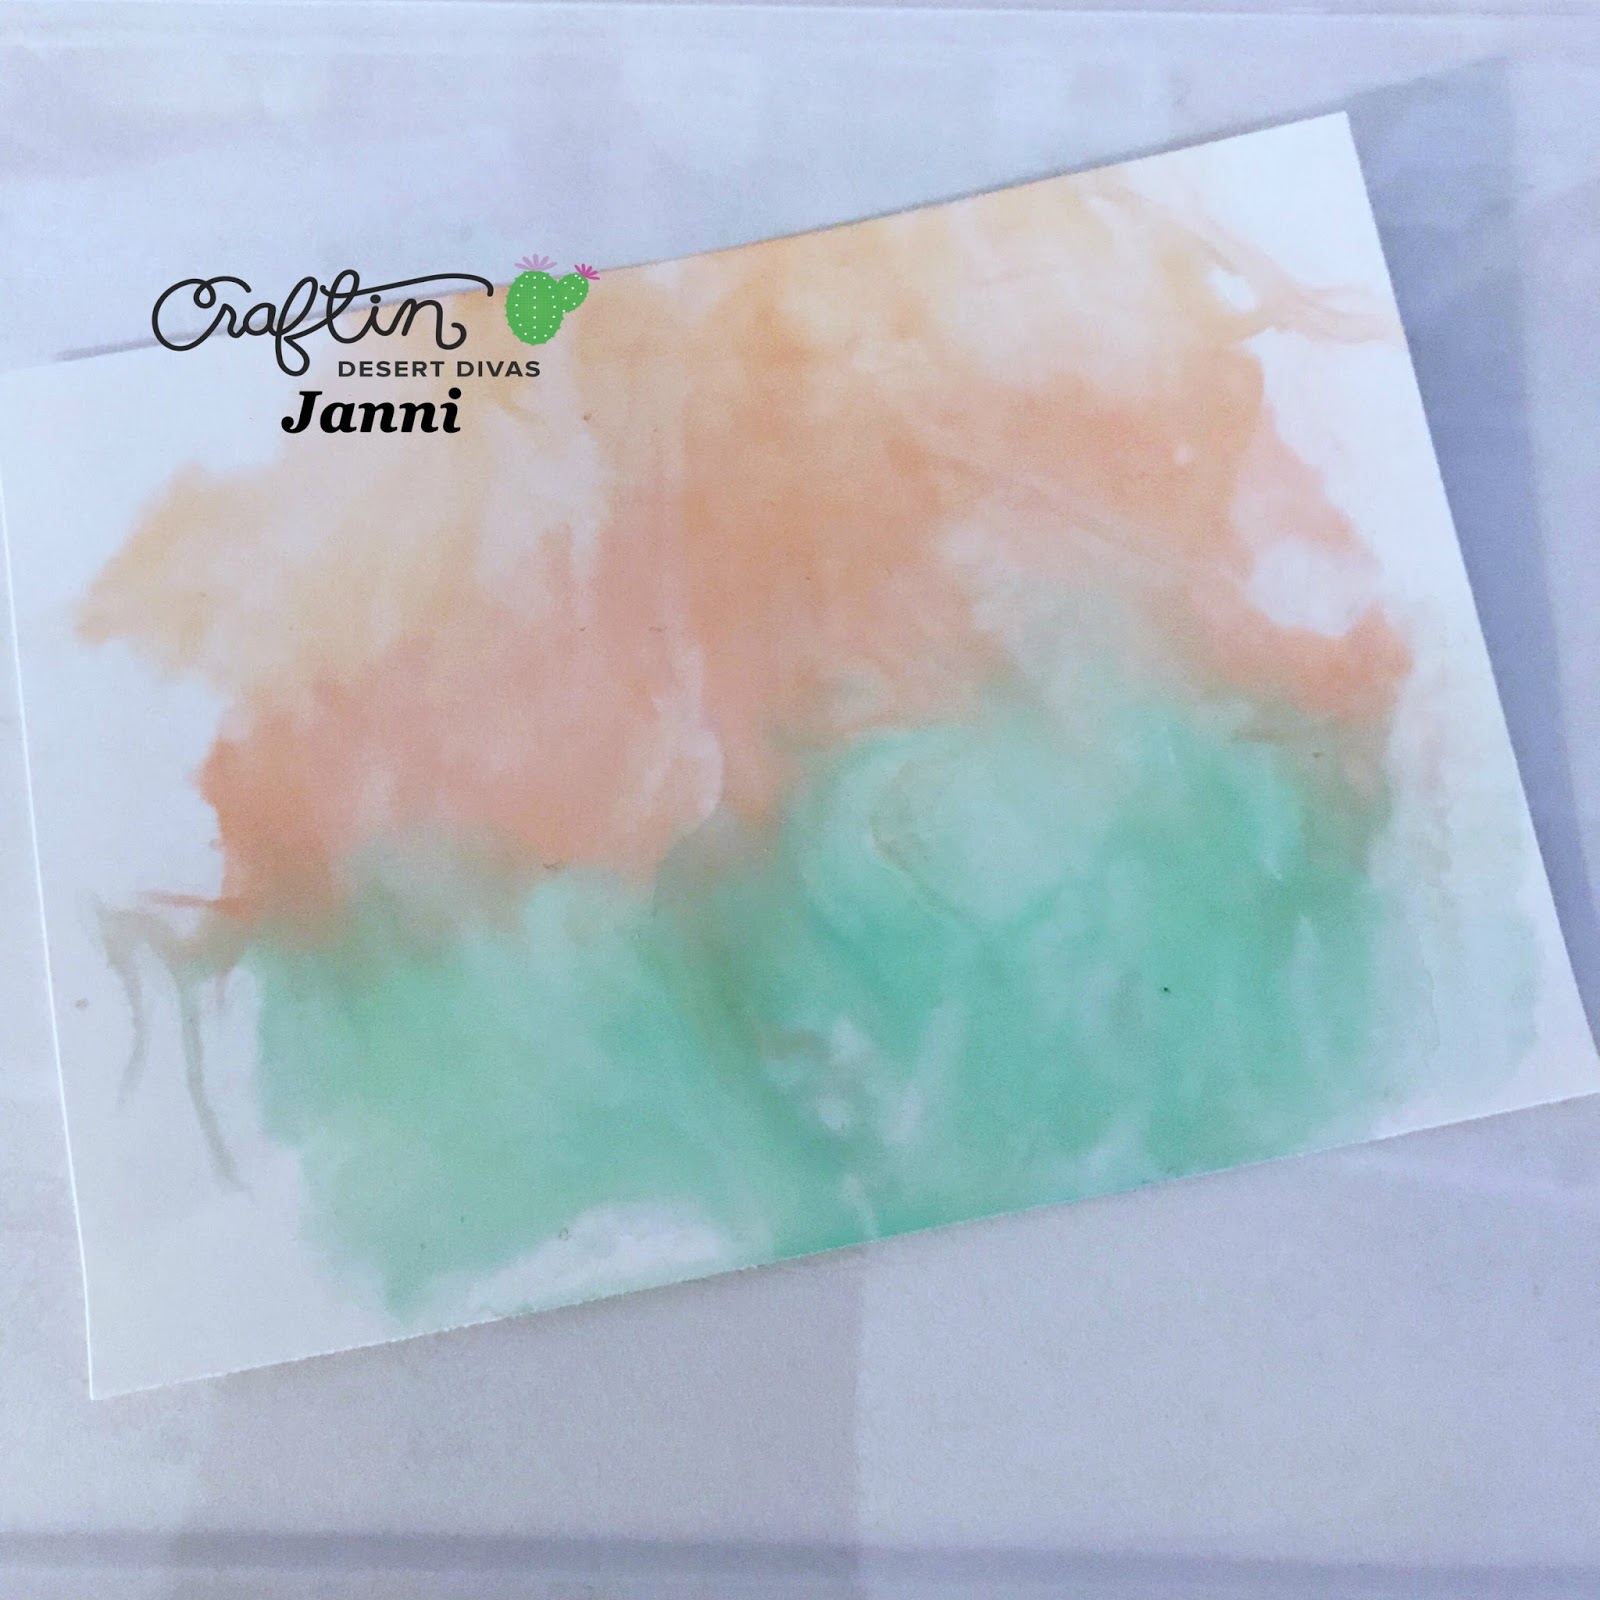
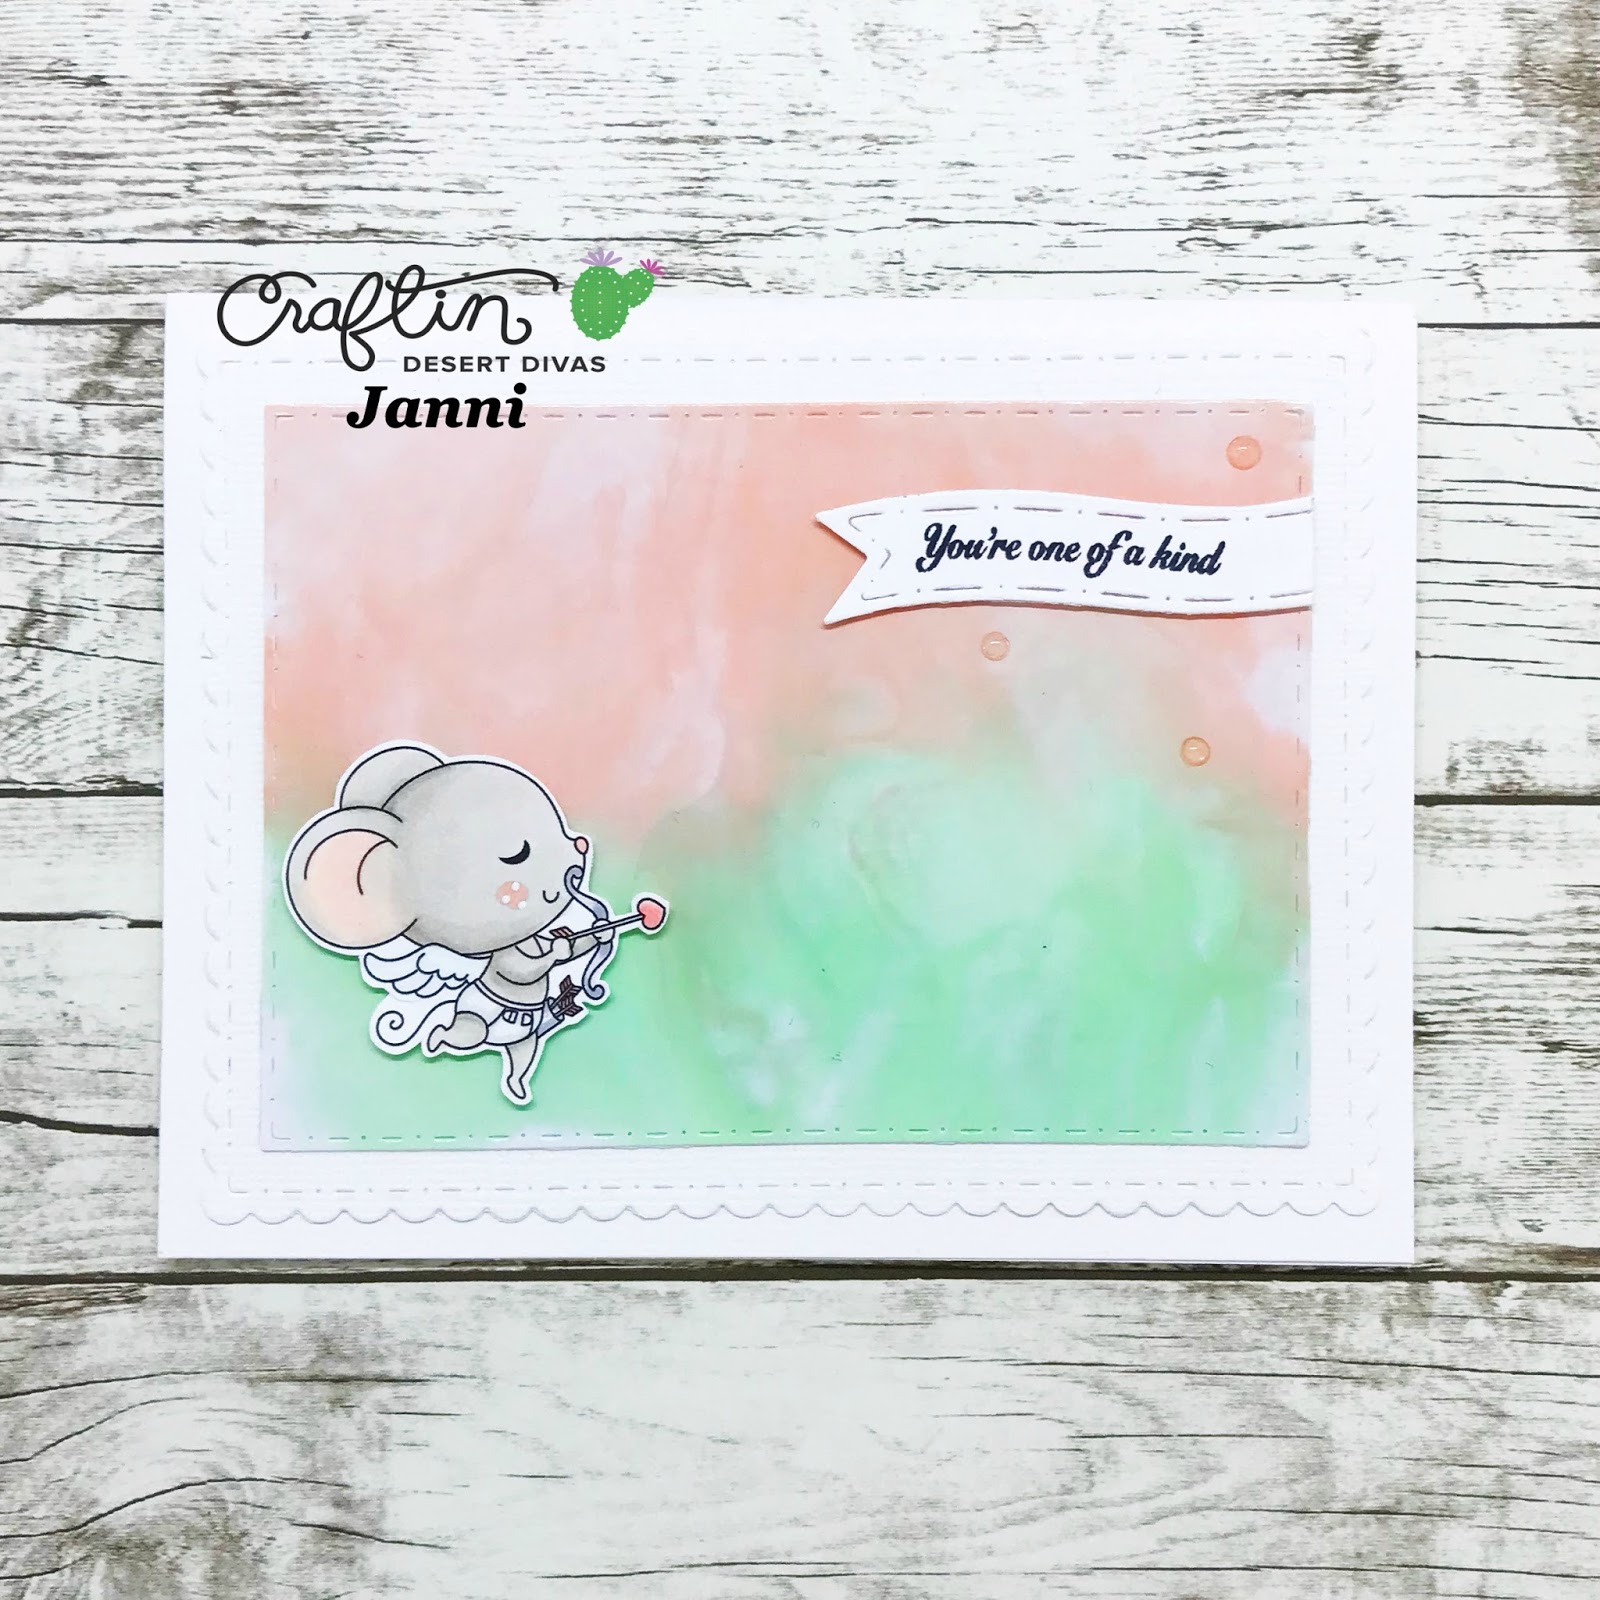
For my card today I used Ranger Alcohol Ink in color Purple Twilight, and Silver Mixative, I did two panels in Yupo Paper on my first panel I use less of the Silver Mixative and for the second I used lots of the Silver Mixitive I used a little straw I had at home to move the colors, the secret in my opinion is to put a good amount of the alcohol ink and start blowing right away before the ink dries!!


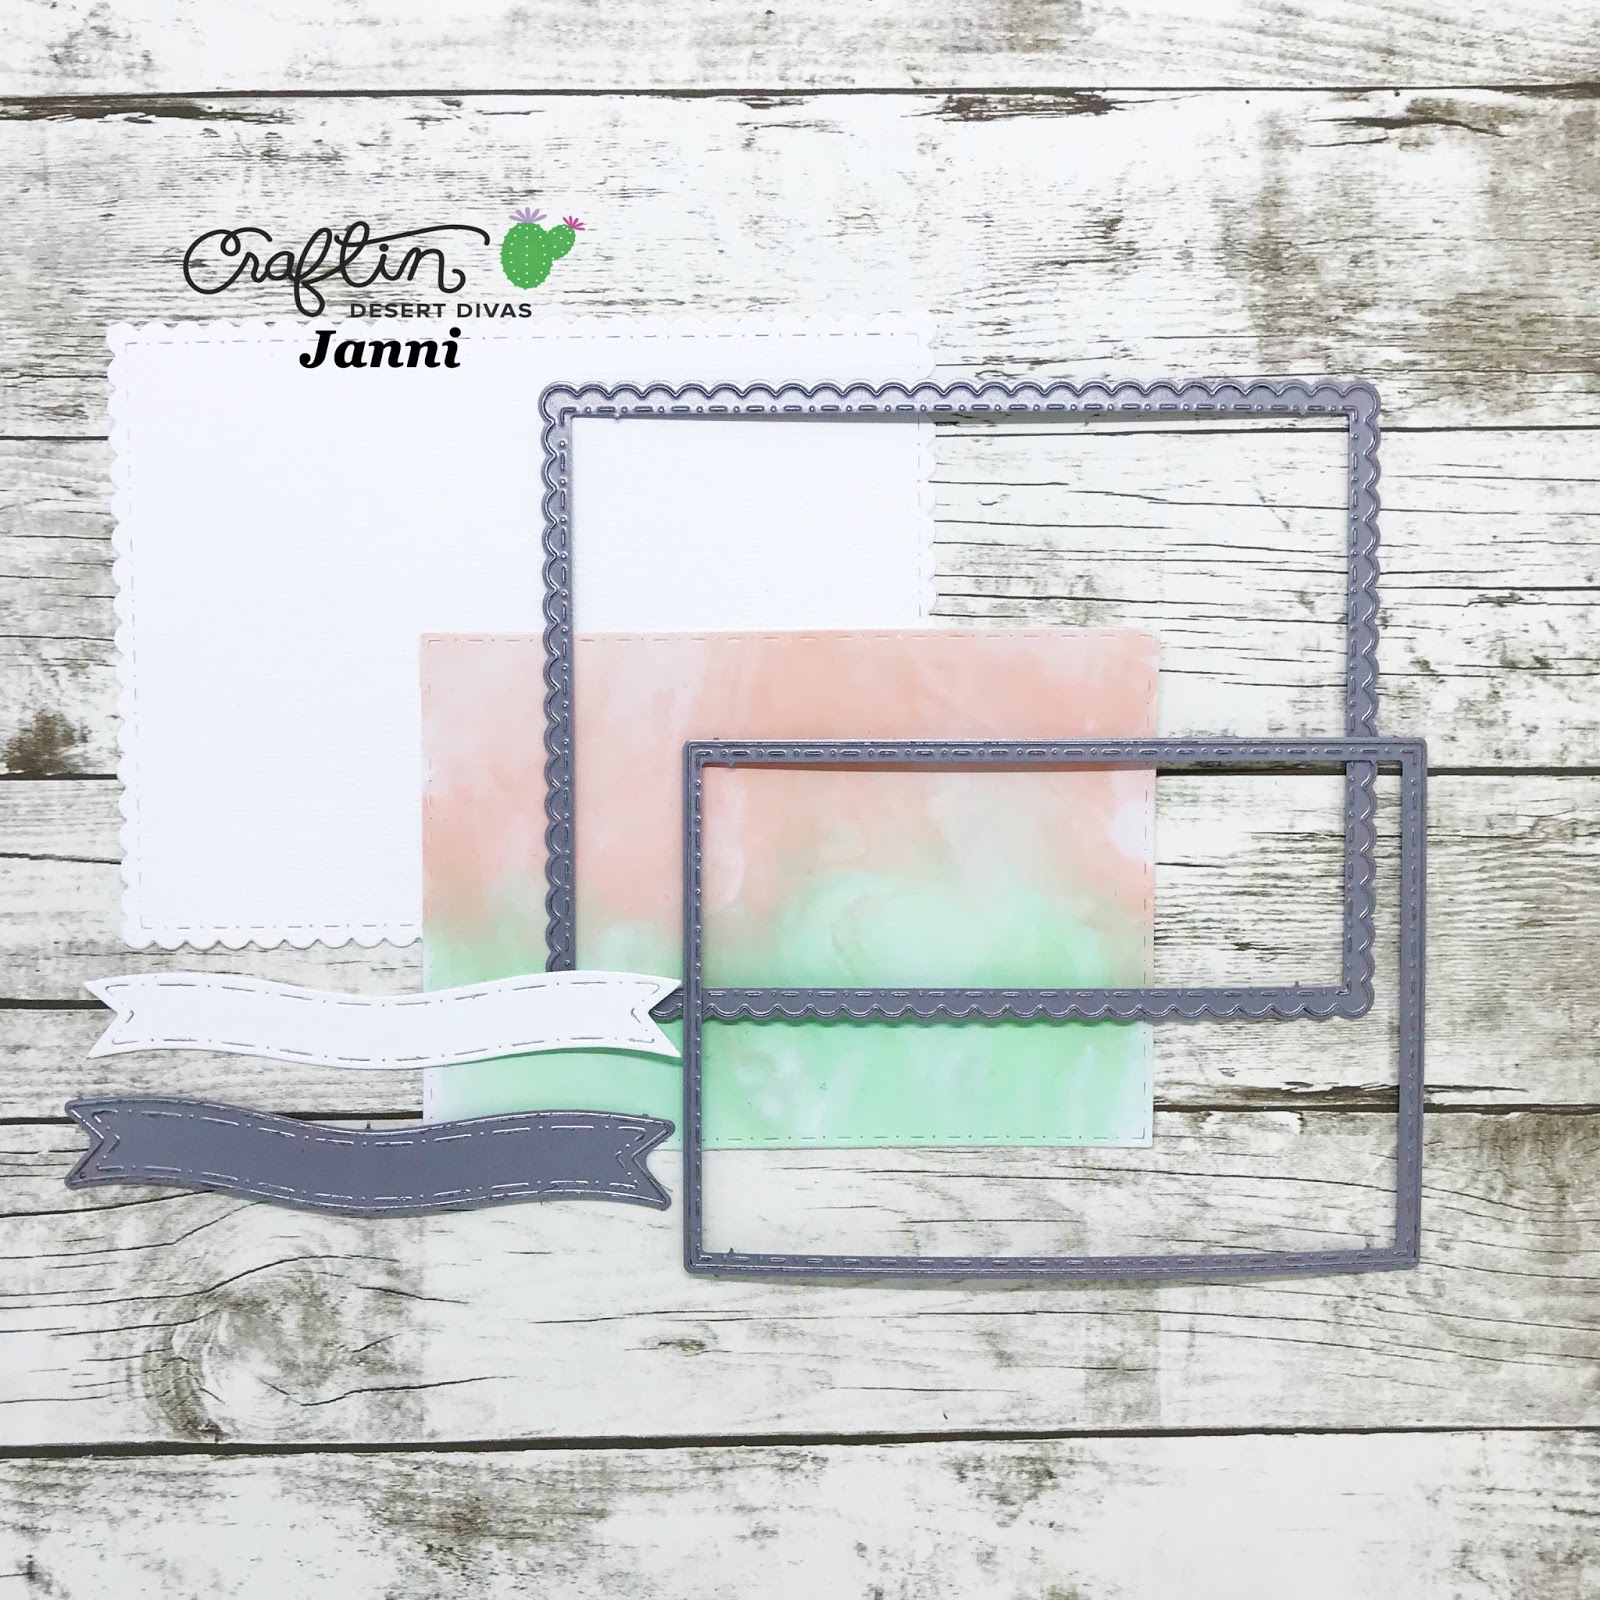
For the card base I cut an A4 piece of black cardstock to 15cm along the long side. Score and fold at 5 cm and 5 cm from each side. Cut another piece of cardstock 18 x 4 cms (to put the sentiment).  Cut the alcohol panels:
 2 stripes 4.5 x 14.5 
1 stripe 3.5 x 17.5
1 rectangle 8.5 x 14.5
Glue all this to the black card base 


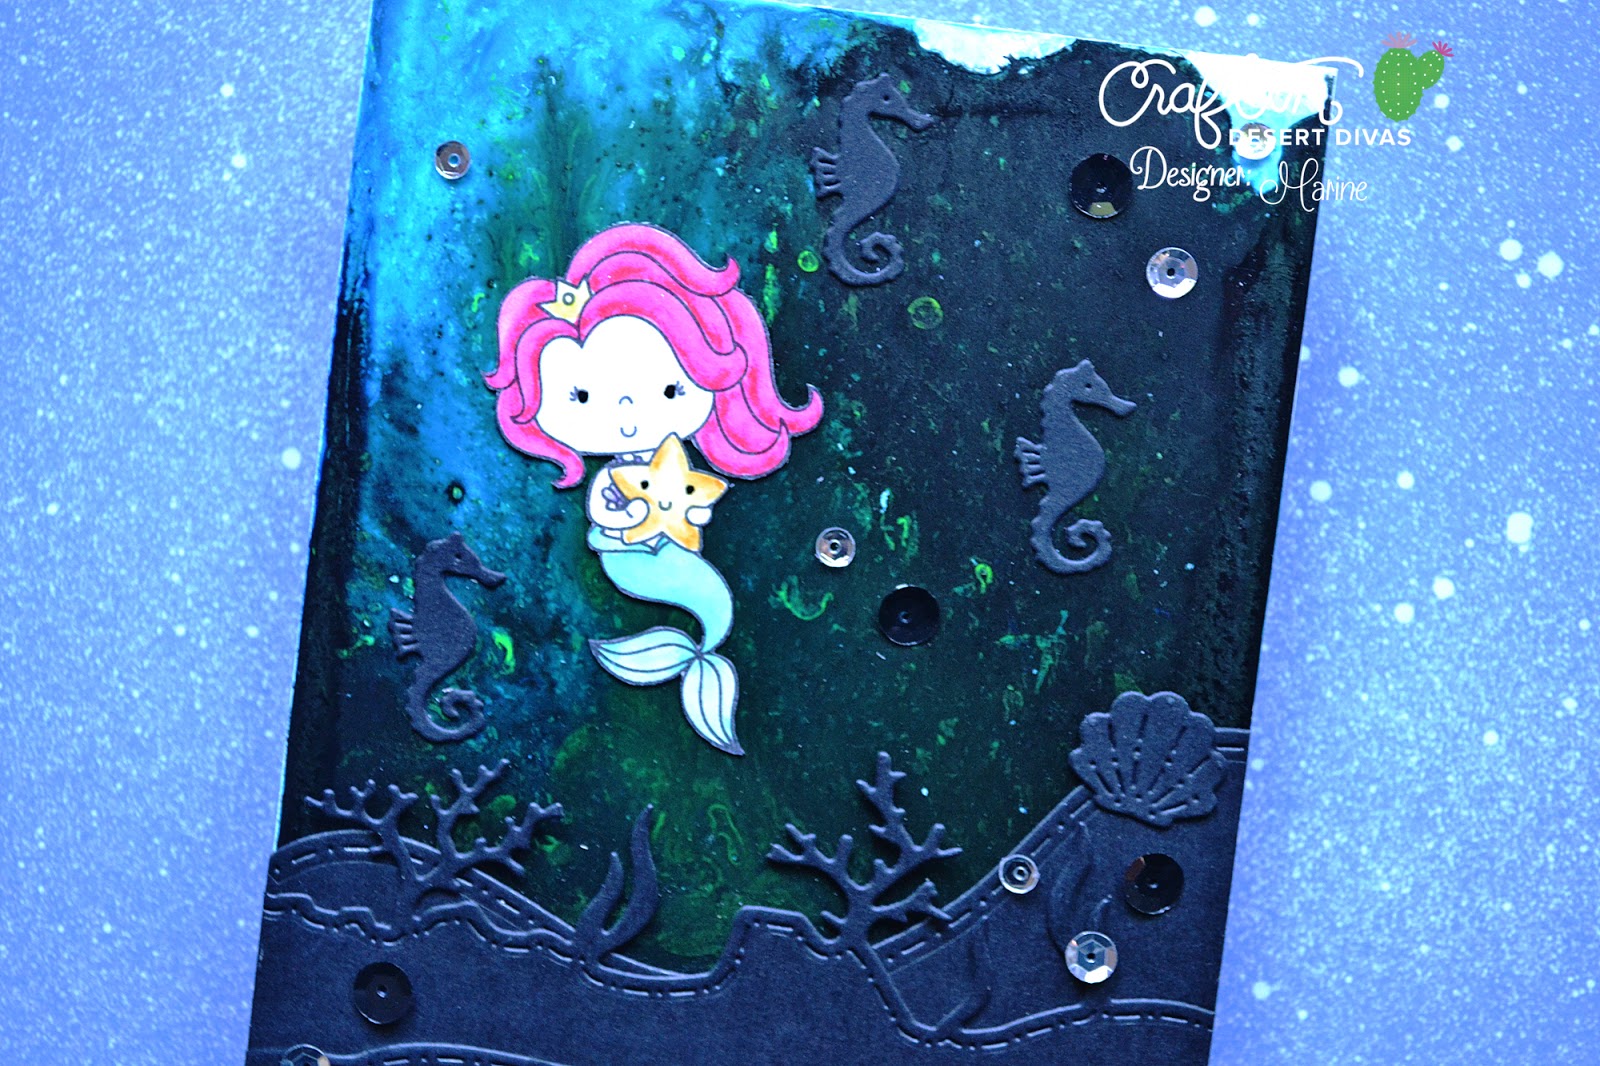
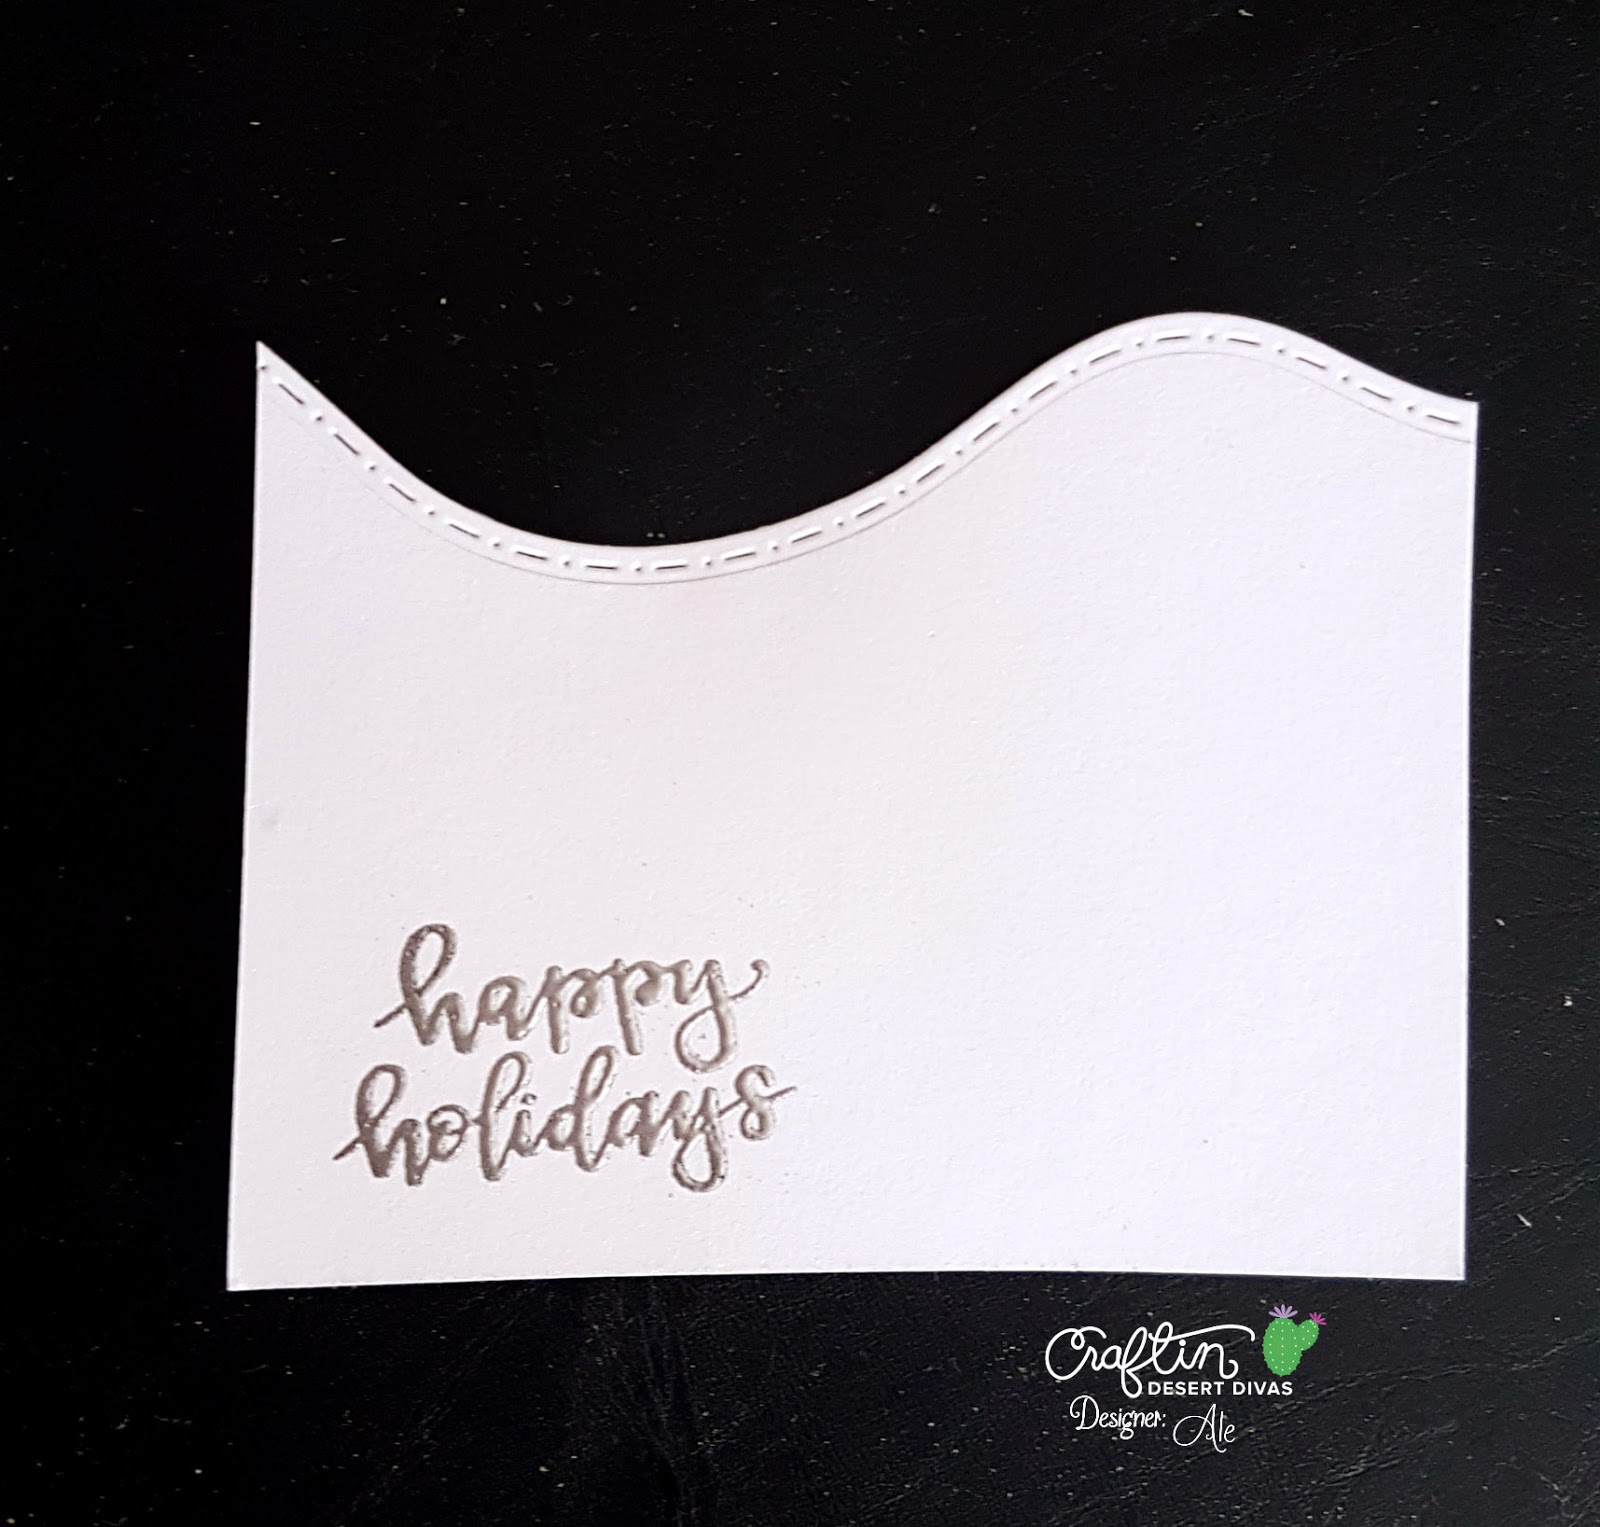
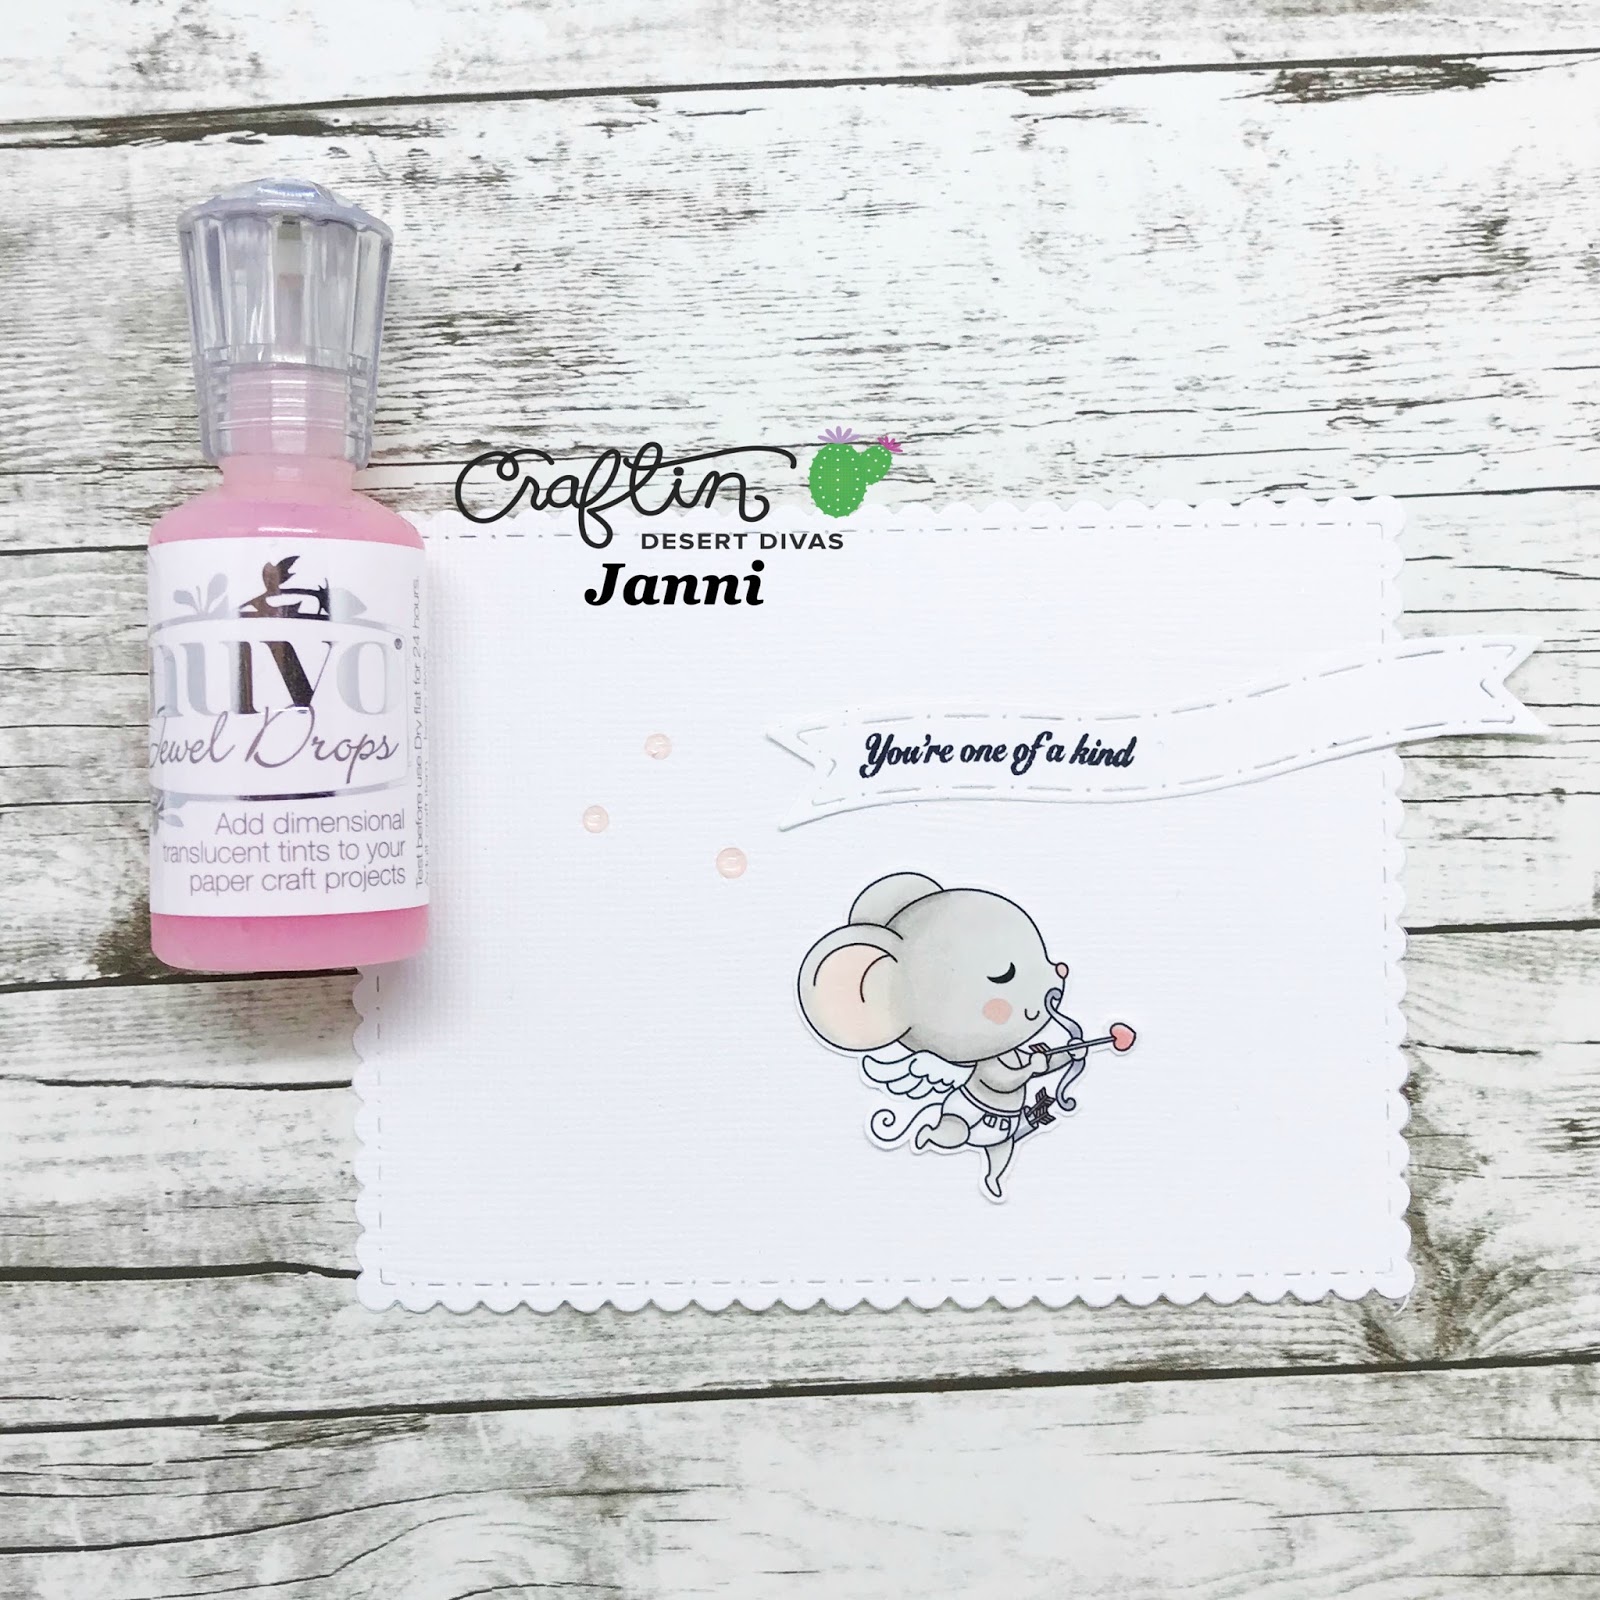
I color some of the trolls from the new Celebration Trolls stamp set with purple colors that will coordinate with the background and I  adhere them with foam tape to give them dimension I finally cut the Wishing word die in glitter cardstock and some little stars too and stamp the sentiment with silver embossing powder to a black banner. I love this card is so festive and unique with the trolls and the alcohol inks!!!


I hope you like my card,  have an amazing and Happy New Year 2018!! I hope all your dreams can come true on this coming year!!! Remember also the great special sale we have for you, but hurry will end soon!! Have a great Celebration today!  


CDD PRODUCTS:


Saturday, December 30, 2017

Alcohol Ink Background with DT Marine

Hello everyone, it's Marine from DT!

Today I'm back to show you the second card I made using liquid pigment inks and alcohol. The process is the same as my first alcohol background card (the one with the flowers ^^), here it is:


I first spayed alcohol on a piece of glossy paper (or photo paper), put some colored drops, sprayed again with alcohol and then moved the paper to mix all the colors together. Put more drops and alcohol, and mixed again. And let the panel dry overnight.


Once I saw the result, I immediately thought of a deep ocean. So from black cardstock, I die cut a coral border, a hill border and another one from a tree border (I just removed the trees), and glued these at the bottom of my panel.

Stamped my sentiment using versamark ink, applied silver powder on top and clean it to reveal a shiny sentiment.


I stamped a cute little mermaid, colored her using my zigs markers, fussy cut her and glued her on my panel. From back cardstock, I also die cut three sea horses, a shell and a starfish. Glued these on the panel.

Attached my panel to a white card base, simply added some sequins here and there and clear glitter to the mermaid hair and tail to finish the card.

* *

Thanks for stopping by! Have a nice day!


CDD SUPPLIES

-

-

-

Friday, December 29, 2017

Alcohol Ink Background with Digital DT Laura

Hello everyone, Digital DT member Laura here to share with you a fun "candy cane" striped background done with alcohol inks and some blending solution on the Craftin Desert Divas Blog. I had so much fun playing with this technique and I made several that you will see in the future but I chose this one to share with you today. I paired it with the digital stamp from .


I started with some YUPO paper, which is a plastic coated type cardstock that works perfectly for this technique. I am traveling and didn't have my blender tools with me so I had to improvise and used some quilt batting that my Mother had. It actually worked extremely well! I cut a rectangle of it and dropped a red dot of Alcohol ink, then a white, then a red in a line ( I used Santa Fe Red and White Pinata brand alcohol inks). I had pictures of this but they disappeared into thin air. I then squirted some blending solution (I used Adirondack brand by Tim Holtz) in a line across all 3 dots then I swiped downward on the YUPO to make my stripes. I was very happy with the candy cane stripes that appeared! I let it dry overnight and then cut it down to size. I printed off the digital Snow Cup Cutie stamp and colored with my Zig Real Clean markers. Next I cut it out and added it to my background for a fun and festive winter card! 


There are so many fun techniques you can do with alchohol inks, I hope I have inspired you to try this one!

CDD Supplies:


Alcohol Ink Background Technique with DT Ale

Hello everyone! DT Ale here today sharing a fun way how to stretch your alcohol markers and ink blending solution. And here is the card that I made using alcohol markers and stamps and dies from Craftin Desert Divas Before I share the steps on how I created this card I just wanted to say that this will be my last card as part of Craftin Desert Divas design team . A big thank you to Tara and the design team for the amazing time spent together . Was such a beautiful experience to be part of this design team and looking forward to see all your upcoming  projects Now to my card :)
To start my card I picked a piece of photo paper. For this technique you really need to play a bit around and see what works best for you. For example I scribble with my markers on the glossy photo paper and when I added the ink blending solution ... nothing happend :) I was pretty disappointed , but then decided not to give up and turned the paper scribbled again with the markers ...
added the ink blending solution and ta da ...
It worked :)
Now the fun can begin. I splattered more ink blending solution and the also put a bit a solution in a bottle and sprayed over the background 
Let it dry and scribble again and spray again until I was happy with the end result .
What I also did was adding a bit of silver paint to the spray bottle and sprayed the background so I got a very subtle shimmer to the background 
Now that the background is done I die cut the hill and the house border from   
and then added foam tape, to add a bit dimension to the card .
I stamped the sentiment from  with Versa mark ink and embossed using Wow silver embossing powder 
Next I stamped the cute critter from  and coloured using Spectrum Noir Alcohol markers 
The only thing left to do is to assemble the card and I am really happy with the end result
Thank you so much for stopping by ! Have a lovely day 
Supplies 

Thursday, December 28, 2017

Alcohol Ink Background with DT Janni


Hi Crafty Divas, DT Janni here today.

I want to show you how I made my card with Alcohol Ink background using refills for Copics, it’s called Copic Various Ink.


Here are the supplies I used for making the background:  Old plastic cover, Mini mister, photo paper, 4 different colors of ink (I choose pastels of course) and colorless blender ink.


I added 5 drops of ink from each color onto my old plastic cover.


Then I used the mini mister with colorless blender and sprayed all over about 5-6 times, so that the ink drops would blend.


I took the photo paper and placed it onto the ink, and used my fingers to press it down a bit to make sure the ink spread out on the paper.


Here you see the result, I love how the colors blended.


I used some of my favorite dies to cut the backgrounds: ‘Fancy Frame Dies’ for the Alcohol Ink background and white cardstock, and a banner from ‘Flag Banner Dies’ also in white cardstock.


For this card I used the sweet little cupid mouse from ‘P.S. I Love You’ stamp set, the sentiment is from ‘Treasure Trolls’ stamp set. I made some drops of ‘Nuvo Jewel Drops Rosewater’ and let them dry up.


I hope you want try this out too <3


Hugs,
Janni


Supplies used:


Newer Posts Older Posts Home