

Happy Saturday! Tatiana is here from Tatiana Craft And Art! I'm so excited to be on Crafting Desert Divas blog today with Stretch Your Supplies Card Series! This super simple modern Christmas card was made with a very limited craft supplies so you don't have an excuse not to get your hands inky and try to make handmade cards for your friends and family if you haven't tried yet! All you need for this project is , a few colors of Distress Oxide inks (in case you don't have them, you can definitively use regular Distress inks or any kind of dye or pigment inks you have on hand), a pencil, a pair of scissors, a ruler, a brush and a piece of watercolor paper. So let's see a step by step tutorial:
- Cut and score an extended A2 size card base (5½" x 4¼").
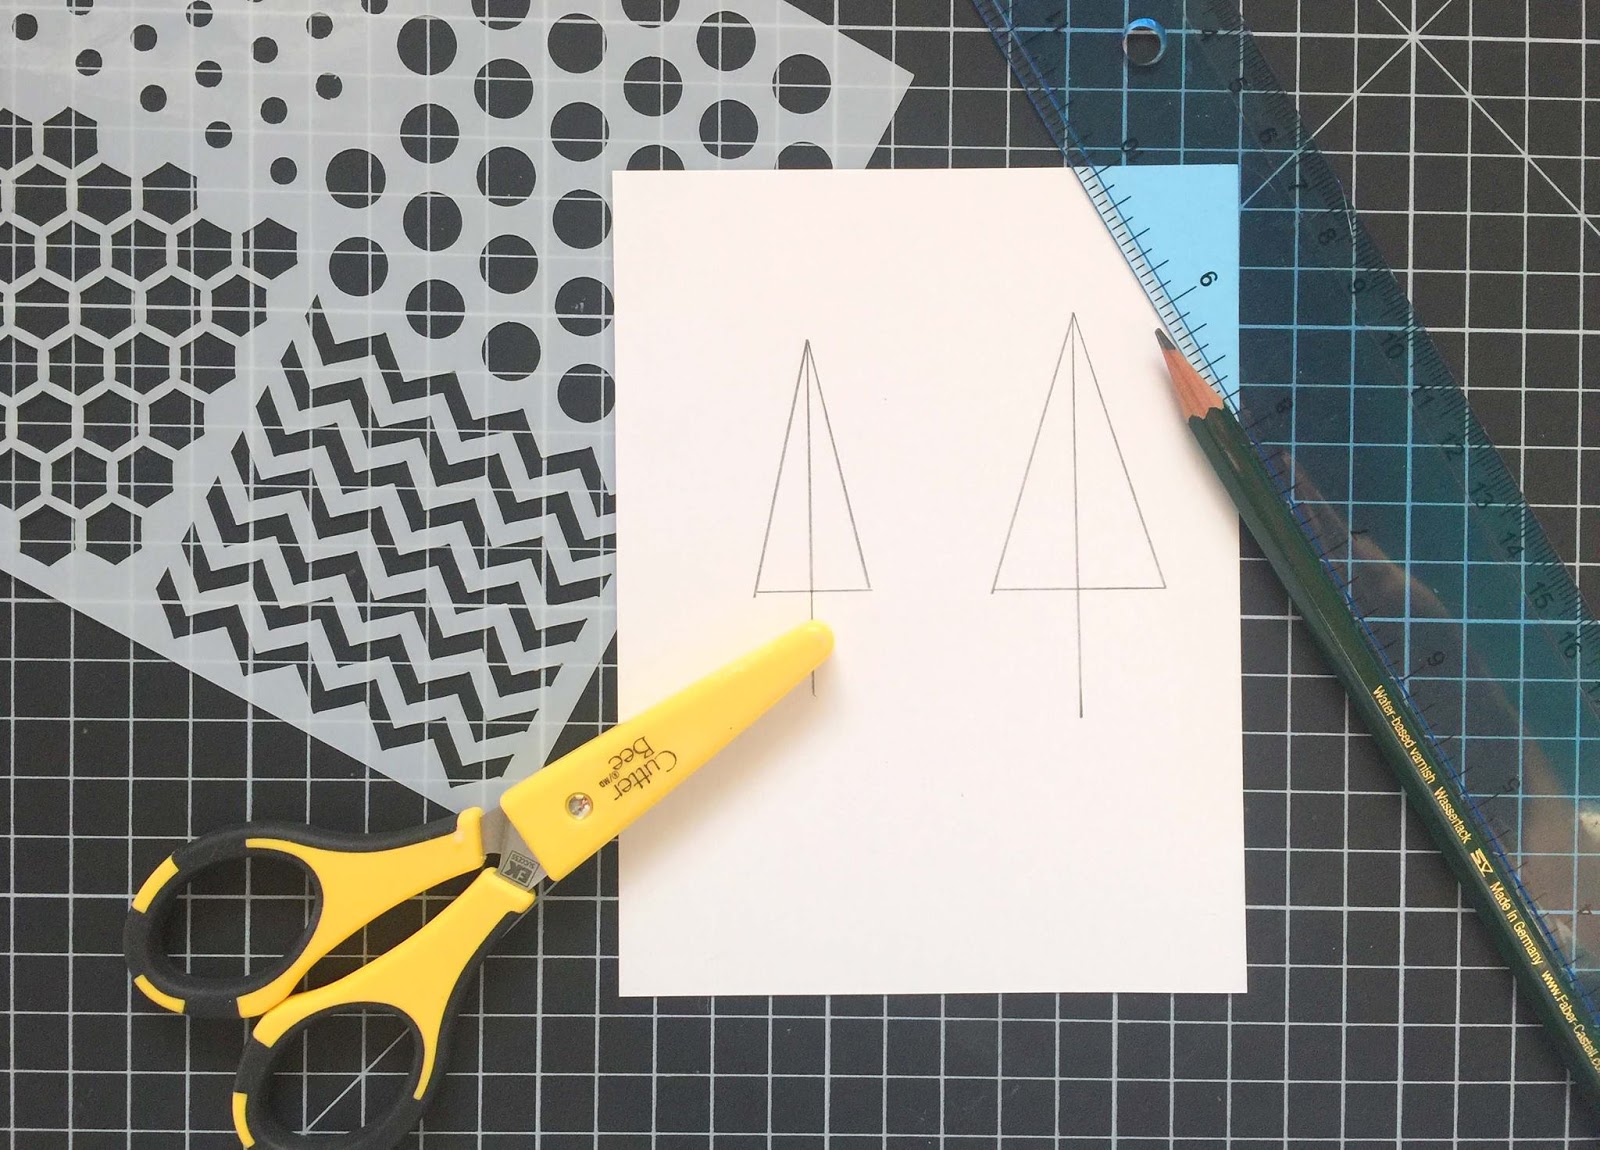
- Use a ruler, a pencil and , trace and cut two triangles one a little bit smaller than the other (see the picture above). Use them as a guide and cut out a few triangles from a watercolor paper for your project.

- Take another rectangle piece of a watercolor paper (I used here Distress Cardstock from Tim Holtz since it ment to work with Distress inks) and use your Distress Oxide inks as a watercolor media, smooshing them against a sleek surface and creating a messy spots with a regular brush (see the picture above). This technique will work both with regular Distress inks or any sort of dye inks. You can use regular watercolors at this point too.
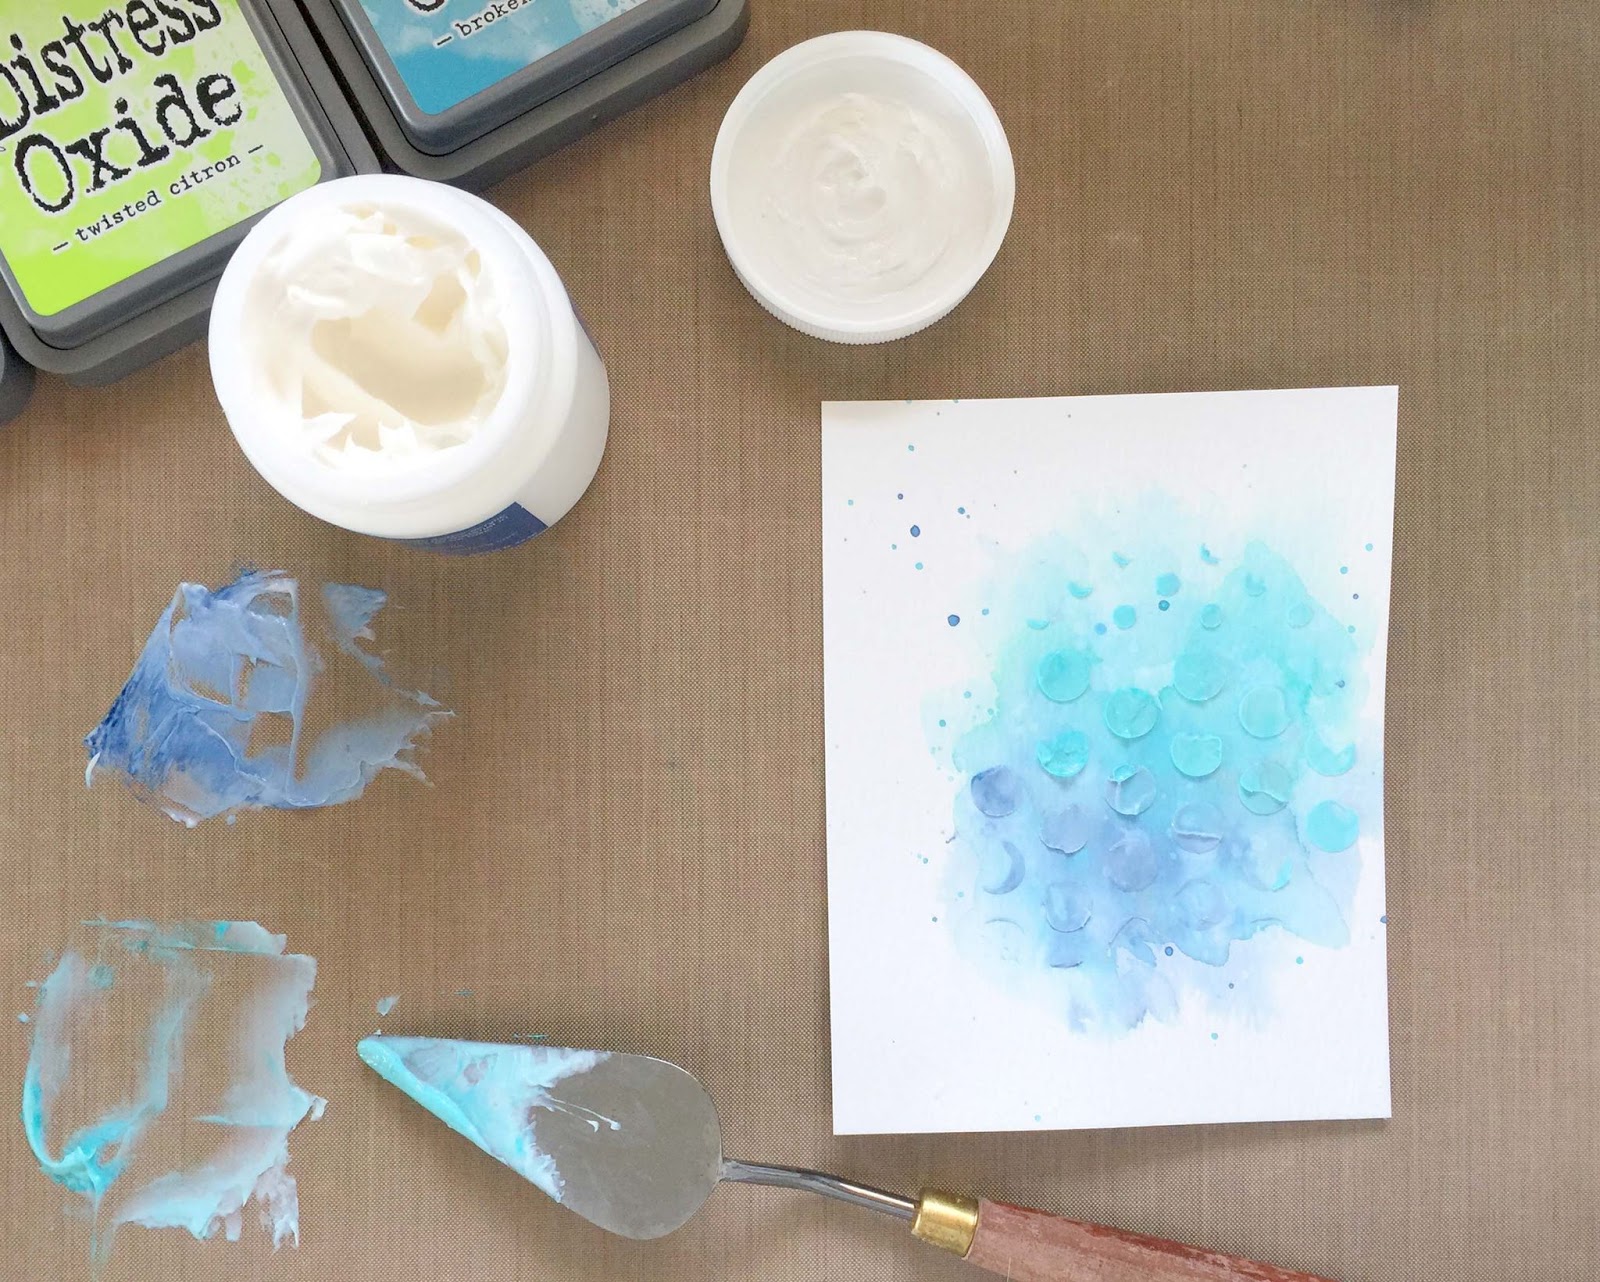
- Smoosh once more on a sleek surface a few shades of inks, mix them with a translucent or white embossing paste and apply on top of the watercolor spot using the circle part of and creating a sort of snowy background. In case you don't have an embossing paste, apply the inks directly to the watercolor base through the stencil with a foam tool or directly from an ink pad (see the picture above).
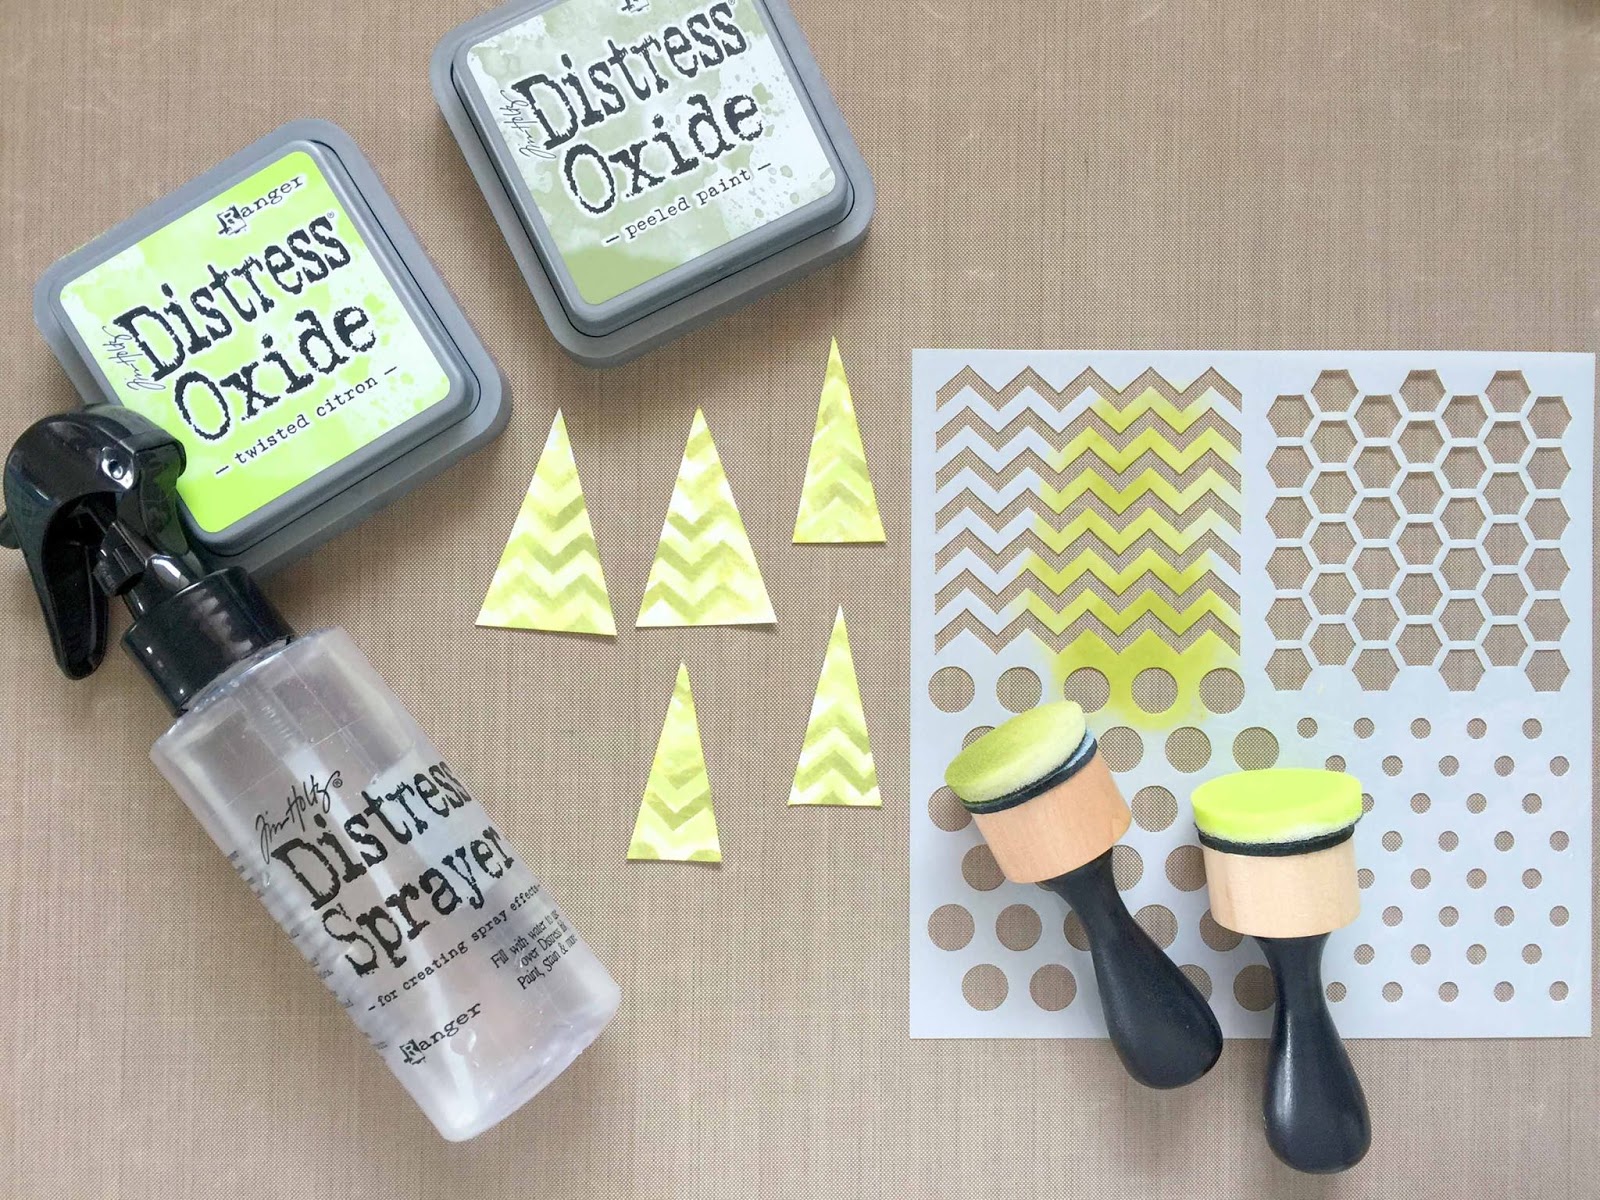
- Use a chevron part of to decorate the triangles by applying the ink with a foam or directly from the ink pad. If you work with Distress or dye inks, spritz a few water droplets on top to bring some interest (see the picture above).
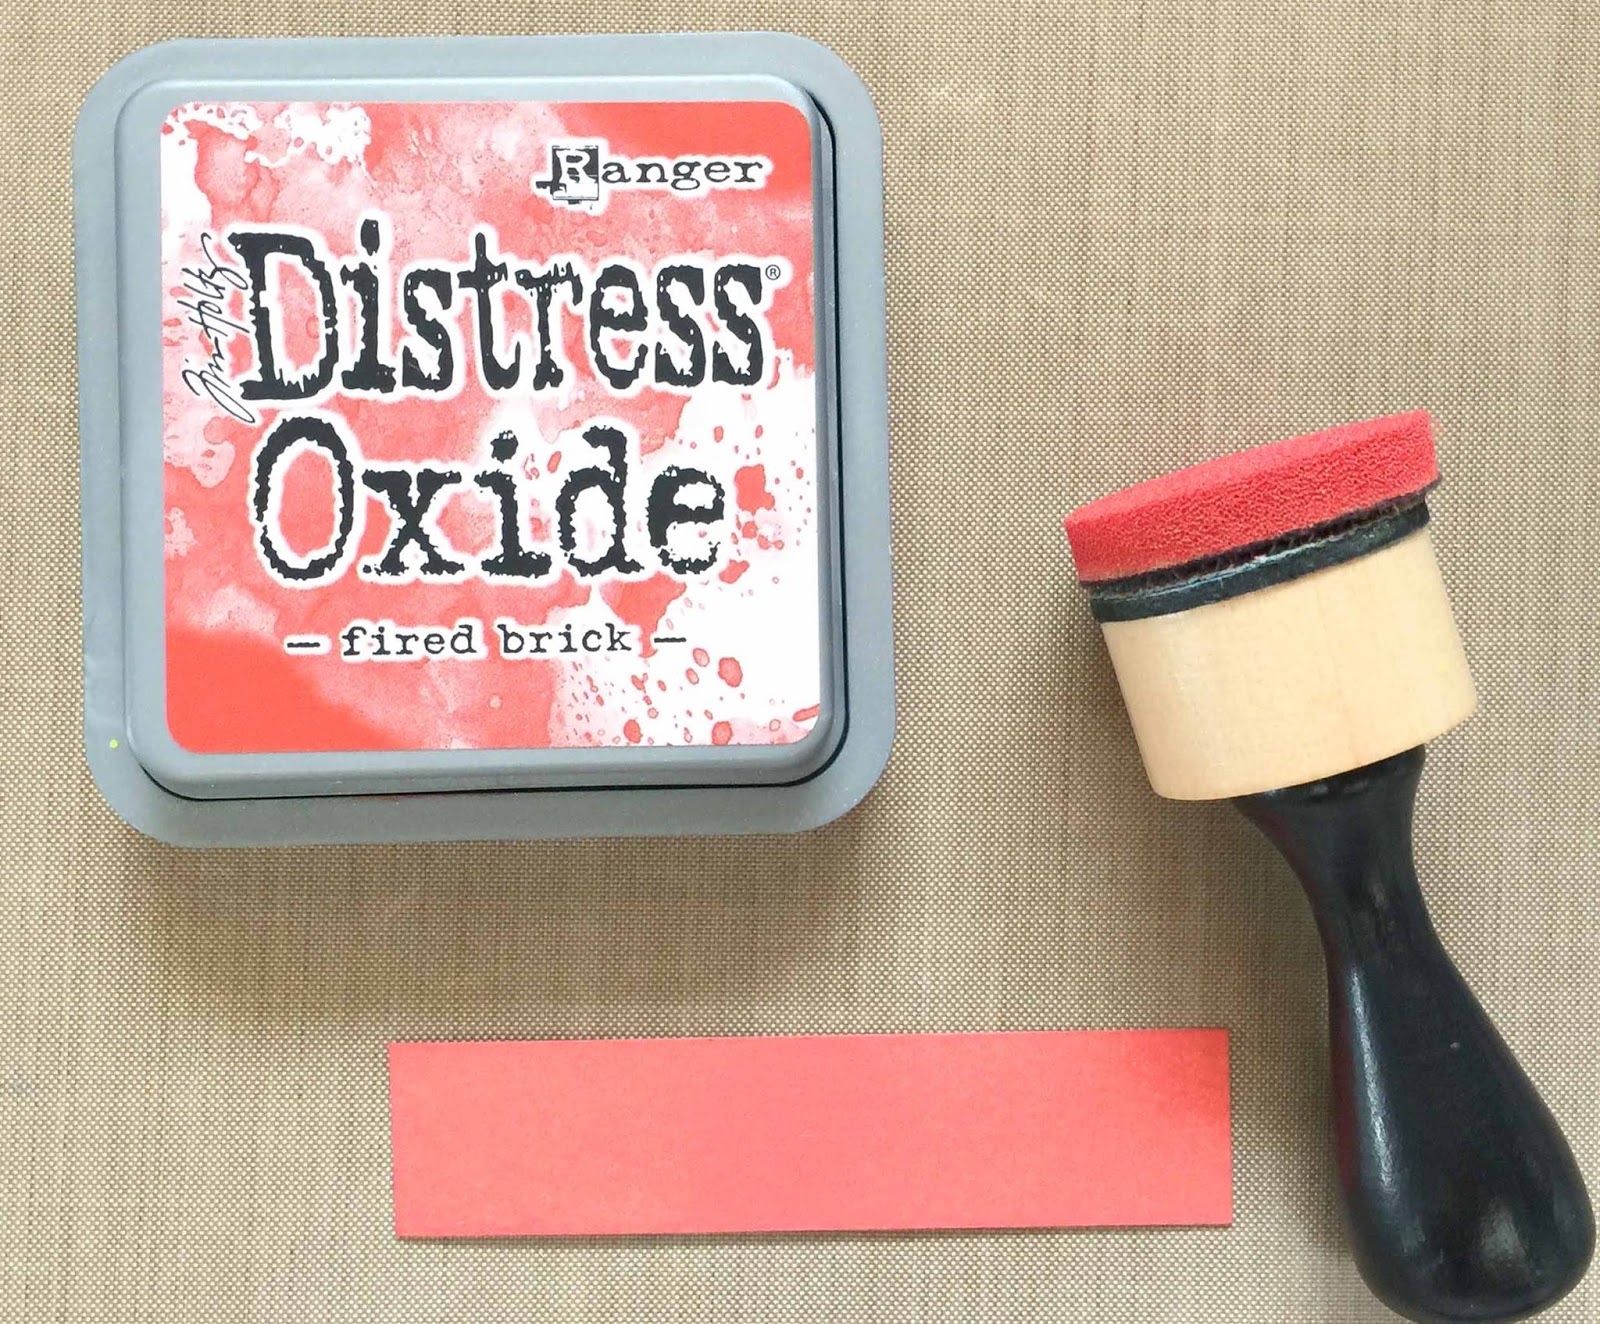
- Add color to a narrow strip of paper, let it dry and heat emboss the sentiment from stamp set. Of course, you can simply stamp the sentiment on top or hand draw one of your choice.

- Finally assemble everything, giving a little bit of dimension with a foam tape and adhere a few matching sequins as a finish touch.

That's all for today! Hope you give a try to this fun project and if so, please, share your cards in the ! If you aren’t a member, just request it . As always thanks so much for stopping by!

SUPPLIES:

Cute card!!
Reply