
The more people we have going the more freebies and giveaways there will be, plus you get to see all the wonderful sneak peeks from the rest of the design team!
The Craftin Desert Divas' Exclusive Trolls are back again this time for a space adventure! Here's a planner layout that I did using the "Far Out" Stamp set and the new "Nested Hearts" Die set!
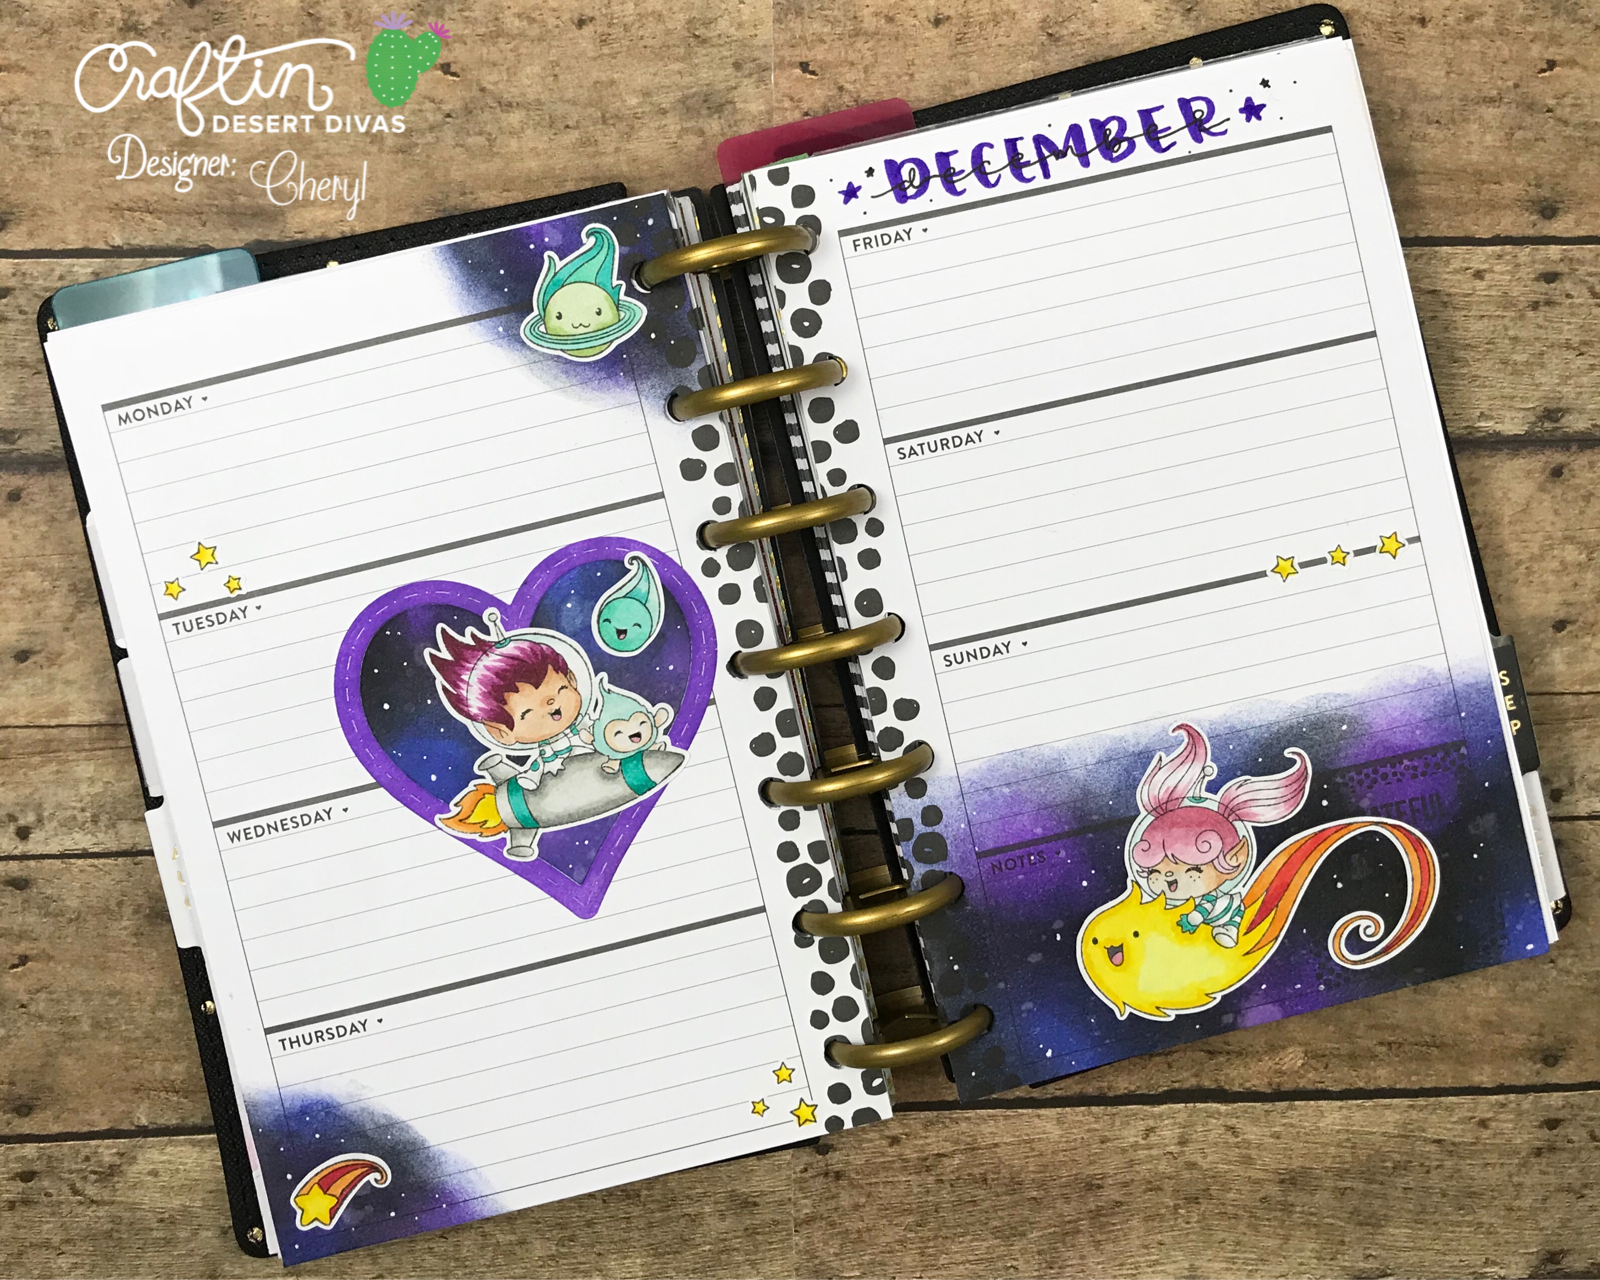
First I stamped the images that I wanted to use onto sticker paper and then colored them in with alcohol markers.
Then I cut out the medium sized heart in the die set using sticker paper as well.
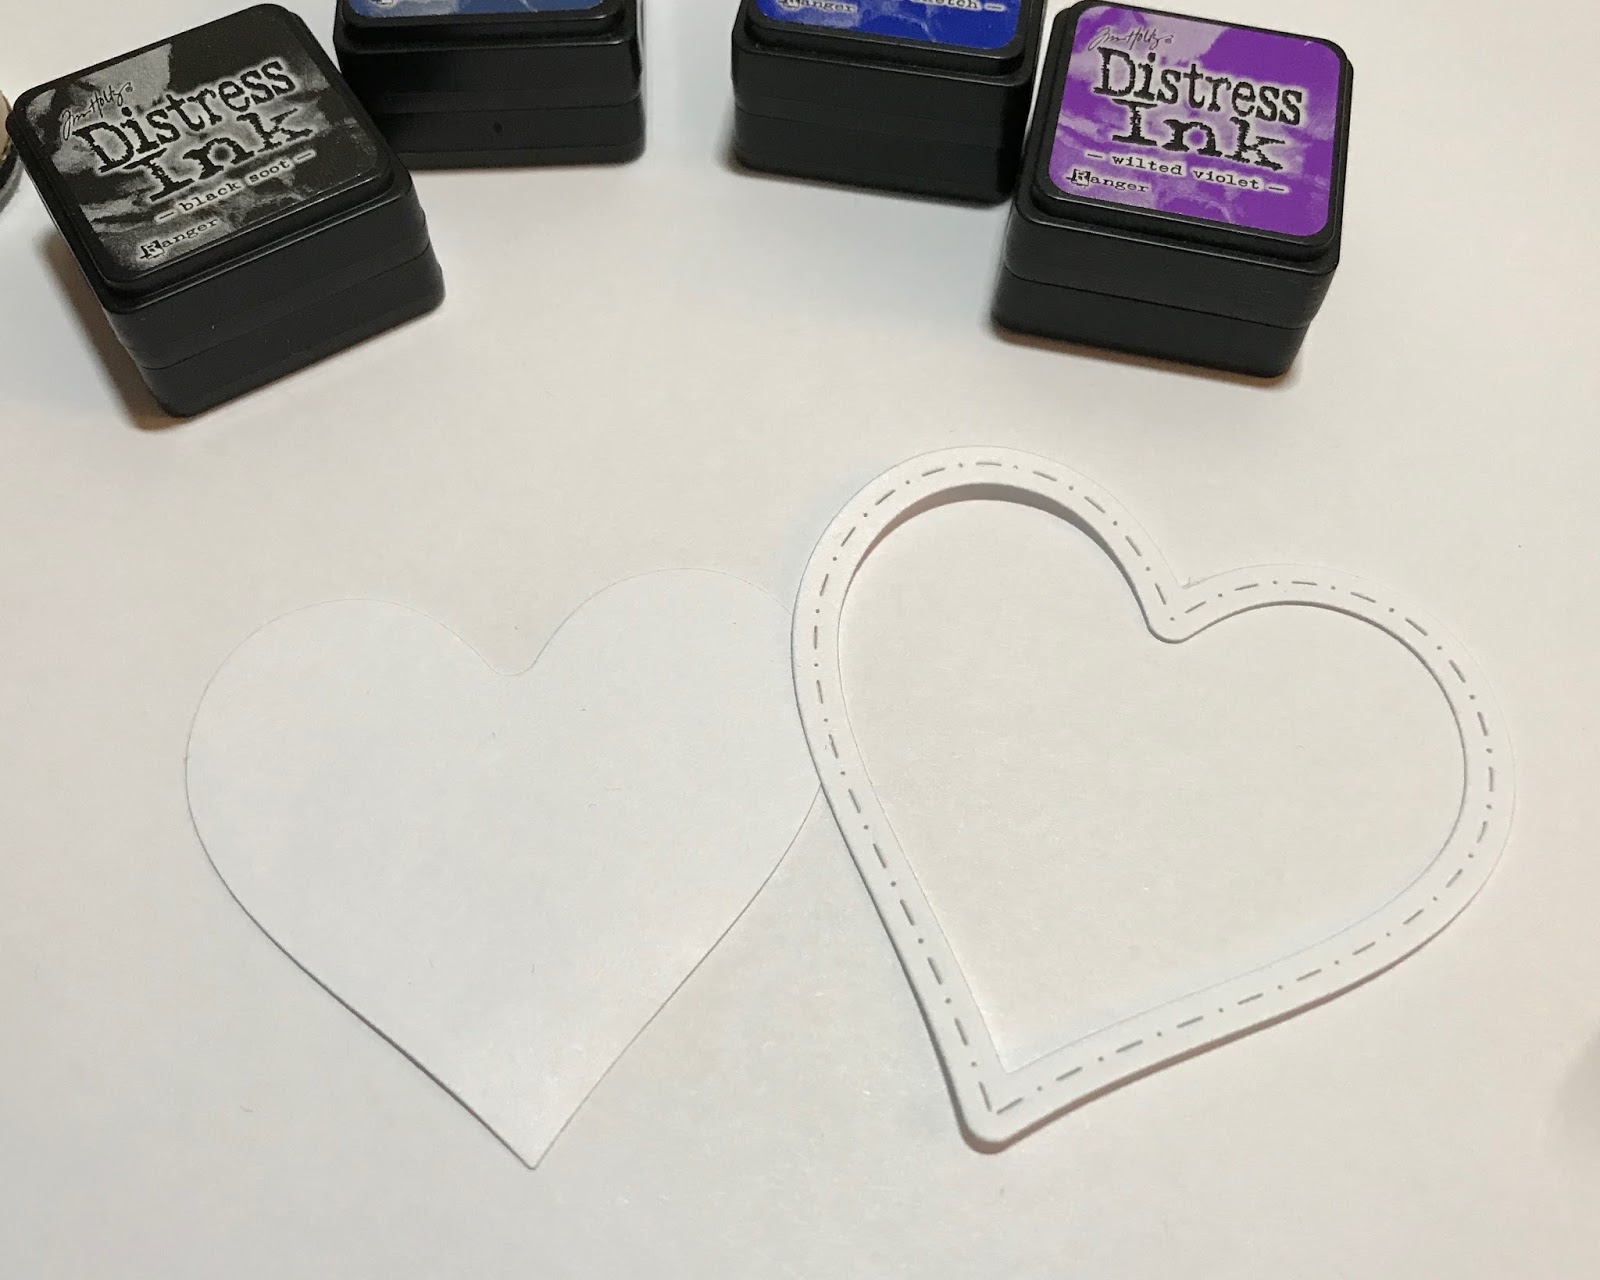
Galaxy Sky with Distress Inks:
I start building the galaxy sky using the following distress ink colors: Black Sot, Chipped Sapphire, Blueprint Sketch, and Wilted Violet (other colors work well too! I've seen others use greens, yellows, and pinks and make gorgeous galaxy skies as well, these are just the colors I chose to work with).
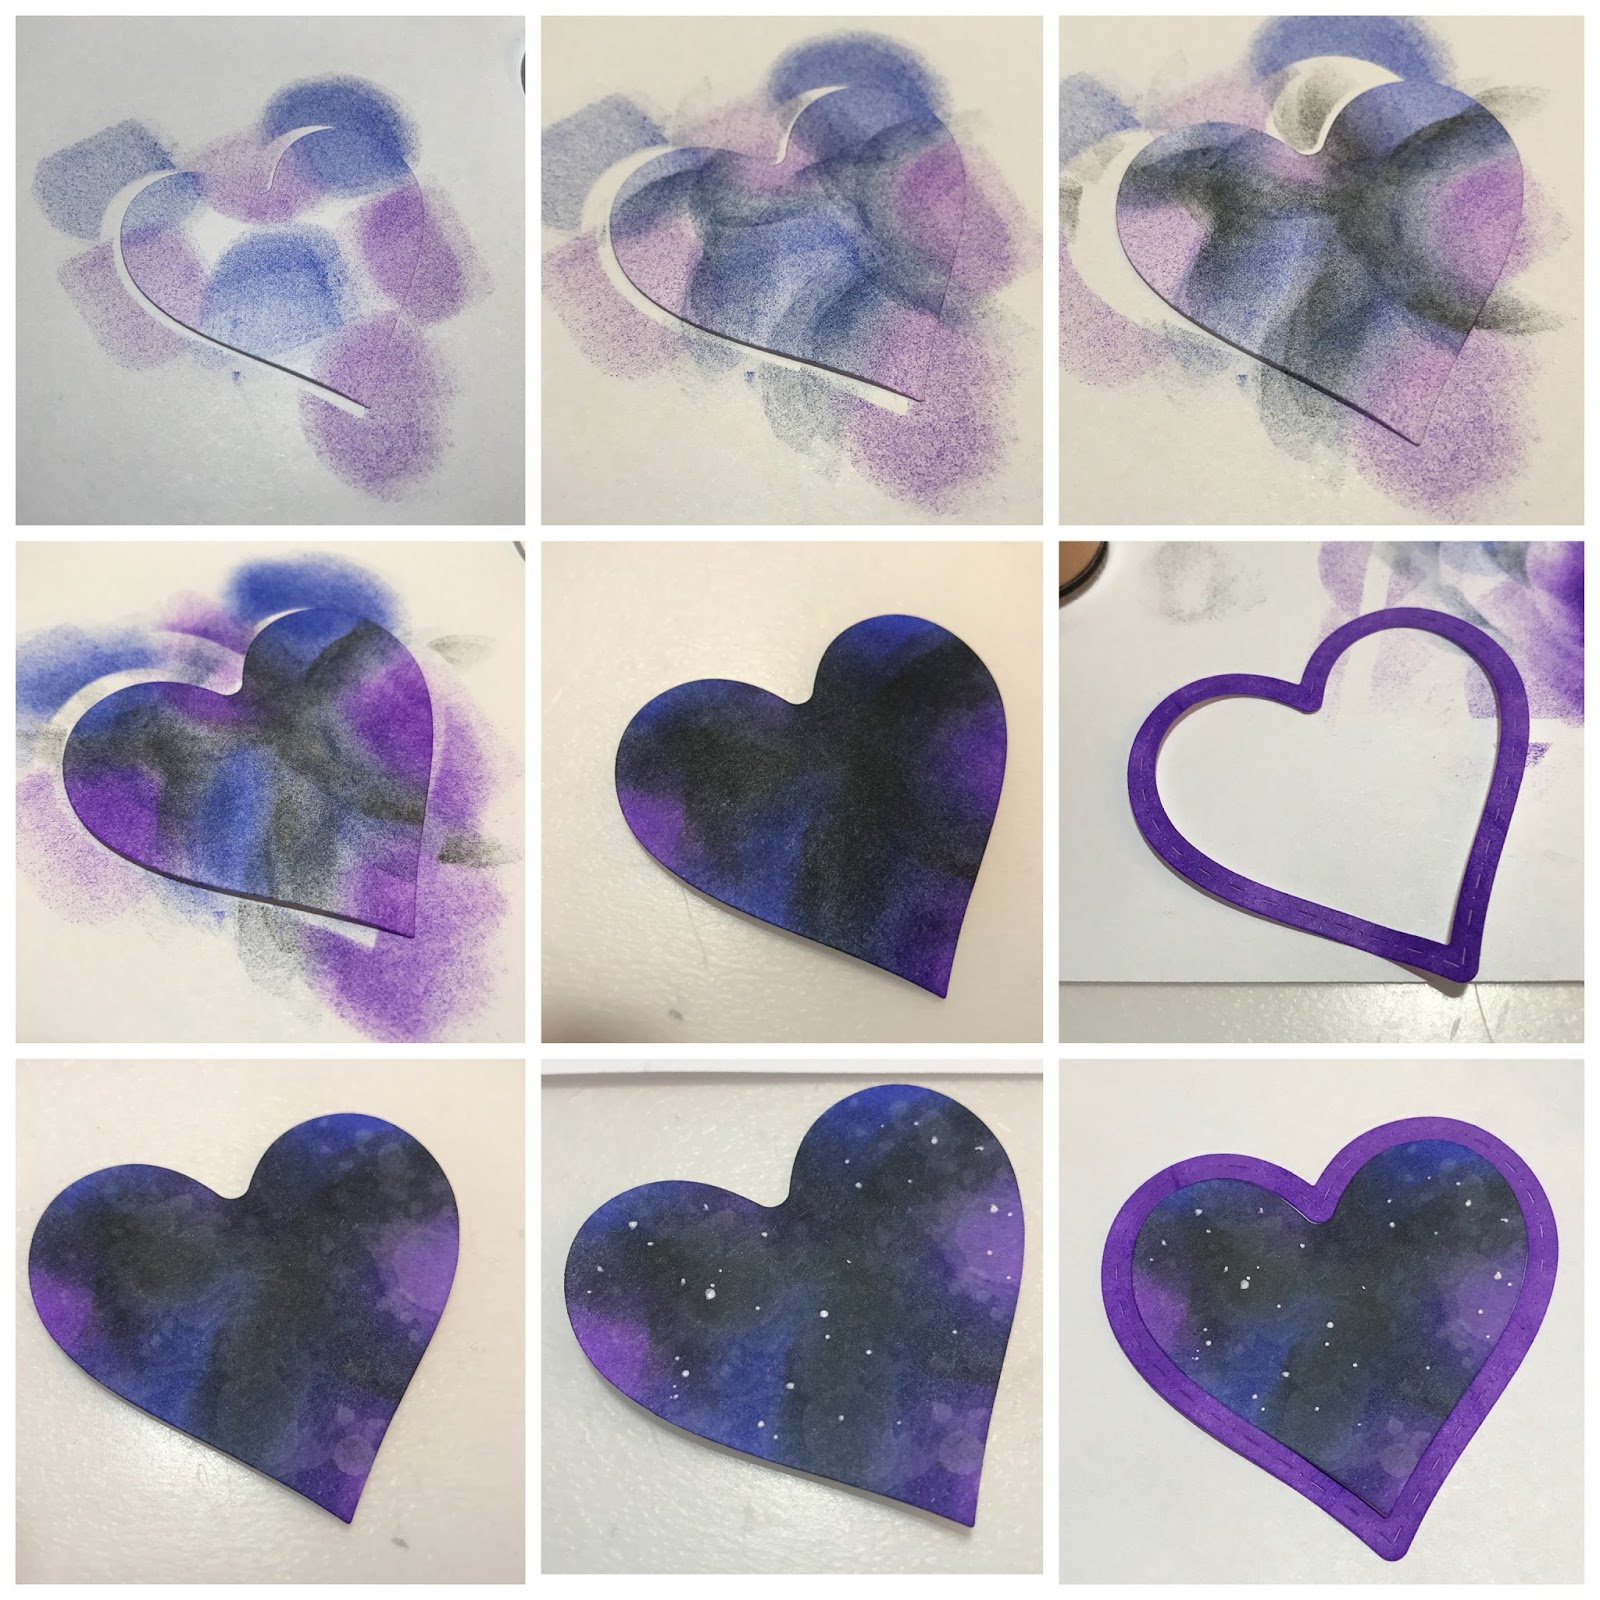
Using a foam blender I randomly dab blobs of blueprint sketch and wilted violet. Then I add Chipped Sapphire to any white spaces between the the Blueprint sketch and wilted Violet. Then I add black soot to the center of the where I used Chipped Sapphire for a gradient effect. I keep layering all the colors until I'm happy with the background.
Next I added droplets of water to react the distress inks and quickly dab away with a paper towel. If you're doing this directly on your planner pages I'd suggest you do this with a very light hand. It's totally safe to use dark colored distress inks on your planner pages, but if you use too much water then it can cause some of the ink to bleed through to the next page.
For the heart diecut, I used Wilted Violet for the frame and then used the same technique described earlier for the the galaxy sky. Lastly, I added some stars to the sky using a white gel pen. Below is a picture of the progression per step described above:
Once all my galaxy backgrounds were done, I put all the images onto my planner page and Voila! A super fun, Troll-y, out-of-this-world, Space planner layout!

Absolutely delightful!
Reply