
Hello friends! This is Nancy from the Design Team with a Christmas Angel tag project. As you may be aware, it is "snow week" on the CDD blog. I hope you have enjoyed the projects so far, I know I have learned some new techniques!
Now, I am from the southern US. We don't see a lot of snow except in the movies or on tv. However, last week Georgia was hit with what one the weathermen called, "the most significant snow event he has ever seen (in Georgia)." Parts of northern Georgia and Atlanta received up to 10" of snow!! I live in a suburb South of Atlanta, and our snow was much less exciting.

SO my snow technique looks a bit more like the snow in my neighborhood. There was a bunch falling from the sky, but little to none on the ground. ;)

I decided that I wanted to use tags for my project, so you could use them as gift tags or place them in your planner, art journal, use as ornaments, etc. Using a tag that I purchased as a template, I cut a sheet of white card stock and a sheet of kraft cardstock to size (2 5/8" X 5 1/4"). I covered all of the tags in a thin layer of clear gesso to help with ink blending and splatter.
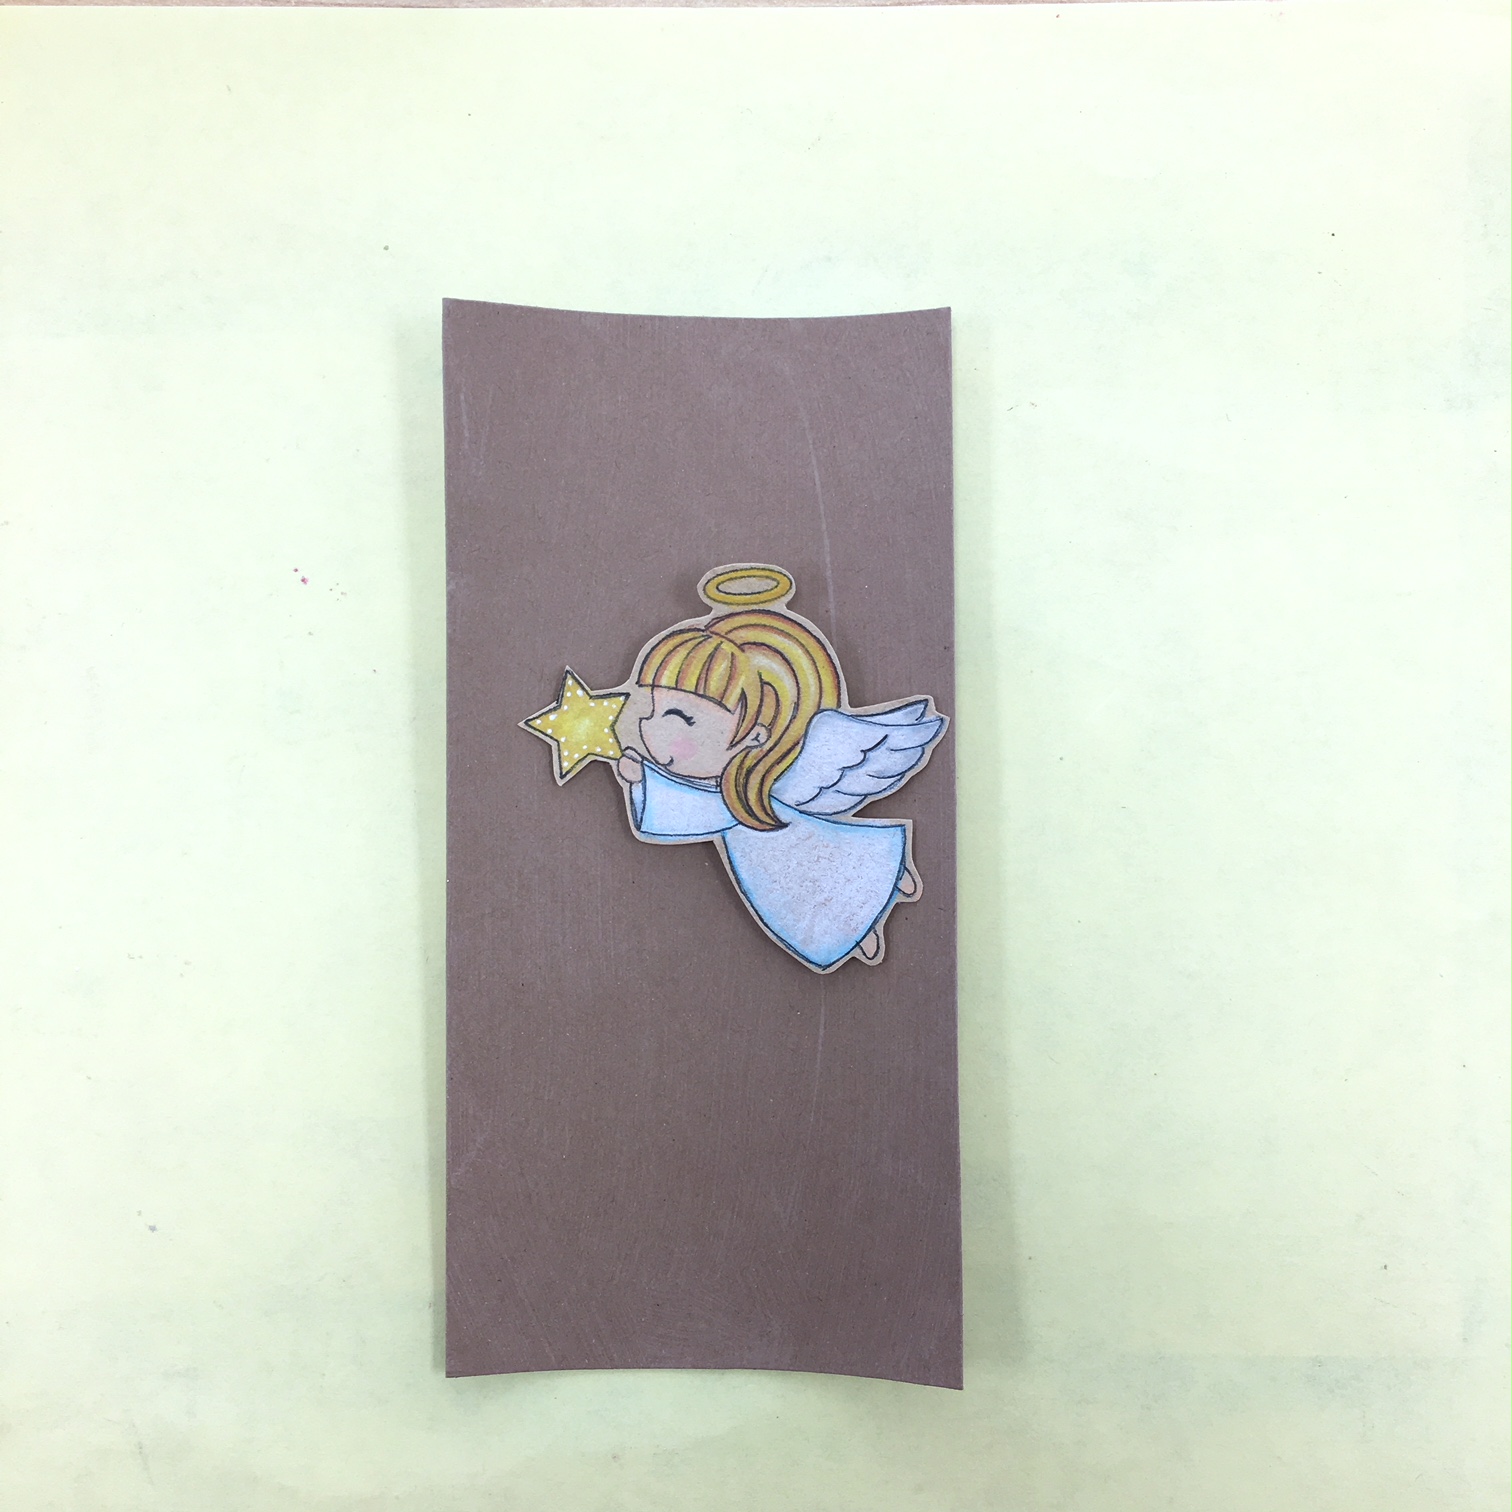
This little angel holding a star was the inspiration for the entire project. She is from the Angel Kisses set. I colored her on kraft sticker paper with Prismacolor pencils. She is one of the many images I used for this project that I colored weeks ago. Often when we are getting ready for CDD releases, I color a TON of images because I'm not yet sure exactly what I am going to do with them.

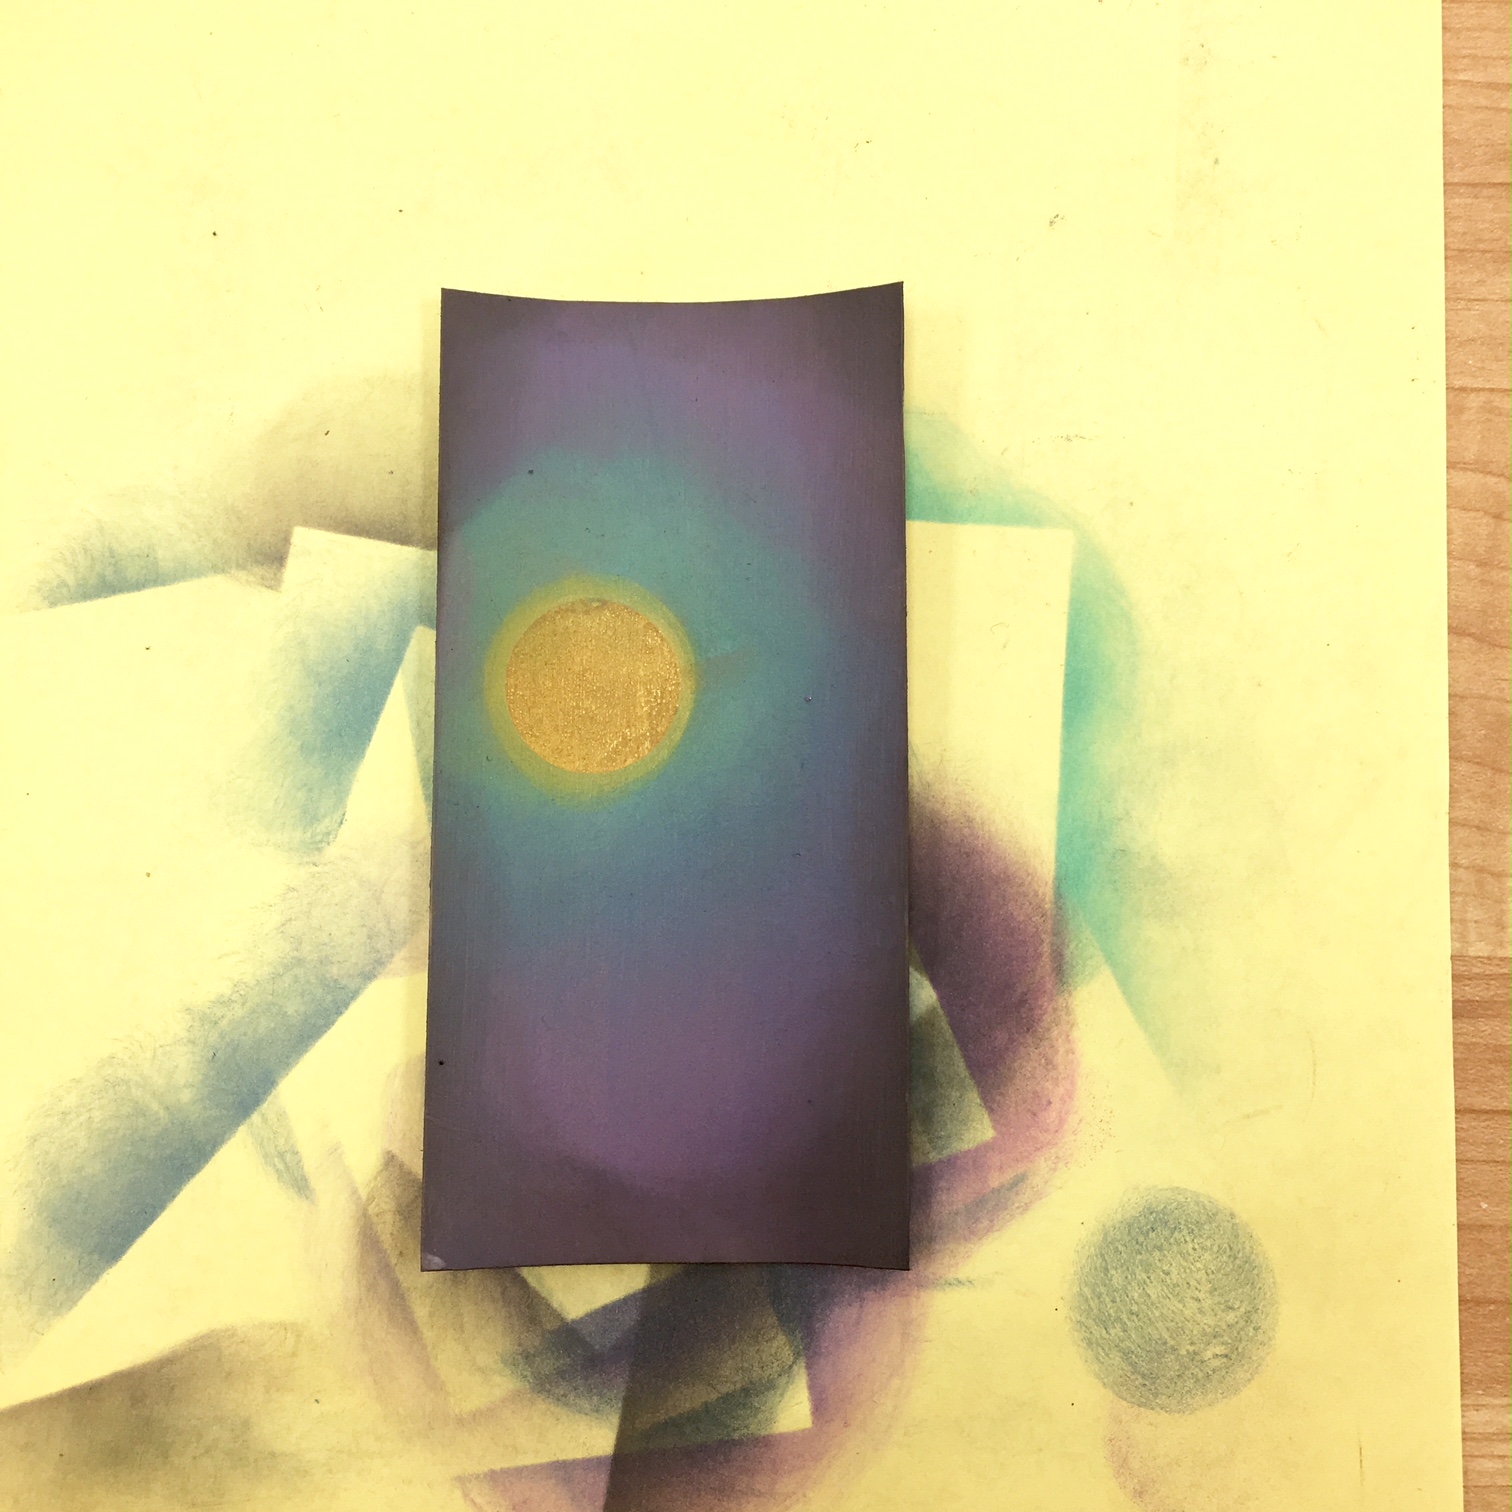
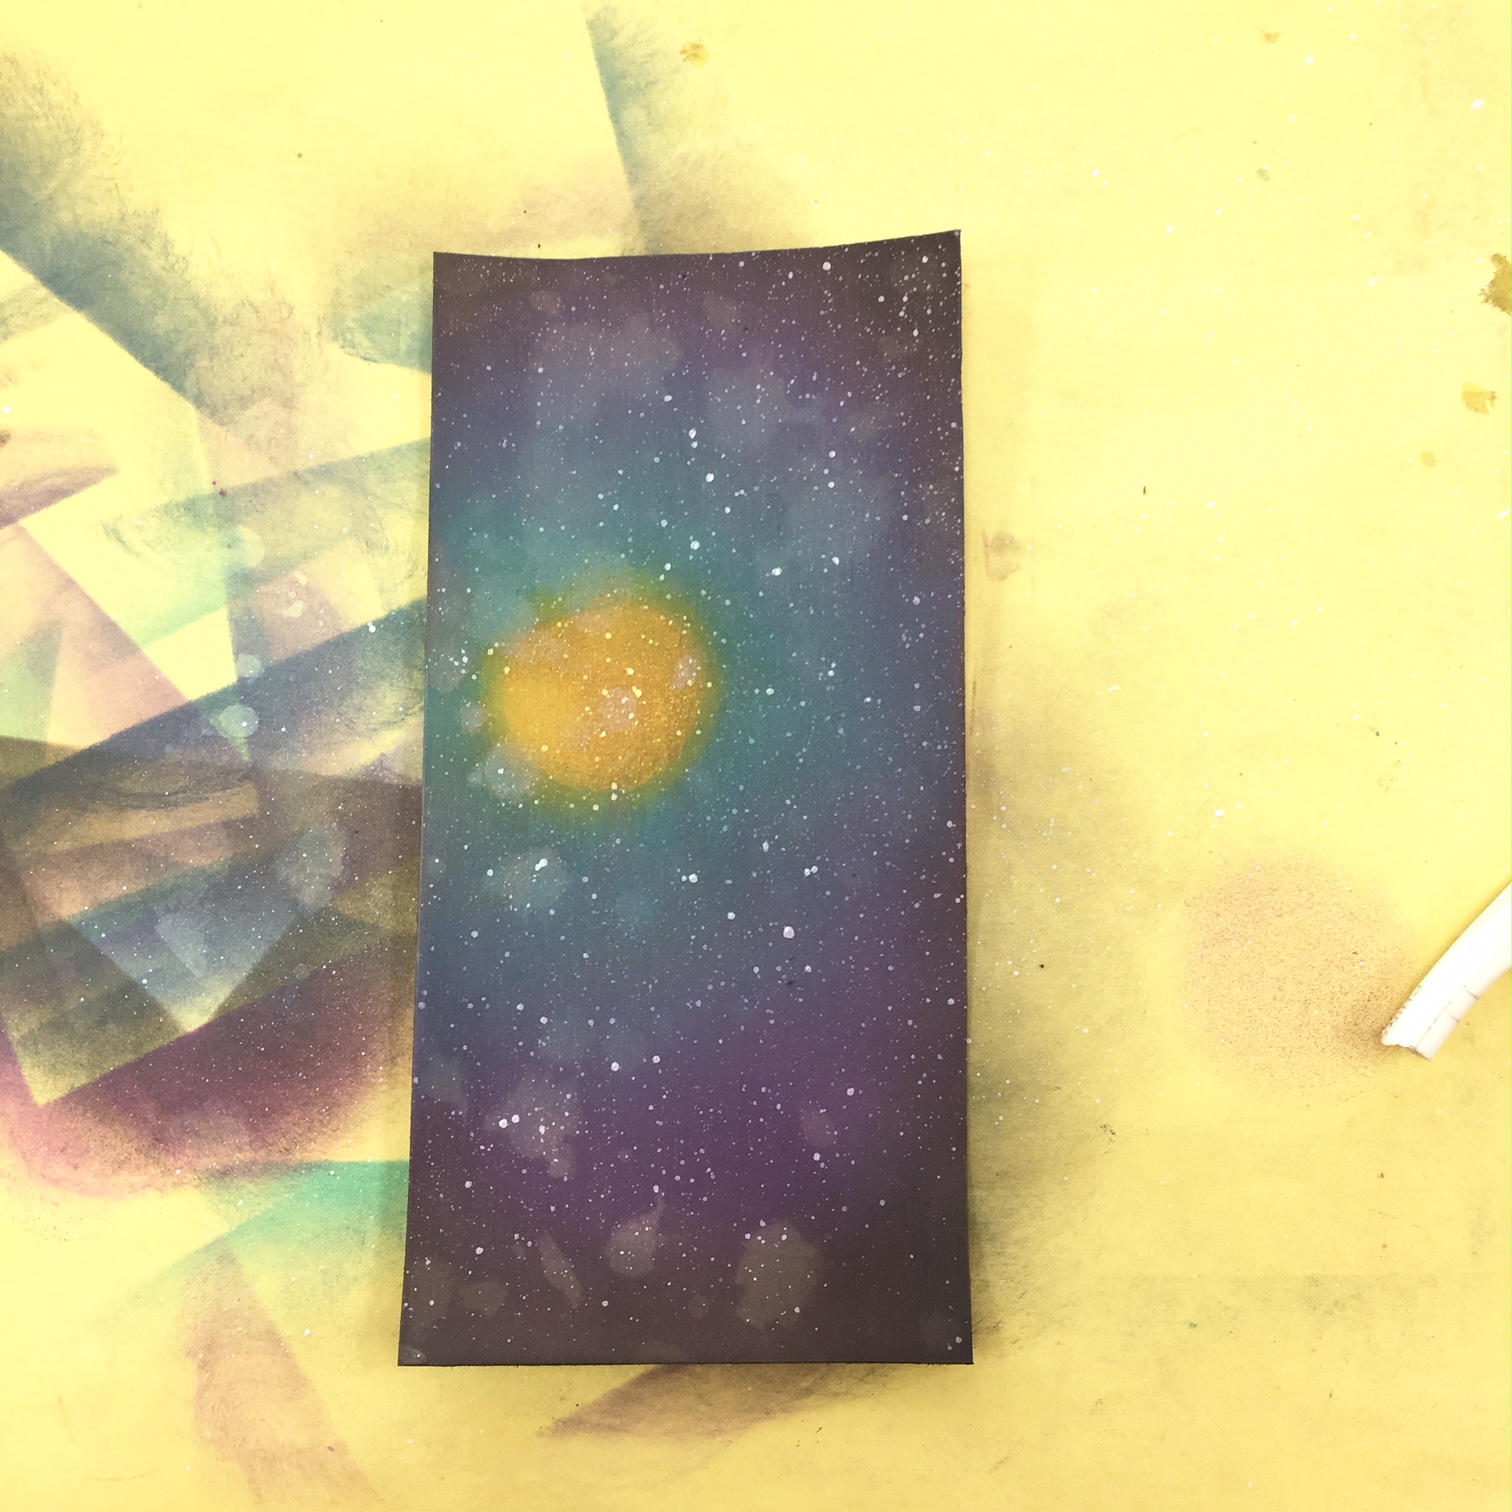
Since she is holding the star, I wanted my background to have a little star glow. I did this by applying Fossilized Amber Distress Oxide ink to a foam blender and then placing the blender on the tag and rotating it in a circular motion.
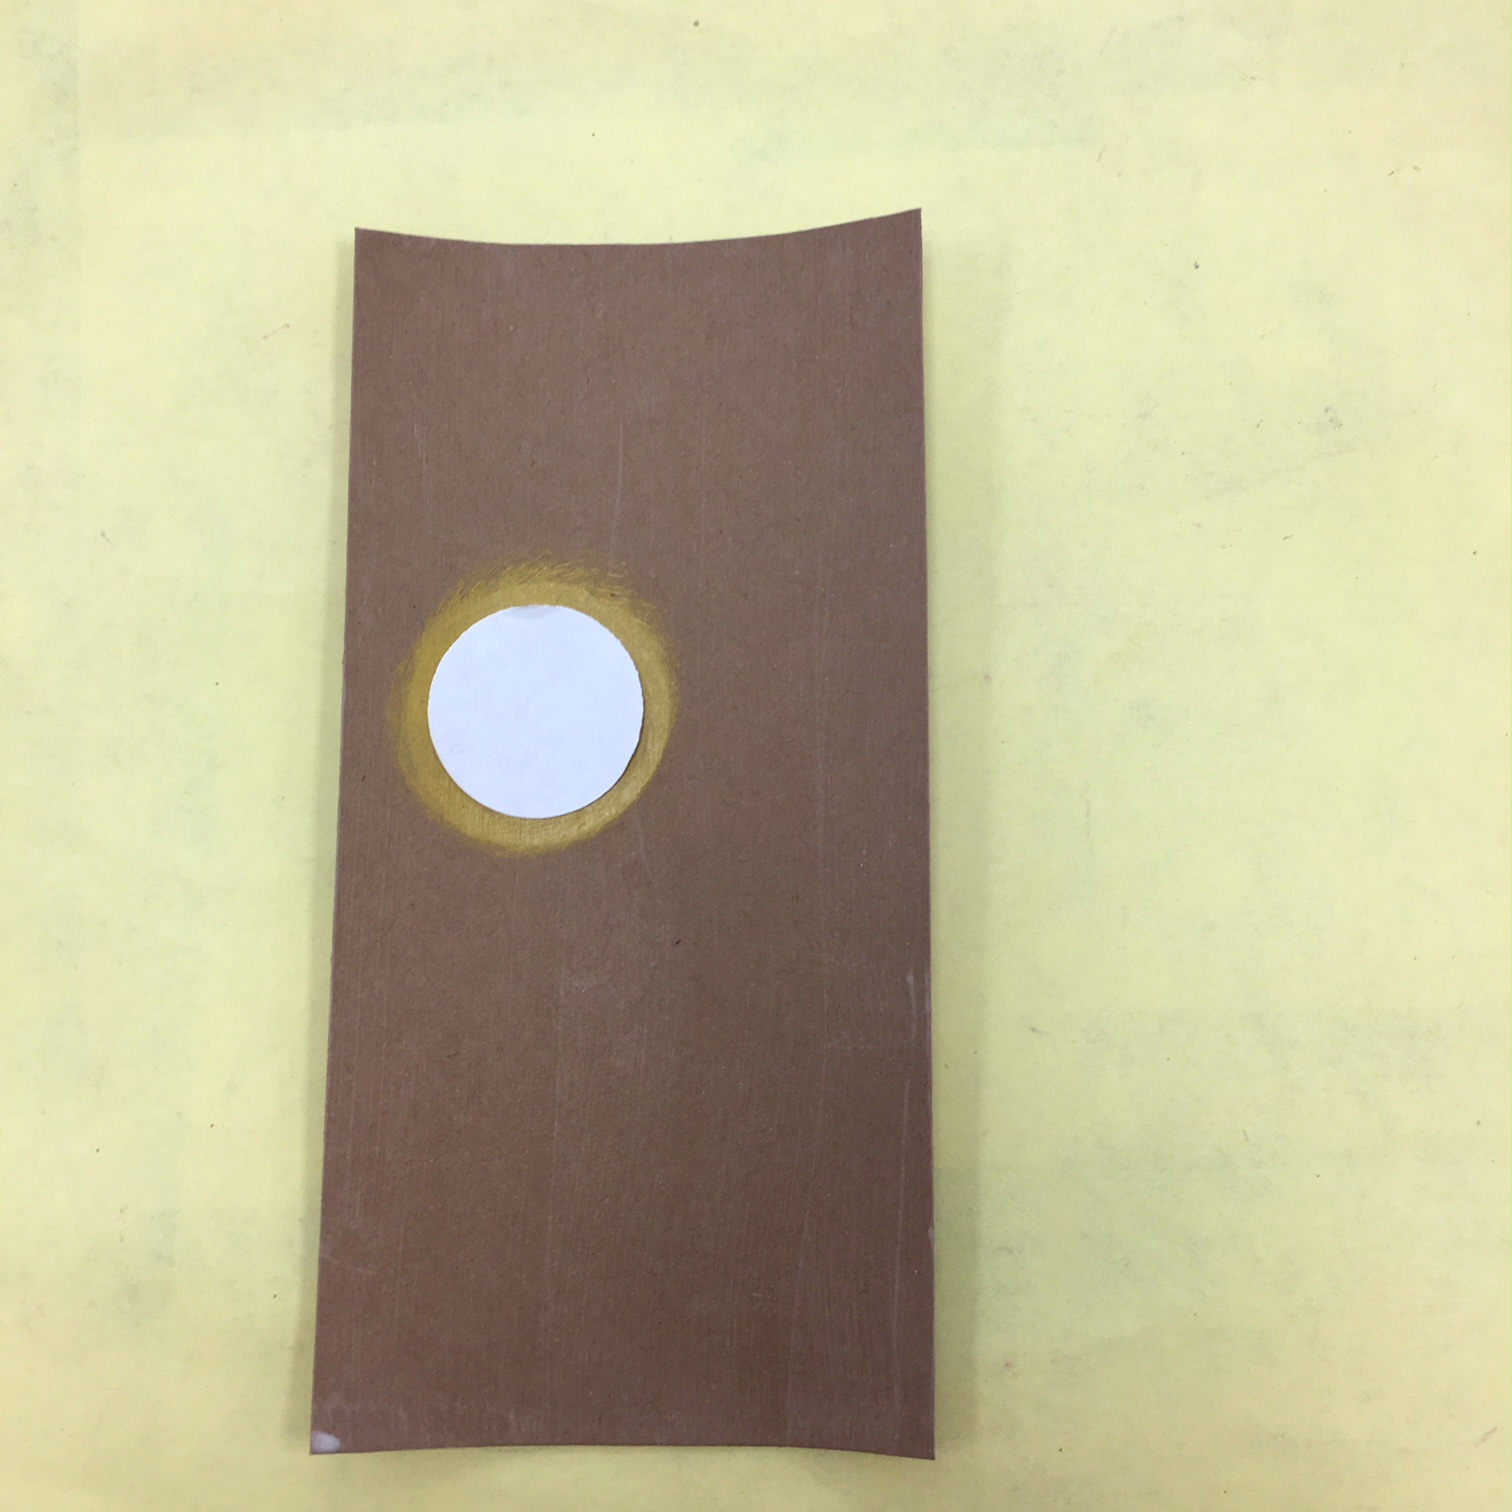
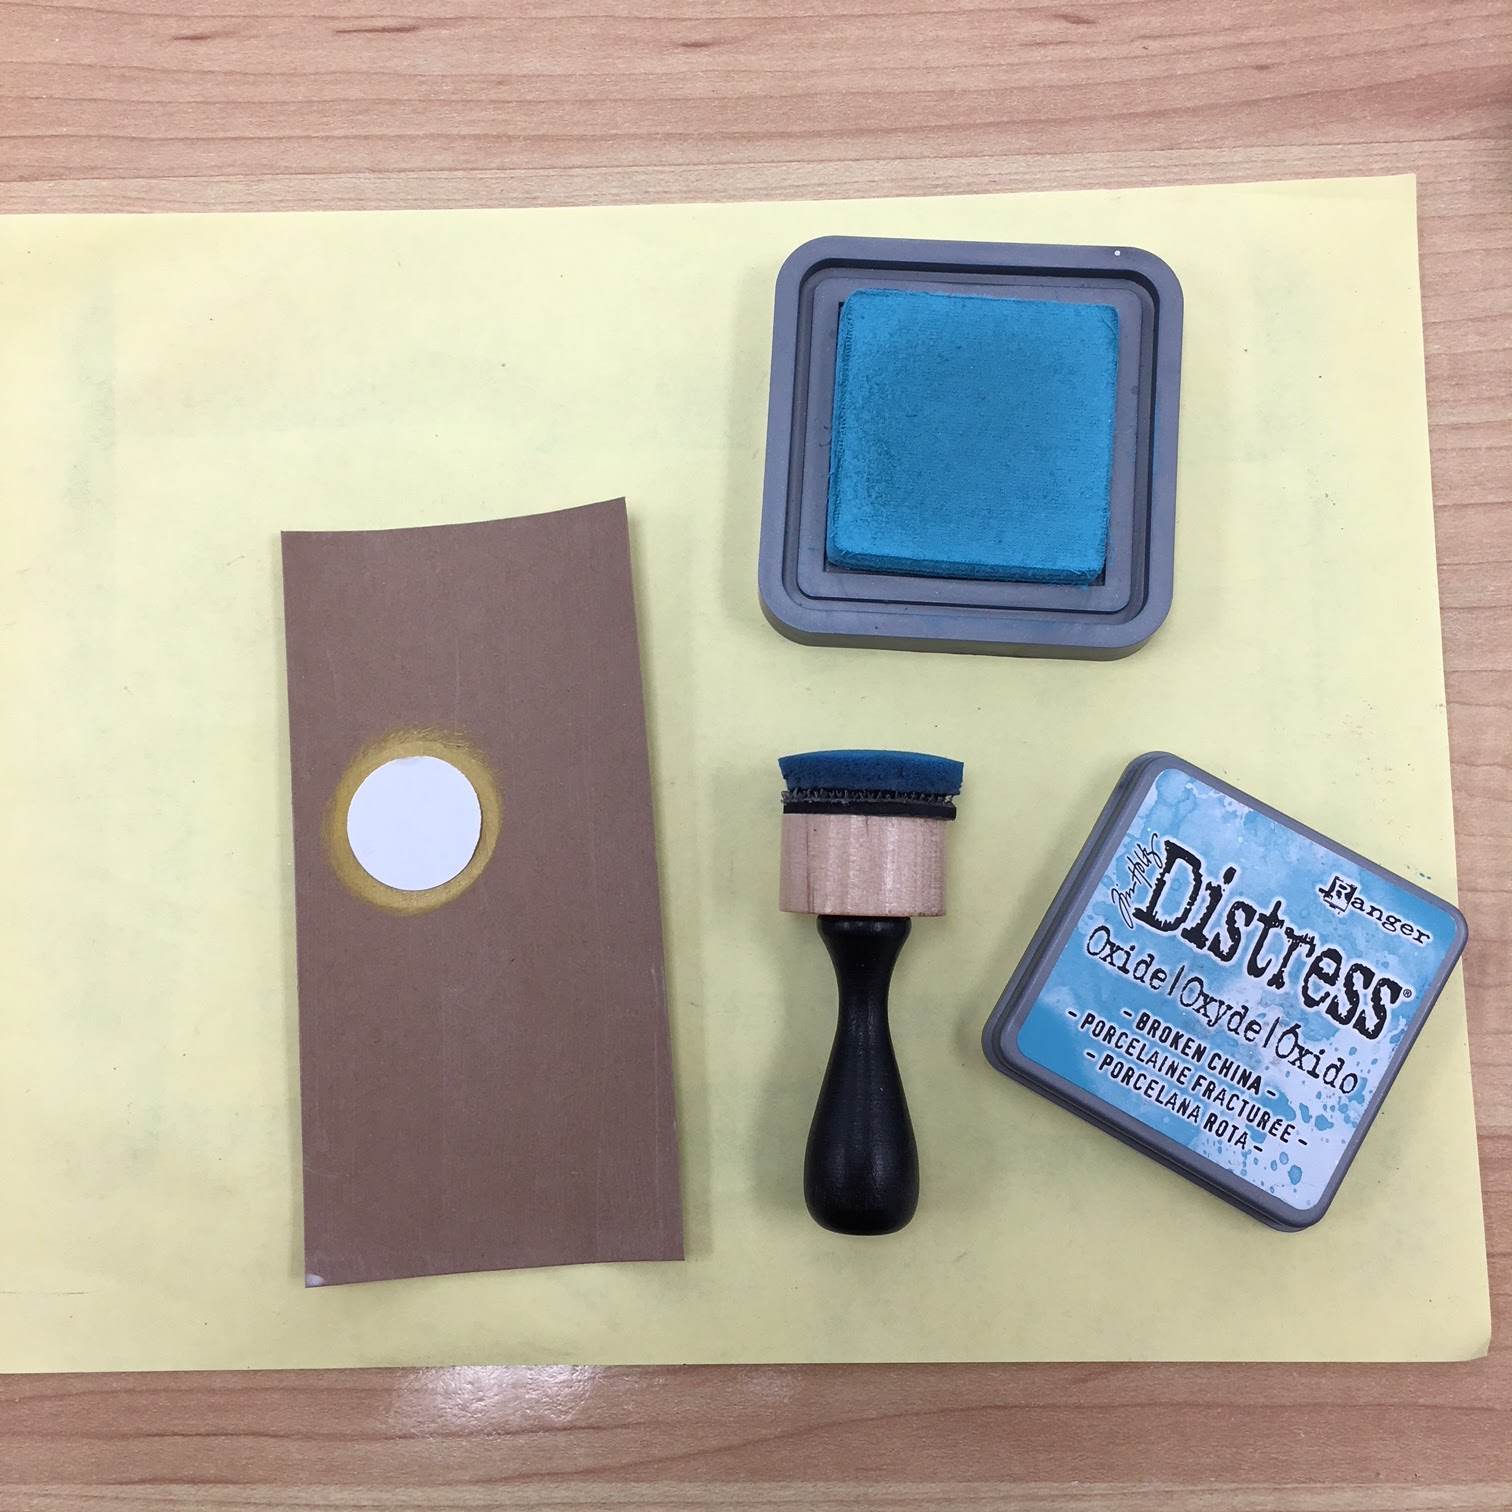
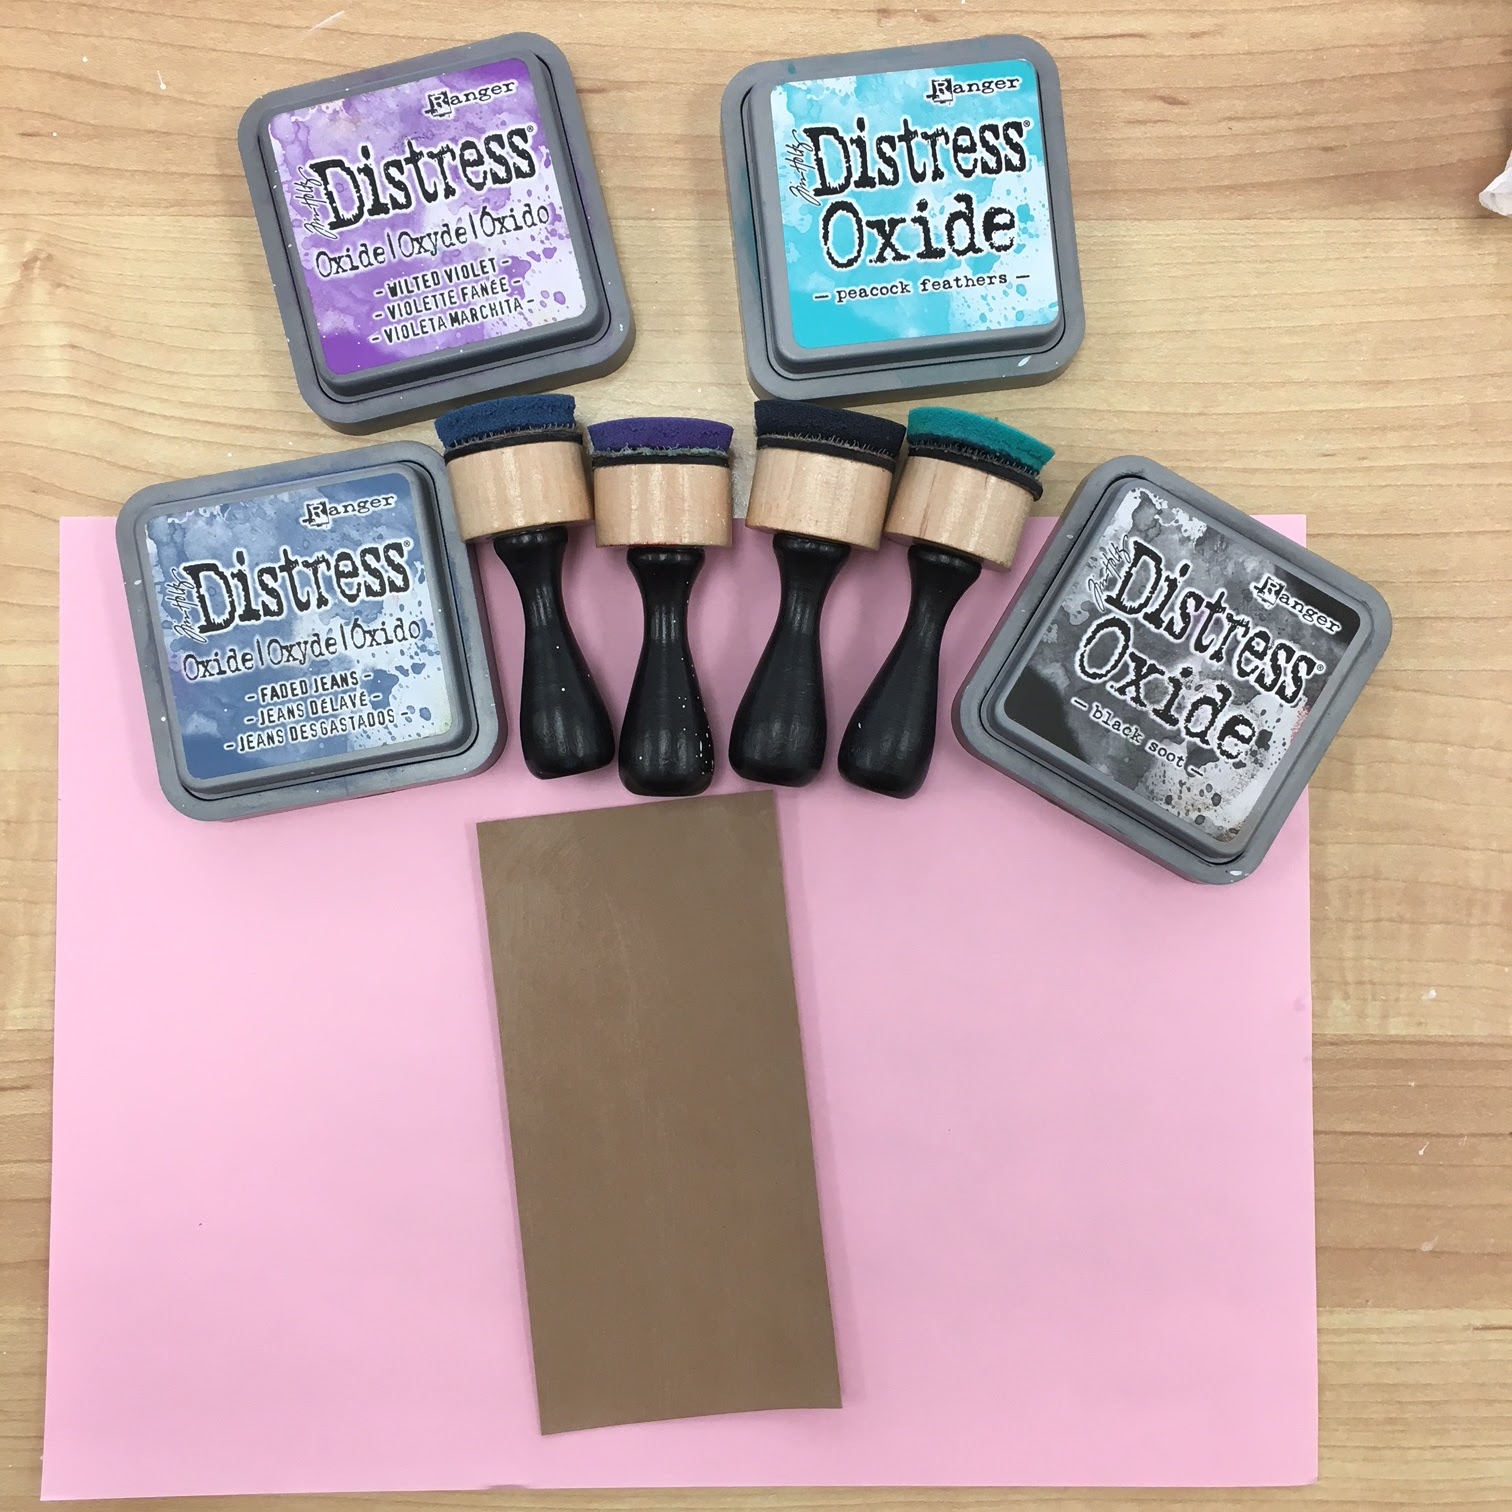
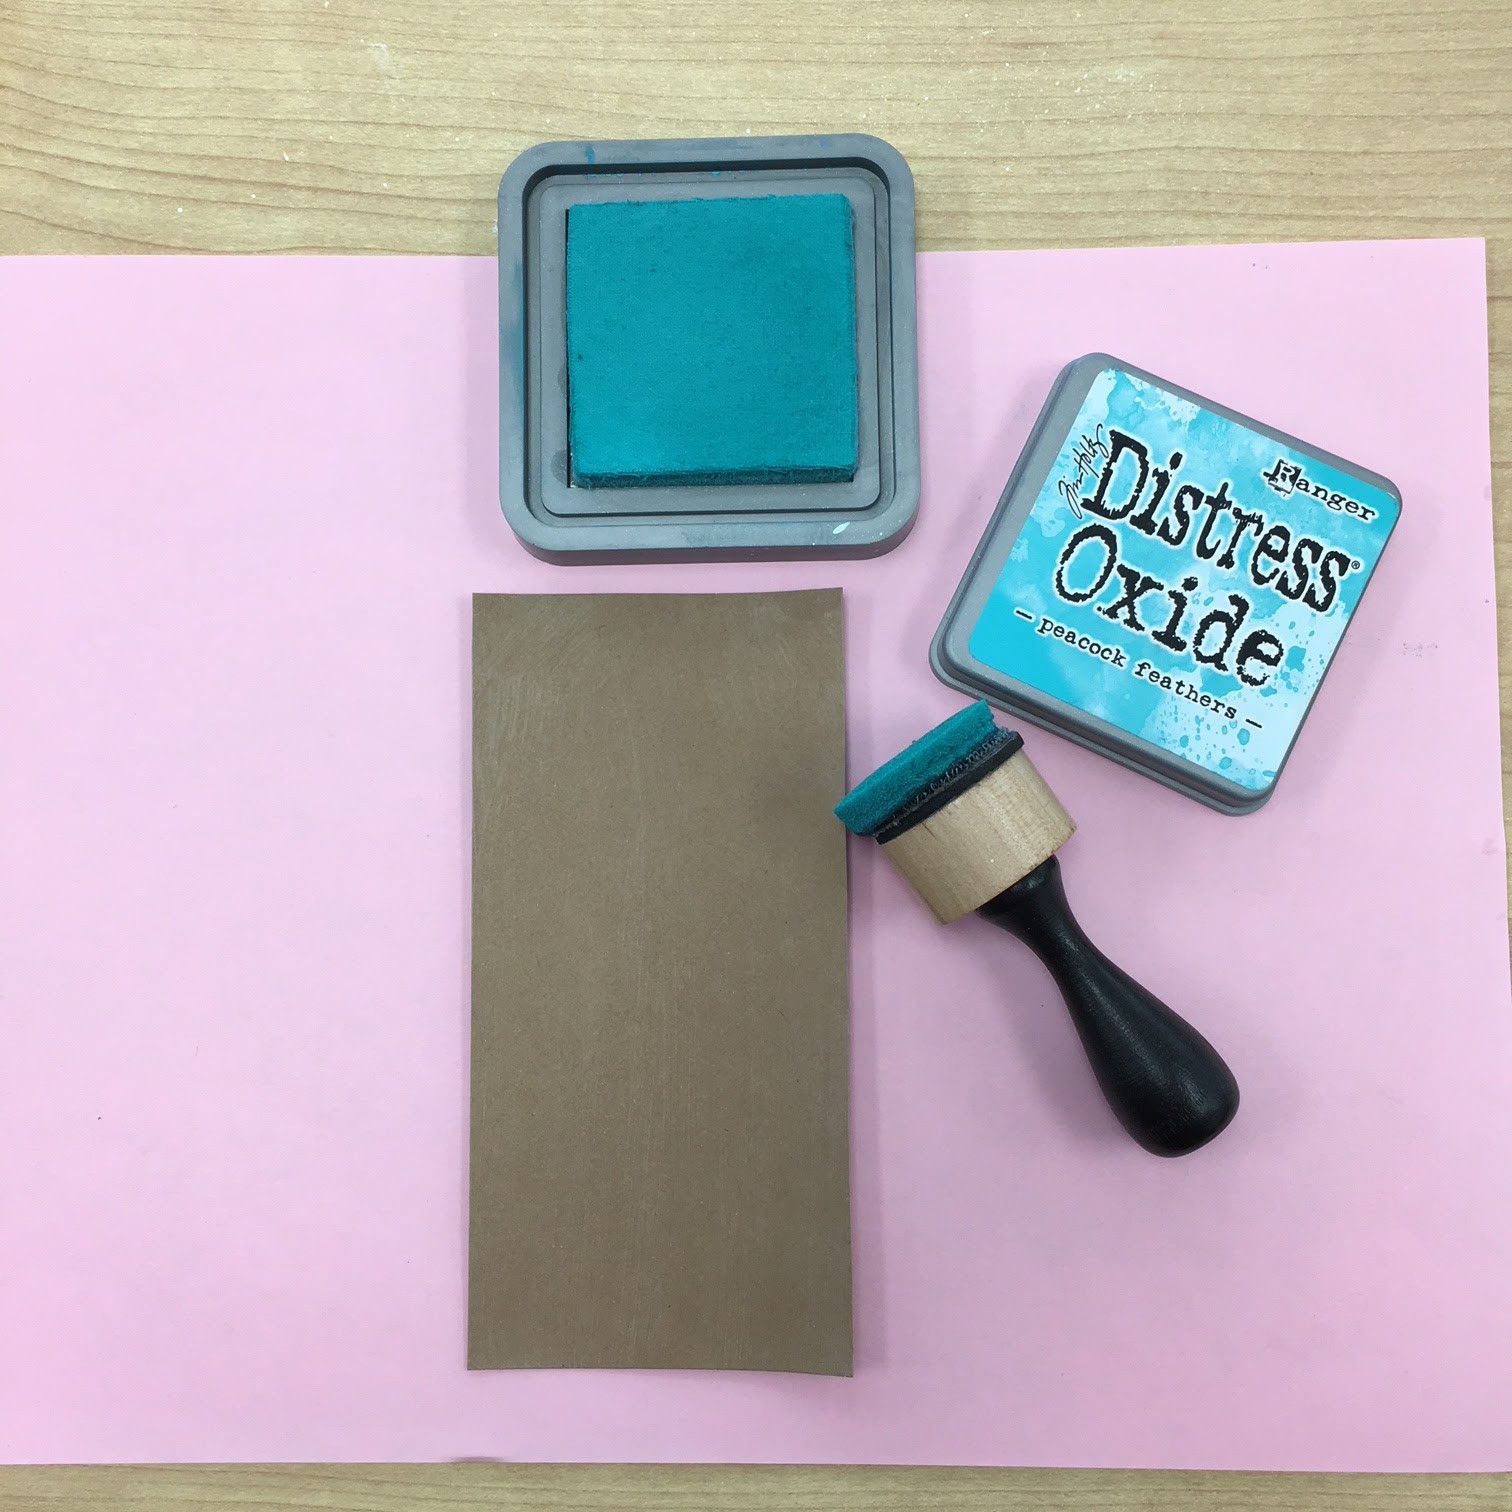
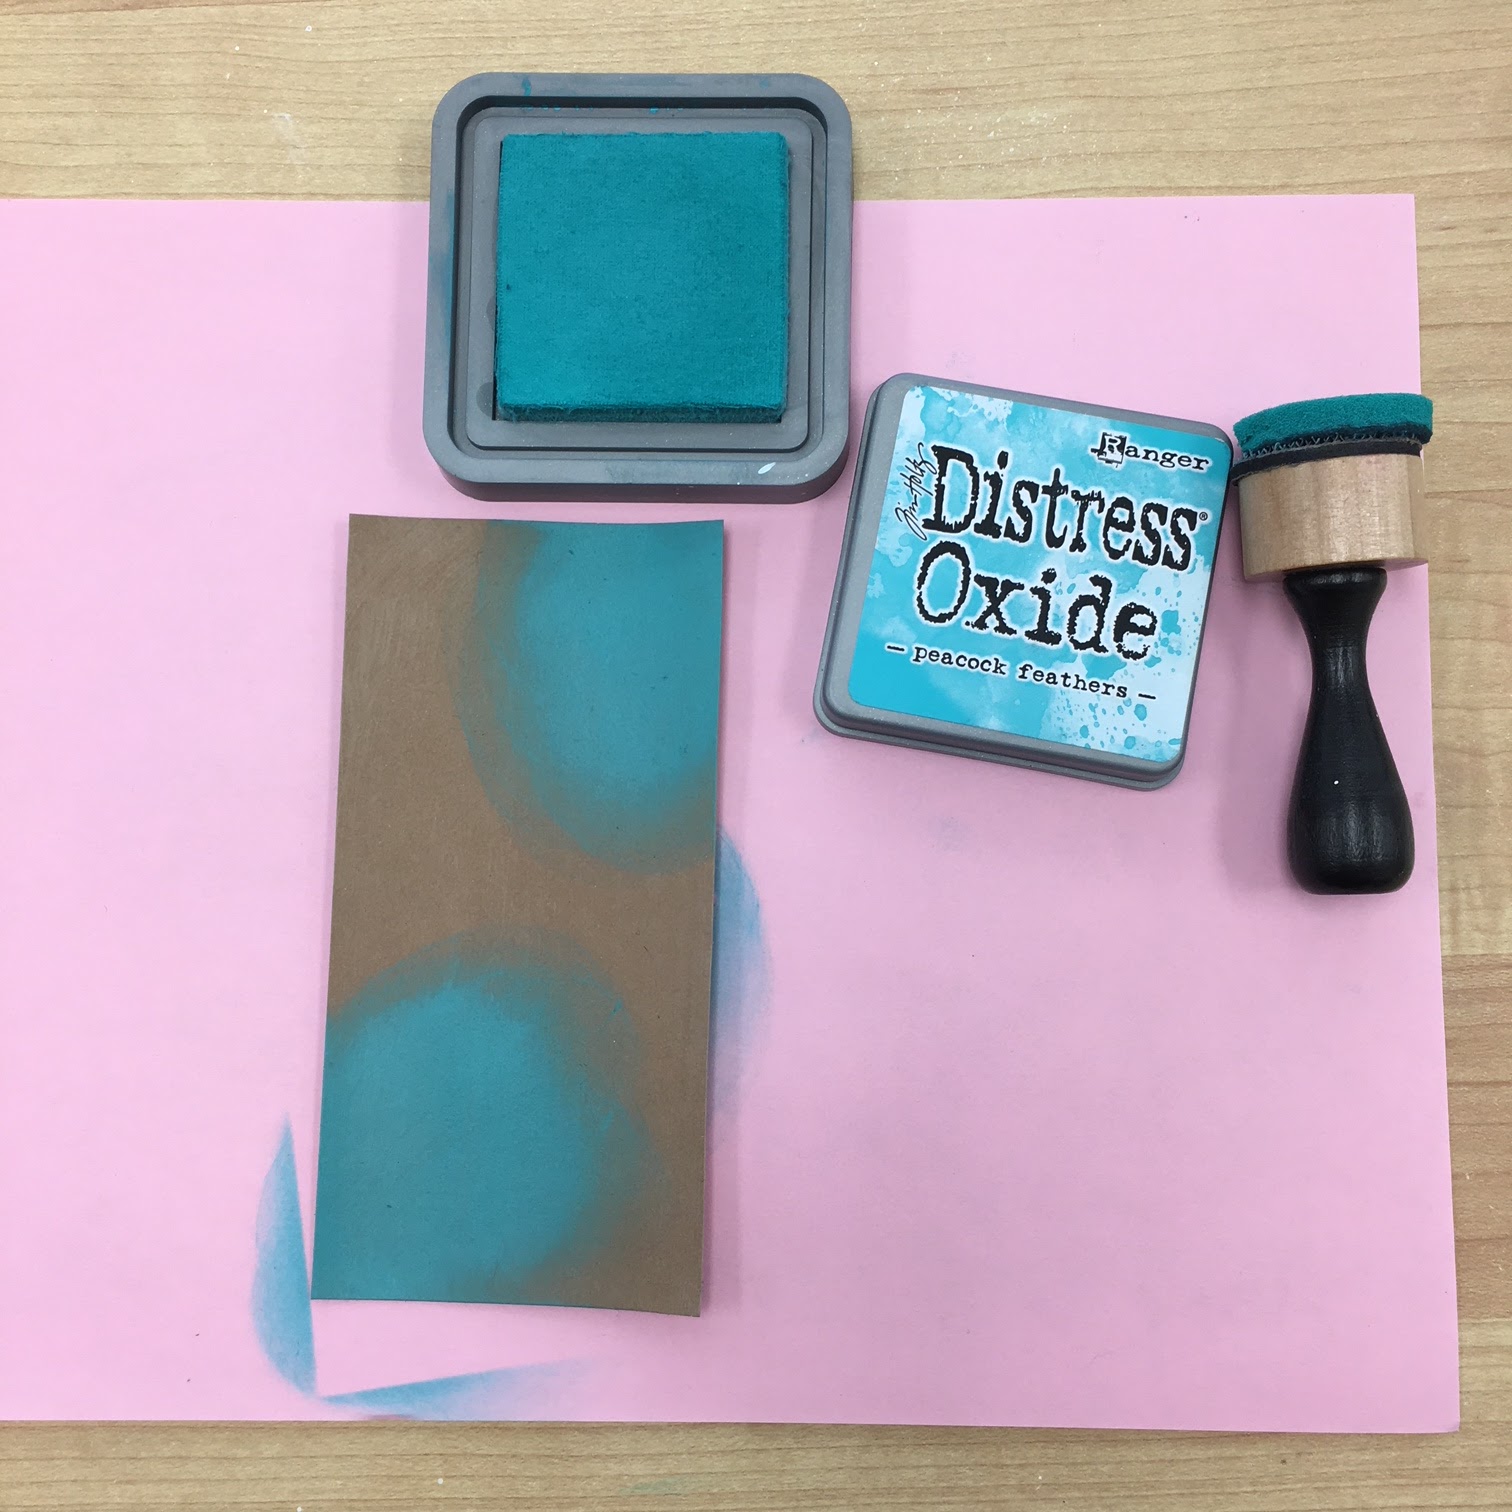
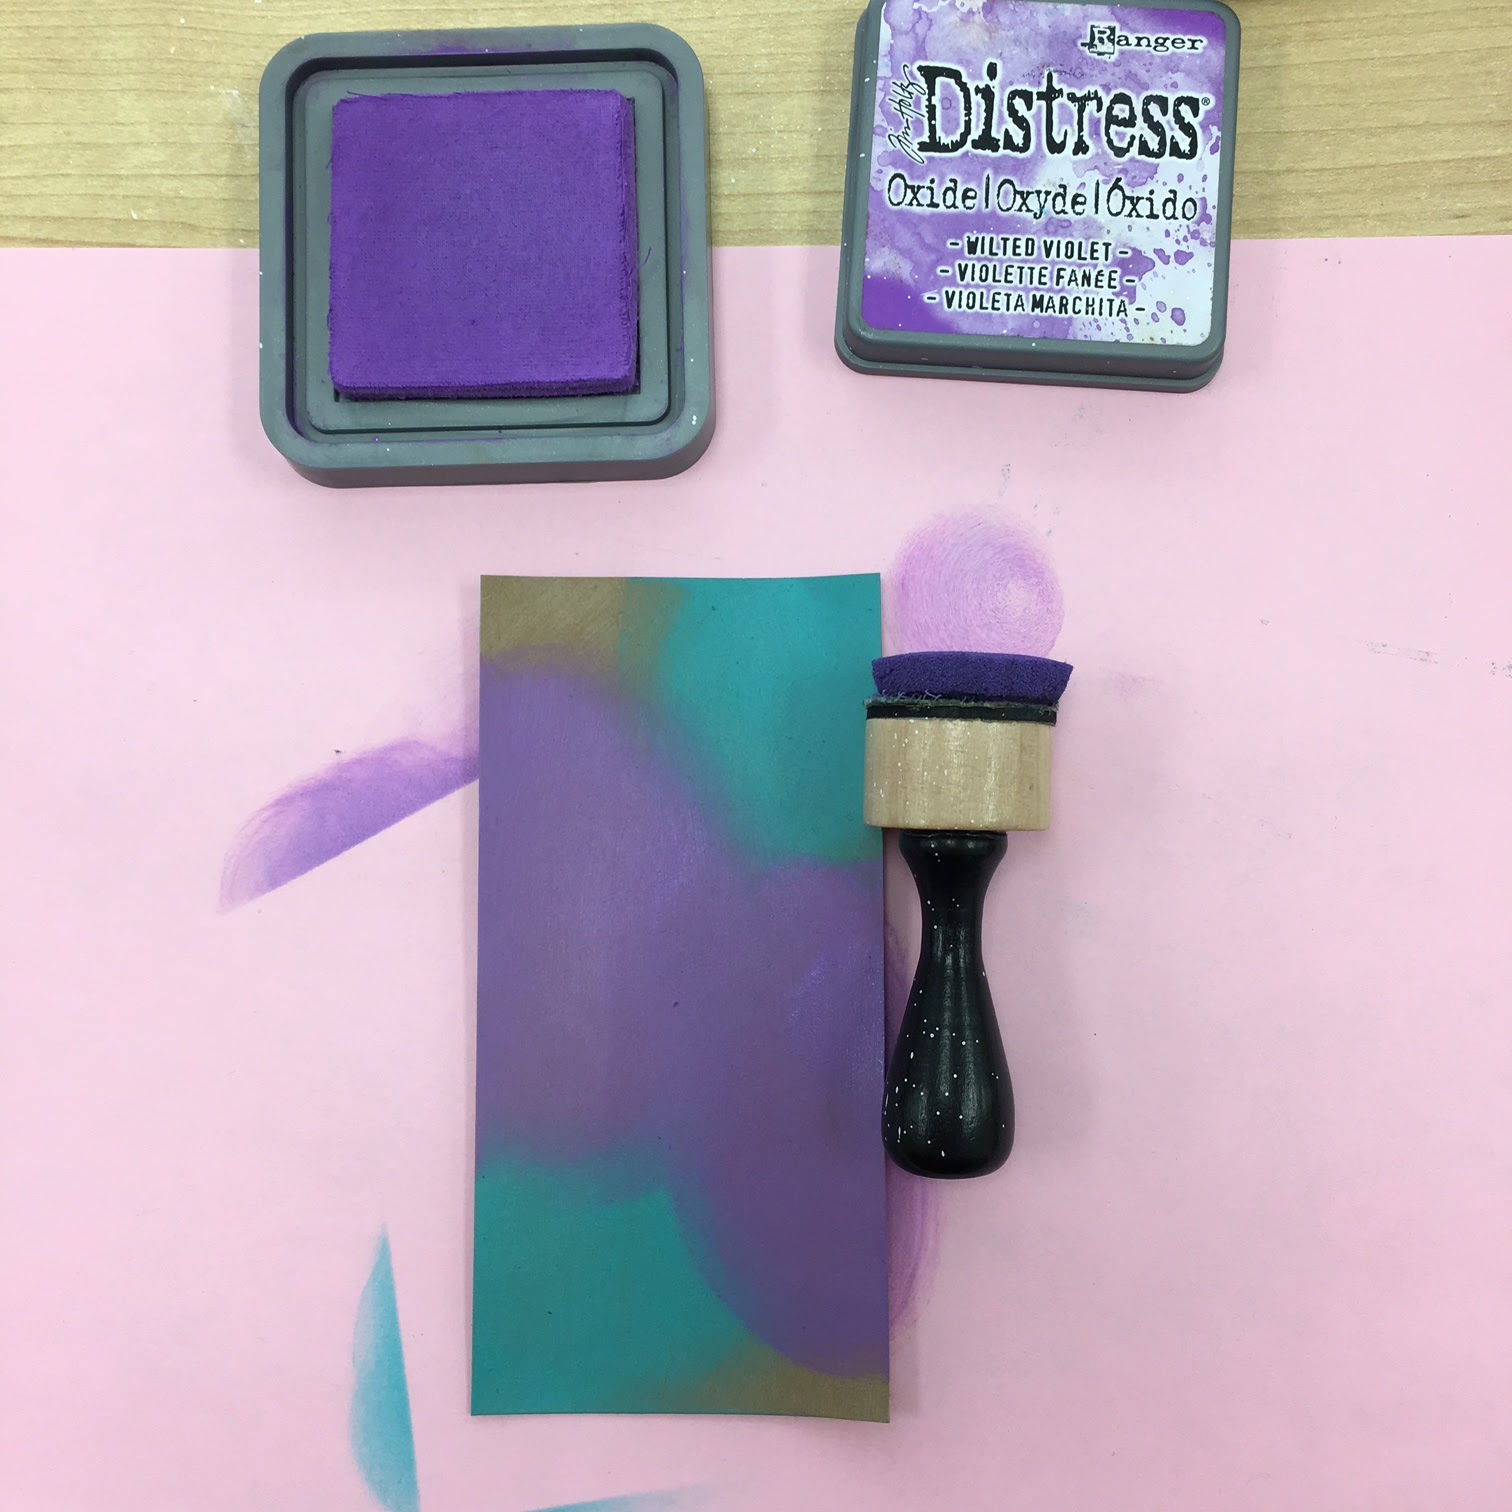
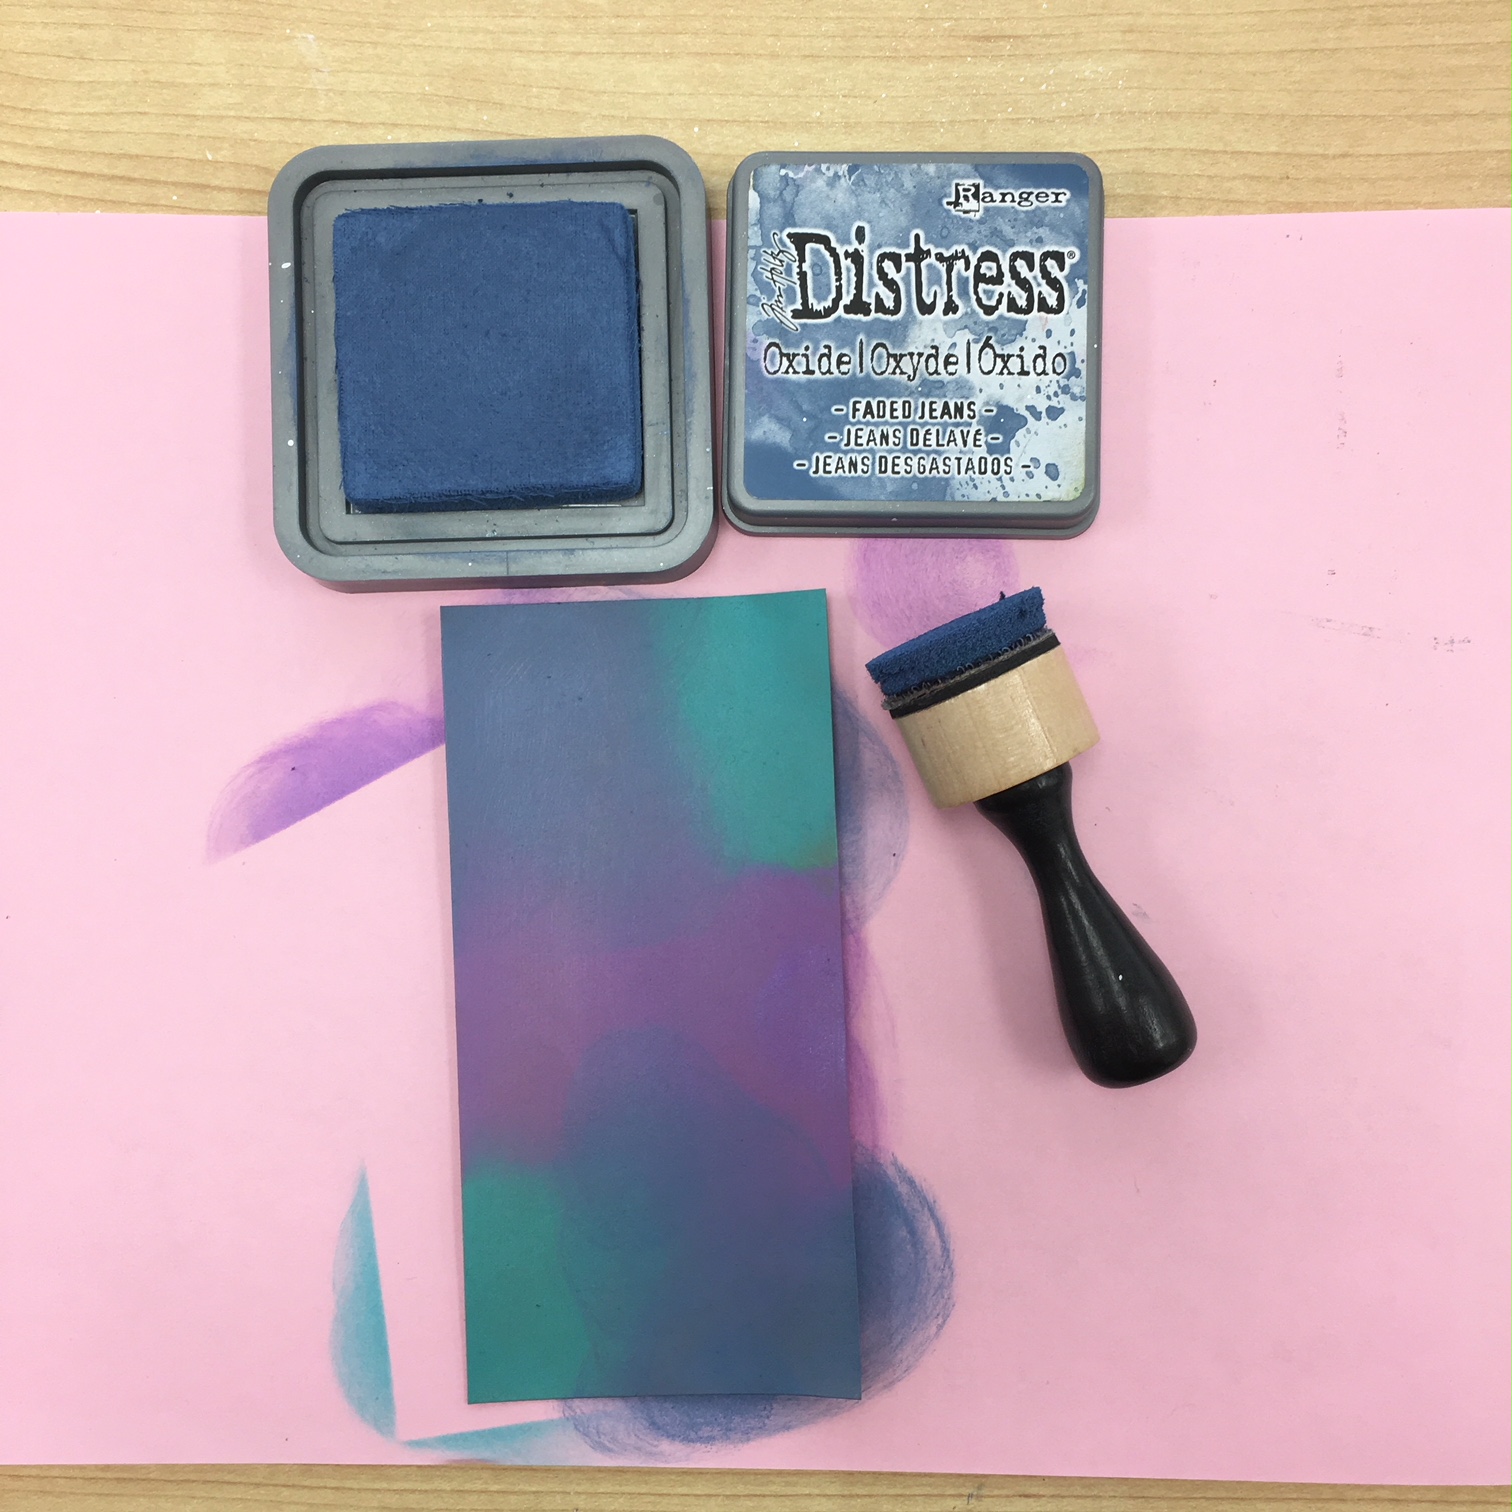
To protect the circle from some of the other ink colors, I covered it with a piece of sticker paper that I punched using a 1" circle punch. I did not heat set the ink before covering ink with the sticker paper, which helped it not stick too tightly to the tag. The using Broken China, Faded Jeans, Wilted Violet, and Black Soot Distress Oxide Inks I applied ink in a circular motion on the rest of the tag. I applied ink until I was happy with the overall color and blend.


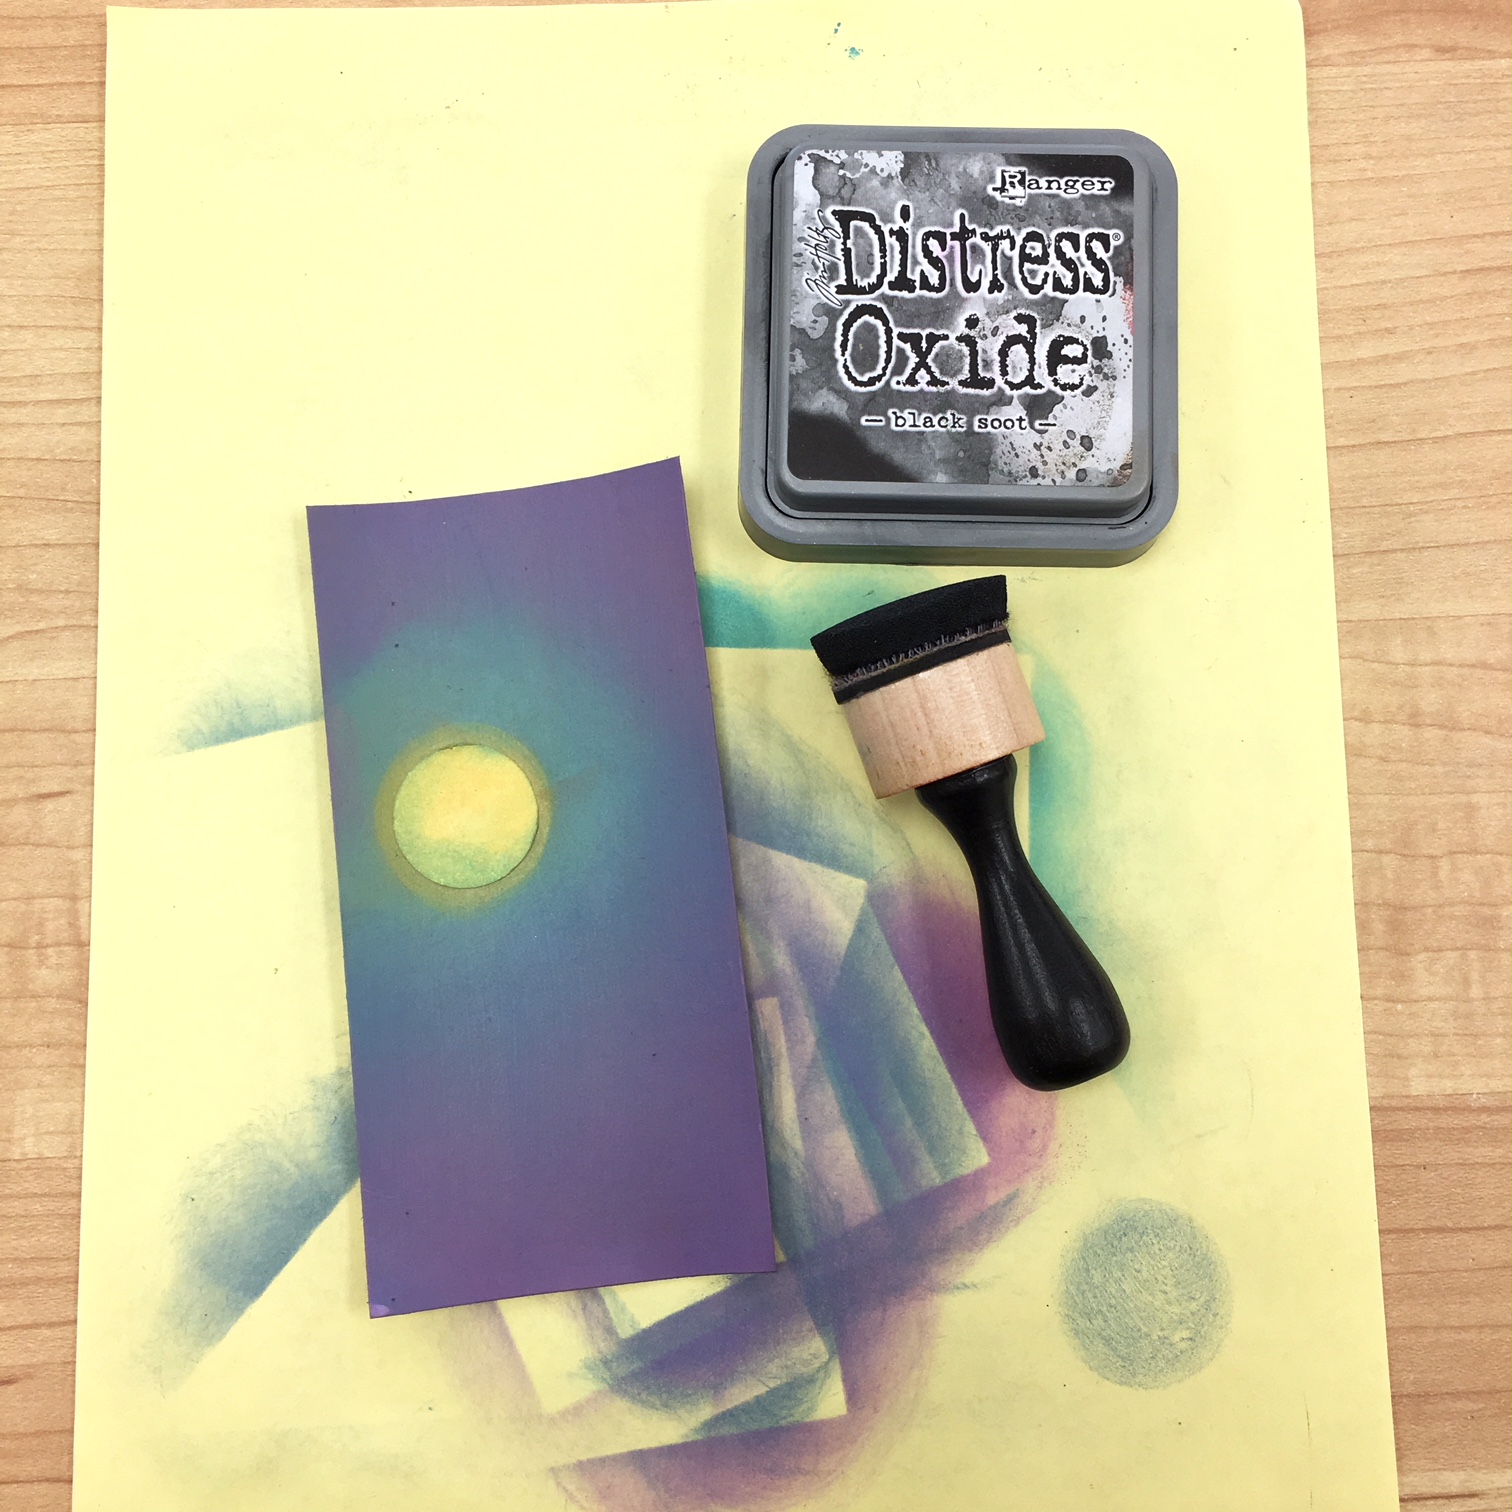
When I was finished blending the inks, I removed the circle mask from the center of the tag. As you can see, because the ink was not dry when I applied the mask, the ink left behind has a slight texture. I thought this was a cool effect, even though I hadn't planned for it and left it as is. If you don't like the texture, you can always go back over the circle with the Fossilized Amber ink and blend out the texture.
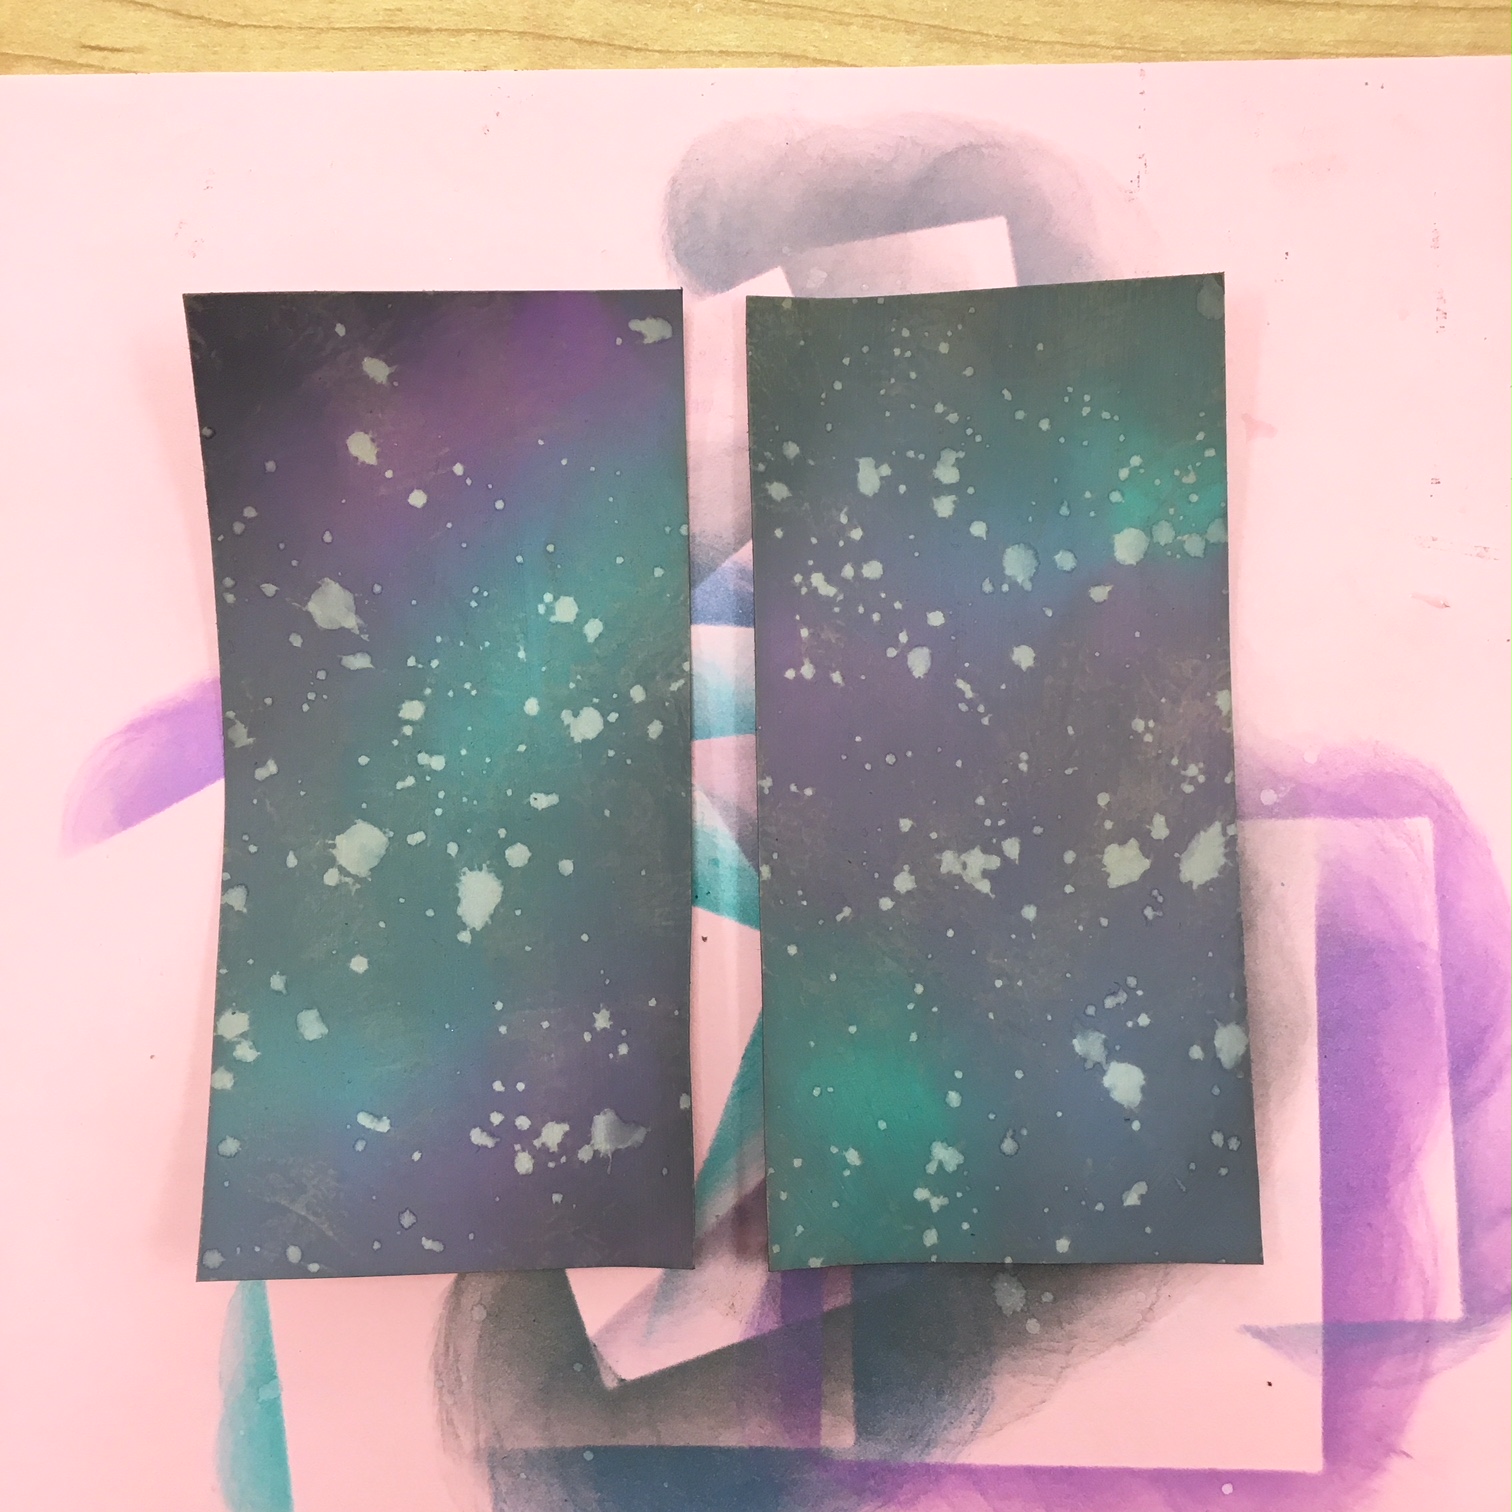
Next is always my favorite part. I love throwing water at Distress Ink backgrounds. I like not knowing exactly how it is going to turn out. I naturally like control and order, so this is a great technique to get me to "let go".
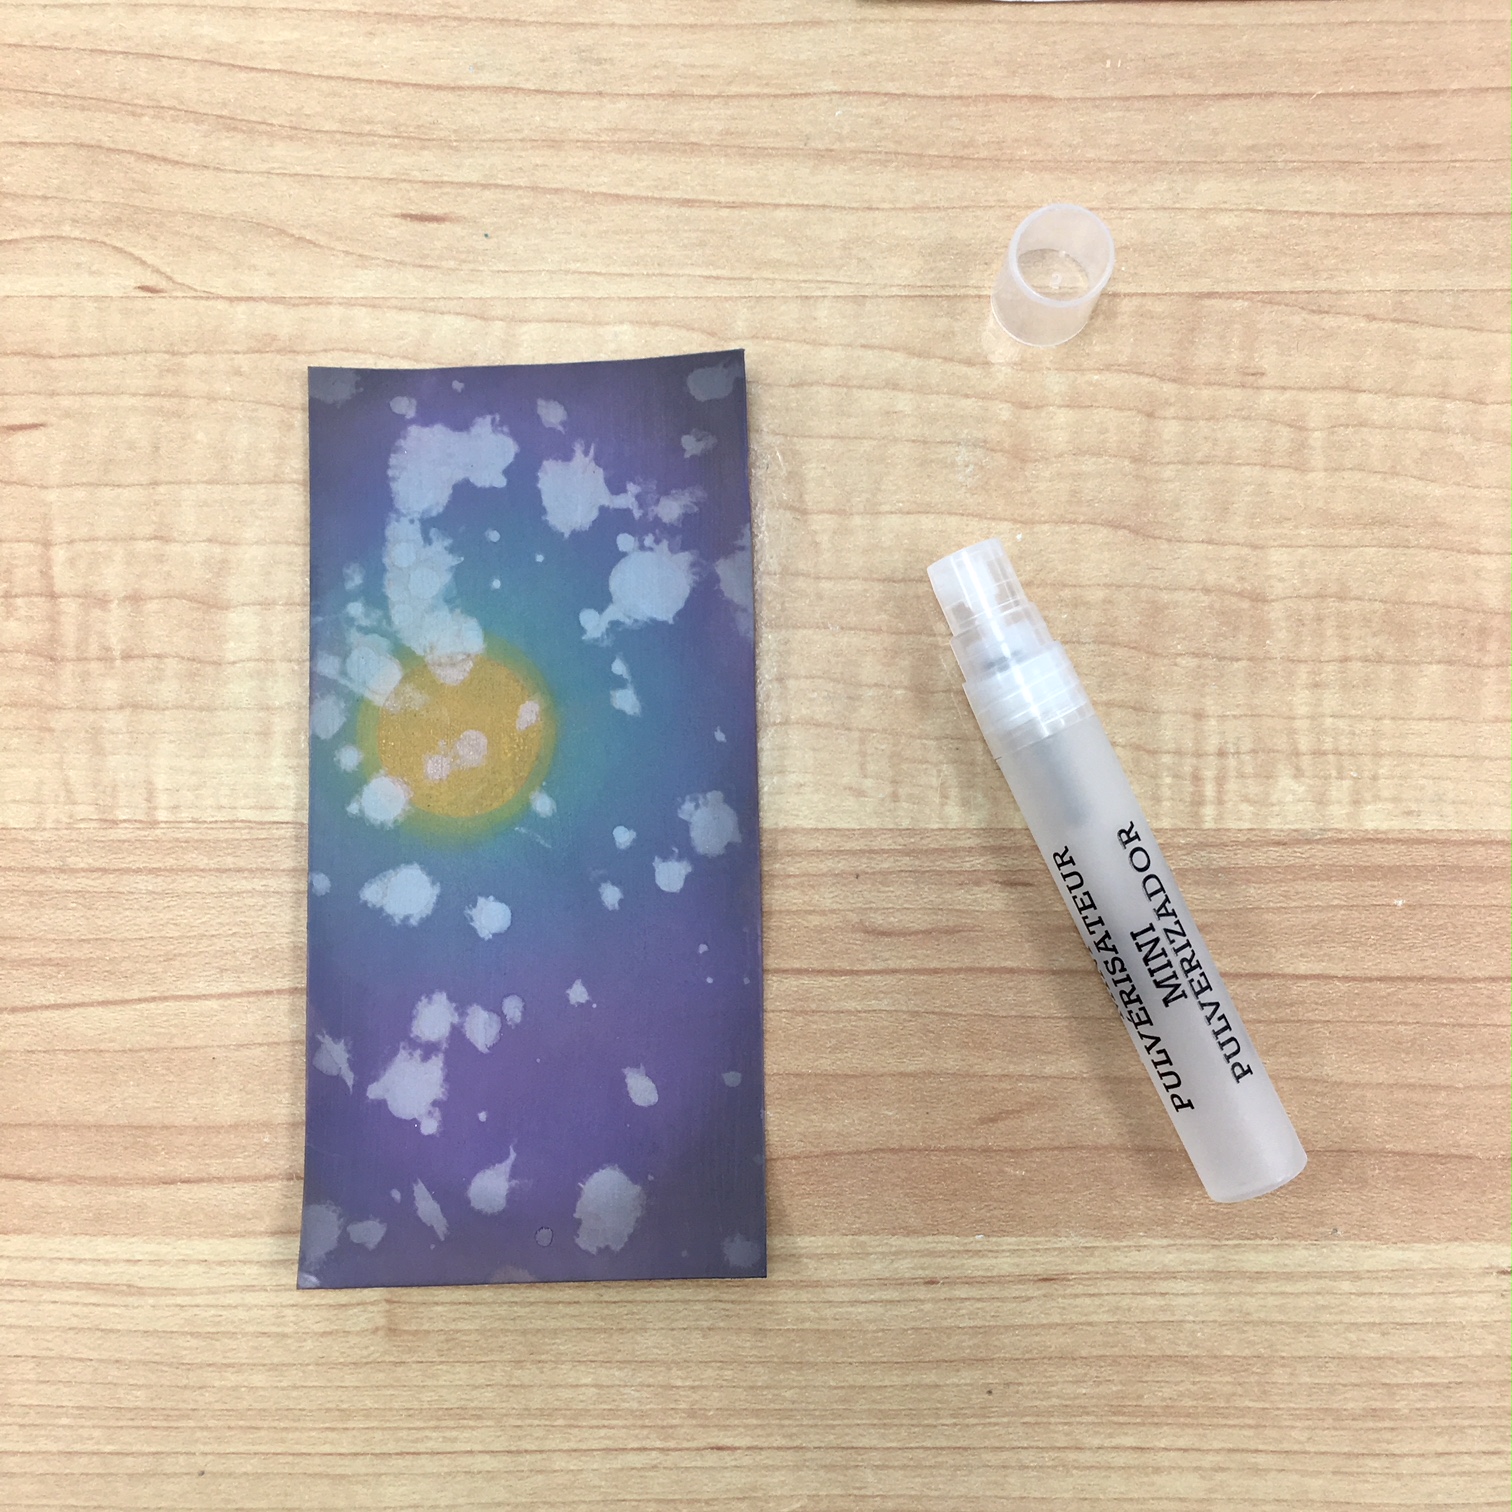
I typically spray some water into my hand, and then flick it at the background. This is perfect for splotchy ink backgrounds and galaxies due to the size of the water splotches. It's not quite as good for a snowy look, at least on a project this size. So, I heat set the ink and dried the water spots using my heat tool and then very lightly went back over the background with the same colors to soften the water spots. If I had applied the ink heavier, I could have made them disappear but this left some texture and depth to the background.
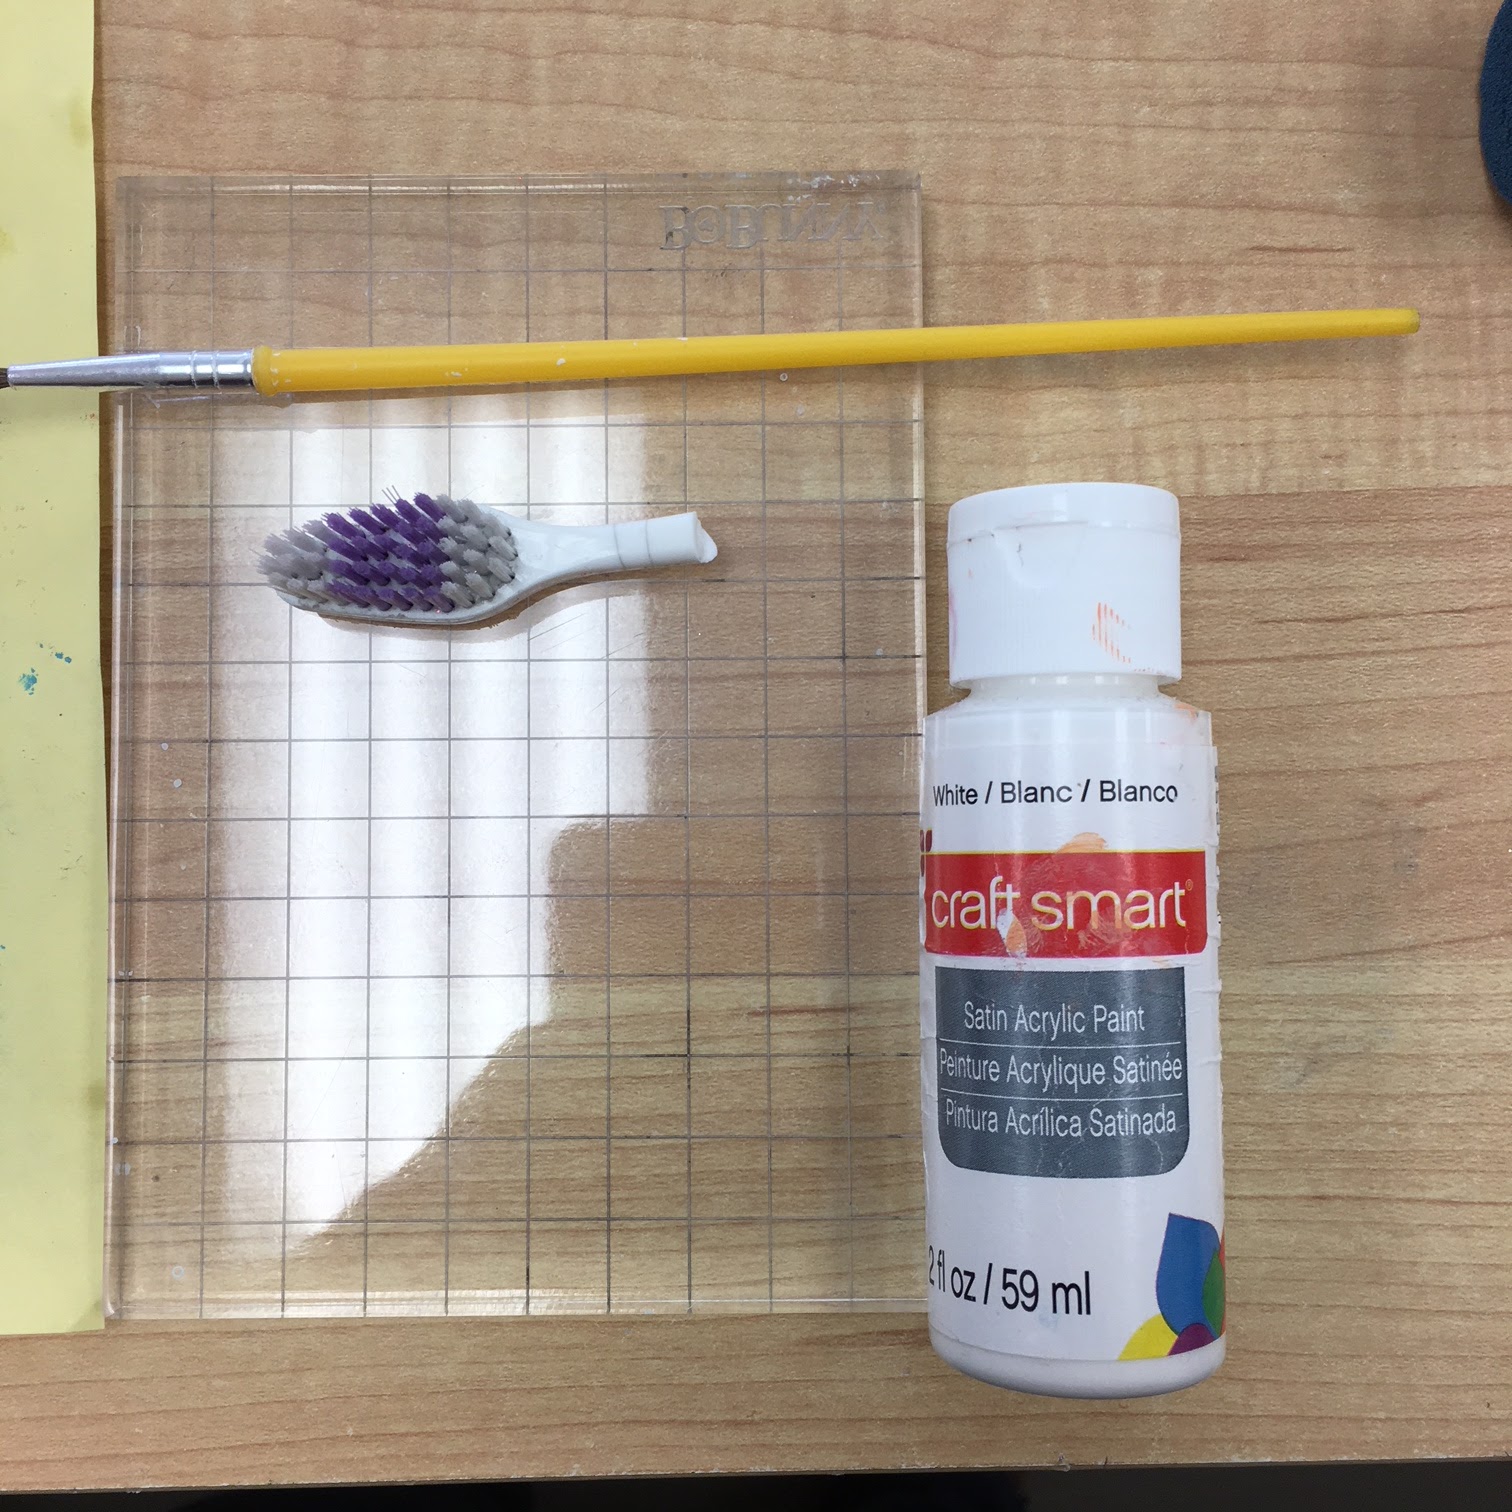
Next, I tried another method for ink/water splattering. I took out an acrylic block, small paint brush, toothbrush (please excuse the fact that I broke the toothbrush), and some white acrylic paint.
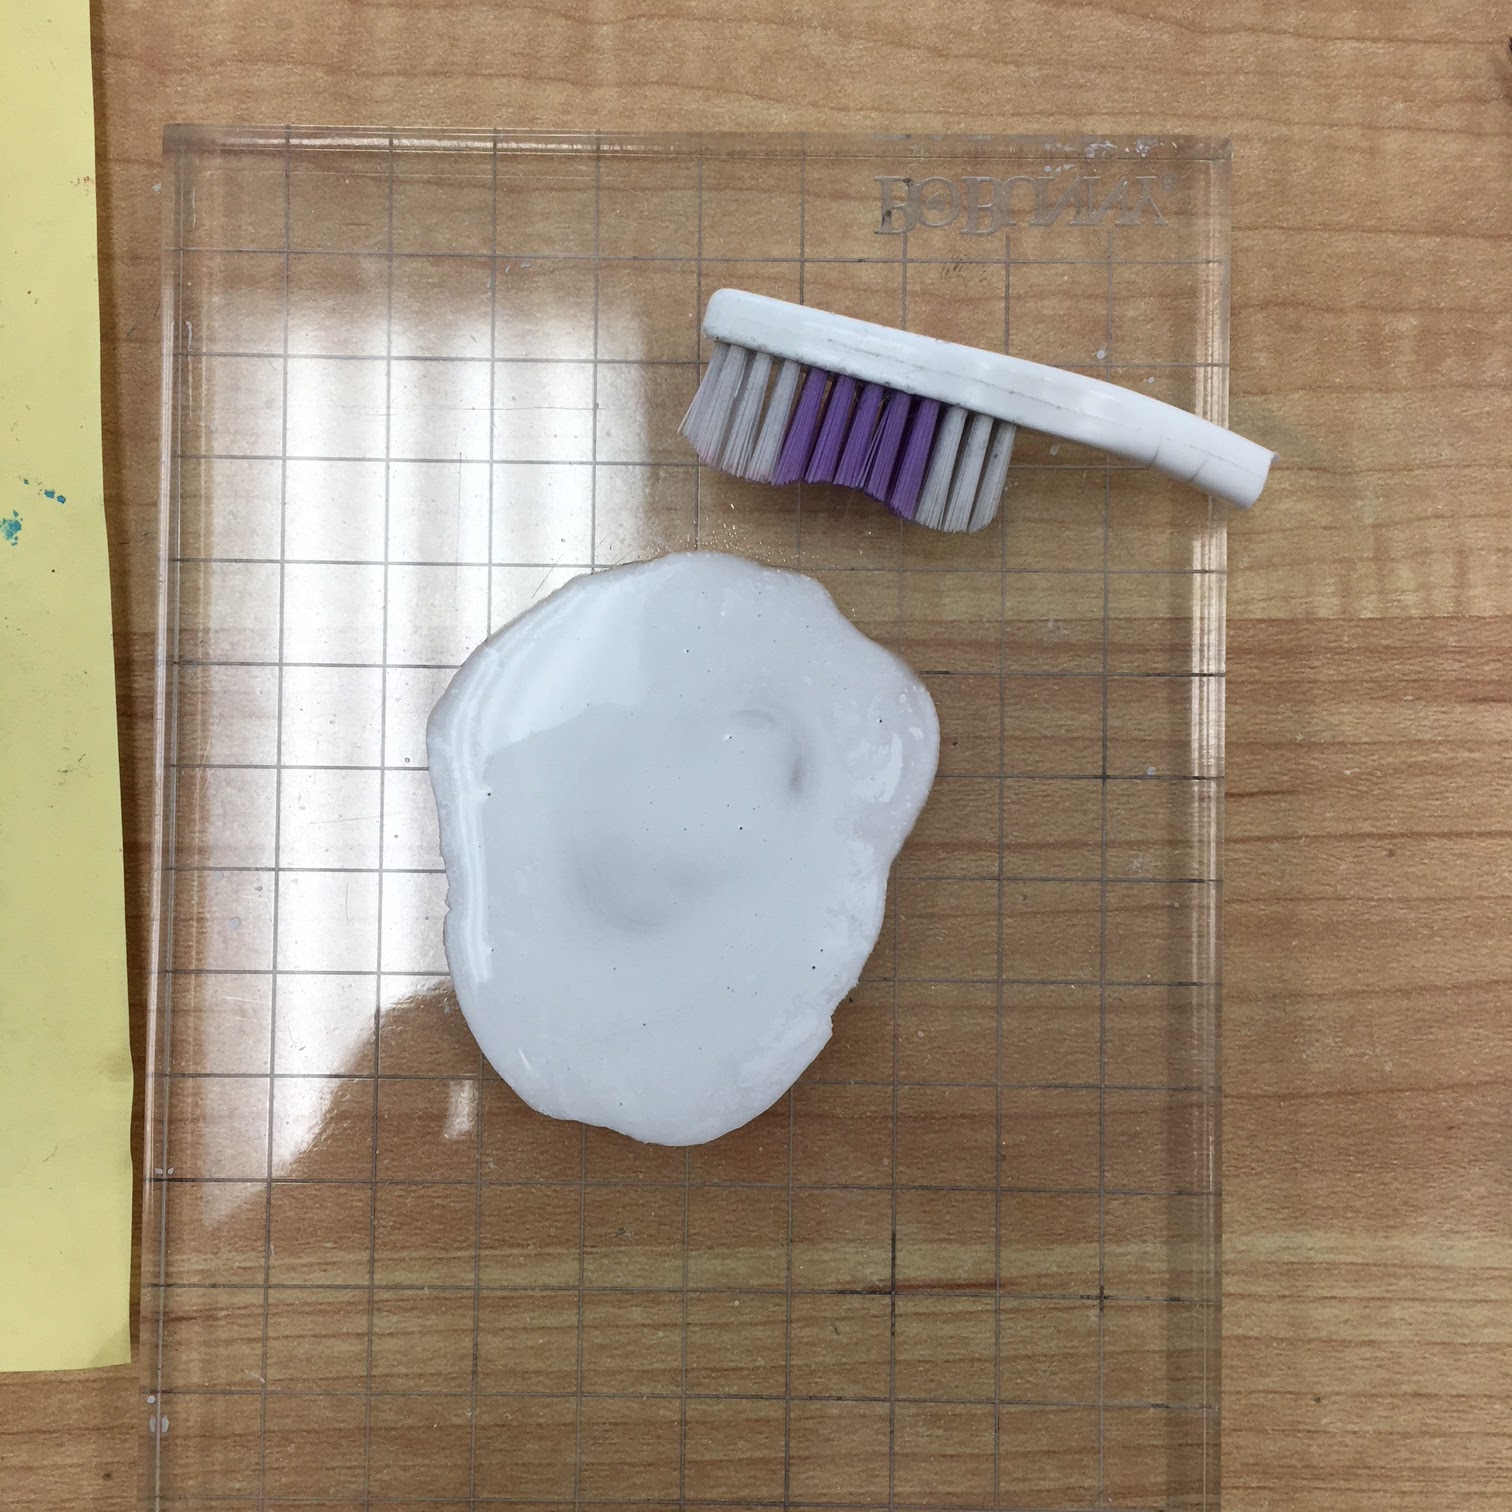
I put a small amount of white paint on the block and then added some water from the water bottle and mixed. This is a very thin mix of paint and water.
I dipped the toothbrush head into the paint, held it over the tag. Then, using the handle of the paint brush, I dragged the paint brush across the toothbrush. This results in very fine splatter. Be warned: the paint gets EVERYWHERE!! I forgot to put my project into a box or cover my work area. My hands, work area, clothes, and even my phone were covered in paint. For me, the tooth brush technique should be reserved for water splatter only! LOL!
Next, I went about replicating the original tag but without the star glow. After the first tag in this series, I eliminated Faded Jeans from the process as Peacock Feathers and Wilted Violet blended together create a color almost the same as Faded Jeans.
I really liked how the large splotches of water added dimension to the first tag, so I decided to do it to the remaining tags. Each time, after I splattered the water I dried the tag and then lightly applied more ink to soften the spots.
Then I used the toothbrush technique, with water only, to achieve a fine mist of water spots. After those were complete, I dipped the brush end of the paintbrush into my paint mixture and lightly tapped to get my snow. Something to remember about wet inks or paint and Distress Inks; they are water reactive. You have to keep this is mind because the ink will bleed into the paint and your white paint, glue, etc. will change color. This is why I did a fine mist on my tags. If you want larger white spots, you will need to use a product like white Gesso as mentioned by Patricia in her blog post, or a product like Dr. PH Martin's bleed proof white.
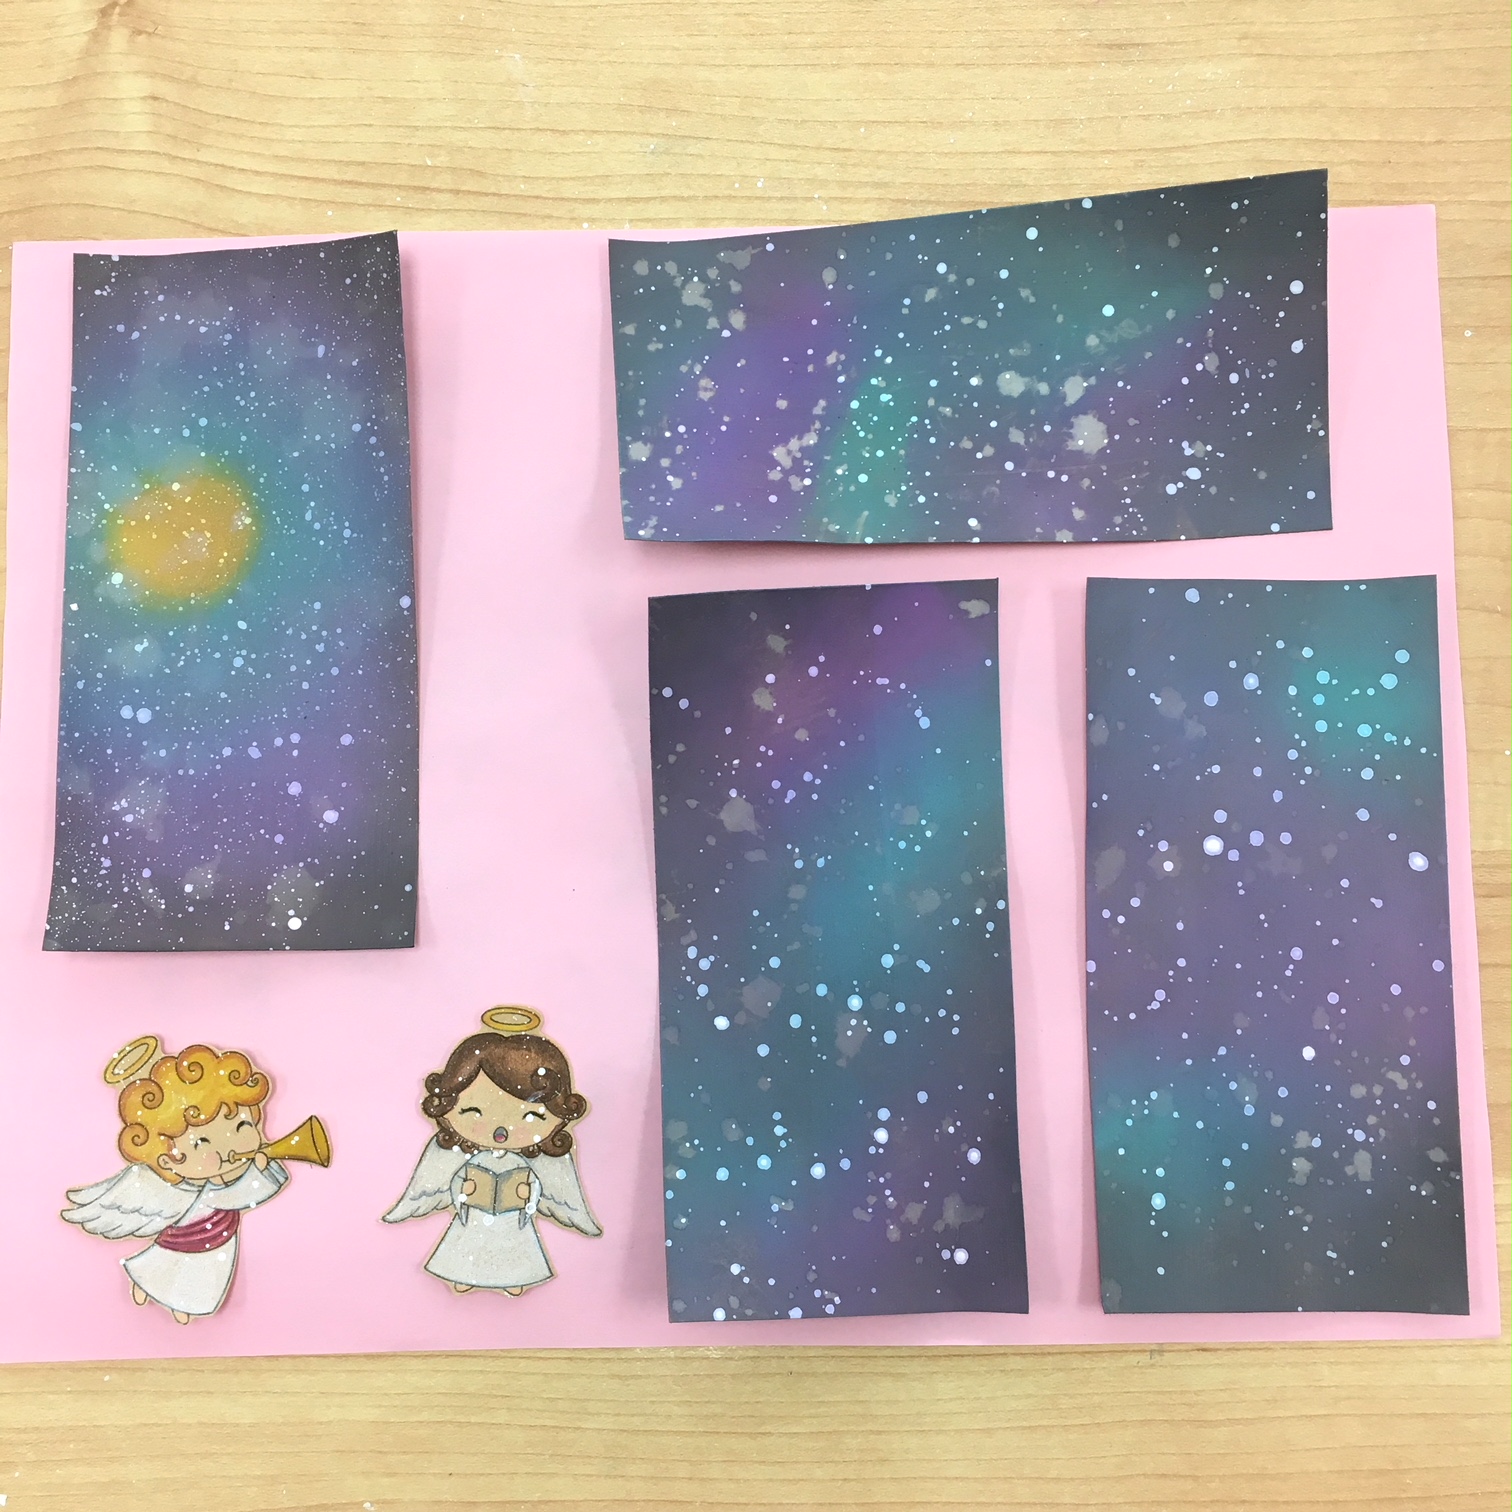
Ink blending and splatter complete. You can see my angels had some snow fall on their heads during the toothbrush fiasco.

When I measured the tags to my planner page, they were much larger than I had originally planned. So, I decided to trim them down to 2 1/4" X 4". I trimmed all the tags except for the one with the star glow. This one I decided I would turn into a bookmark.
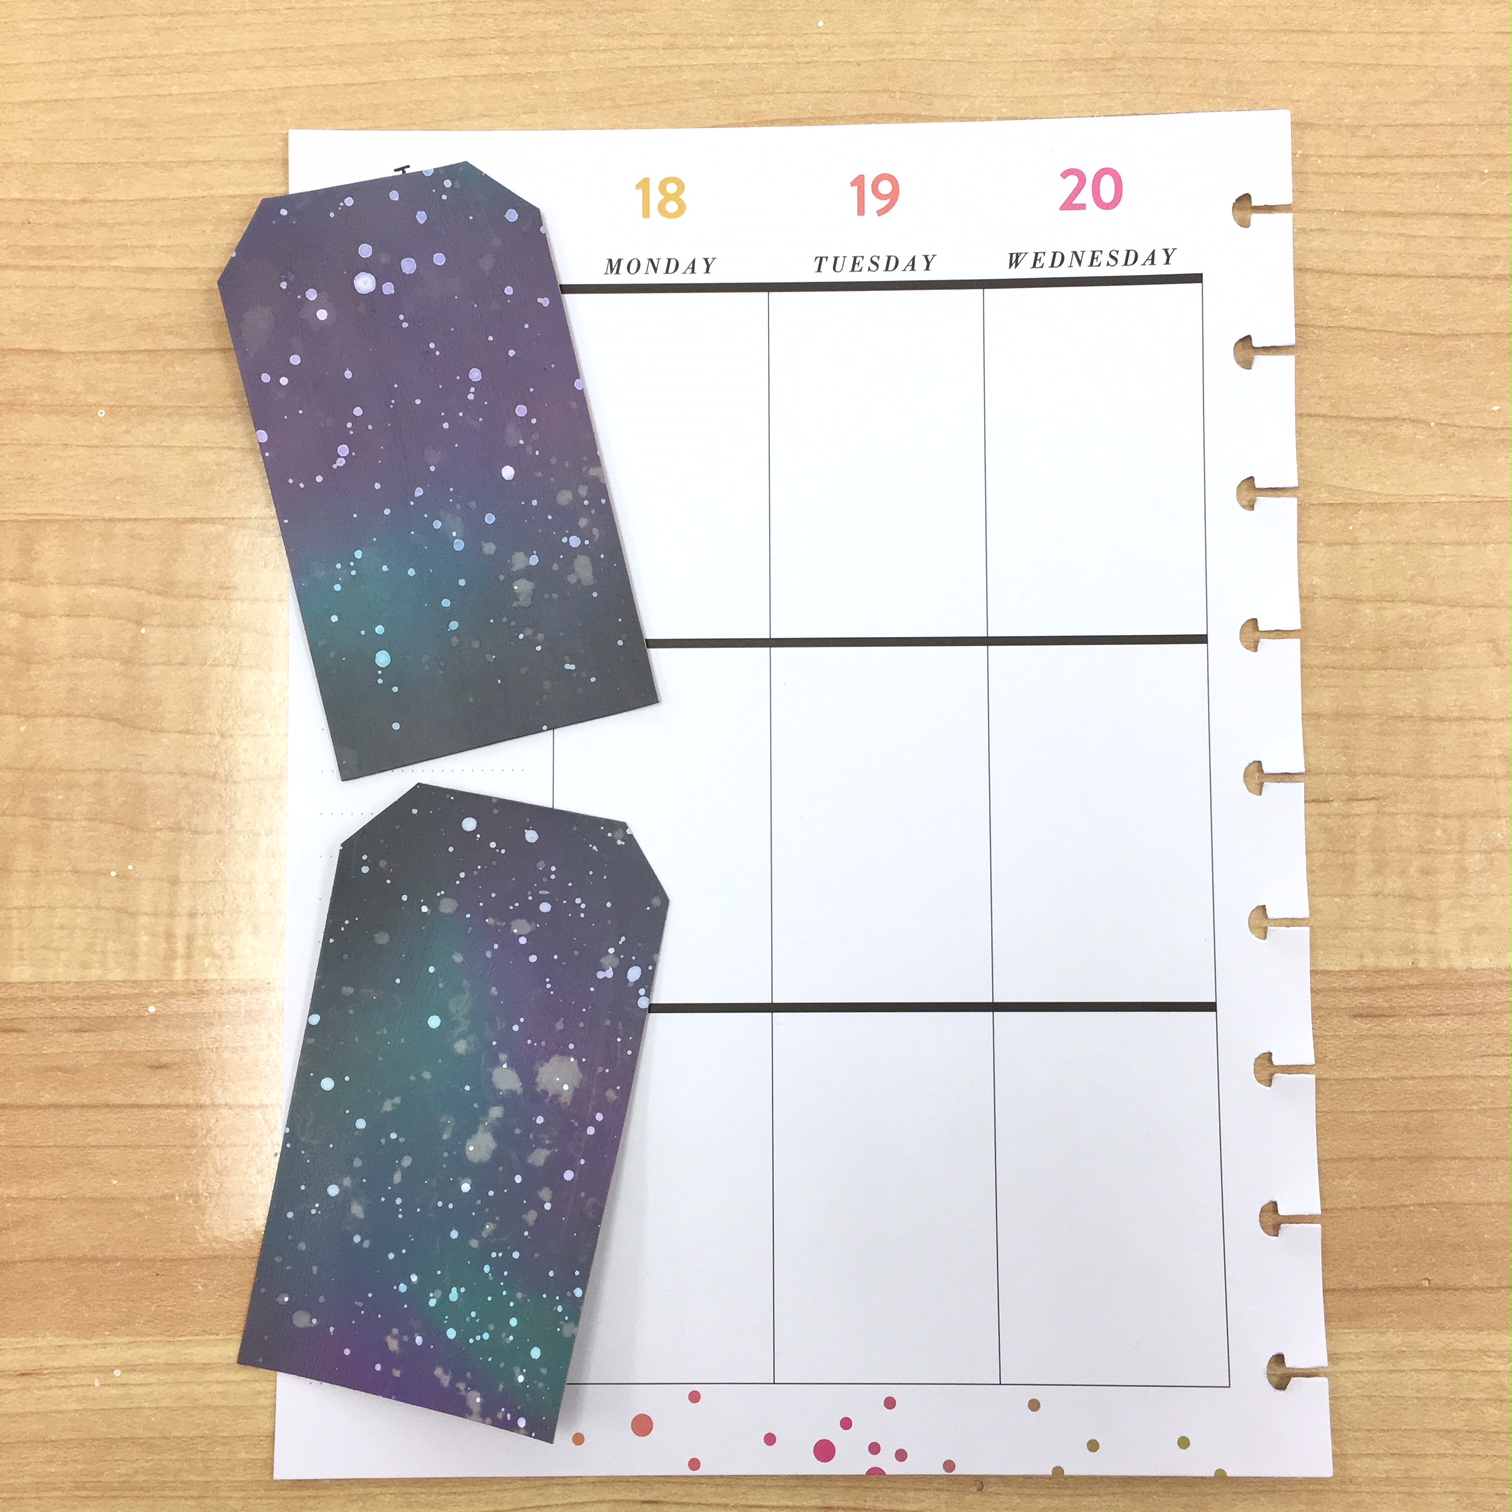
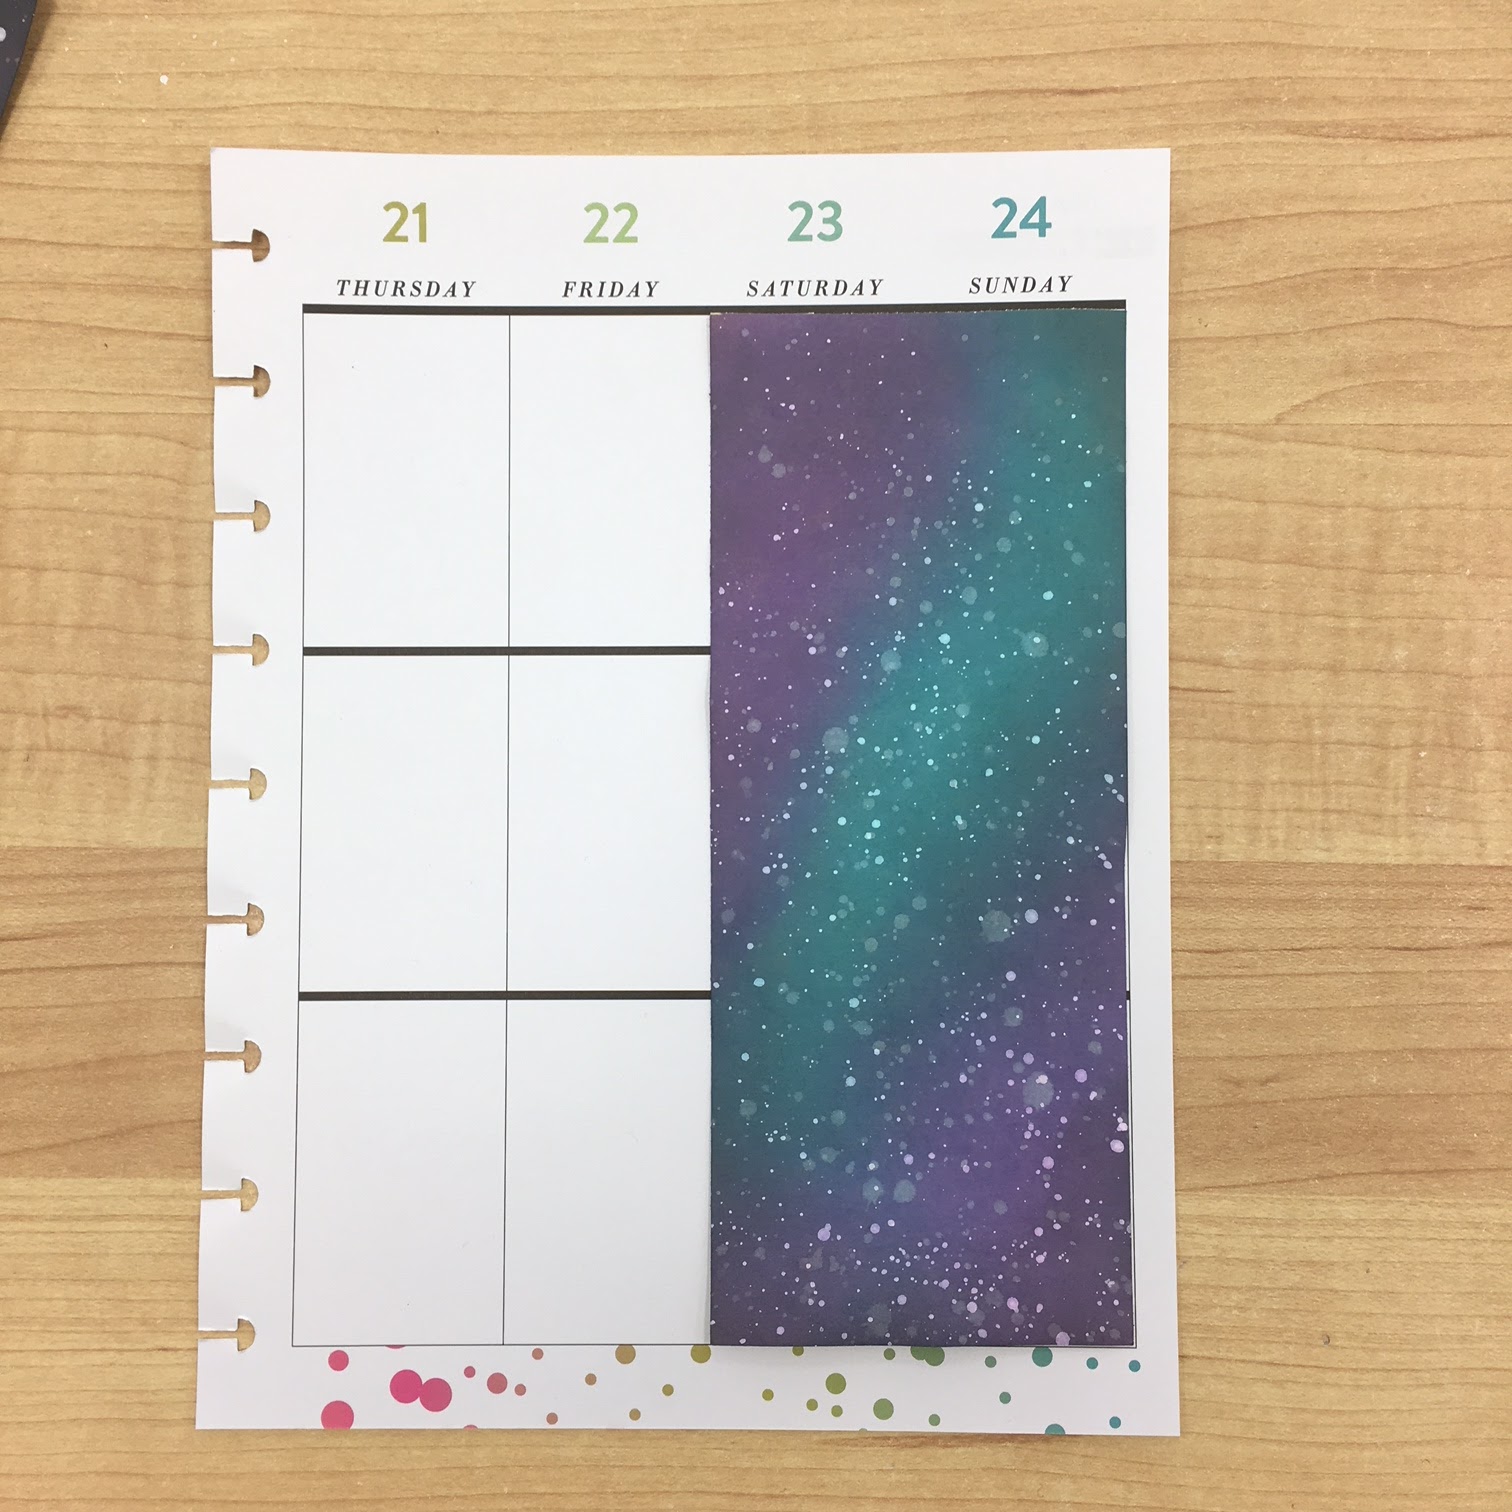
I also cut a piece of kraft sticker paper to cover the weekend section of my planner pages and did the same background technique on it to match the tags.
As you may have noticed, I really love shakers. I don't care if they serve any purpose. I love all the little glitter and sequins floating around inside. It just makes me smile. I decided our bookmark needed to be a shaker and have bits of stars and snowflakes floating around inside.
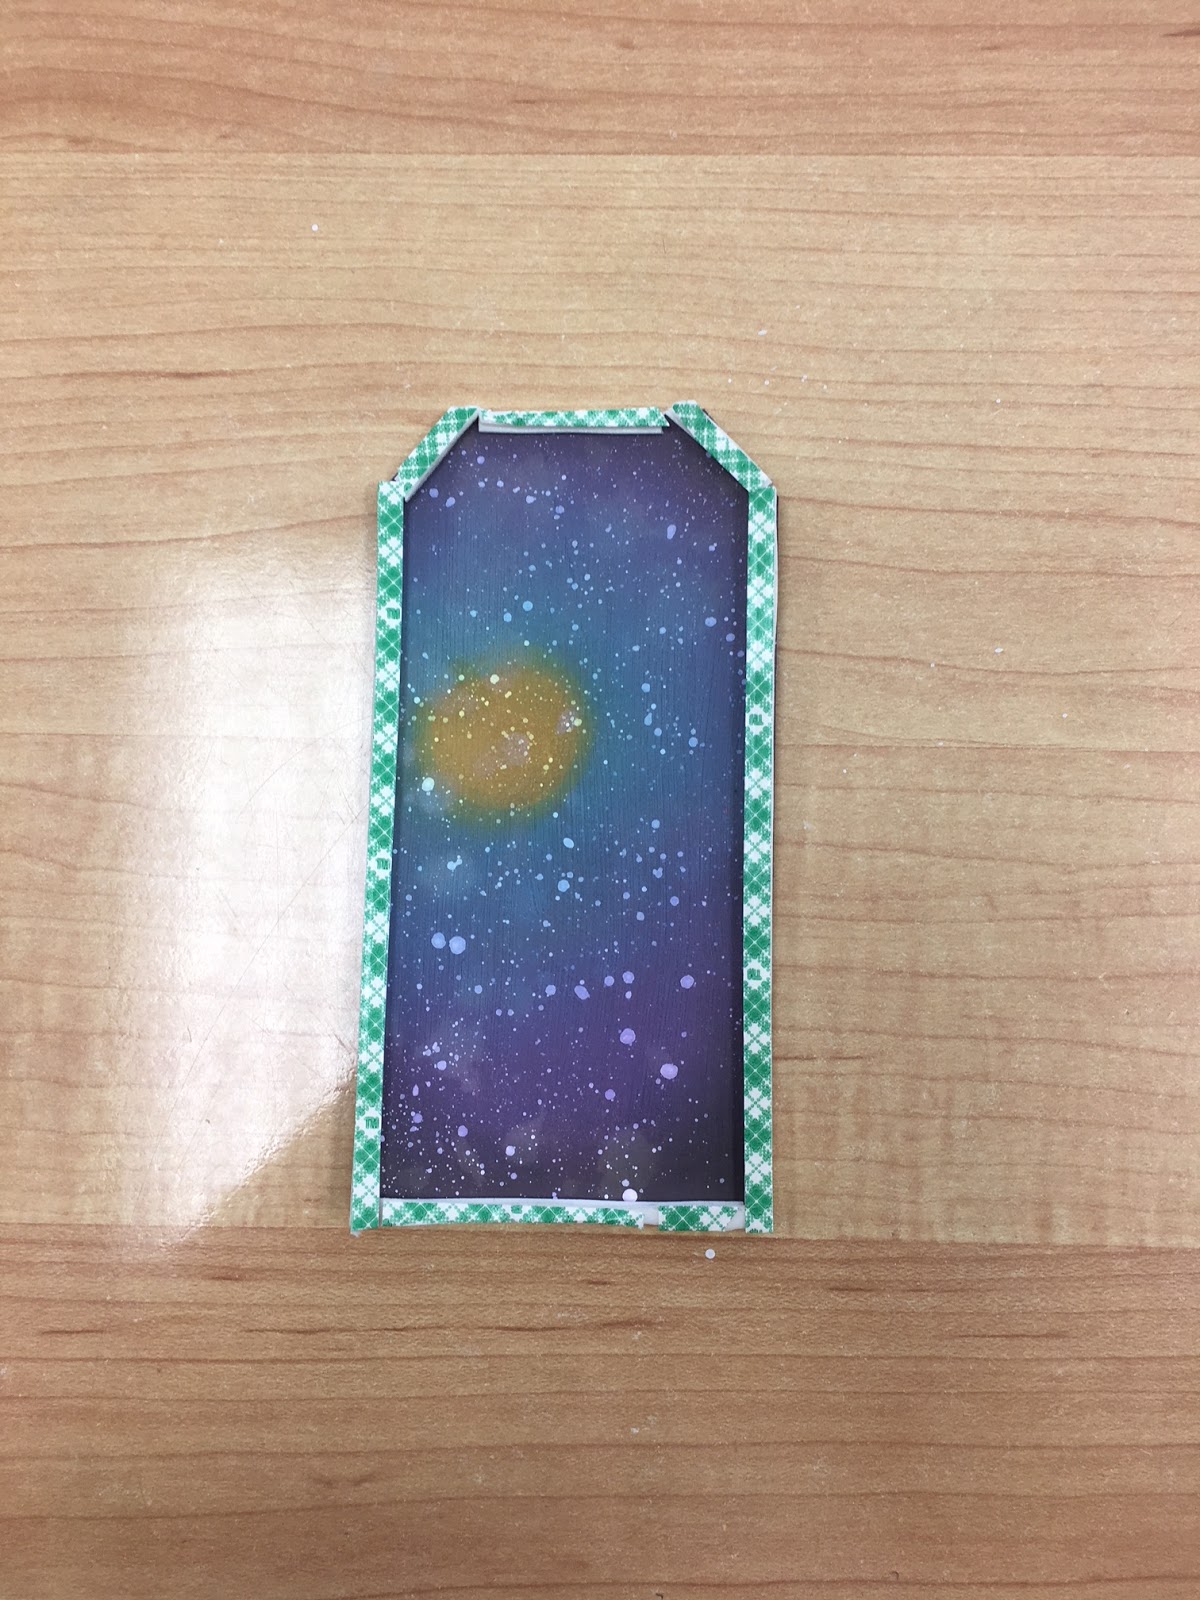
I cut very thin strips of foam tape and applied it to the edge of the tag.
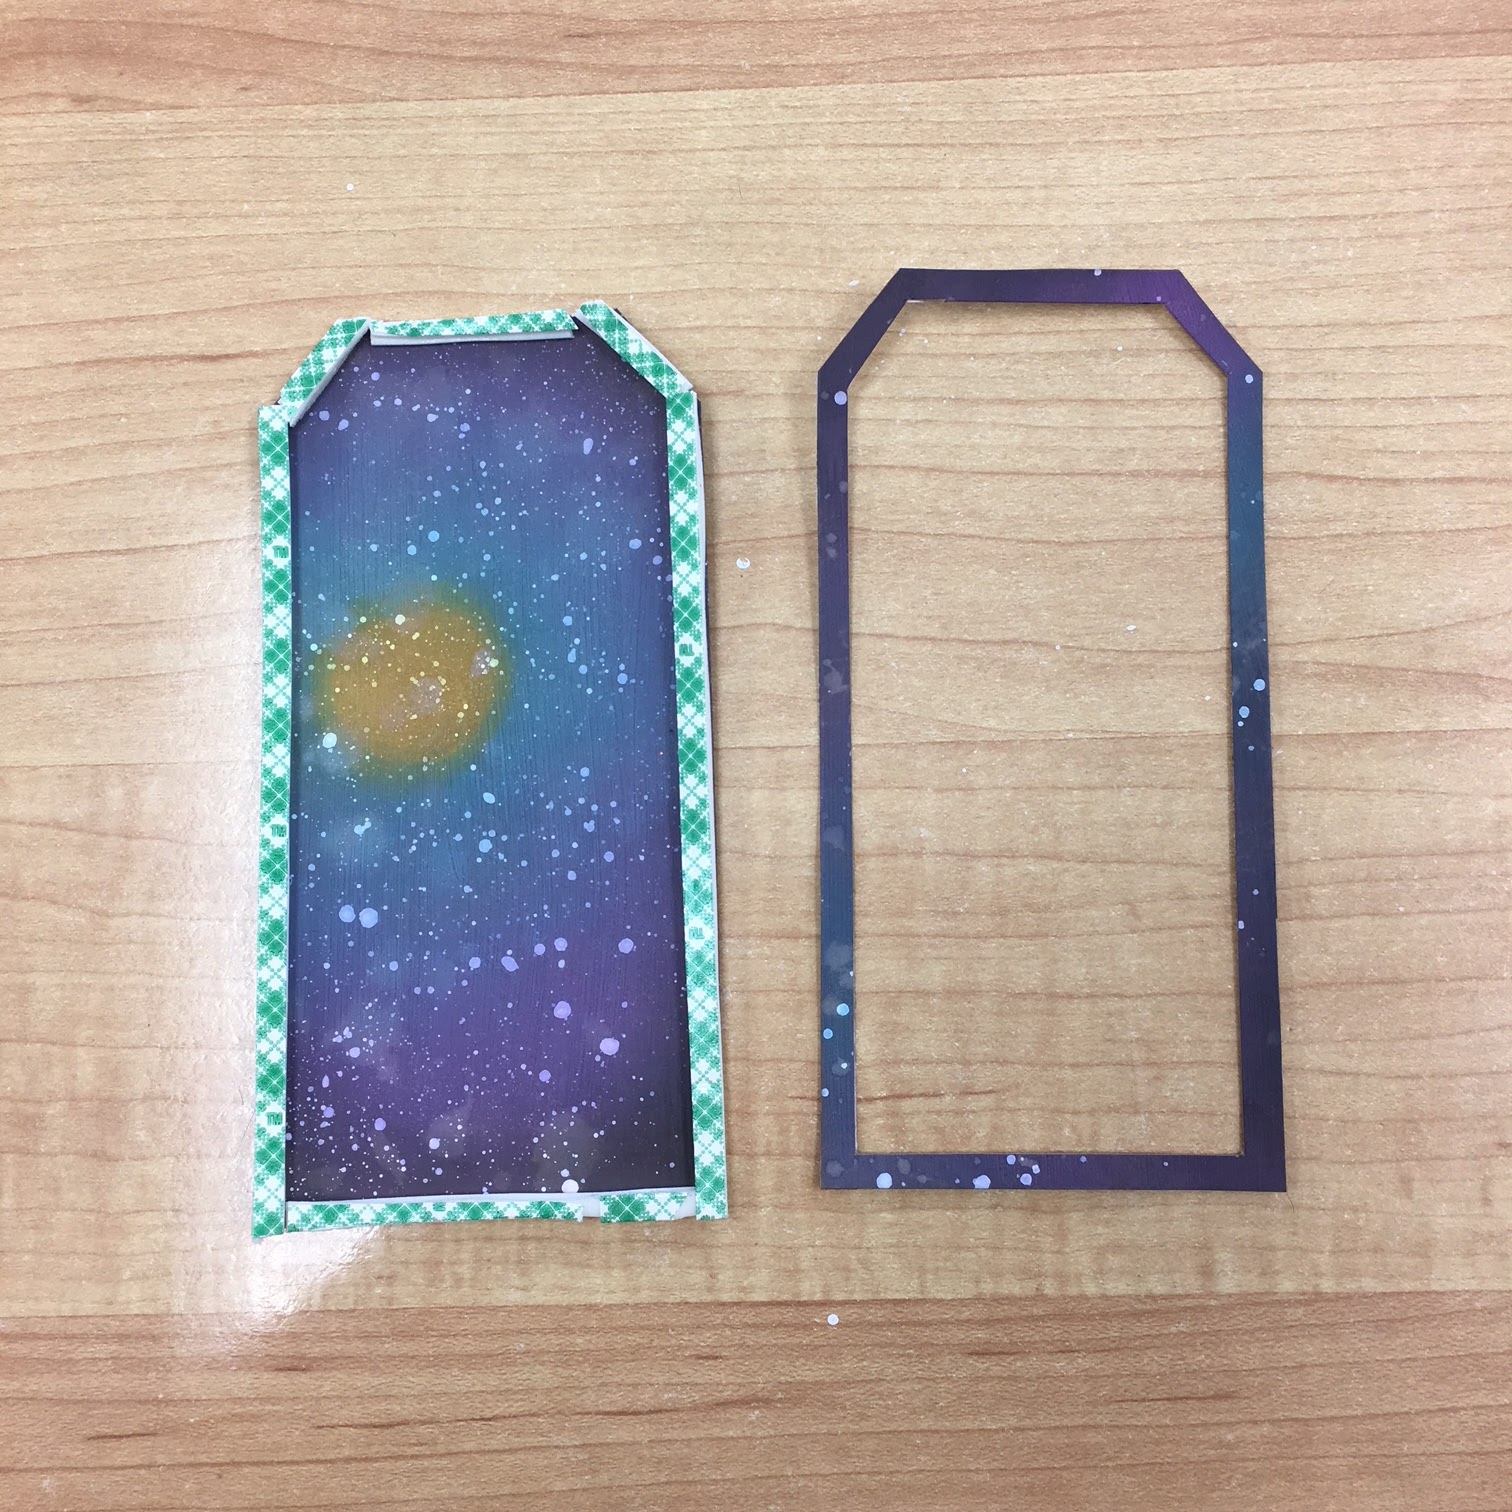
Then I cut a frame from one of the extra tags I made earlier. This frame was adhered to a piece of clear acetate using scor-tape. I cut the acetate longer on the left side so I could hole punch it and put it in my planner.
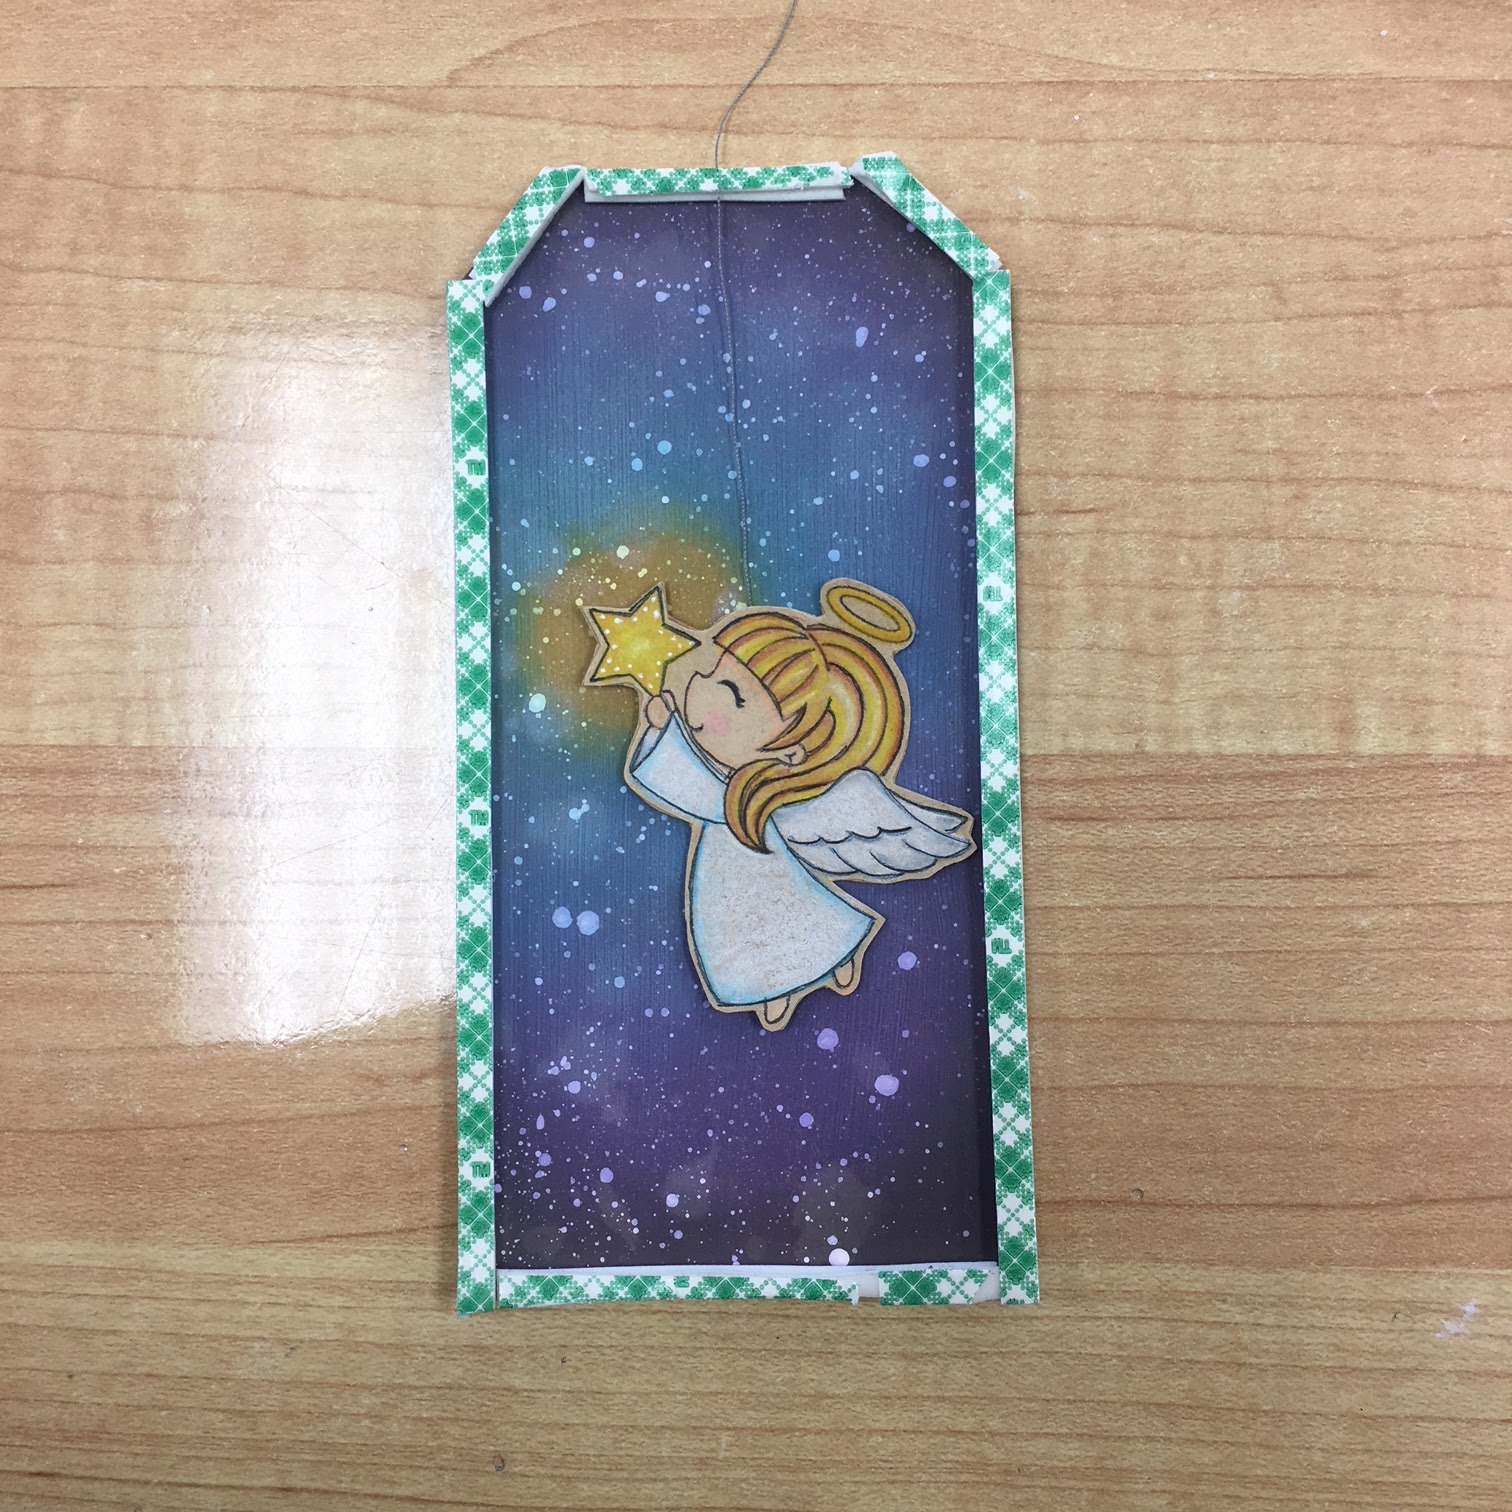
I thought it would be fun if my angel would fly around a bit so I originally taped a piece of thread to the back and suspended it by attaching the thread to the foam tape. In the end, my angel didn't have enough room to fly and kept getting stuck. So I removed the thread and adhered her to the tag with foam tape. After this was complete I filled the shaker with two snowflake jewels and sequins from the Polar Frost sequin mix.
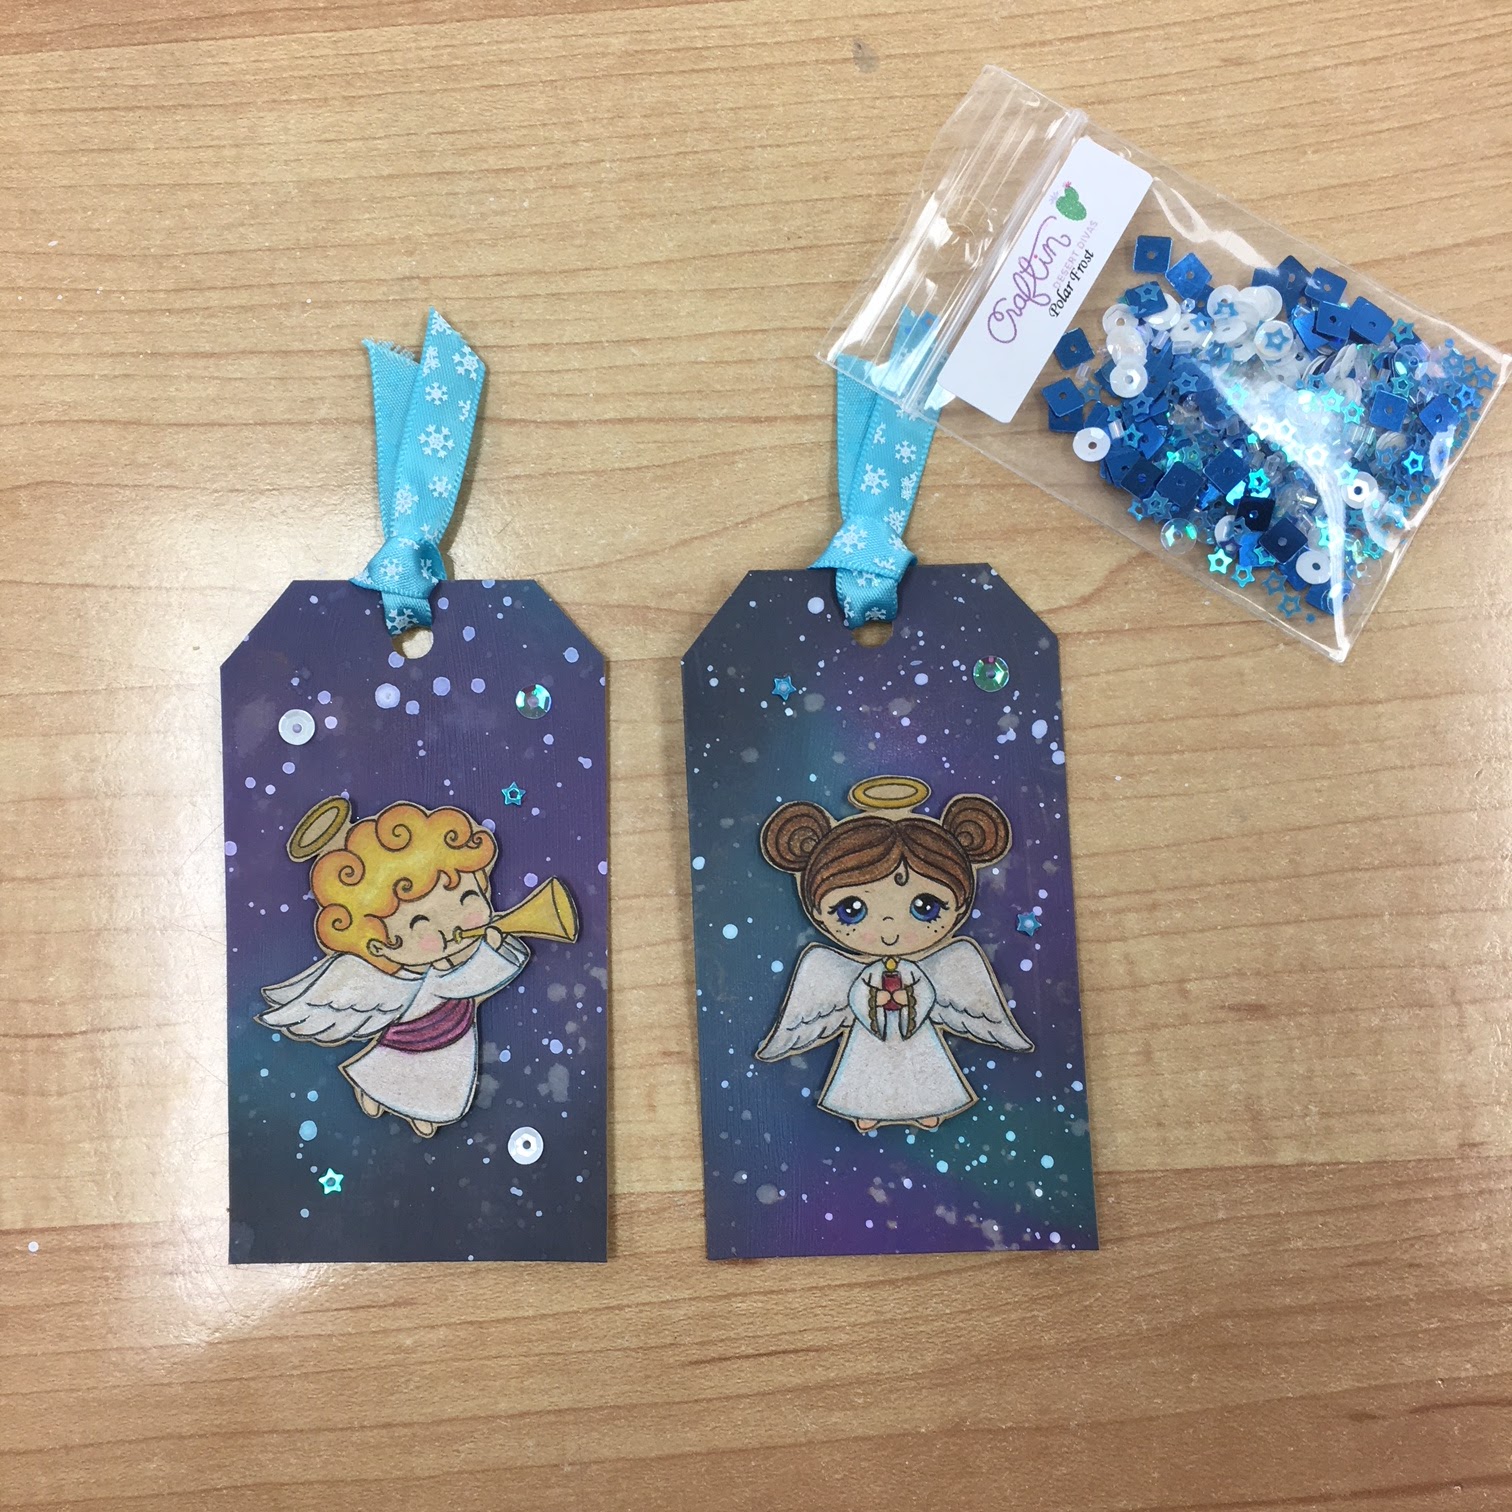
I glued a few sequins from the Polar Frost sequin pack to the back of the tags, and the weekend strip in my planner using Matte Medium glue. I also added a bit of ribbon to the top of the tag.
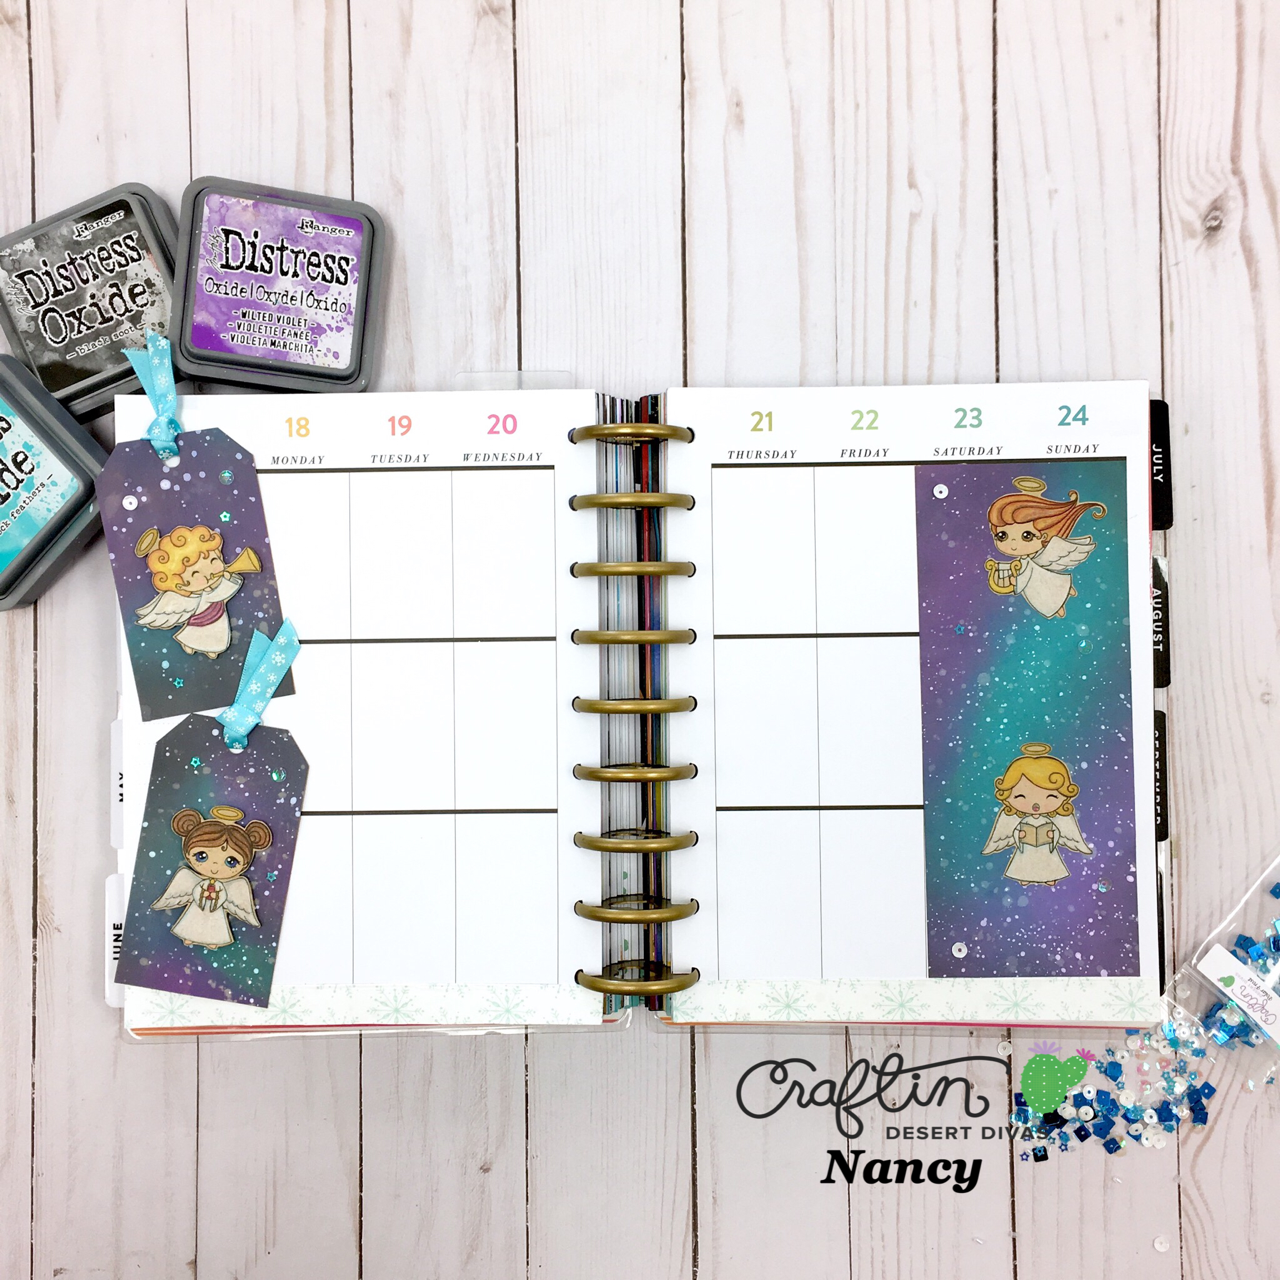
Finished pages without the bookmark
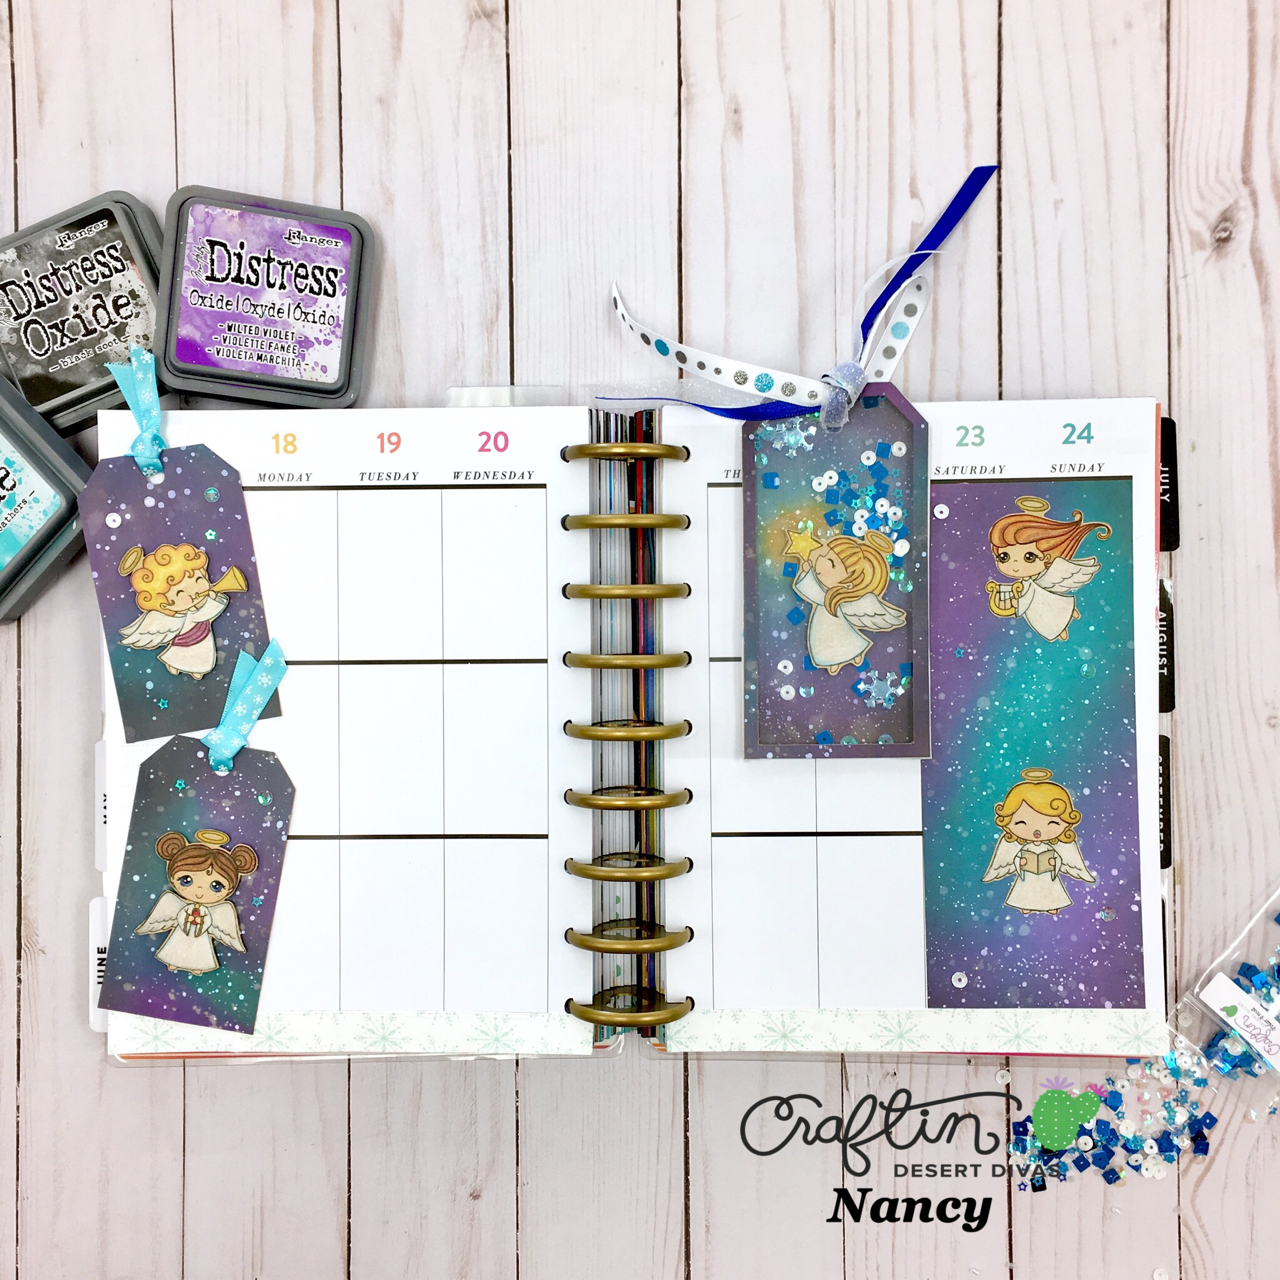
Completed pages with the bookmark added. The bookmark sticks up a bit from the top of the planner so it's easy to find.

That's about all for today friends. I hope you enjoyed my projects and hopefully learned from some of my mistakes. Just remember, it's all about having fun. I hope you check out the rest of the blogs from the DT, as they always some great tips and inspiration. This is my last blog for the month, so have a wonderful holiday season and I will see you soon! As always, please feel free to reach out to me in the CDD gallery on Facebook, in any of the planner or stamping groups on Facebook, or on my Instagram:

Products Used:


No comments:
Post a Comment
I appreciate you taking the time to visit my blog and leaving a comment. Have a crafty day!!