Wednesday, February 28, 2018

Embossing With Stencil With DT Lynnea

Hey, everyone! It's Lynnea and I'm going to show you how you can add heat embossing with a stencil to give your project some shine and dimension! Let's get started!


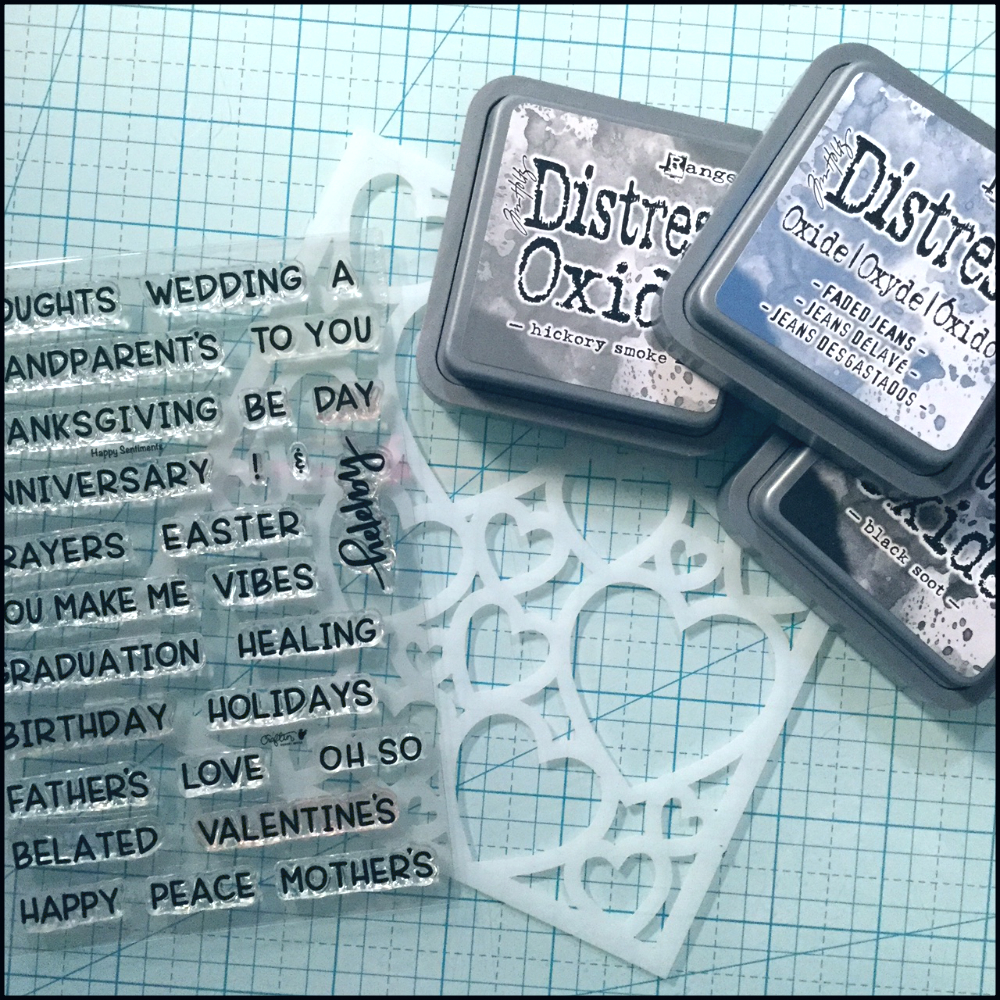
I grabbed some supplies to start with, but you'll see in the end I add even more!


I blended some Distress Oxide inks onto a watercolor card panel to create my background. I used  all over and added some  to the edges to darken it up. I blended the black into the blue with .


I taped the  stencil to the back of my cardstock because my original plan was to use the entire inked panel. You'll see later that I used a die to trim it down.


Once I taped down my stencil I used my  ink pad and smooshed the ink down all over the stencil. Once I removed my stencil I added some clear embossing powder. This adds some shine and the area where the embossing powder is melted is darker.


I stamped my sentiment from two stamp sets -  and  - onto a banner die cut from the  die set. I used clear embossing powder over black ink so the sentiment's shine would match the card background.


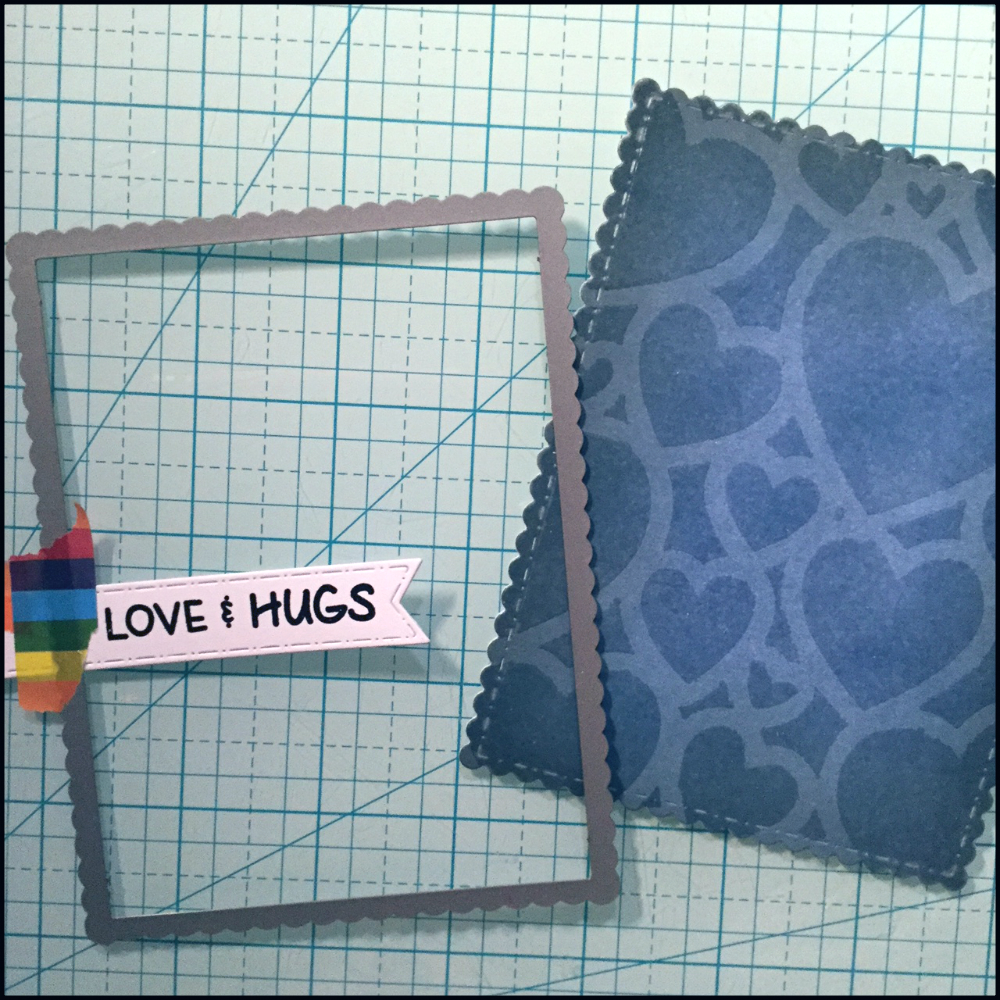
I chose to cut down the panel with the largest scalloped rectangle die from the  die set. I also cut the left side of the sentiment banner with the same die so that the edges would match up.


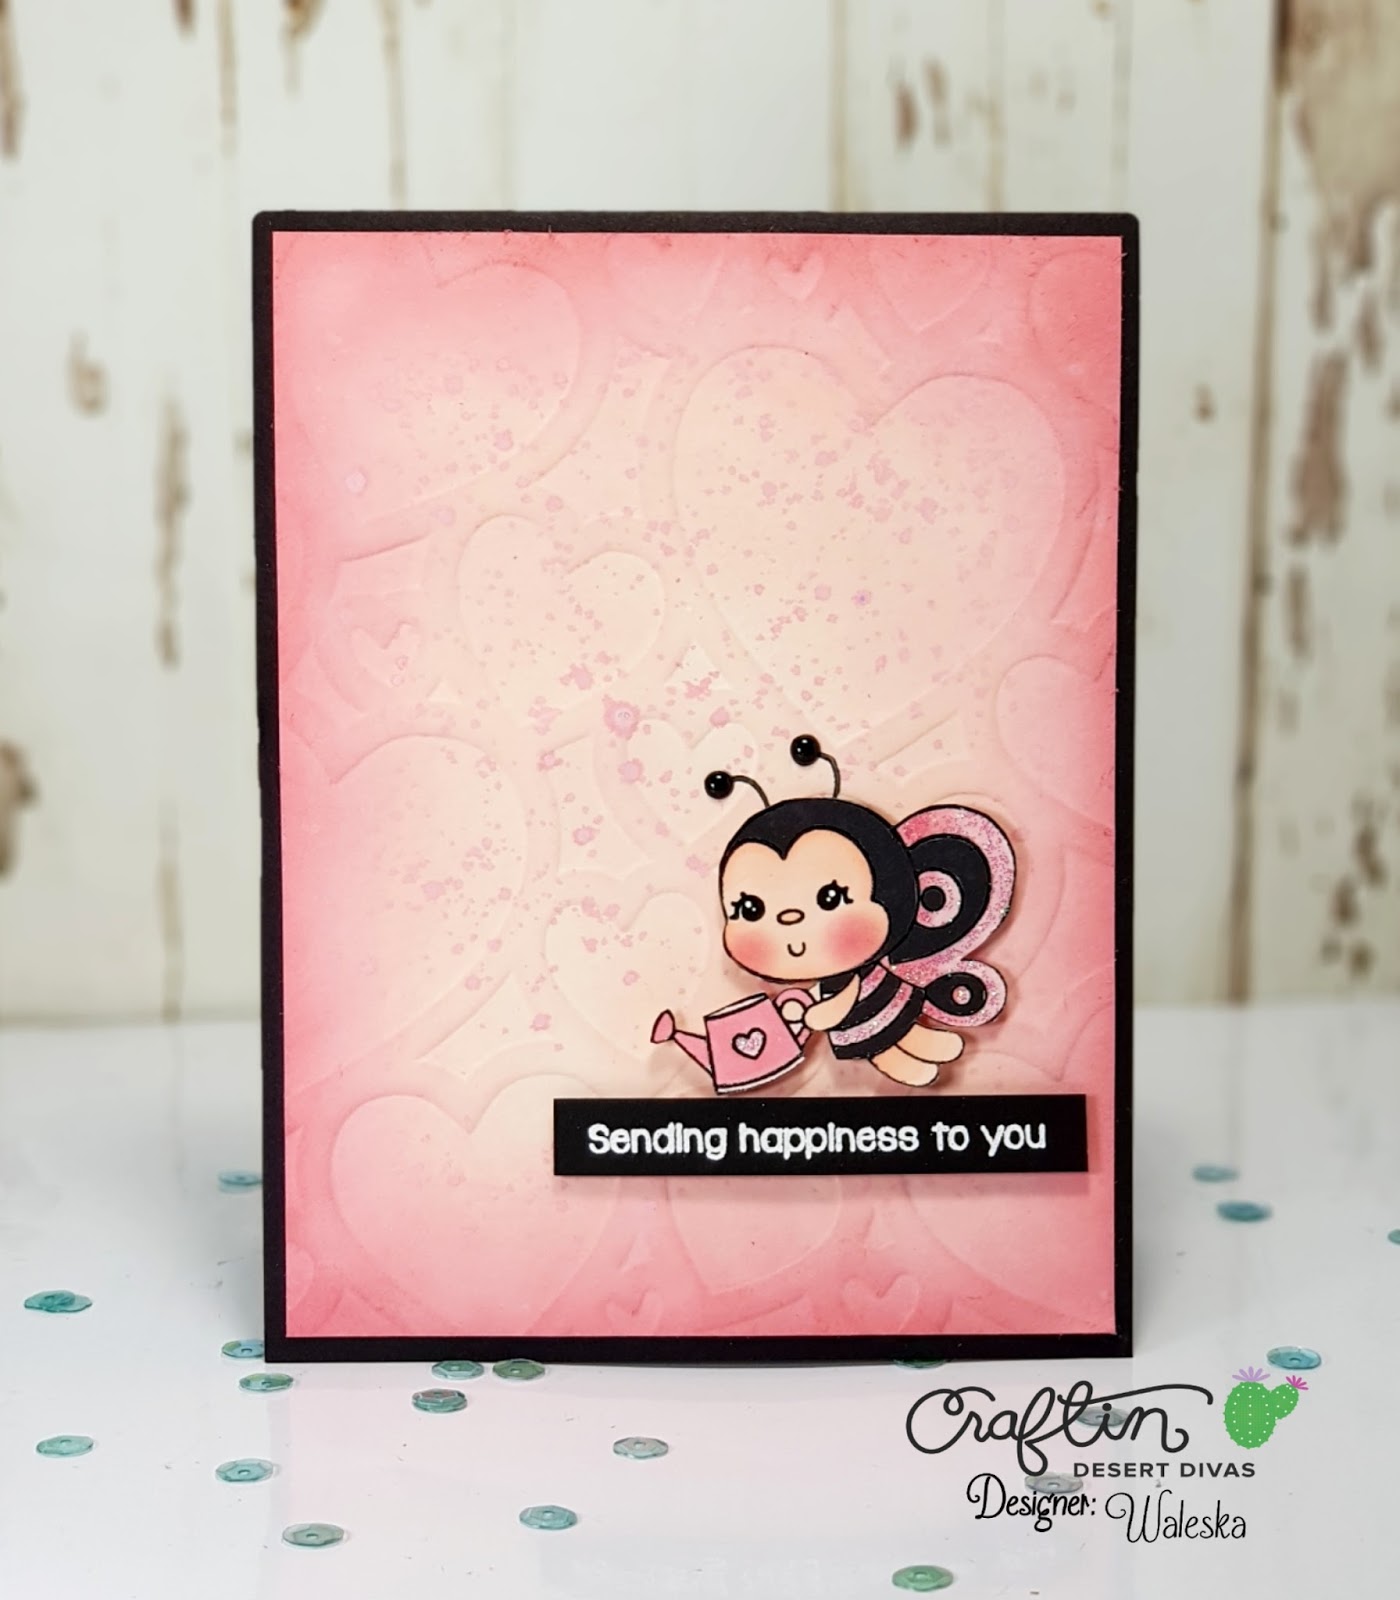
At first this looks like a normal card, but it is actually super shiny and has great texture!


Here's my final card! I hope you will try this technique for yourself!


Products Used: 


Tuesday, February 27, 2018

Embossing With Stencil With DT Waleska

Hello there, Waleska from , thank you stopping by today.  My post is part of the Heat Embossed /Dry Embossed  Techniques with Stencils the Design Team is sharing.  I decided to use a Dry Embossed technique to share with you.


CARD DETAILS:

To start with my cards I did a dry embossing technique with the Hearts Galore Craftin Desert Divas Stencil.  To do  this you will need a die cutting machine, your normal plates and a silicone mat.  Your sandwich will be:
1. Tab 1
2. Acrylic Plate 1
3. Silicone Mat
4. Piece of Paper you want to emboss
5. Stencil
6. Acrylic Plate 2
Run all this into your die cutting machine, you will find that is very tight, but it totally works great!!


After I have my Dry Embossed pieces I used different colors of Oxide Inks, a soft and a brighter color to add to the pieces.  The soft for the entire front and the brighter color for the edges.


I used the brighter color also mixed with water to add water splashes to the piece for more interest.


I used the super sweet Garden Bugs Stamp set for this cards, I colored them with markers in the same colors from the dry embossed panels I created.


I adhere with 3D foam the cute bugs and I also adhere all the panels to black card bases.


To finish my cards I added glitter glue to the wings and some other parts of the stamped imgage and added the sentiment on a black strip with white embossing powder.


I hope you find this helpful, and can be inspired to use your stencils to give dimension and a different look to your cards!

Have a Great Day!


Craftin Desert Divas Supplies:


Monday, February 26, 2018

Embossing With Stencil With DT Adela

Hi everyone, DT here.
Today I want to show you how you can use your stencils for heat embossing.
Here is the card I want to show you.

I took cute troll girl from stamp set and stencil. Clouds in the background are made with homemade stencil from paper piece.

I gently applied blue ink with blender to male cloudy background.

I took stencil with balloons, stick with washi tape and applied clear embossing medium with small sponge dauber.

I sprinkled this area with white embossing powder and than heat it with heat gun.

I stamped and colored troll girl. I cut out her basket so she can hold the balloons.

I used white thread to "tie" the balloons.

I attached this image to the pink card base and add few sequins to cheer up the balloons.

Don´t forget to show us your creativity in our

Adéla

Product I used:


Newer Posts Older Posts Home