
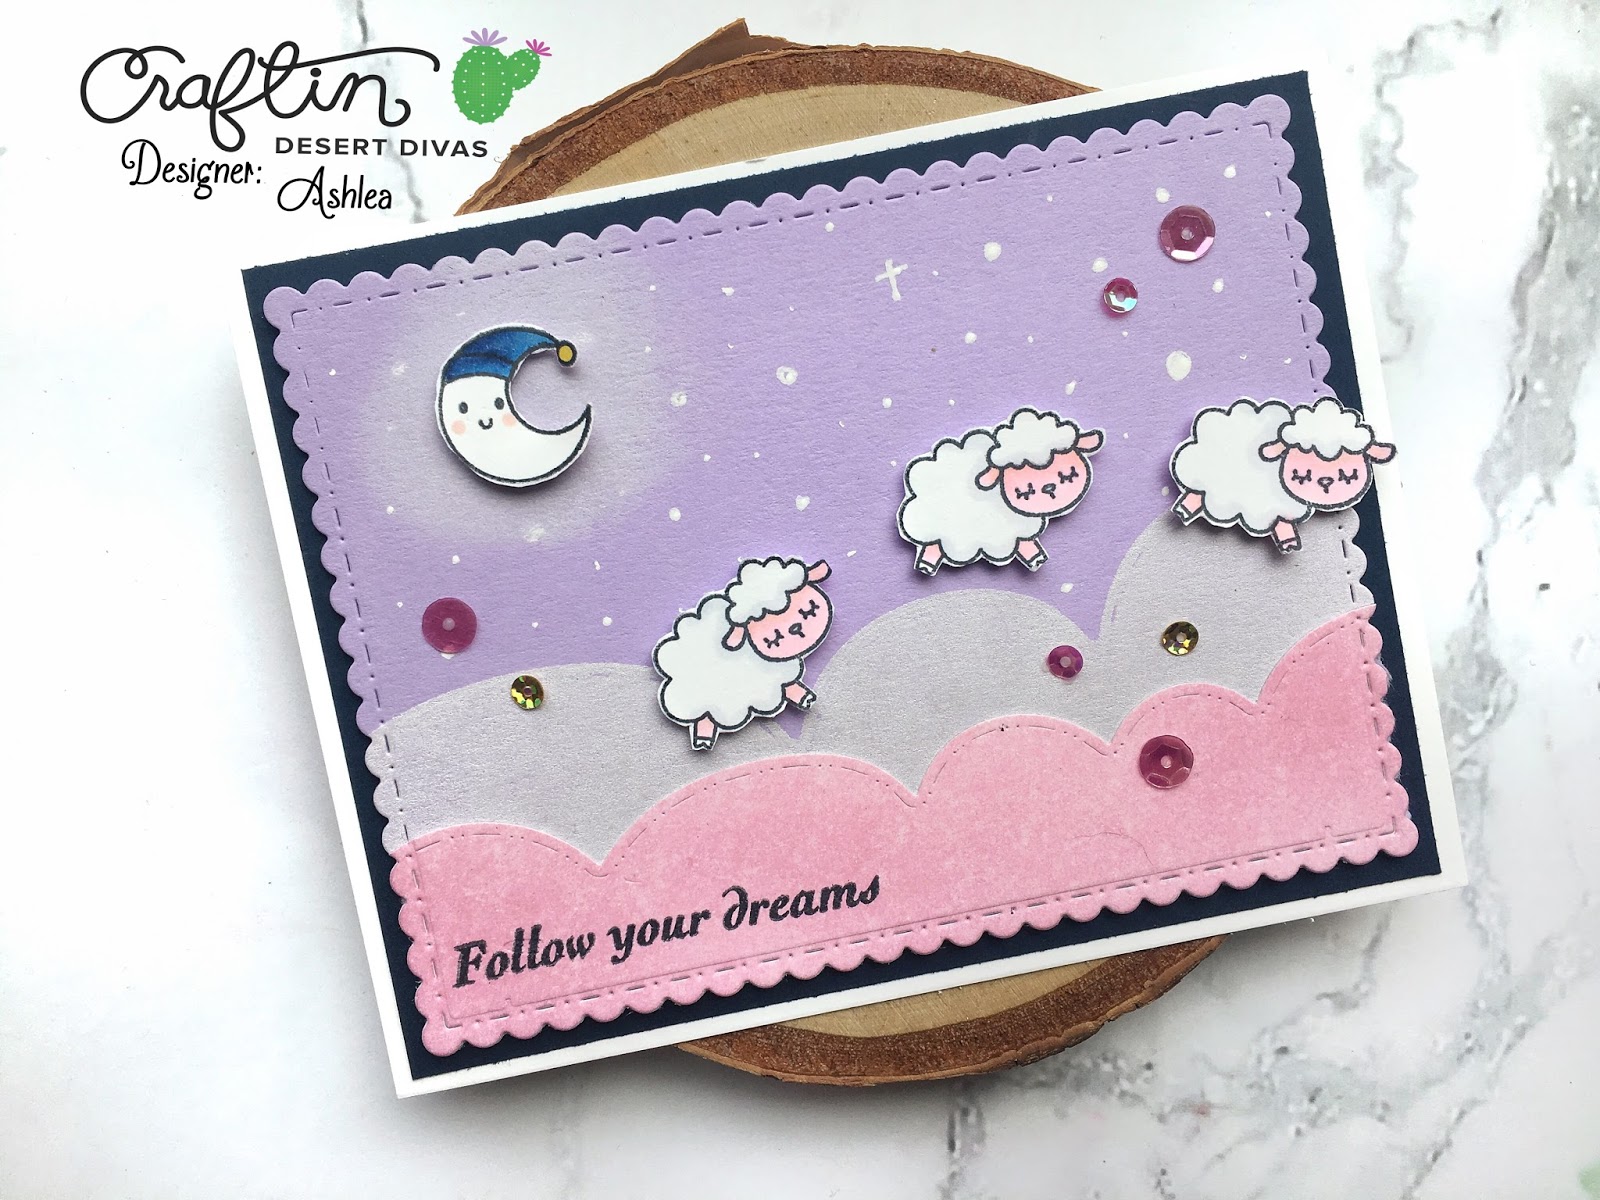
Hi everyone, Ashlea here! I'm so excited to be back today for to show you how I made this card using the stamping with dies technique. If you're thinking you read that wrong, I swear I thought the same thing at first. I promise you, it's super simple (as always with my tutorials) and gives beautiful results.
I want to try a bit of a different format for this tutorial since I don't happen to have a video to go along with this. Let me know if you like this format. :)
Supplies You'll Need:
Die. (Any die will do but stand alone dies rather than outline dies will give the most detail)
Craft Foam. (Adhesive or Non Adhesive. I used Non)
Reposition-able Tape (For Non Adhesive Foam)
Acrylic Block or Stamp Platform
Ink. (I have found that pigment ink works best but dye inks will work as well)
Card Stock of your choice.

Steps:
- Use your die to cut a piece of craft foam. *I cut my foam down to 4x5" just to keep it more manageable.*
- If you're not using an adhesive craft foam, use your reposition-able tape and run a bit onto the backside of your foam. *One of the benefits of die stamping is that you can really choose which way you'd like to use it to stamp. So first, decide which side is the back before you apply tape ;) *
- Adhere the foam to your acrylic block. *The tape will come off of the block with a bit of light scrubbing when you're done*
- Ink up your foam stamp. *I used Brilliance Moon Glow White which is a pretty pigmented white. I did stamp this twice so keep in mind the more solid you'd like the color, the more times you may need to stamp*
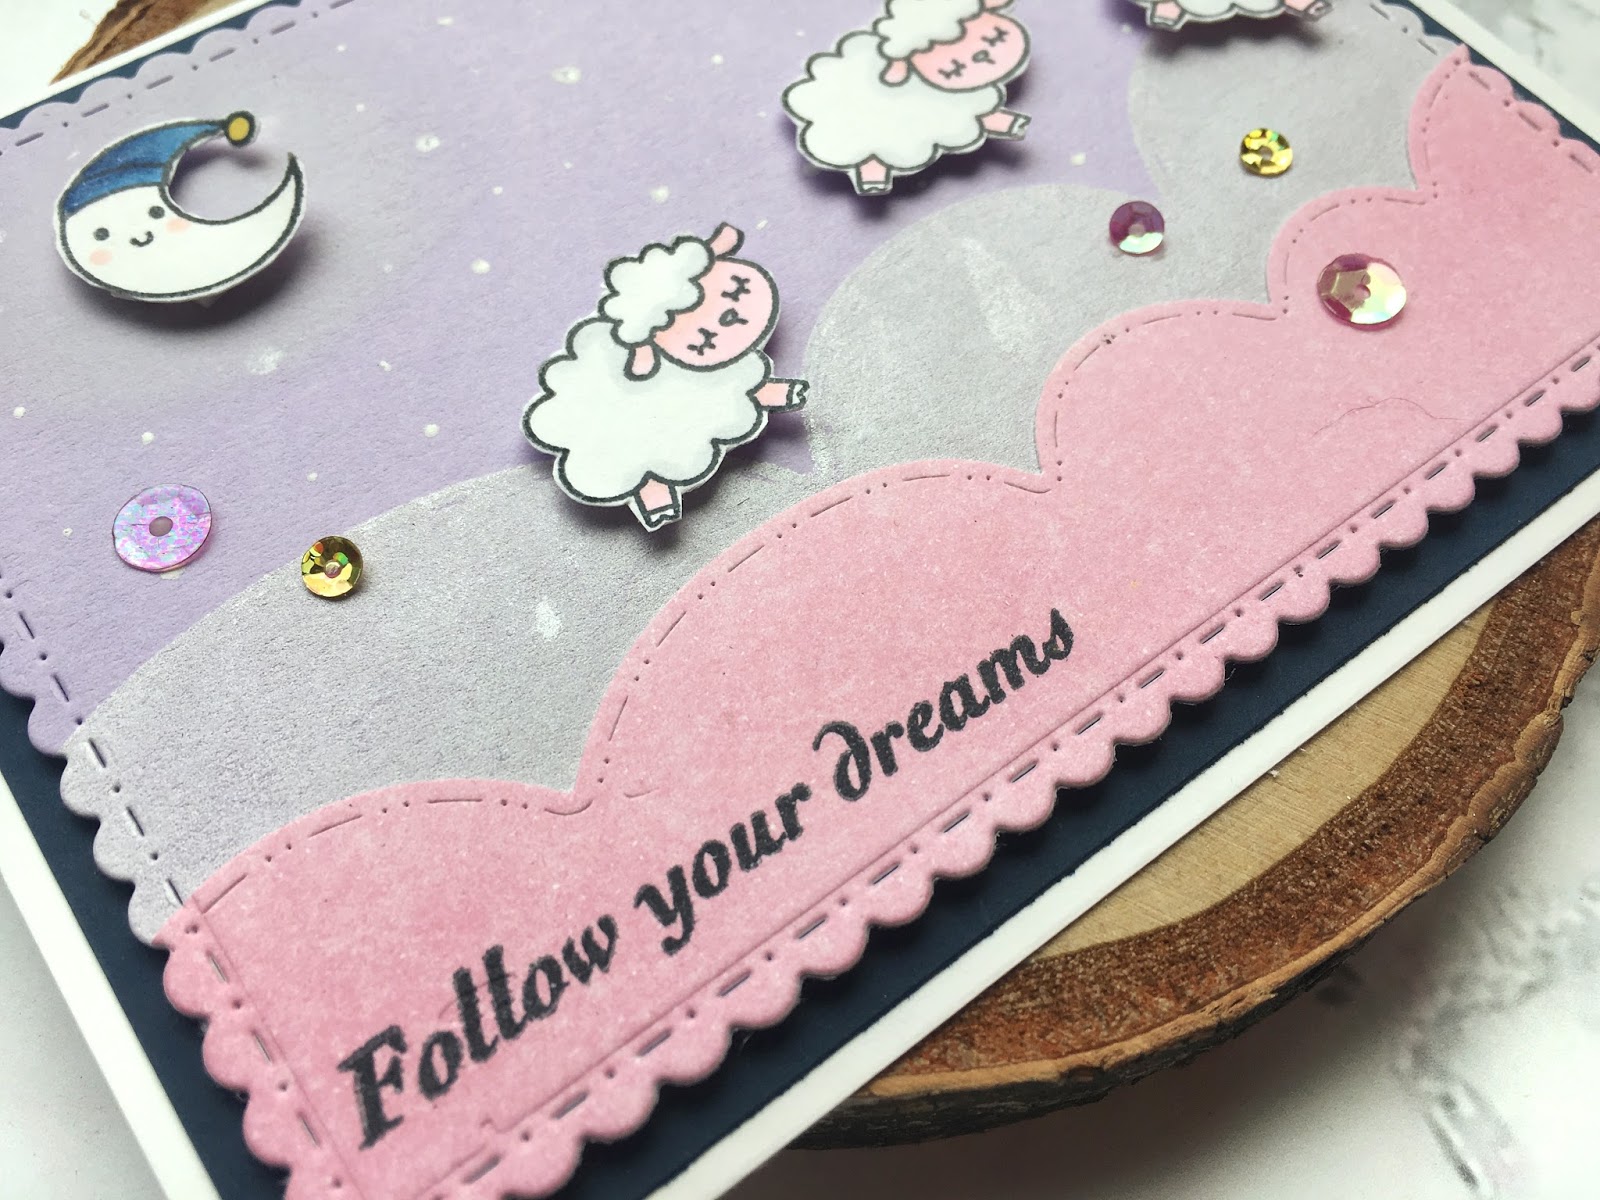
- BONUS: I used a small scrap of my foam to ink blend a bit of the same ink in a small circle where I adhered the moon to give a glowing look. It blended beautifully!
And that's that! Seriously. I swear!
I love that this gave depth to my scene with the white clouds behind the pink ones and the glow behind the moon.
I hope that you'll give this a try! Don't be afraid to step out of your comfort zone and I know you'll surprise yourself. Let me know if you enjoyed this written tutorial format and also if you've tried this technique and how it worked for you! See you soon!
Supplies Used:
Adorable!!
Reply