
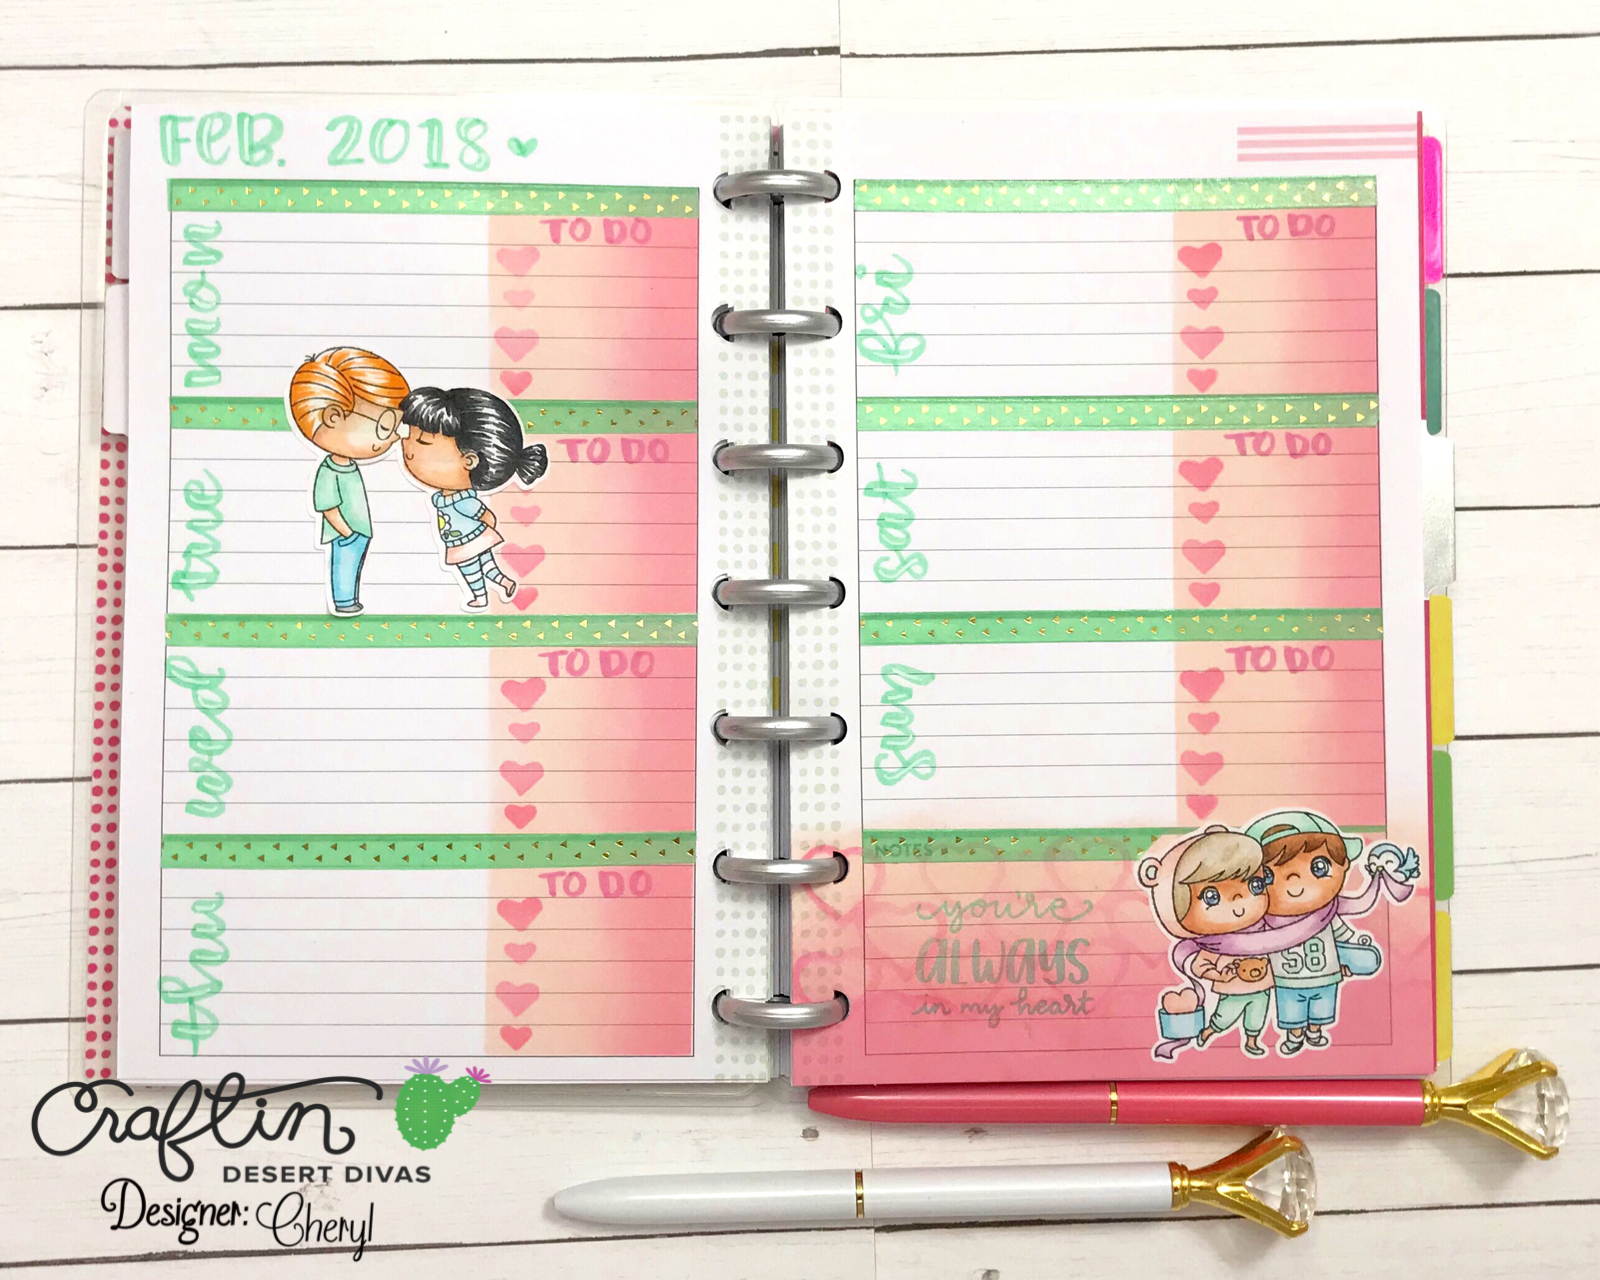
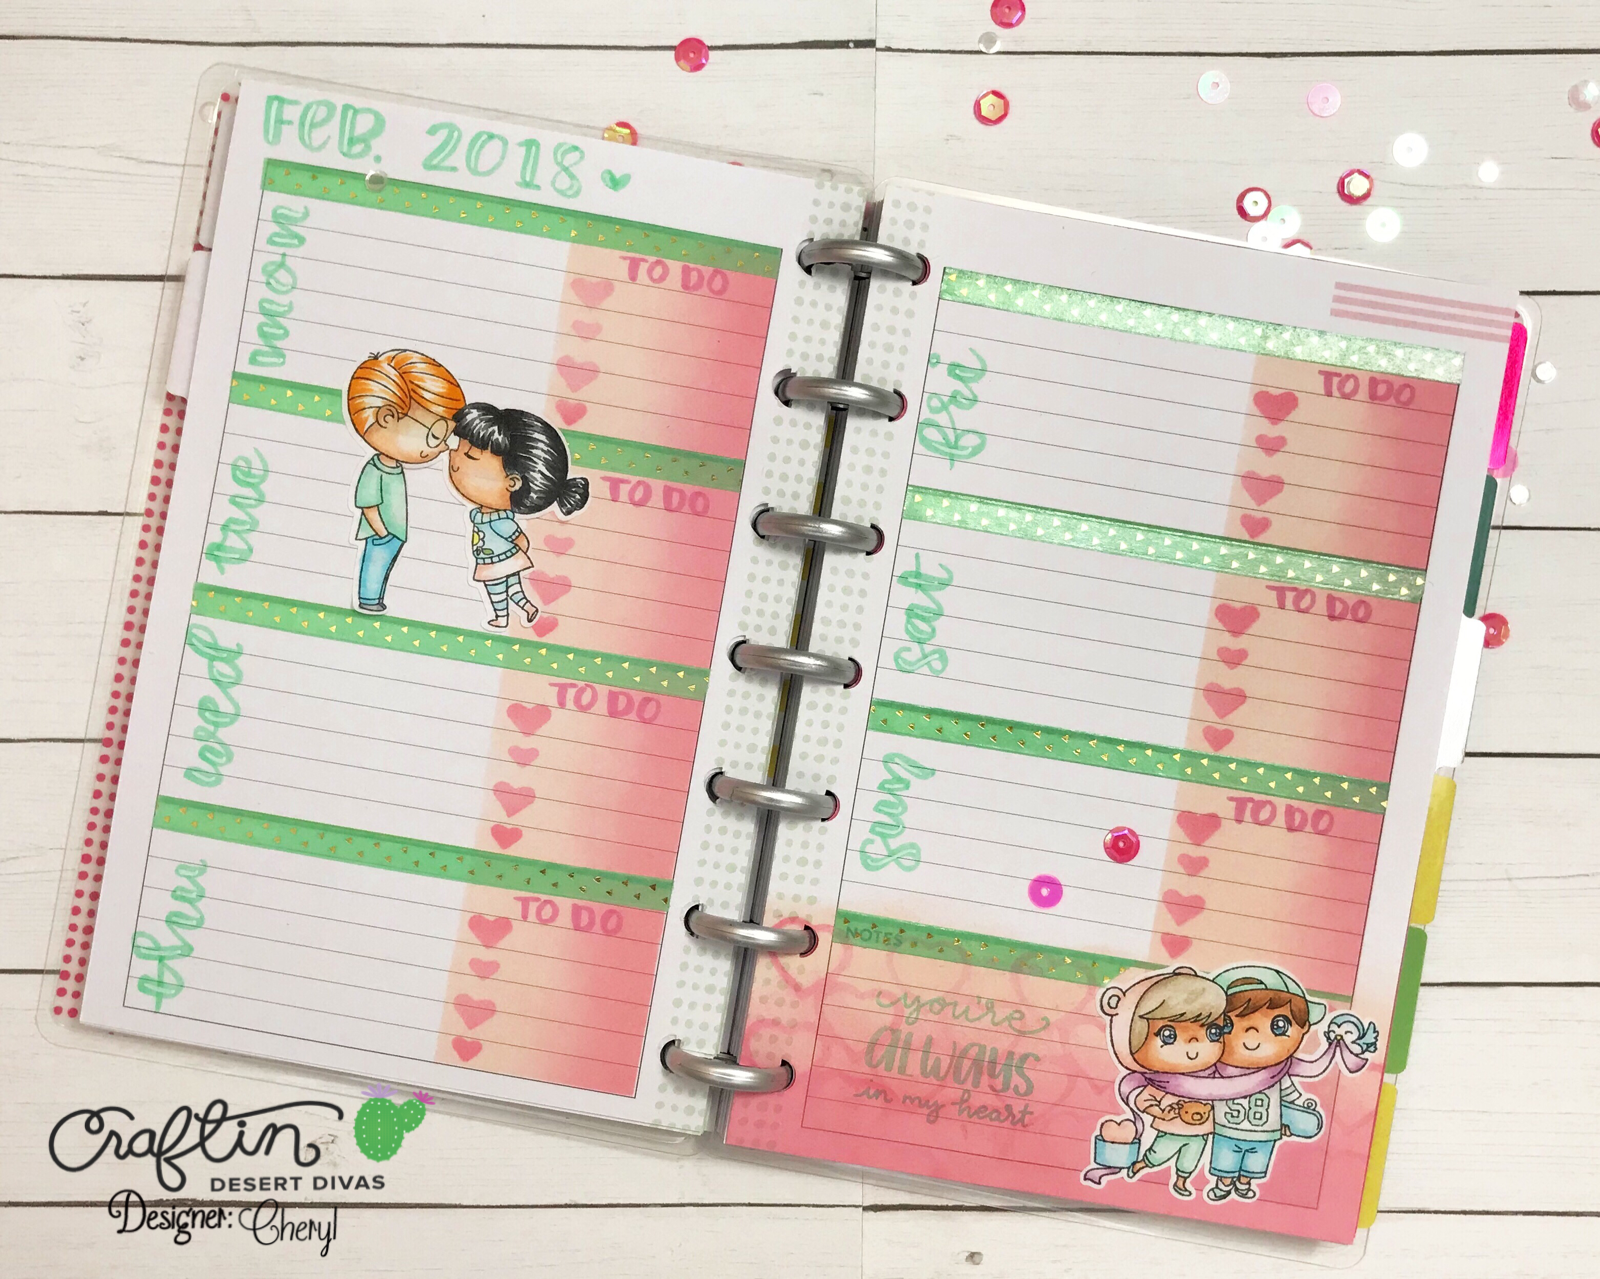
Hello! It's Cheryl with the Design Team sharing with you how to stamp with dies! I love it when I learn new techniques that can help stretch my supplies! For the planner layout above, I used dies to stamp out a background, and used dies to make checkboxes for a to-do list!
This technique is fairly inexpensive and besides the stamping supplies you already have, all you need is some craft foam, which you can get from the dollar store, and some adhesive (preferably a re-positionable one).
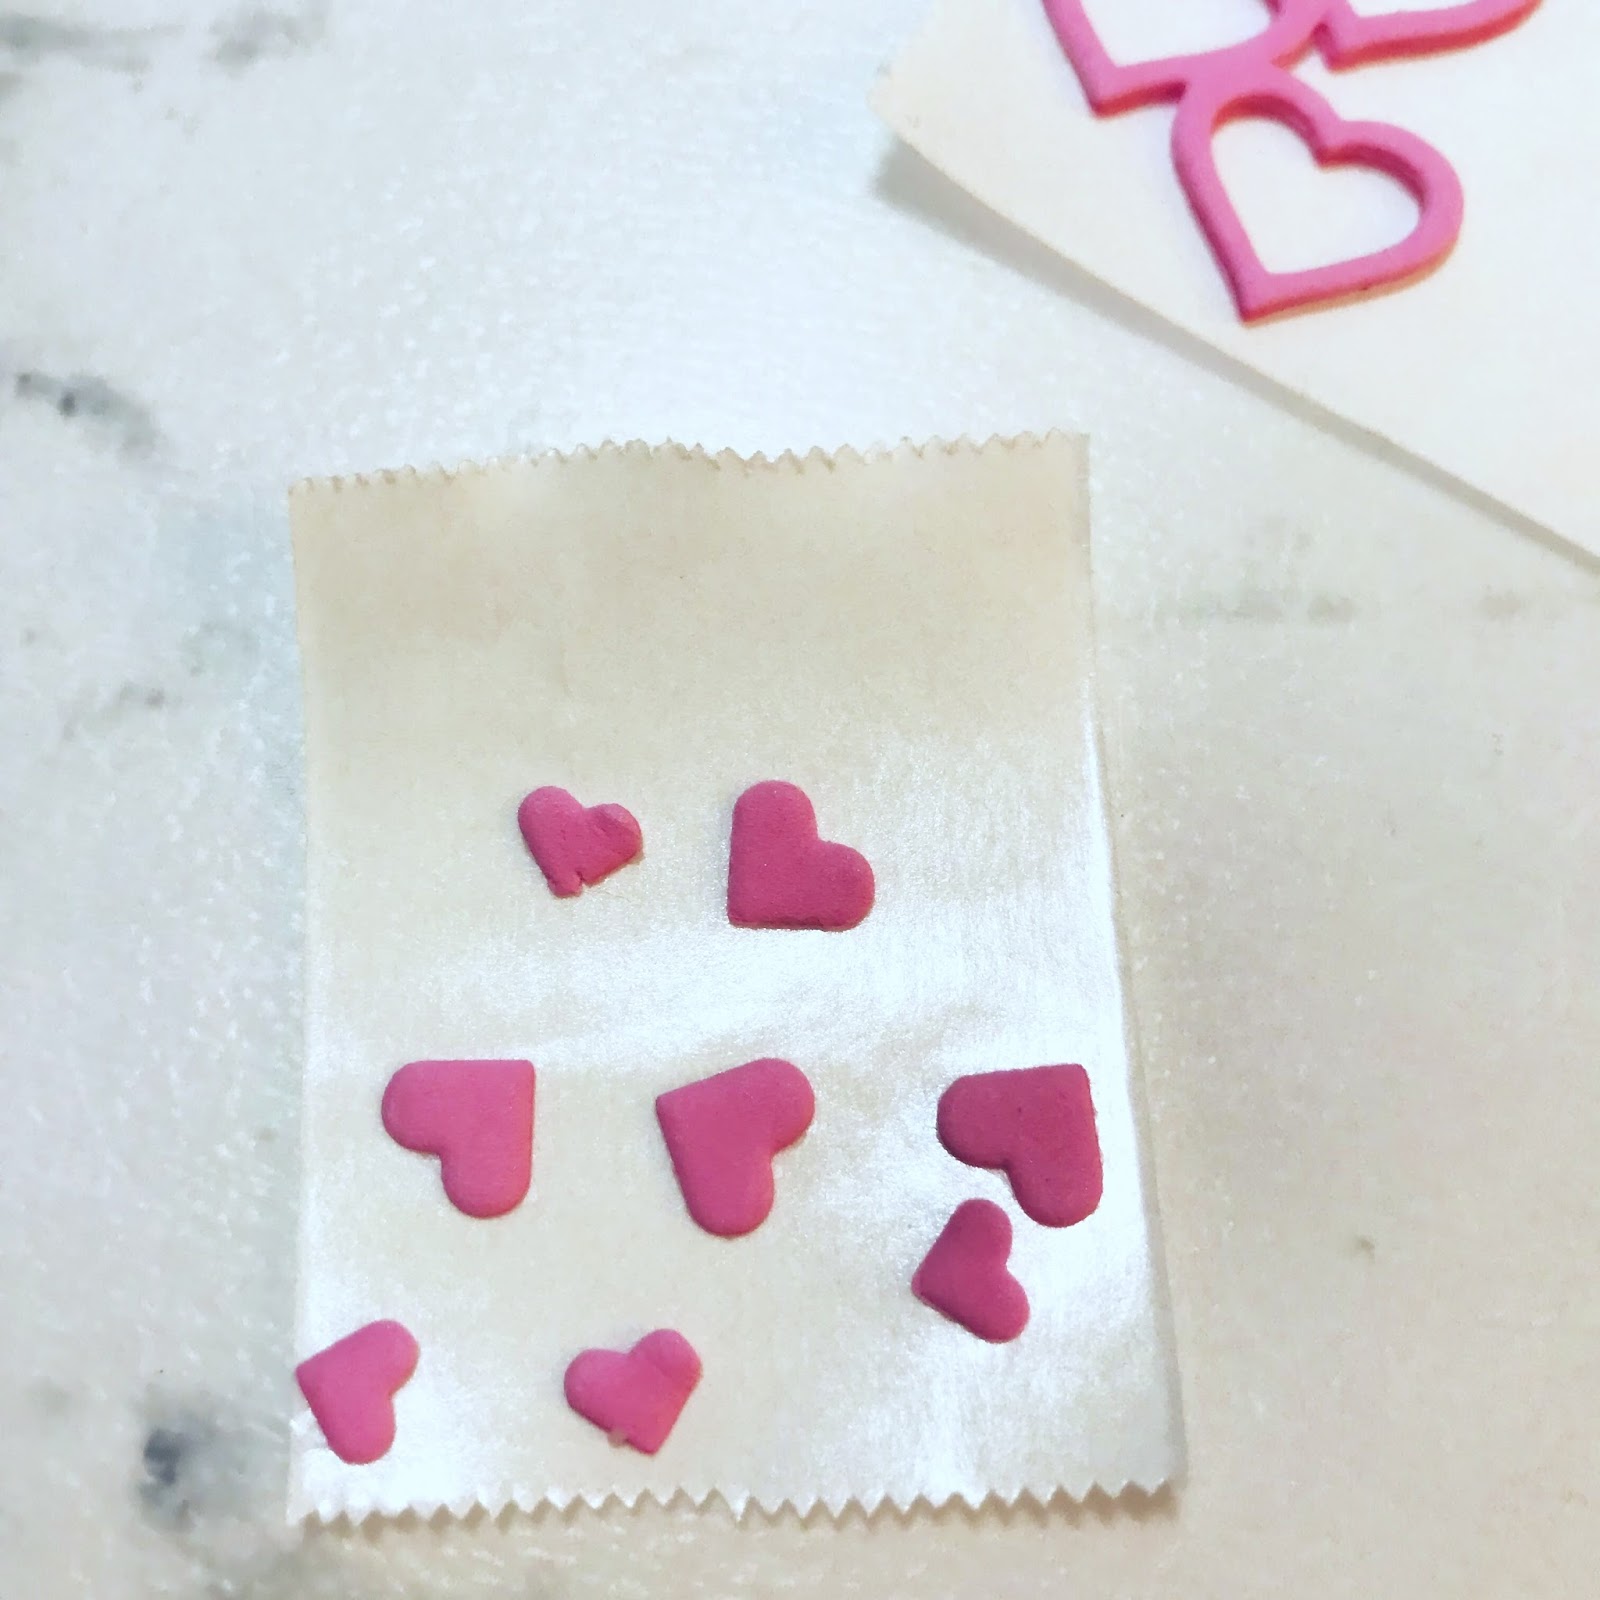
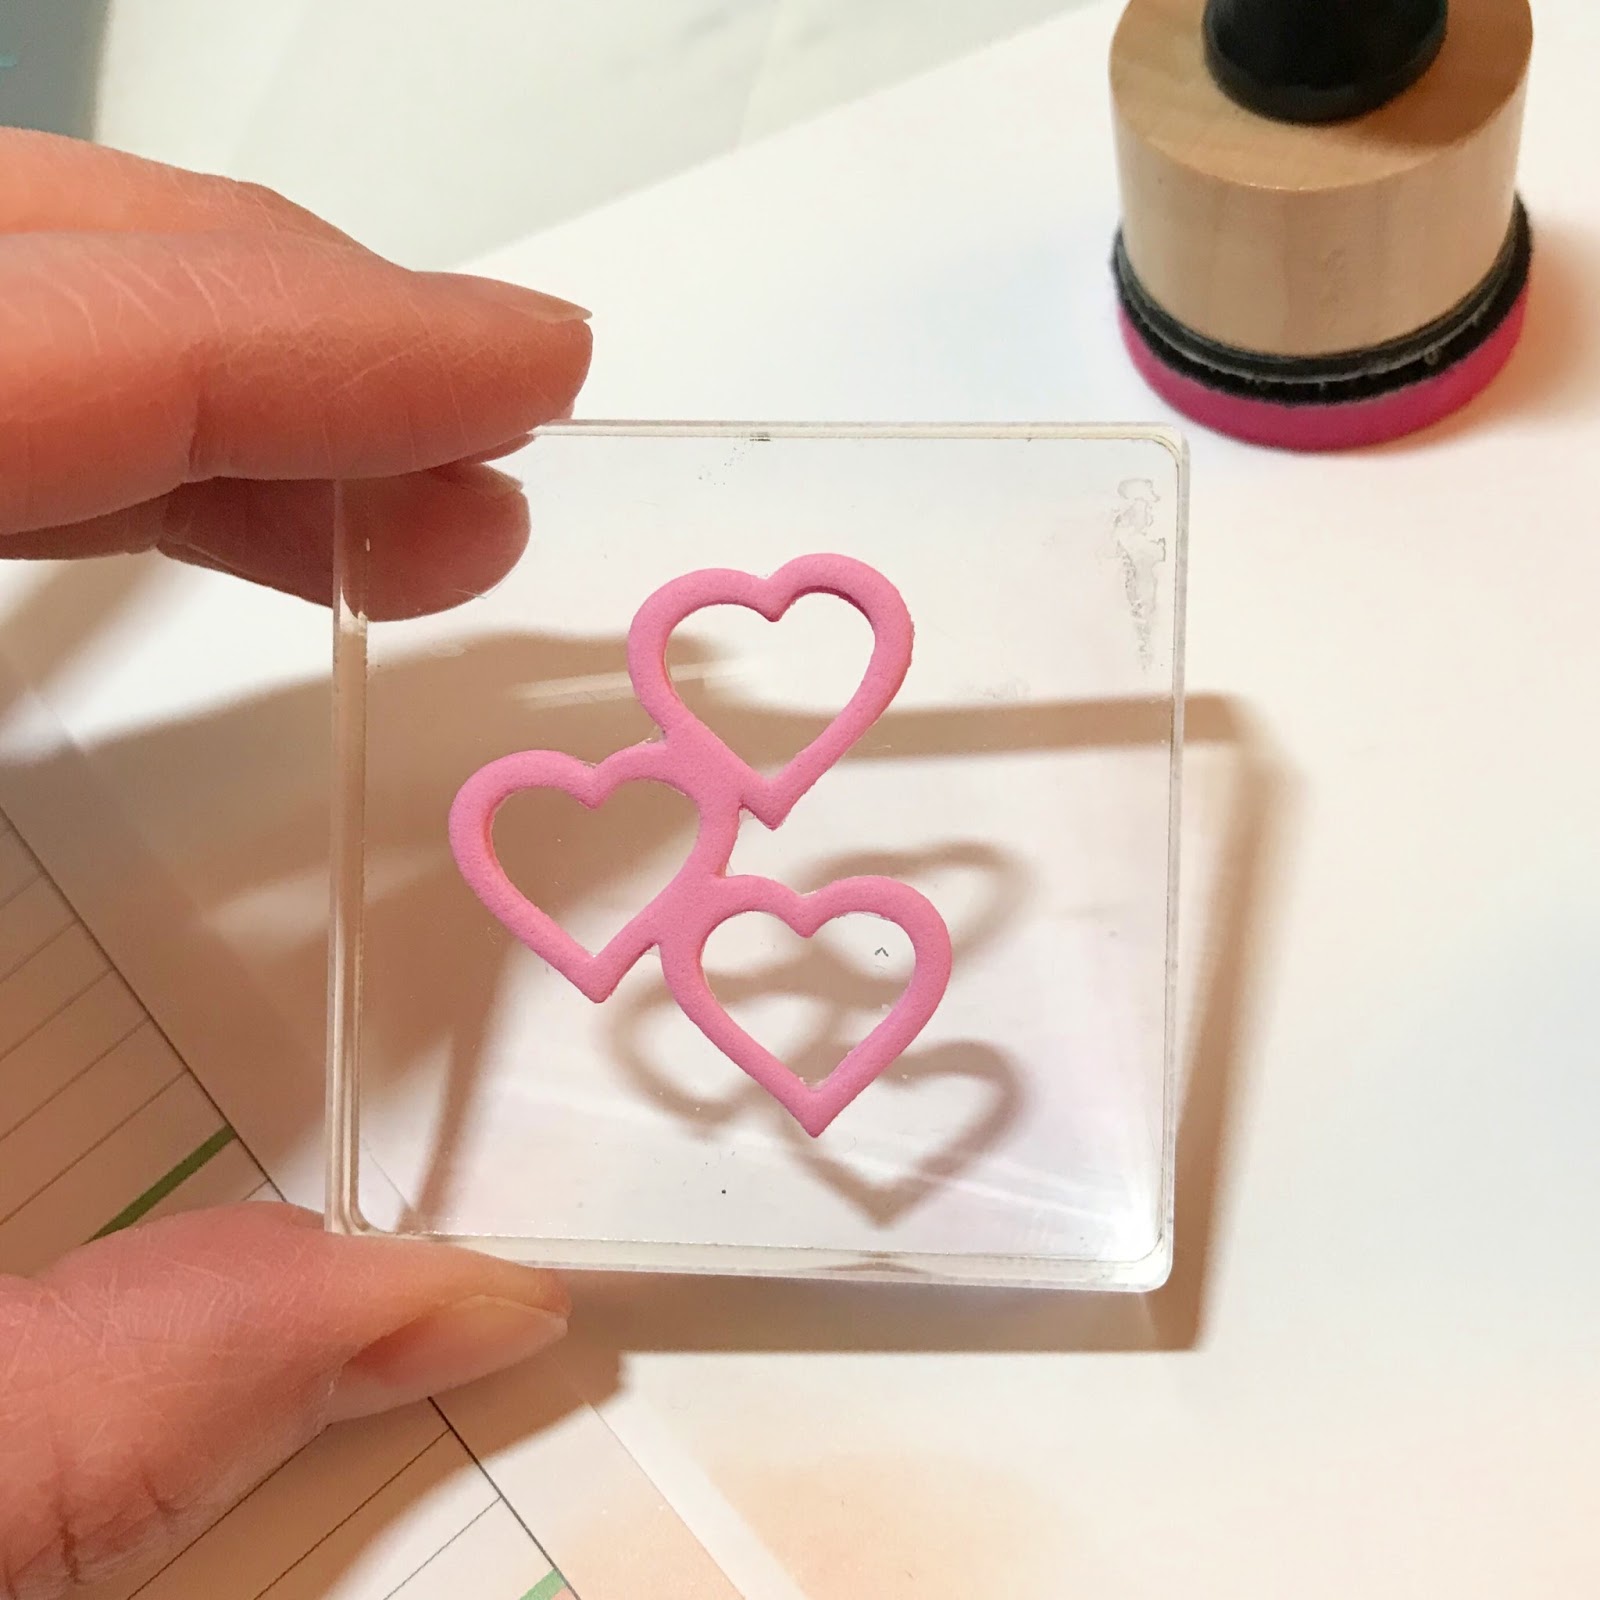
First I cut out two heart outlines from the , and ran it through my sticker maker. I did the same with the two smallest hearts from the , only cutting a total of eight hearts for the bullets.
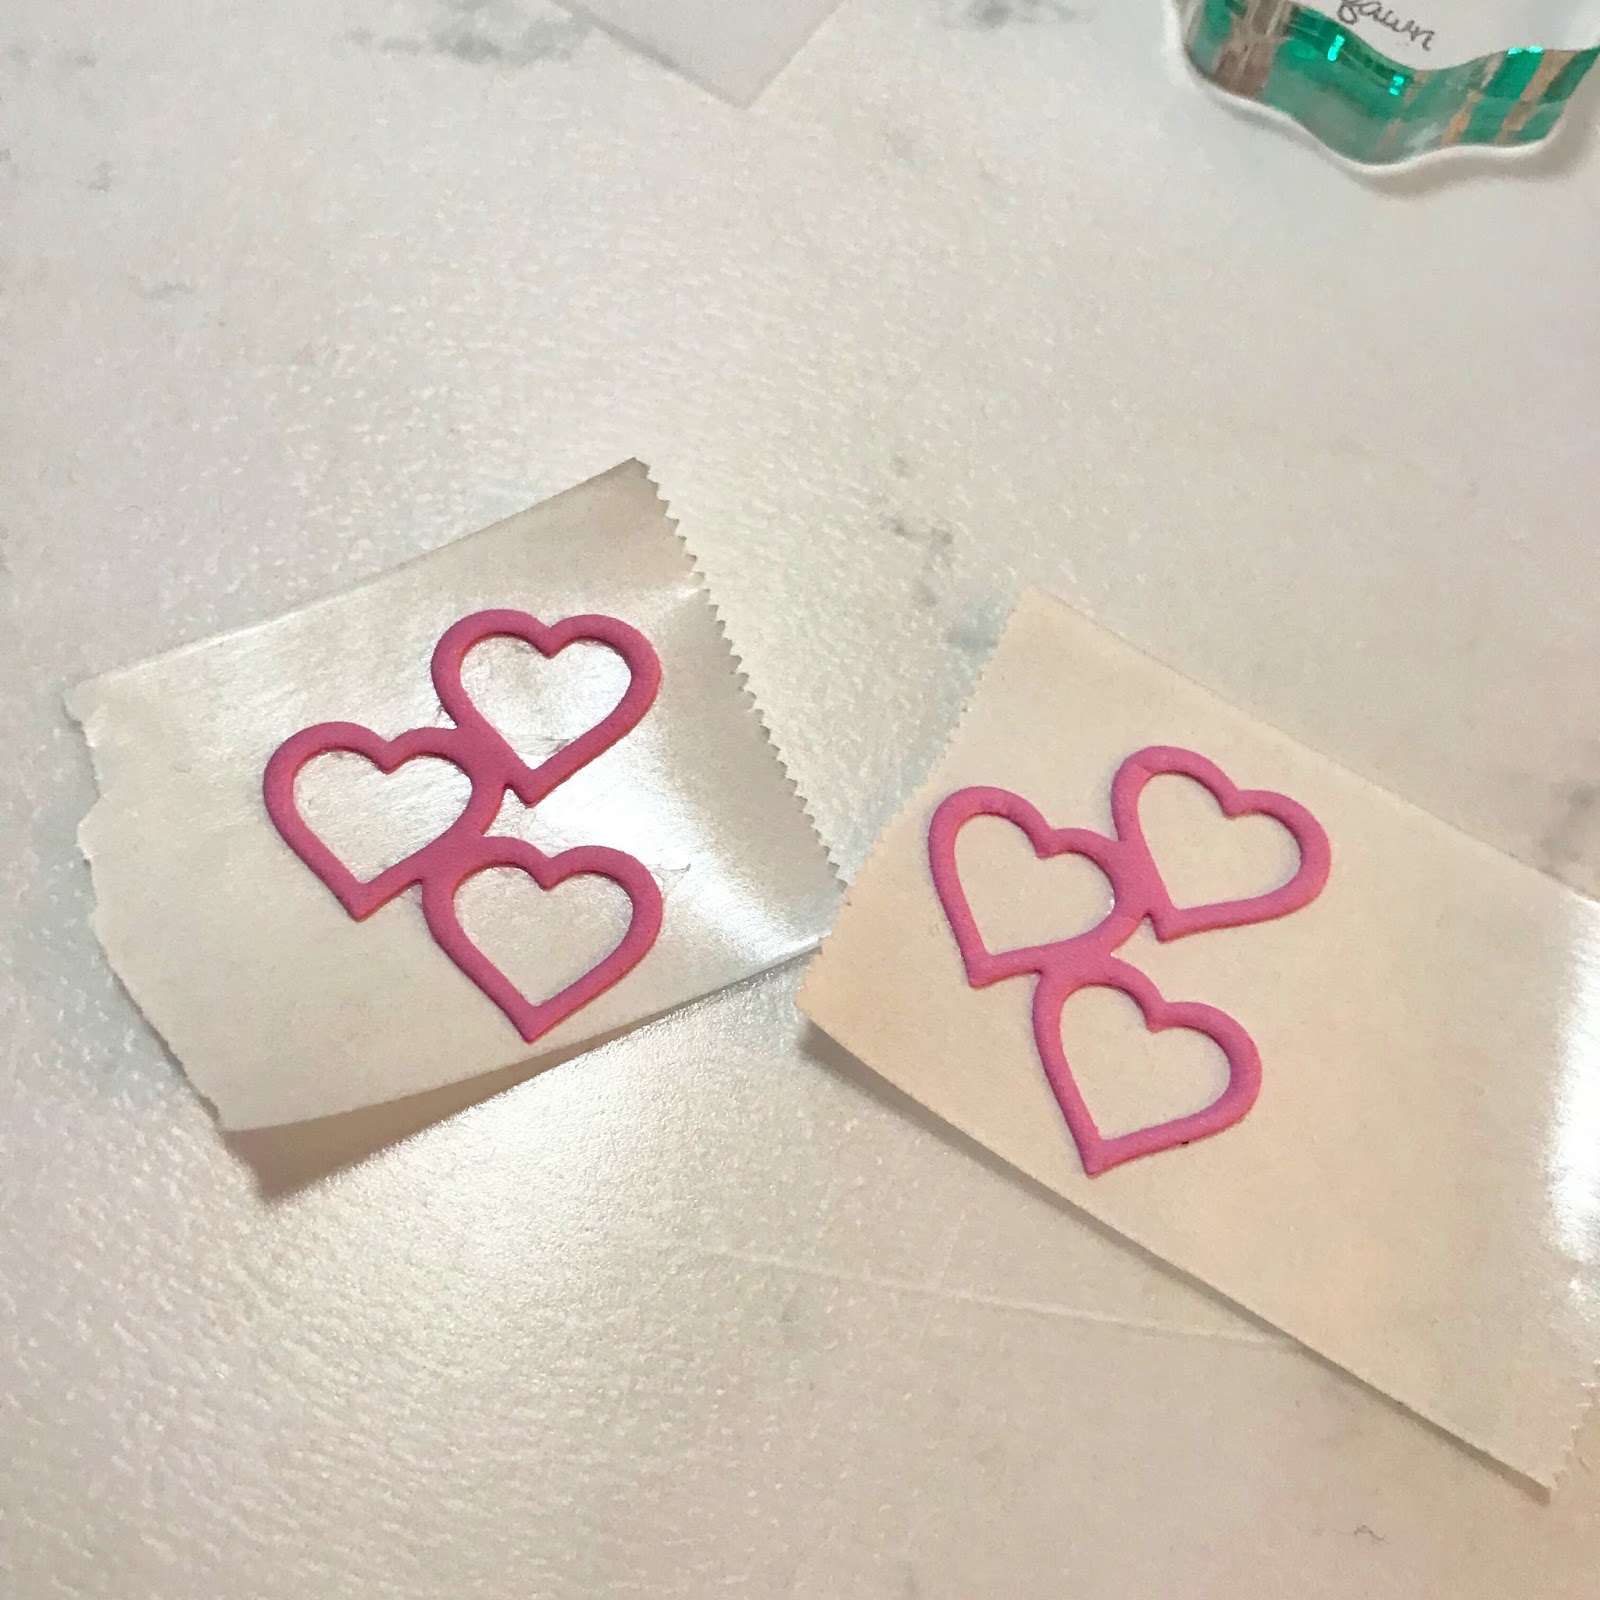
I stacked one die-cut over each matching so that the stamp would be slightly more raised. You can do this with just one layer of craft foam but I got better stamping results when I had two layers.

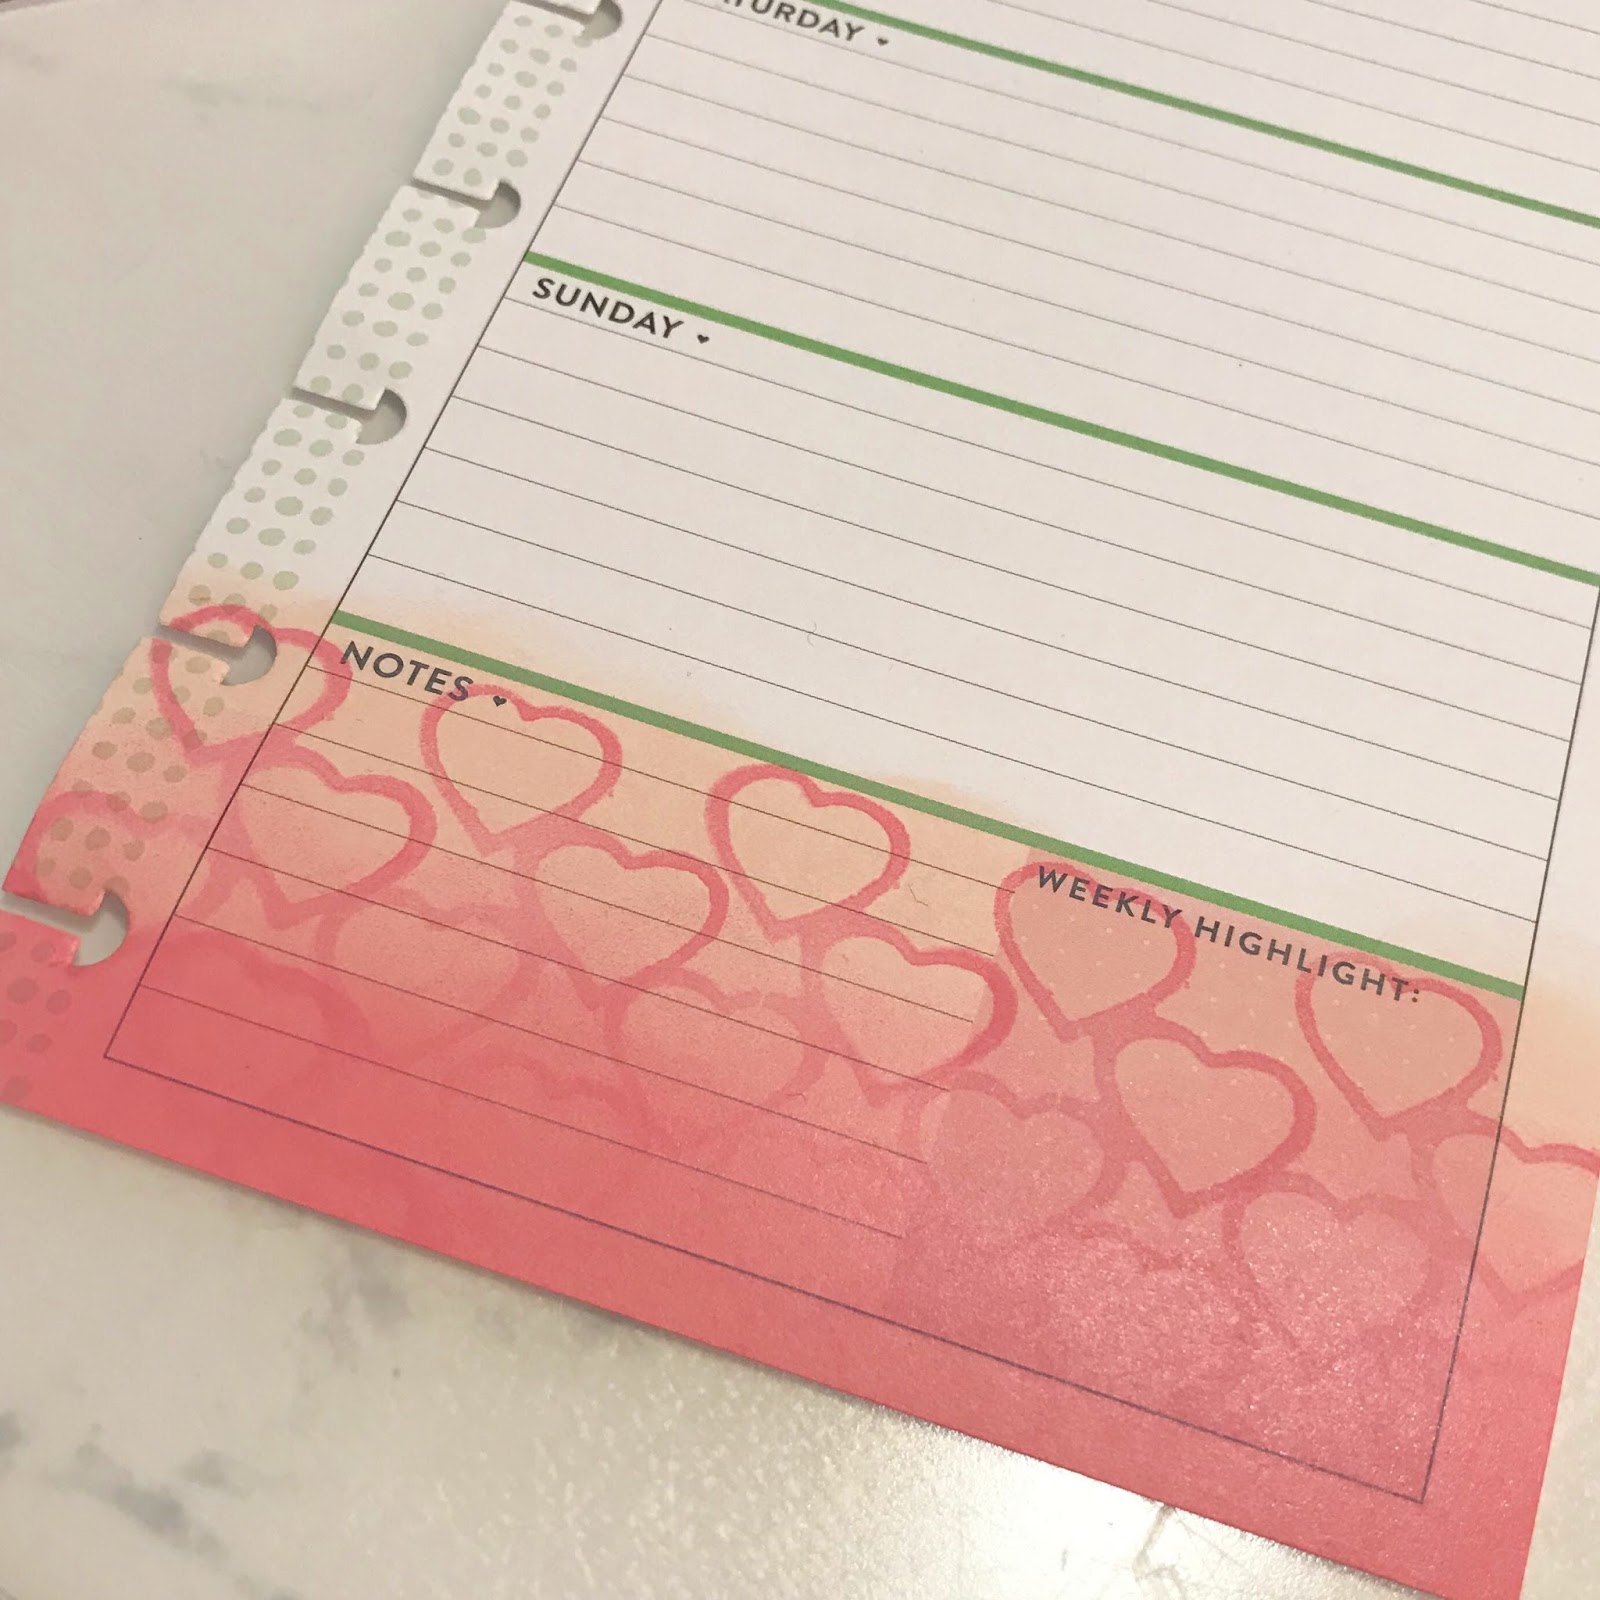
Then I created a soft pink gradient background on my planner pages using and Distress Oxide inks.
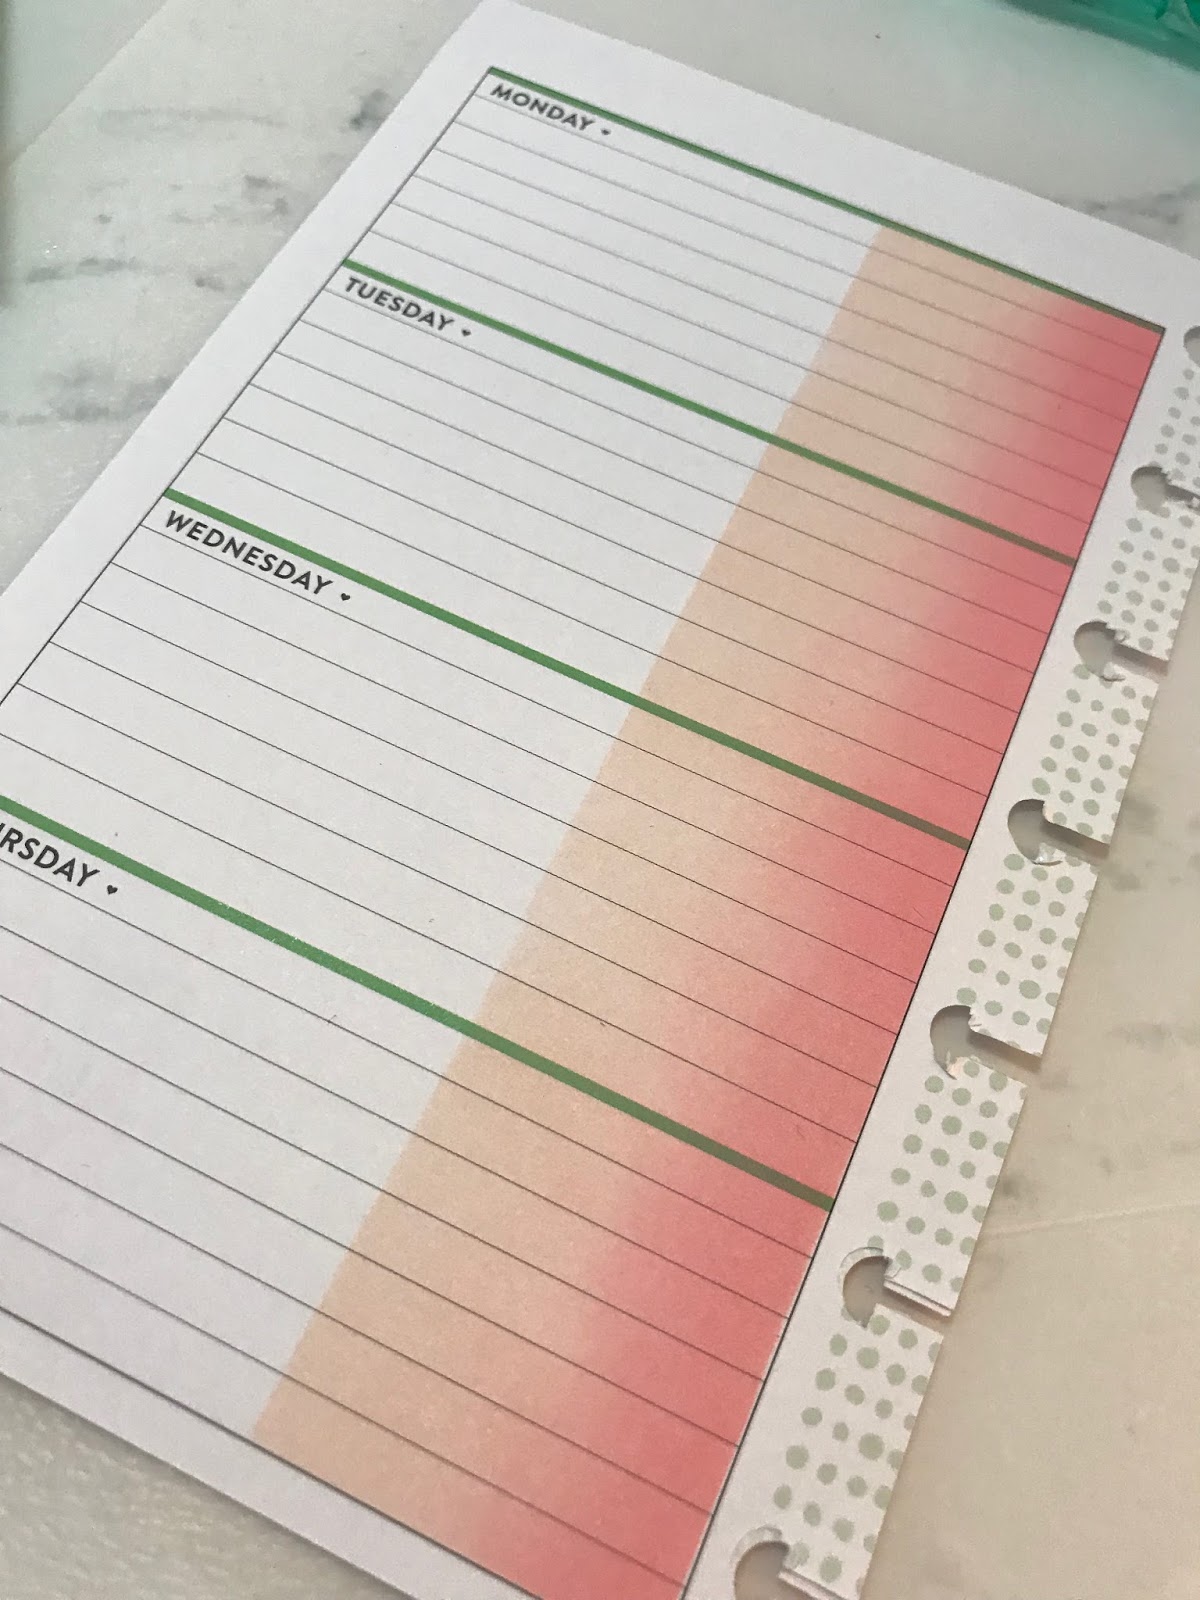
I placed the die-cut heart outline onto an acrylic block and stamped the hearts to create a patterned background on the bottom right page:
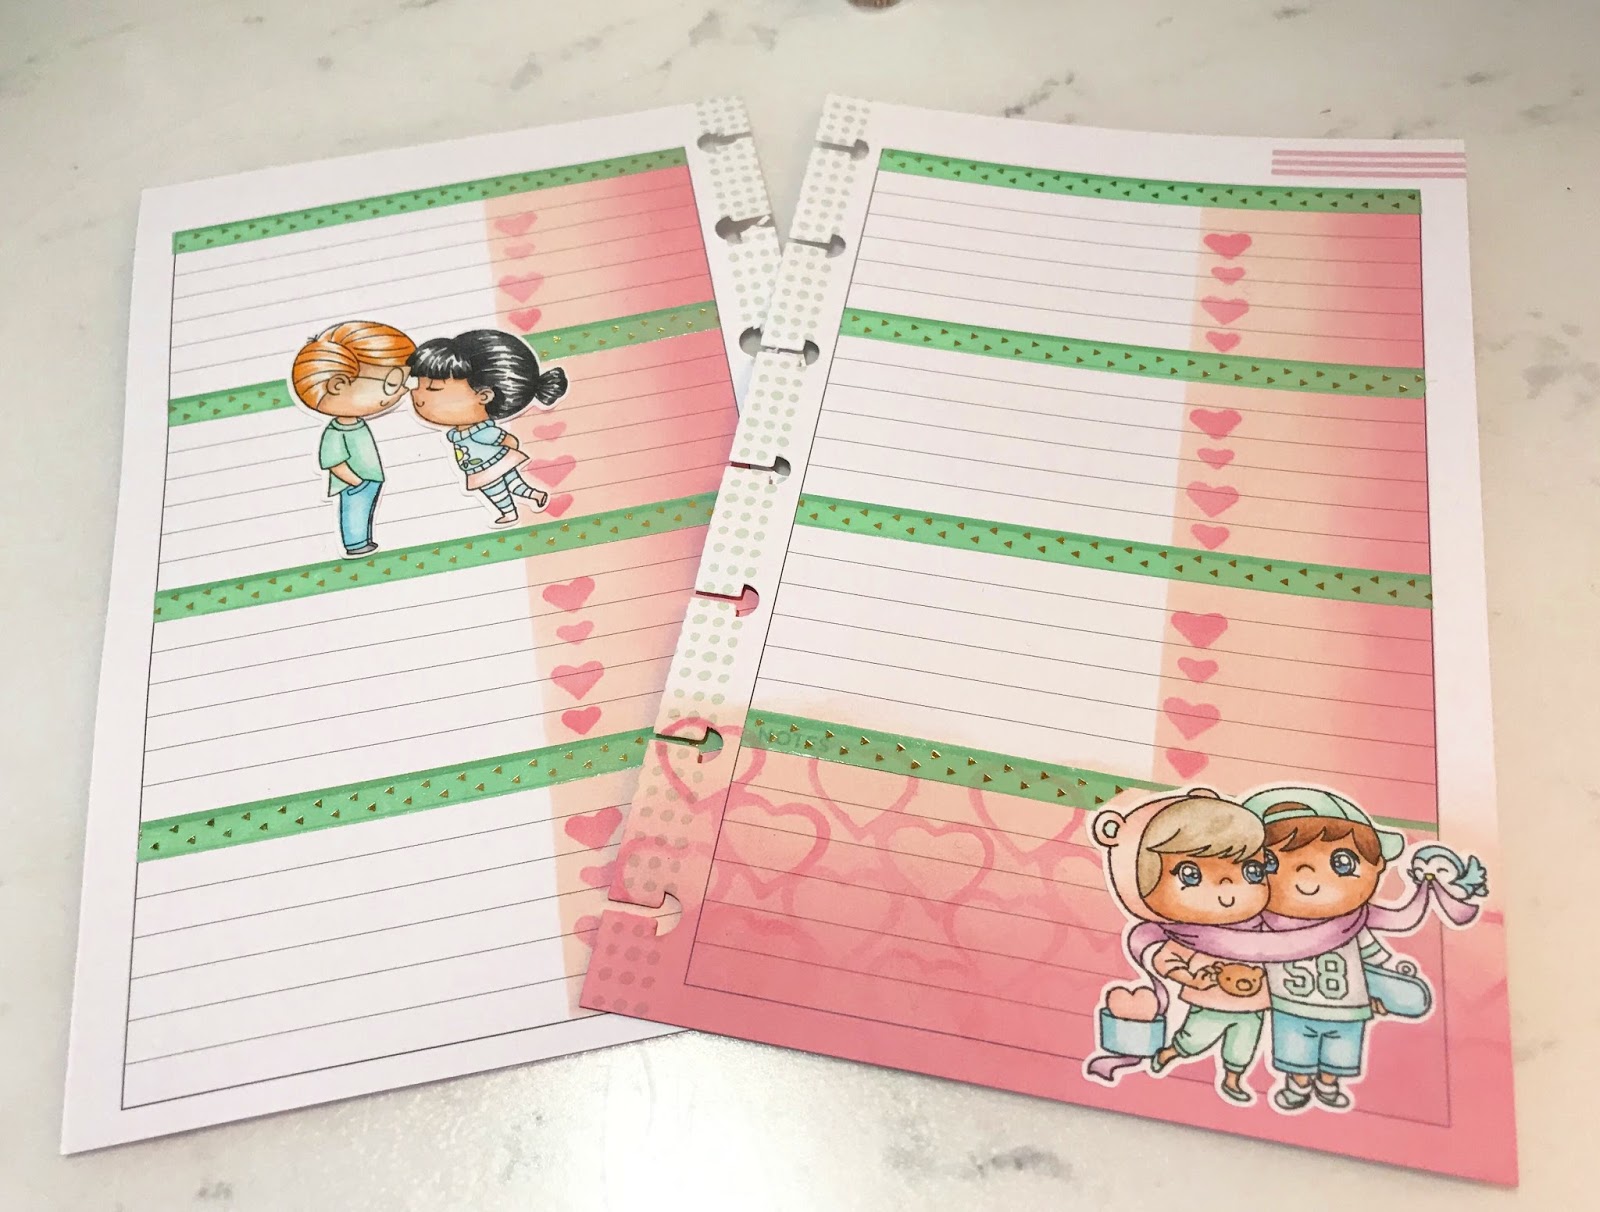
Next, I stamped the heart check lists, added some washi tape, and then added the stamped and colored images from the .

Products Used:
No comments:
Post a Comment
I appreciate you taking the time to visit my blog and leaving a comment. Have a crafty day!!